In my experience with social media and digital marketing, I’ve seen first-hand how important Facebook can be to connect with your audience.
Your Facebook Timeline is a dynamic stream of your updates, posts, and interactions. It showcases what you’re currently sharing and discussing with your Facebook community.
By displaying your Facebook Timeline, you can keep your website more lively, show visitors your latest Facebook activity, and encourage them to connect with you on social media.
In this article, I’ll share the straightforward process I’ve used to embed Facebook Timelines, so you can enhance your website with fresh social content.
- Easiest Way to Embed Your Facebook Timeline
- How to Embed Your Facebook Timeline on Your Website
- More Facebook Marketing Guides & Tutorials
Easiest Way to Embed Your Facebook Timeline
There are 2 ways of embedding Facebook timelines on your website: Manual and Automatic.
Manually embedding your timeline using Facebook’s Page plugin comes with a lot of restrictions, like:
- Since you need to generate embed codes, tweak them, and embed them on your website, which is complex and takes more time.
- You’ll need to manually edit the code if you want to customize how your Facebook timeline looks on your website.
- Going back and forth between Facebook and your website multiple times to embed a post can take up a lot of free time.
- If something breaks when inserting the code into your website, you won’t have a support team to help you out.
For a simpler way, you can install a user-friendly plugin like Smash Balloon’s Facebook Feed Pro.
Using this Facebook WordPress plugin, you can display your timeline on WordPress easily and hassle-free, even if you’re not a techie.
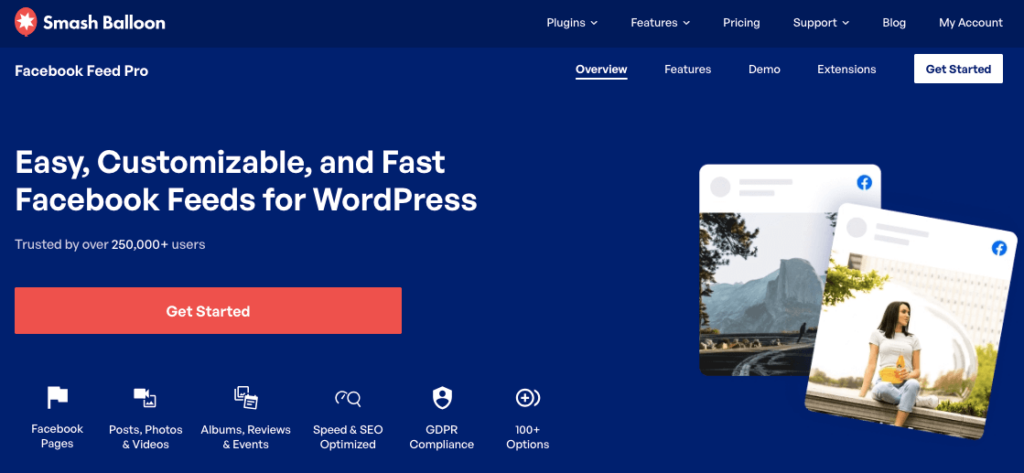
As the best Facebook timeline plugin for WordPress, Facebook Feed Pro helps you add a customizable timeline to your website.
In just a few minutes, you can smoothly set up your Facebook timeline and display it on WordPress with just a few clicks. No coding needed.
The most popular Facebook feed plugin for WordPress, Facebook Feed Pro, has lots of features you can easily use. Check out some of them below:
- Easy to set up: Customize and display your Facebook timeline in under 5 minutes!
- User-friendly: Just by clicking on the visual feed customizer, you can change how your Facebook timeline looks like. Say goodbye to confusing code or expensive developers.
- Easy and powerful customization choices: Want to modify your timeline’s background color? You can. How about changing its icons? You also can. What if you want to adjust your timeline’s width or height? You can easily do this, too.
- Lots of feed types to display: Sure, it can show your Facebook page’s timeline. That’s not all. The plugin also allows you to embed your albums, videos, and even your Facebook event’s feed on your website.
- Ultra-fast loading time: Since it’s created with its users in mind, the plugin is designed to be ultra-fast. It won’t slow down your site.
- Safe to use: No need to mess around with code. Meaning, there’s no risk of you accidentally breaking your WordPress site!
Want to know the best part?
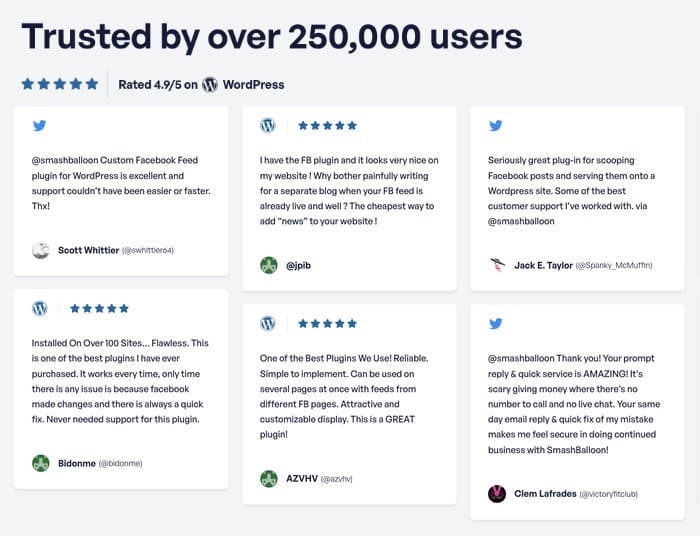
With over 250,000 users and a solid 4.9/5 star rating, the plugin comes with a dedicated customer support team made of WordPress experts.
Need someone to assist you while embedding your Facebook timeline? They’re just a message away.
Ready to skyrocket your Facebook page’s engagement by cross-promotion? Follow the steps below to easily display your Facebook timeline on your website:
How to Embed Your Facebook Timeline on Your Website
Now, let’s go through the steps of embedding a Facebook timeline on your website. Don’t worry – the whole thing only takes 5 steps.
Step 1: Download and Install Smash Balloon Facebook Feed Pro
The first step is to go and grab a copy of Facebook Feed Pro from here. Once you’ve got the plugin, you can simply install and activate it on your site.
If you’re not sure how that’s done, just check out our simple guide on how to install a WordPress plugin.
Step 2: Create Your Facebook Timeline Feed
First, go to the Facebook Feed » All Feeds menu from your WordPress dashboard.
Now on this page, click on the Add New button.
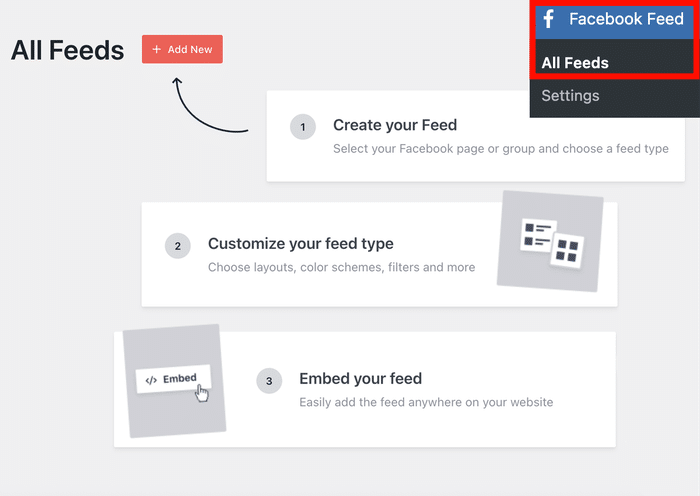
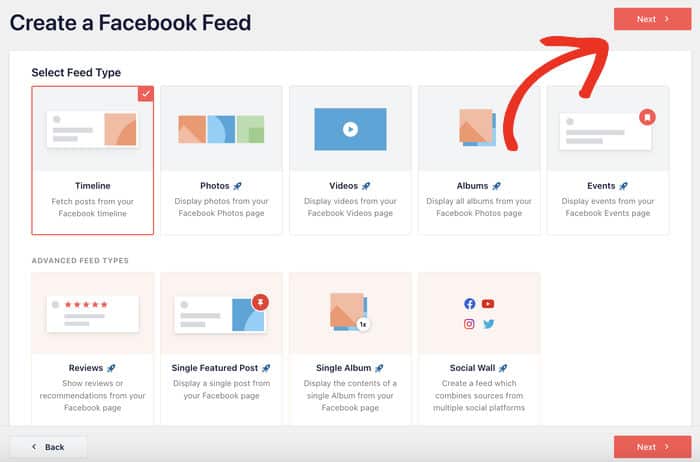
You can pick from 8 different feed types for your new Facebook feed:
- Timeline
- Photos
- Facebook videos
- Facebook albums
- Events
- Reviews
- Single Featured Post
- Single Album
To proceed, select the timeline feed option and then click on Next.
Step 3: Connect to Your Facebook Page
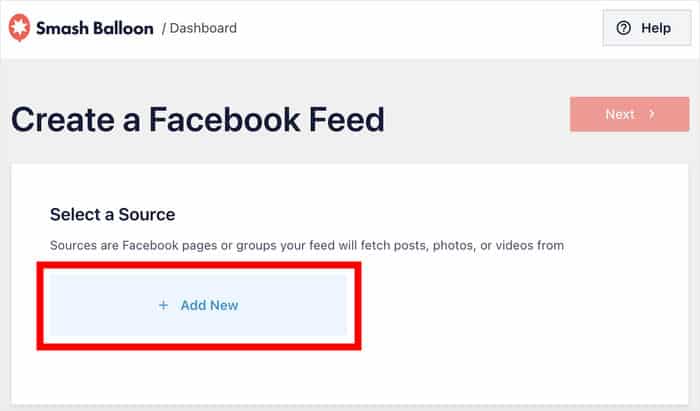
After you’ve created your new Facebook timeline feed, you can connect it to a source.
A source is basically a page whose timeline you want to embed on your website.
To add a new source, click on the Add New button.
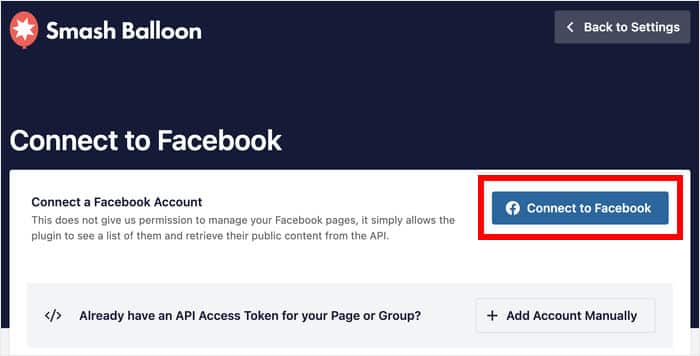
In the new popup, you can see that Facebook Feed Pro only asks for read-only access to your account.
This means the plugin can’t make any changes to your account, so Facebook Feed Pro is 100% safe.
To proceed, just click on Connect to Facebook.
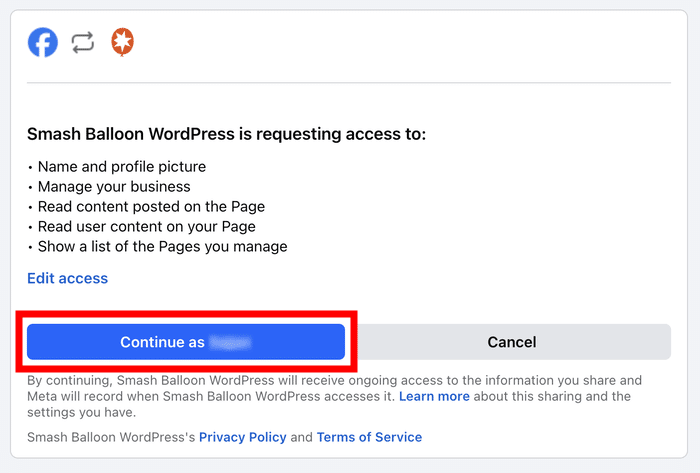
Now, the plugin will send you to Facebook, where you can give read-only access to your timeline feed.
On the popup, click on the Continue button.
You’ll now be back on your WordPress website once more.
On a new popup, just select the page that you want to add as a source and then click on Add.
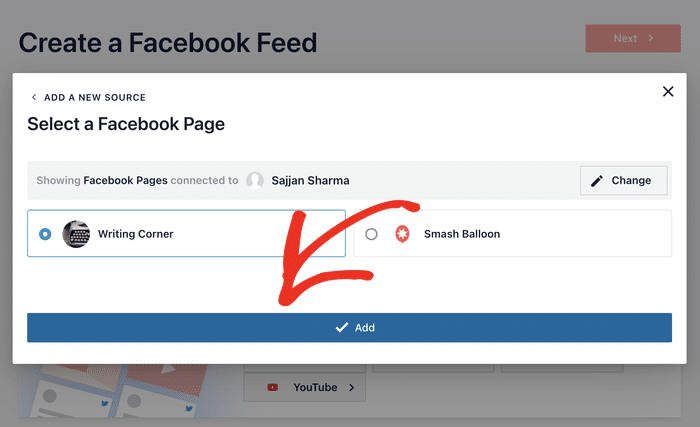
Finally, click on the Next button, and you’ve successfully created a new Facebook timeline feed.
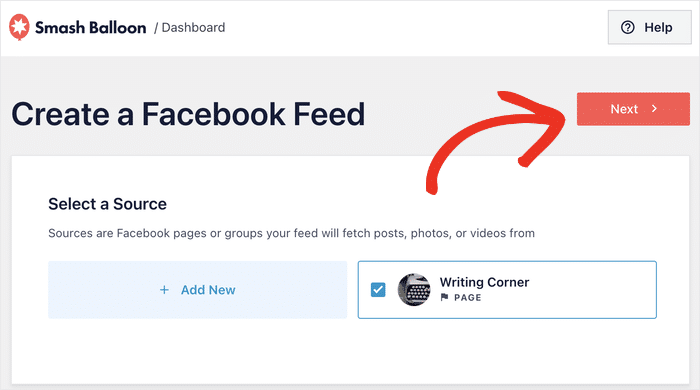
Step 4: Customize Your Facebook Timeline Feed
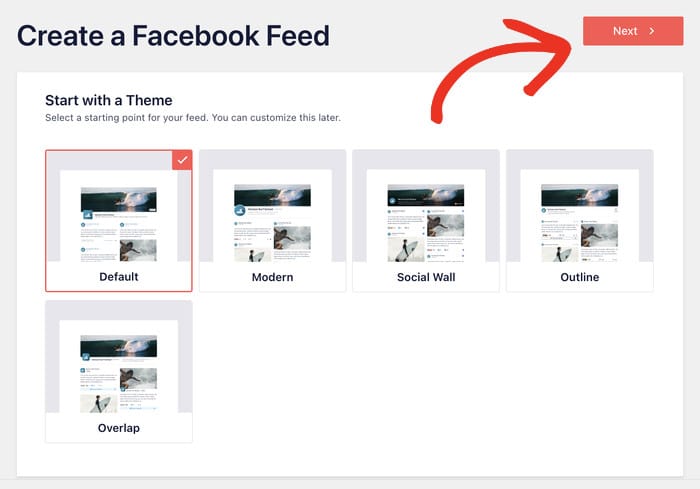
First, you get the option to pick a theme for your new timeline feed. Each theme has a unique design, with different icons, post style, and more.
After you select a theme, click on the Next button.
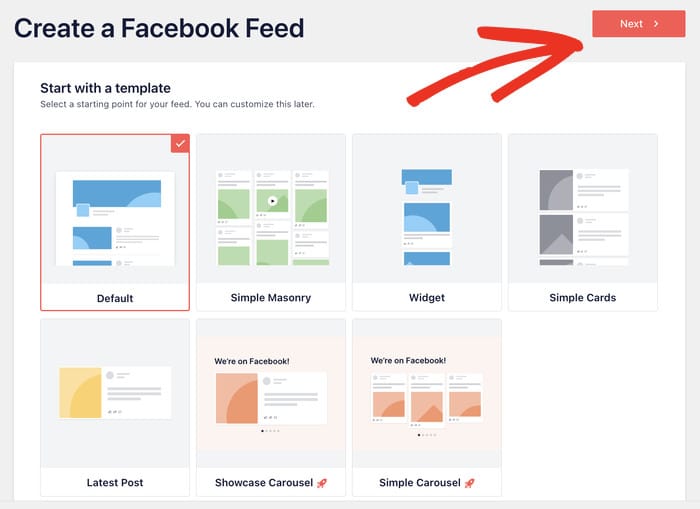
After picking your theme, you can choose a template as well.
The templates will basically change the layout and size of the posts of your Facebook timeline.
Like before, select a template and click on Next to proceed.
After creating a new Facebook timeline feed, you will now see it open in the live feed editor.
Here, you can find all the customization options towards the left. You can customize your feed type, feed layout, color scheme, header style, post layout, and much more.
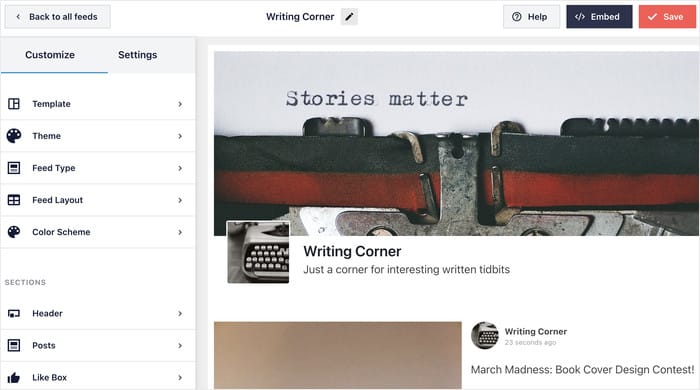
And on the right, you can see a live preview of your feed. So when you make any changes, you can see how it will look right there.
To start customizing your Facebook timeline feed, click on Feed Layout.
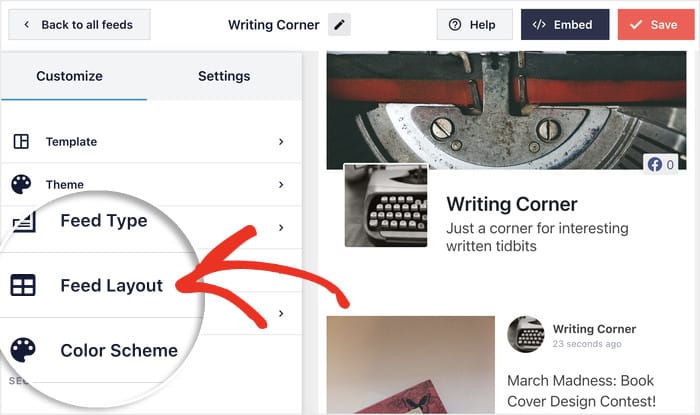
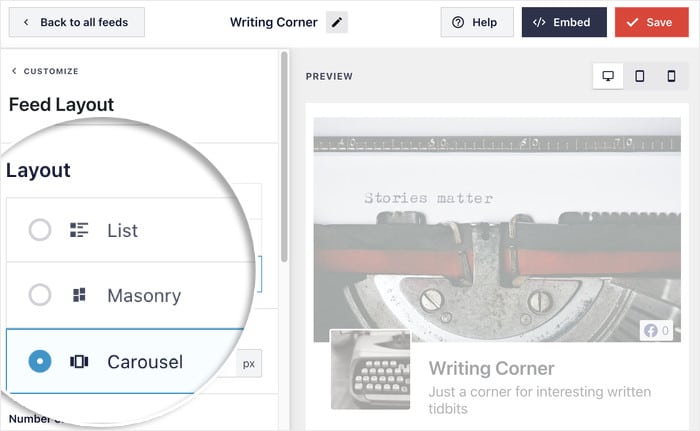
For your Facebook timeline feed, you have 3 different layout options to pick from:
- List: Show all the Facebook posts in your timeline one after the other, so each post is highly visible
- Masonry: Display the posts in your Facebook timeline in different columns so tons of content is visible
- Carousel: Make your website engaging by embedding a Facebook carousel slider with all of your posts.
After you pick the layout you prefer, confirm your changes using the Save button at the top.
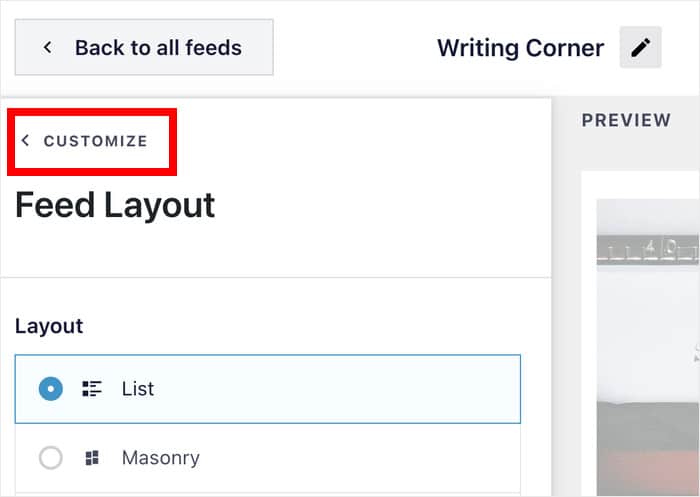
With that, you can continue customizing your Facebook timeline feed by returning to the main options.
To do that, just click on the Customize button.
From here, you can customize your feed some more. To do that, click on the Color Scheme option.
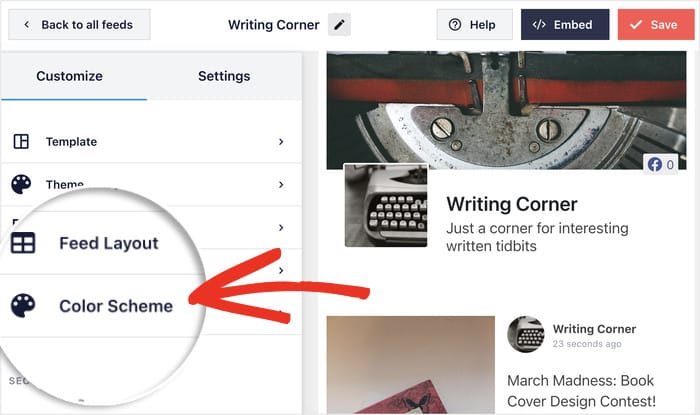
With the Facebook Feed Pro plugin, you’ve got 4 different color schemes for your Facebook timeline feed.
- Inherit From Theme: You can copy the colors of your website so that the timeline feed matches your branding.
- Light: With the light layout, your Facebook timeline feed will have a bright background with dark-colored text.
- Dark: You can also go for a darker background with a lighter text color instead.
- Custom: Finally, you can just pick all the colors yourself.
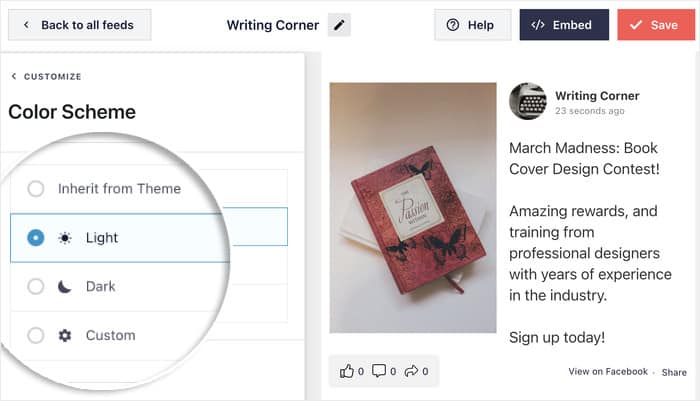
After you pick the color scheme you like, click on Save.
And like that, you can customize the different parts of your Facebook timeline feed using the live feed editor.
You can set the header style, post elements, post layout, feed margins, background, and much more here.
After you’re done editing your Facebook feed, click on the Save button again.
Step 5: Embed Your Facebook Timeline on Your Website
After creating and customizing your Facebook timeline feed, you can finally embed it on your website.
For that, you’ve got 2 different ways depending on where you want to show the timeline:
- Embed your Facebook timeline on your page
- Embed your Facebook timeline on your sidebar
Embed Your Facebook Timeline on Your Page
With the live feed editor, you can easily embed your Facebook timeline feed on a WordPress page.
For that, start by clicking on the Embed button at the top right.
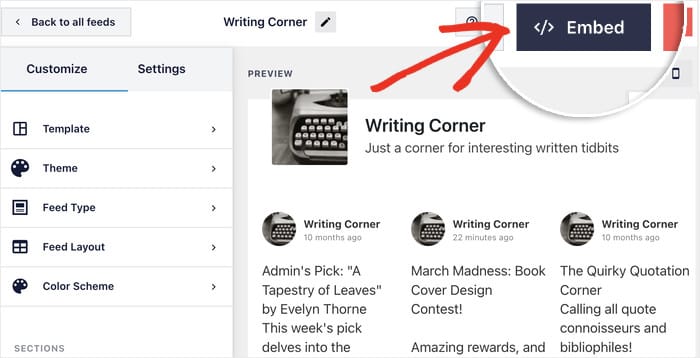
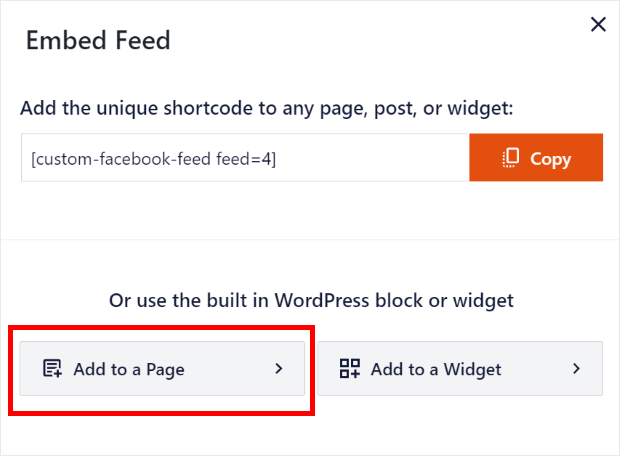
This will open a popup where you can choose where to embed your Facebook timeline feed.
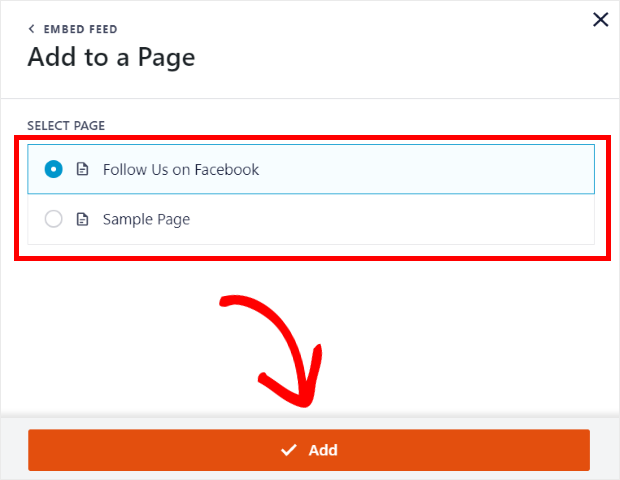
To continue, select the Add to a Page option here.
Next, the popup will show you a list of all of your pages. Now pick the one where you want your new Facebook timeline feed.
Then, click on Add.
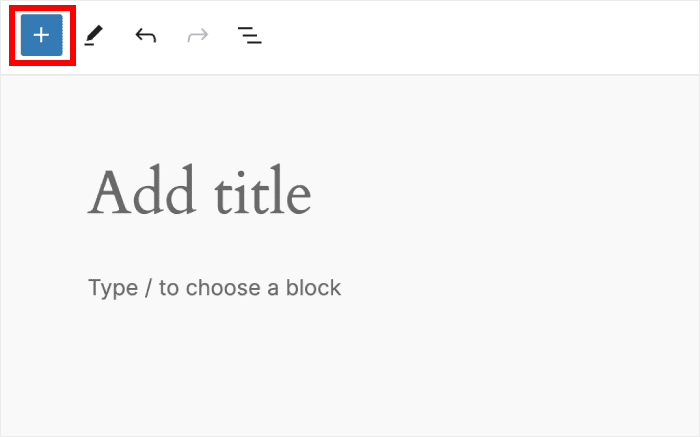
Doing that will open the page, allowing you to embed your timeline feed.
Just click on the small plus icon (+) towards the top.
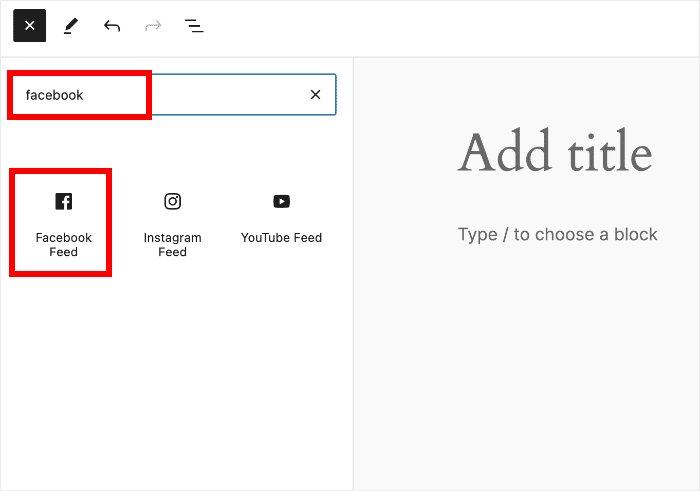
Use the search bar at the top to look for the “facebook” block.
Then click on the Facebook Feed widget below.
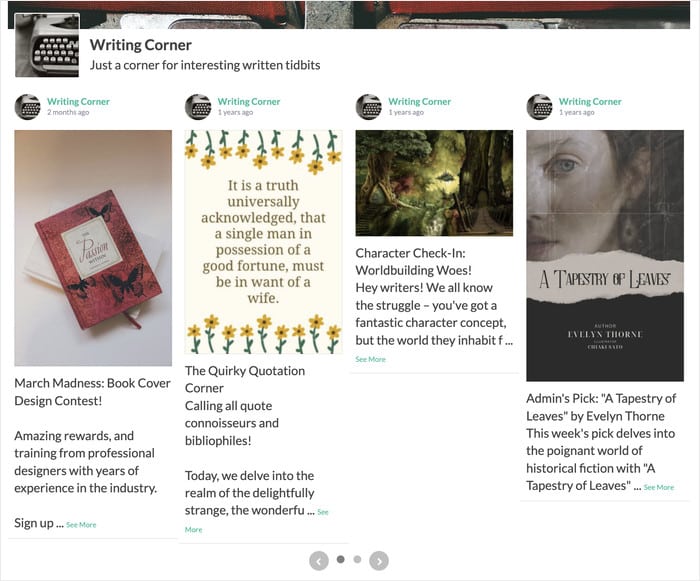
Once you select the widget, go ahead and click on the Publish button.
With that, you’ve now officially added your Facebook timeline feed on your WordPress site. If you check your site, you can see how it looks right there.
Embed Your Facebook Timeline Feed on Your Sidebar
The other way to embed your Facebook timeline feed is to add it on your sidebar as a Facebook widget.
To do that, you need to have your timeline feed open in the live feed editor.
If you don’t have the live feed editor open, go to the Facebook Feed » All Feeds menu from your dashboard.
There, you can see all the Facebook feeds that you’ve created with this plugin. To continue, just click on your Facebook timeline feed.
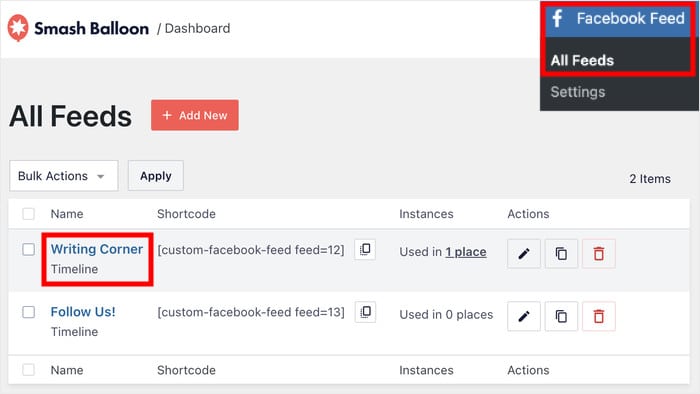
Doing that will open up the live feed editor. Now click on the Embed button on the top right to continue.

On this new popup, you can pick the location for your Facebook timeline feed. Select Add to a Widget to proceed.
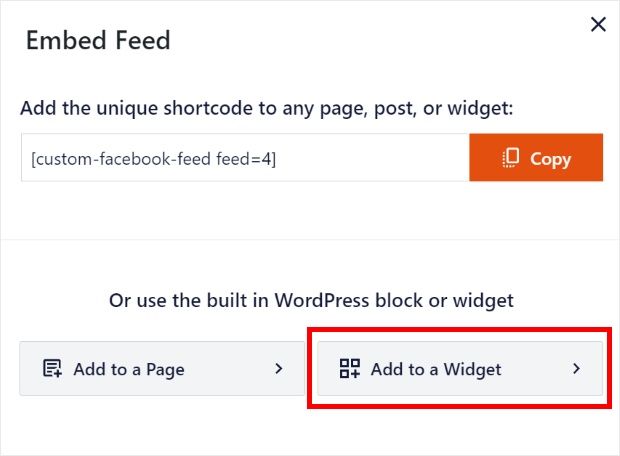
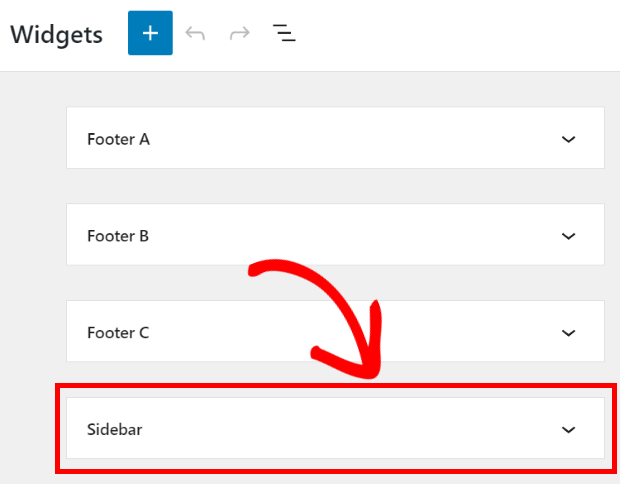
This will open the Widgets page, where you can control all the widgets on your website.
Select the Sidebar option here, and you can see all the widgets that you’ve currently got there.
From here, click on the plus icon (+) and then pick the Facebook Feed widget to finally add your timeline feed.
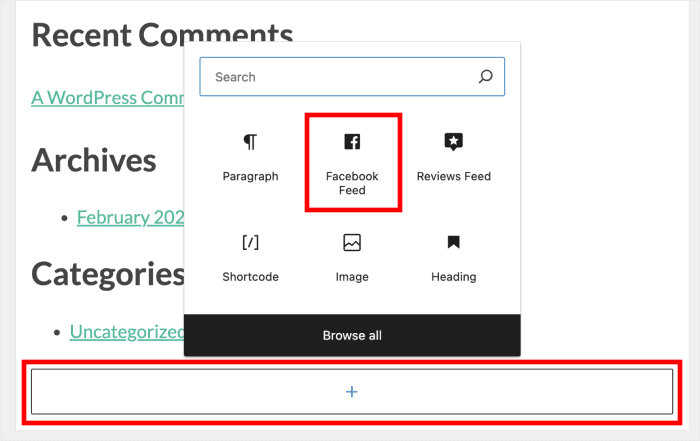
And you’ve now added your Facebook timeline to your sidebar.
Now you can go and check your website and see how it looks there.
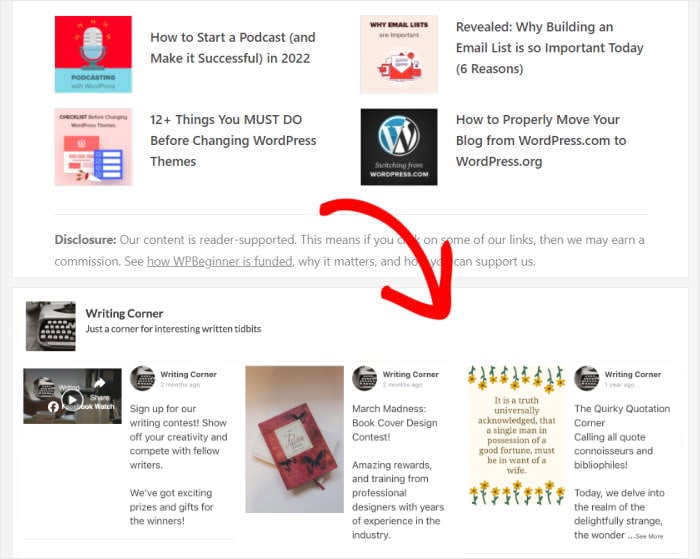
And we’re done!
Finally, you’ve learned how you can easily embed your Facebook timeline on your website. The best part? You didn’t have to deal with lots of confusing code to make it happen.
Plus, you’re able to set up the plugin and display your Facebook timeline in just under 5 minutes!
So, what are you waiting for?
Click here to get started with Facebook Feed Pro by Smash Balloon today!
Want to learn how you can embed more social feeds to your WordPress? Here’s how to add social media feed widgets to your site.
More Facebook Marketing Guides & Tutorials
- Best Social Media Analytics Tools for Online Growth (Expert Picks)
- How to Auto Repost Your Old WordPress Articles to Facebook
- Best Facebook Marketing Tools to Boost Your Business
- How to Embed Facebook Videos in WordPress Websites (Easily)
- How to Get More Likes on Facebook [Proven Tips That Work]
