Want an easy way to sync your Facebook albums with WordPress?
If you want to engage your visitors, a fantastic way to do that is by showing Facebook albums on your site.
But manually adding Facebook content to WordPress can get tough – especially if you don’t want to deal with complex codes.
To make things easier, we’ll show you the simplest way to embed Facebook albums on your WordPress website.
Before we get started, let’s take a step back and see how adding Facebook photo albums can help your business.
Why Add Facebook Photo Album to WordPress
As the biggest social media platform worldwide, Facebook is a fantastic place to promote your brand and get customers.
And a great way to get started with Facebook marketing is to show Facebook photos and albums on your website.
By syncing your own Facebook albums, you can easily get tons of views and interactions from all of your website visitors.
What’s more, your visitors can also see that you’re active on Facebook that way. So, they’ll be more likely to reach out to you and become your Facebook followers.
With relevant Facebook albums and photos on your website, you can also keep your visitors engaged for much longer. And that is much better for your SEO.
Want to directly boost your sales? You can just sync a Facebook album that shows regular people using your products.
Using that social proof, you can convince more people to buy your products.
As you can see, you can enable Facebook album sync on your website to get more interactions, boost your sales, and kickstart your Facebook marketing.
Now let’s take a look at the easiest way you can show Facebook albums on your WordPress site.
Easiest Way to Sync WordPress With Facebook
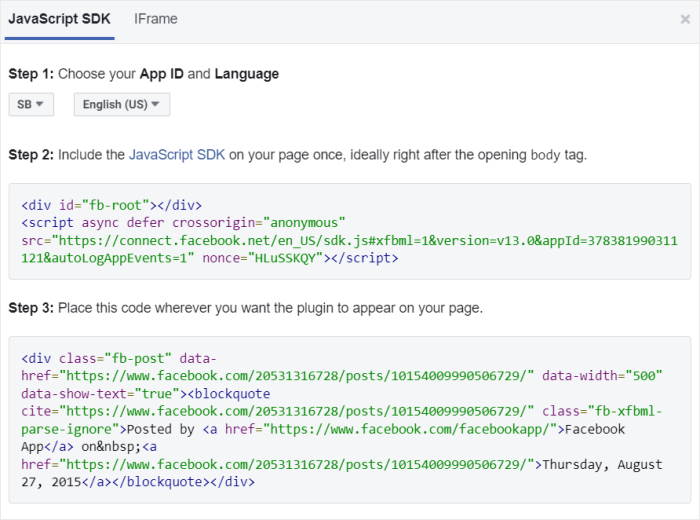
In the past, you could use the WordPress oEmbed feature to embed Facebook content on your website free of any hassle.
You could paste the link to your Facebook album and WordPress would automatically display it.
But on October 24, 2022, WordPress dropped support for oEmbeds. As a result, you now have to register with Facebook as an app developer to add Facebook content to your site.
Not only is that time-consuming, it’s a lot more complex as well.
The good news?
You can just use Facebook Feed Pro to automatically sync Facebook content on your website.
As the best Facebook feed plugin in the market, you can use Facebook Feed Pro to embed posts, photos, albums, Facebook events, reviews, and more.
All you have to do is follow a guided flow to add Facebook content in a few clicks – absolutely no coding needed.
On top of that, you can use the live feed editor to customize how your Facebook content looks. You can set the layout, post style, header design, color schemes, and much more.

The best part, this Facebook plugin for WordPress comes with a support team of WordPress experts who’re always ready to lend you a hand.
So what are you waiting for?
Get your copy of Facebook Feed Pro today and take your Facebook marketing to the next level.
With that, let’s get started with the tutorial and show you how to link a Facebook albums to your website.
How to Enable Facebook Album Sync for WordPress
Just follow this step-by-step guide, and you can display Facebook photos and albums on your website with ease.
Let’s get started:
Step 1: Download and Install Facebook Feed Pro
To get started, first, get your copy of Facebook Feed Pro. Next, it’s time to install and activate the plugin on your website.
If you’re not sure how to do that, just follow our step-by-step guide on how to install WordPress plugins.
Now, you can get the Album Extension for Facebook Feed Pro. Just like earlier, install and activate the plugin on your website.
Once you do that, it’s time for step 2 where you create a new feed to sync your Facebook album.
Step 2: Create a New Facebook Feed
Using the plugin, you can create new feeds in a few simple steps.
From your WordPress dashboard area, navigate to the Facebook Feed » All Feeds menu and then click on Add New.

You can now choose the type of Facebook feed that you want to create.
Instagram Feed Pro comes with support for timeline feed, photo feeds, video feeds, review feeds, and much more.
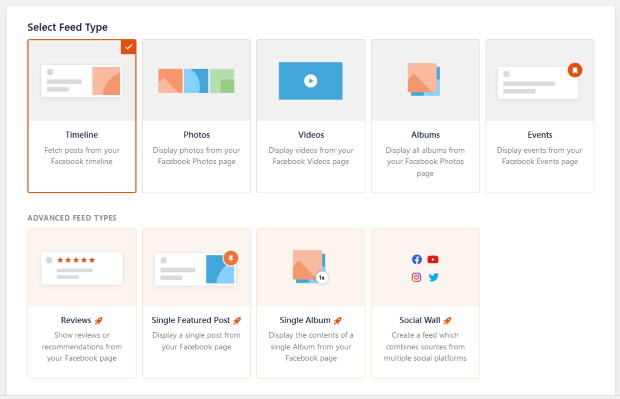
For now, you can choose from 2 different options here:
- Albums: Sync your albums from a Facebook page
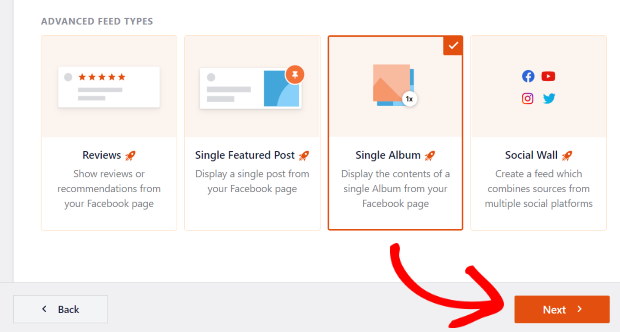
- Single Album: Only sync a single Facebook album with your website
Just pick the option that you prefer here and it’s time to go to the next step where you connect your album to WordPress.
Step 3: Connect Your Facebook Album to WordPress
For this step, you can use Facebook Feed Pro to connect your albums or single album to WordPress.
Let’s see how you can connect both of them below:
Connect a Facebook Albums Feed
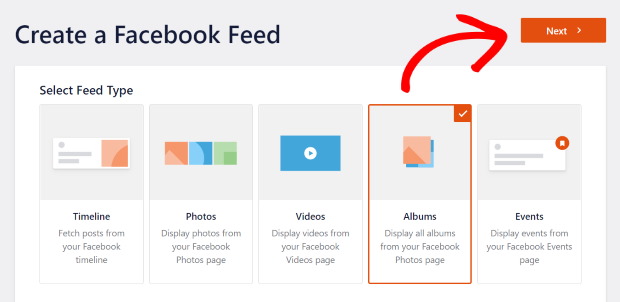
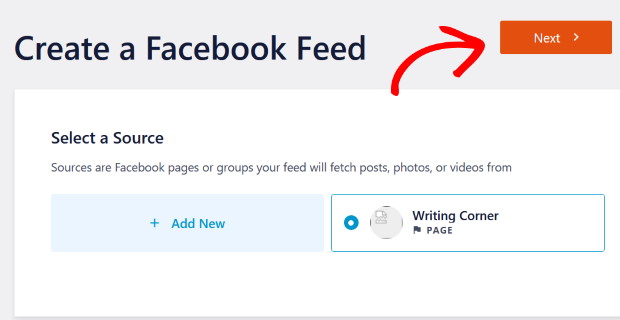
From the feed type options, just select Albums and then click on the Next button.
After that, click on the Add New button on the popup so you can start connecting your Facebook album.
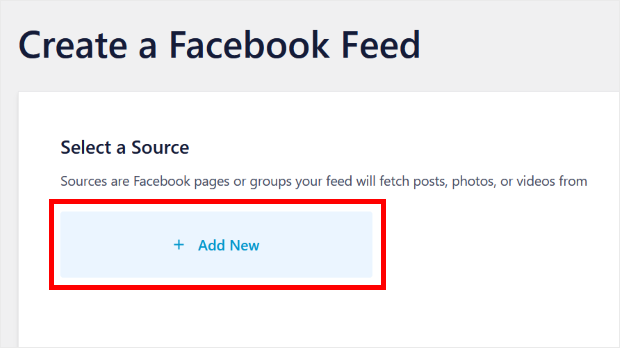
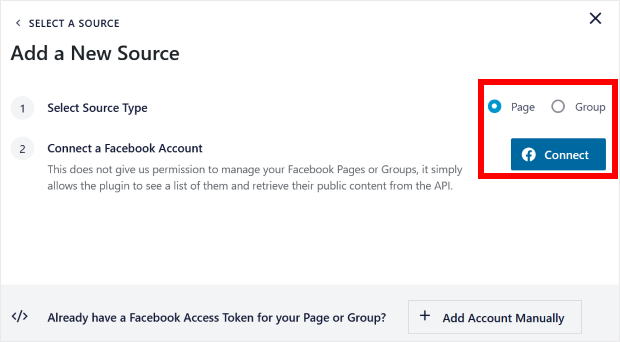
On the new popup, you can choose a Facebook Page or a Group depending on where your album is stored.
Once you pick the option, click on the Connect button below.
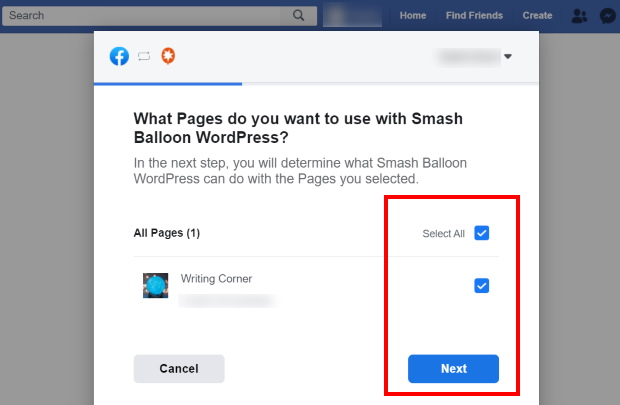
After you do that, just select the Facebook page or group that you want to connect and click on the Next button.
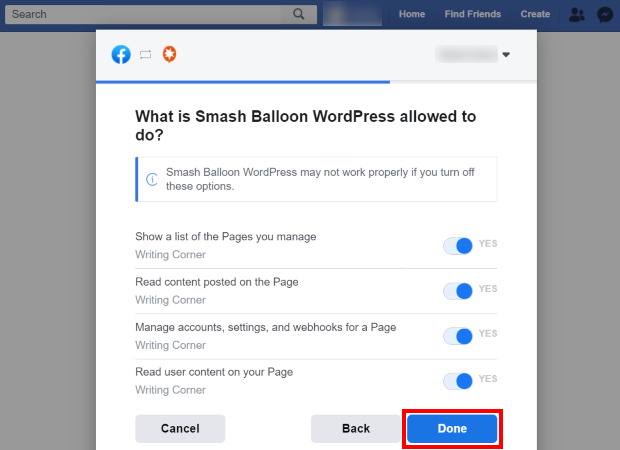
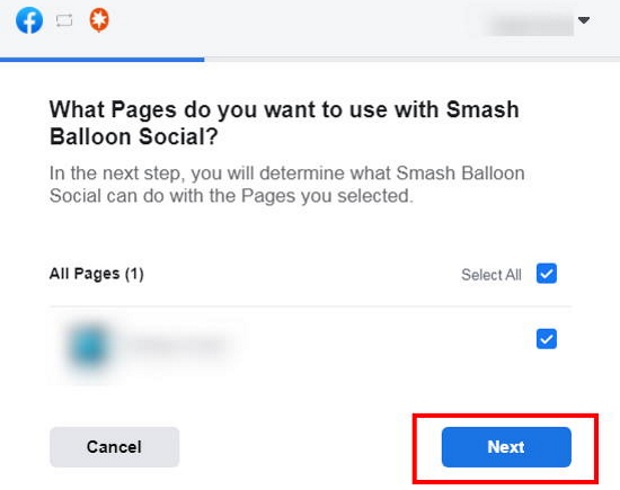
Now, Facebook Feed Pro will ask for read-only access so that it can start syncing your Facebook albums.
With this access, the plugin can only view your info and won’t be able to make any changes at all.
As you can see, it’s completely safe.
On the popup, click on the Done button to give read-only access.
Once you do that, Facebook Feed Pro will bring you back to your website.
There, click on the Add button to continue.
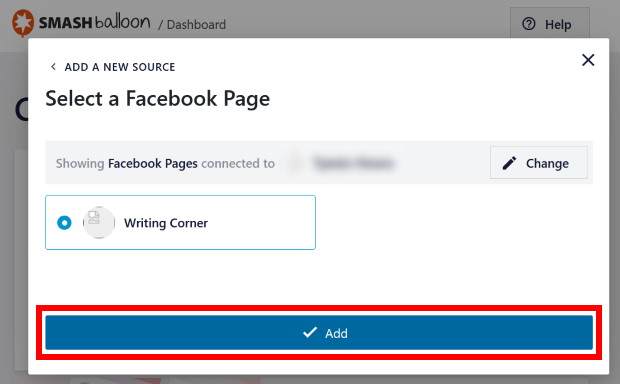
Finally, click on Next and the plugin will sync the Facebook albums on your page or group to WordPress.
You can now go on to step 4 and customize how your Facebook album looks.
Connect a Single Album Feed
If you want to sync a single Facebook album to WordPress, it’s also super easy.
To get started, navigate to the Facebook Feed » All Feeds menu on your dashboard area and click on Add New.
After that, click on the Single Album feed type from all the options and click on Next.
Next, it’s time to connect your Facebook album to WordPress. Just click on the Add New button here to get started.
You’ll see a popup that asks you to choose a Facebook group or page. Just pick the option where you have your Facebook album and click on Connect.
The plugin will now send you to Facebook so you can finish connecting the album to your WordPress site.
Select your Facebook page and then click on the Next button on the popup.
You can now give read-only access to Facebook Feed Pro so it can sync your album. The plugin can’t actually make any changes with that access so it’s completely safe.
On the popup, just click on the Done button.

This will bring you back to your website once again. Here, click on the Add button to proceed.
Now click on Next and you can start setting up your Facebook album.
It’s time to pick the single Facebook album that you want to connect to your website.
First, open the Facebook album on your web browser and then copy the URL from the top.
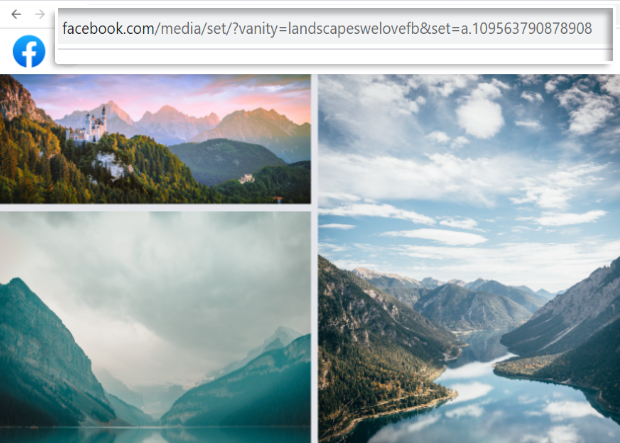
With that, you can close Facebook and return to your website once again.
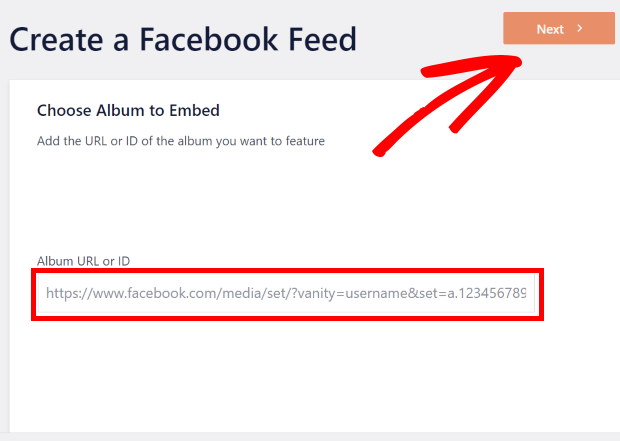
Look for the Album URL or ID field here paste the URL that you just copied.
Finally, click on the Next button to proceed.
With that, you’ve just synced your Facebook album to WordPress without any coding needed.
In step 4, you can customize how your Facebook album looks on your website.
Step 4: Customize Your Facebook Album
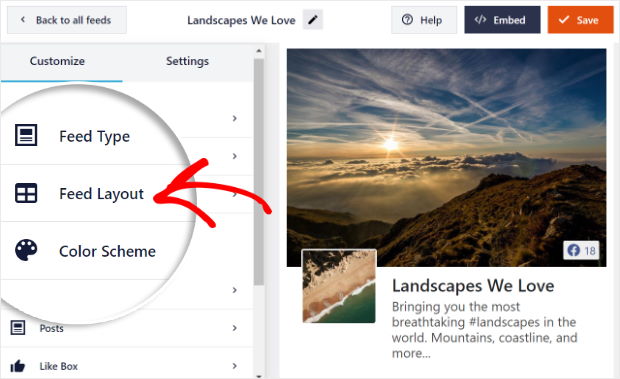
Facebook Feed Pro comes with a live feed editor that you can use to choose how your Facebook album looks.
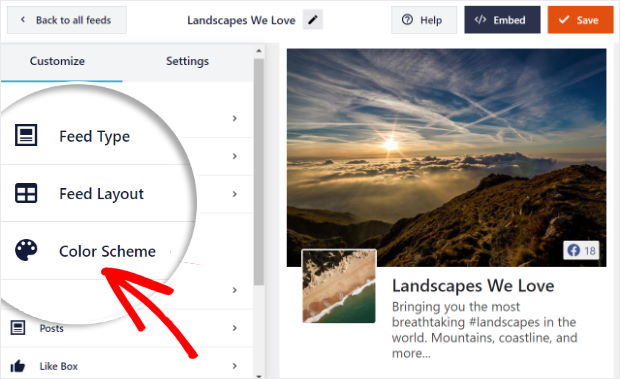
On the left, you can find the options to set your layout, color scheme, header design, lightbox settings, and much more.
You can also use the live preview on the right to track your changes in real-time.
To start customizing your Facebook album, click on the Feed Layout option on the left.
With Facebook Feed Pro, you can show your Facebook albums in 4 different layouts: List, Grid, Masonry, and Carousel.
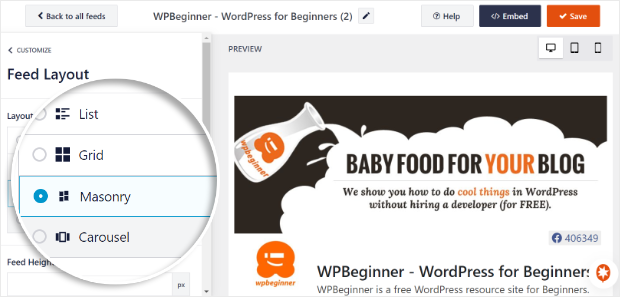
If you pick the list layout, your Facebook albums will appear one after the other in a single row.
That way, your albums get plenty of space and are more visible.
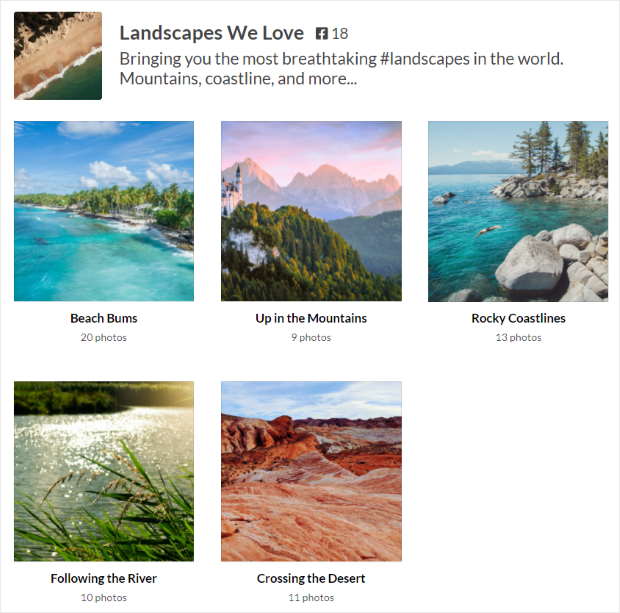
Next, you have the grid layout that shows Facebook posts in a simple grid with rows and columns.
As a result, you can have a Facebook gallery that shows tons of photos at once.
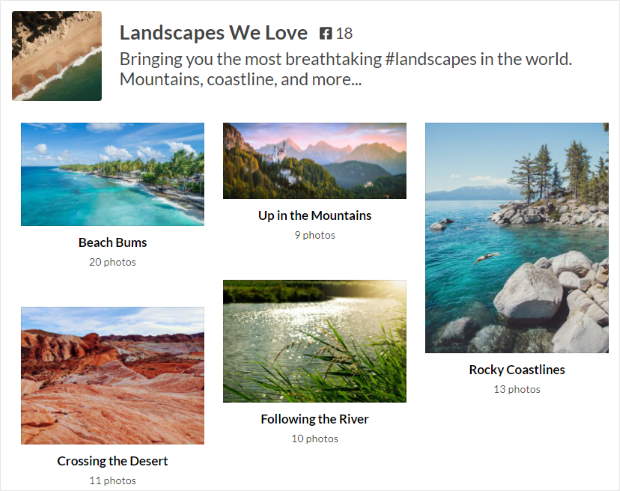
Want your Facebook albums to keep their original proportions? Just pick the masonry layout in that case.
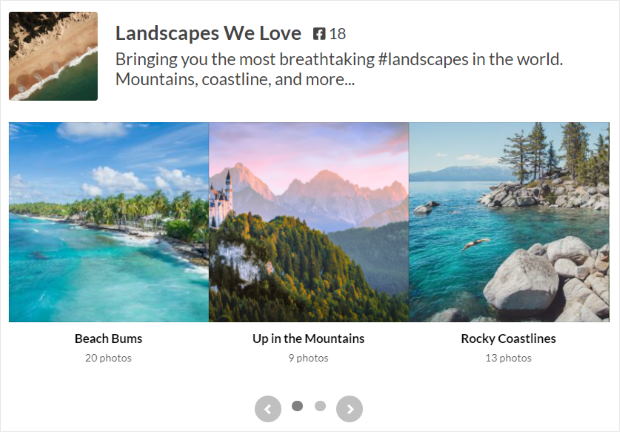
Finally, there’s the Facebook carousel layout that shows your albums in a slideshow carousel. As a result, you can make your site more interactive.
Select the option you prefer and then click on the Save button.
To continue with the customization, you can click on the Customize button at the top and return to the main options.

After that, it’s time to set the colors for your Facebook album.
To do that, click on the Color Scheme option on the left.
You can now pick from 4 different color schemes for your Facebook photo album.
- Inherit from Theme: Automatically use the same colors as your website.
- Light: Use a light background along with a dark font color
- Dark: Pick a dark background for your album with a light font color
- Custom: Choose all the colors yourself
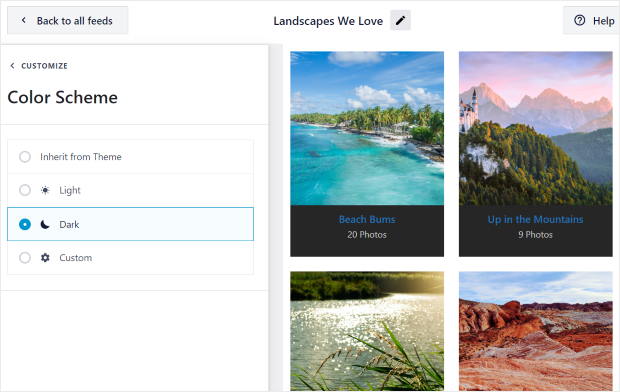
Just select the color scheme that you like and then click on Save.
Just like that, you can use the remaining customization options to choose your header design, post layout, feed size, lightbox options, and more.
Finally, click on Save once you’re happy with how your feed looks.
You can finally go ahead and add your Facebook album feed to your website.
Step 5: Add Your Facebook Album to WordPress
In this step, you can finally display the Facebook album on your website.
With Facebook Feed Pro, you can do this in 2 different ways:
- Sync Facebook album to a WordPress page
- Sync Facebook album to a WordPress sidebar or footer
Let’s get started:
Sync Facebook Album to a WordPress Page
Using the live feed editor, you can easily display your Facebook album on a WordPress page.
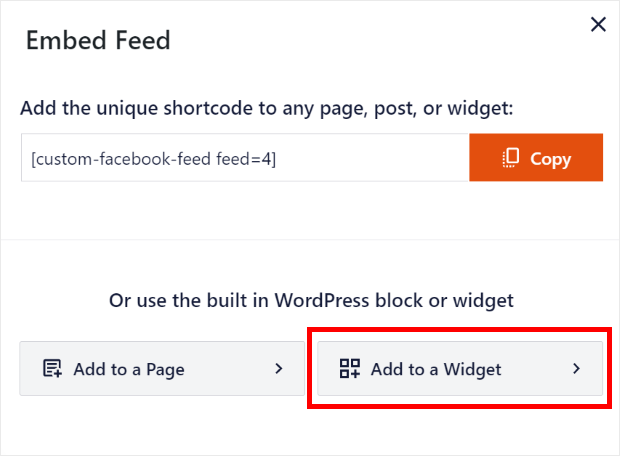
First, click on the Embed button in the top right corner.
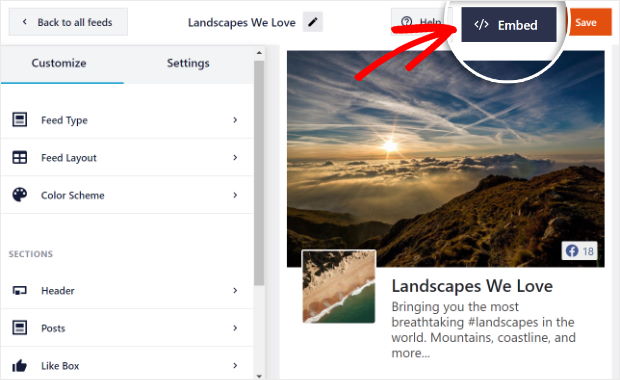
Once you do that, the plugin will allow you to pick the location of your Facebook photo album.
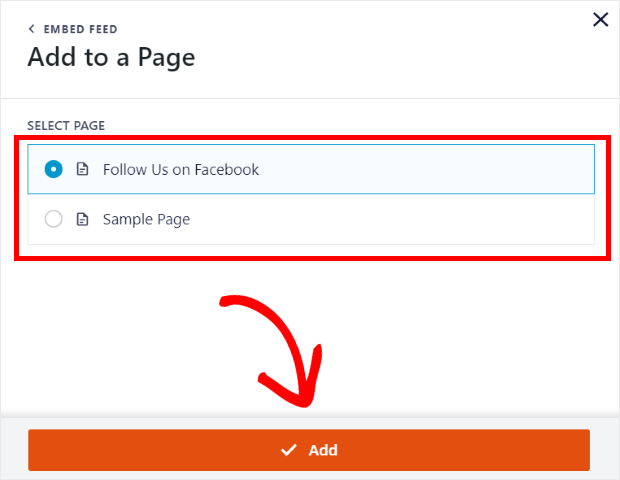
To continue, click on the Add to a Page button on the popup.
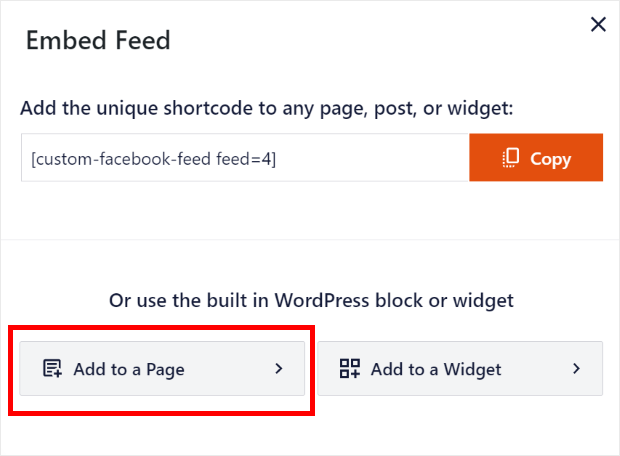
Now, select a WordPress page on the popup and then click on the Add button.
The plugin will now open the page in the WordPress editor so you can add your Facebook album.
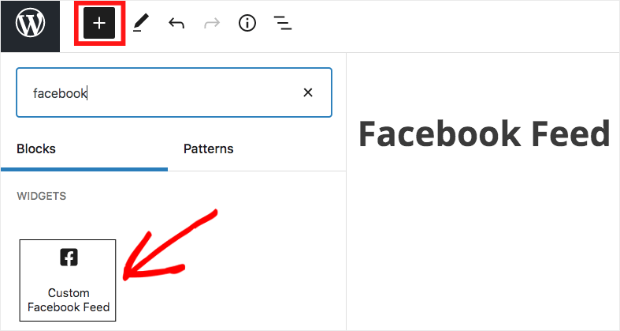
On the editor, add a new content block by clicking on the plus icon (+) at the top. Then, click on the Custom Facebook Feed block.
All you have to do now is click on the Publish or Update button at the top to sync the Facebook album to this WordPress page
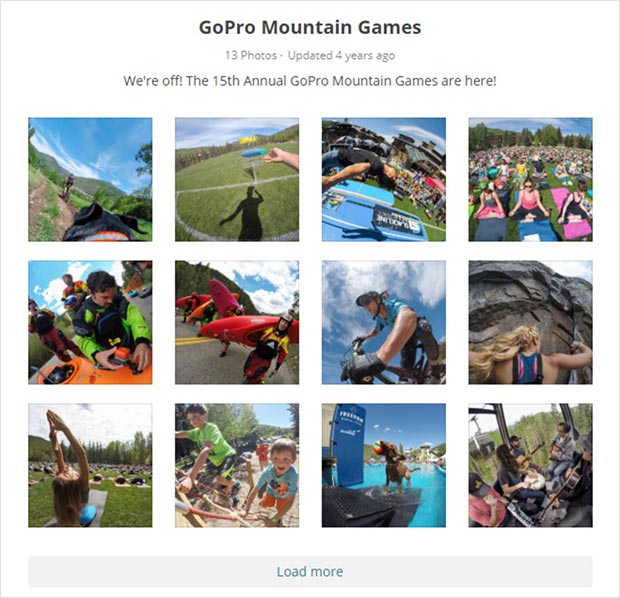
Now, you can open your website and see how your Facebook photo album looks.
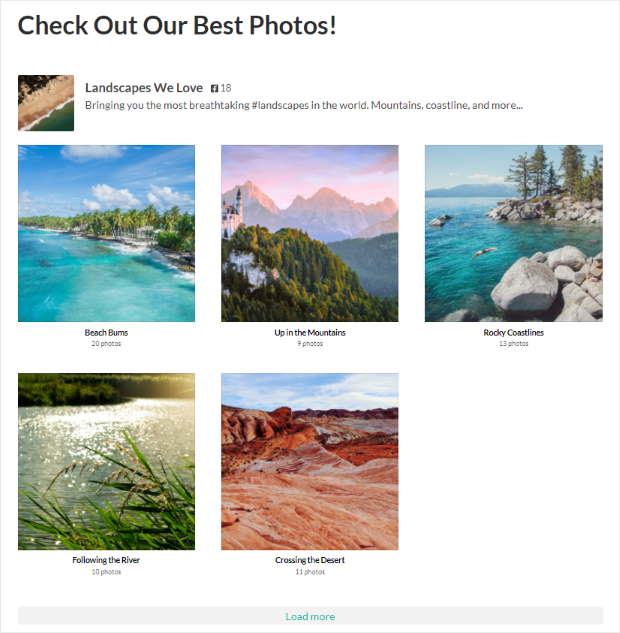
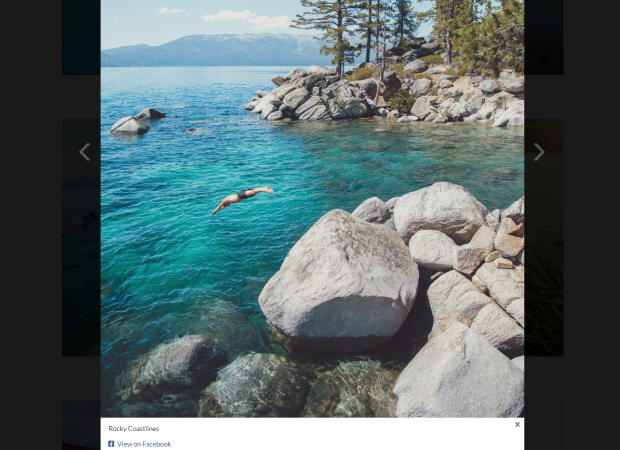
Your visitors can also click on each album to check out the photos in a beautiful lightbox.
With that, let’s go ahead and check out the next way to add a social media photo gallery on your website.
Sync Facebook Album to a WordPress Sidebar or Footer
Using this plugin, it’s super easy to display Facebook albums as a Facebook widget on your sidebar or footer.
To get started, first, open your Facebook album in the live feed editor once again.
From your WordPress dashboard area, go to the Facebook Feed » All Feeds menu and click on your Facebook album feed from earlier.

You’ll now see the live feed editor once again. On the editor, click on the Embed button at the top to continue.
Now click on the Add to a Widget button on the popup to open the widgets page of your website.
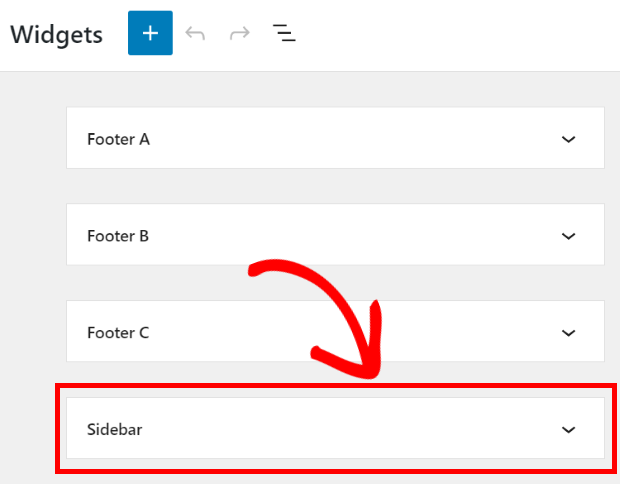
From here, you can choose between your sidebar or your footer for the Facebook photo album.
To show Facebook albums on your sidebar area, click on the Sidebar panel here.
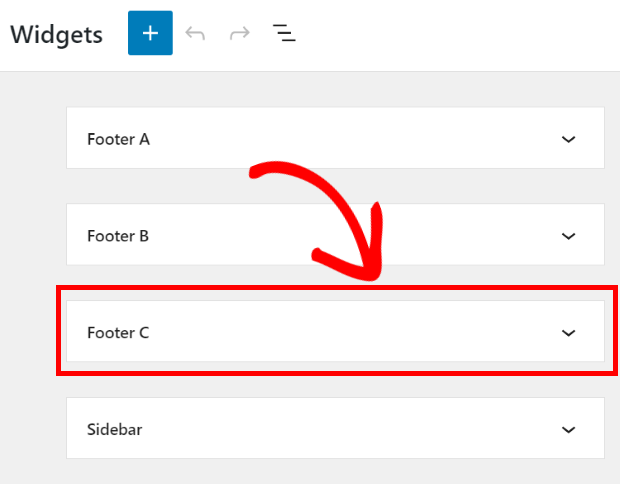
Or, you can click on the Footer panel and add your Facebook widget there.
We’ll use the sidebar for our tutorial.
After you do that, add a new widget by clicking on the plus icon (+) and then pick the Custom Facebook Feed widget from the options.
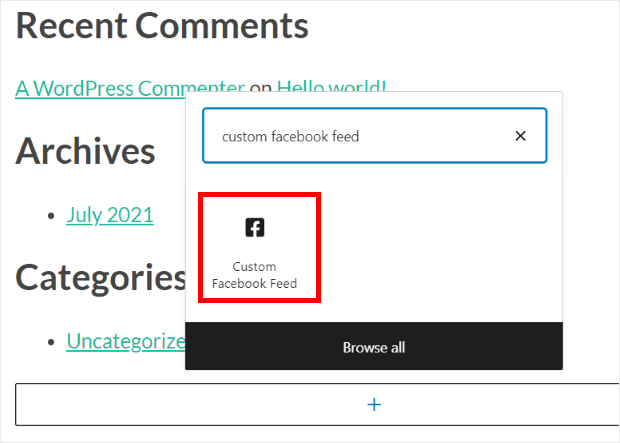
Finally, click on the Update button to confirm your changes. Now, you can open your site and check out your Facebook album widget.
And there you go!
You now know how to embed a Facebook album on your website and engage your visitors with relevant visual content.
With this, it’s super easy to grow your Facebook presence and reach tons of potential customers.
Ready to enable Facebook album sync on your WordPress site?
Get started with Facebook Feed Pro today!
Want more easy ways to grow your Facebook marketing? Just check out our list of the best Facebook marketing tools.
Finally, don’t forget to follow us on Twitter and Facebook for more helpful social media content.