Embedding your live streams on your site is a great way to get more views and keep people on your website for longer.
But with the normal embedding option, you’ll have to deal with a lot of headaches.
On top of dealing with complex embed codes, your livestream can clash with the design of your website. Plus, you’ll have to embed elements like channel info and subscribe button separately.
For an easier solution that comes with more choices and features, I use a WordPress plugin instead.
That way, you can let the plugin handle the difficult parts, so you can focus on running your website. Let me show you how it works.
In This Article
- What is the Best Platform for Live Streaming?
- Ways to Embed Live Streams on your Website
- How to Embed Live Streaming Video On Your Website
- Start Embedding Your Live Streams Now
What is the Best Platform for Live Streaming?
While there are lots of websites and social platforms that support live streams, 2 of the most popular options are Facebook and YouTube.
Let’s see what both of these platforms have to offer:
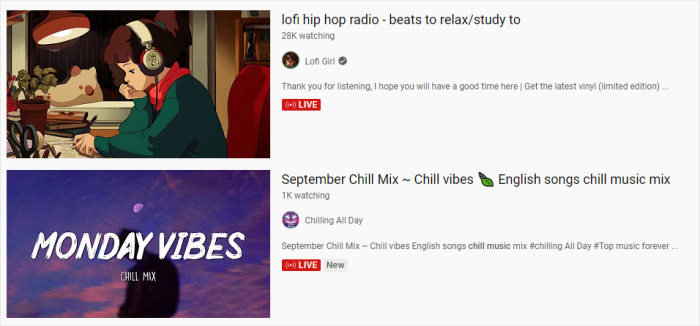
YouTube Live Streams
- YouTube is the biggest platform for video content and a common place for people to look for livestreams
- Google will automatically index your livestreams, so people can search for them with ease
- Unlike most video platforms, YouTube supports 4K streaming in case you want to show the highest quality for your livestream
- There’s no time limit when it comes to YouTube streams, so you can make live videos as long as you want
- YouTube Live also supports monetization, so you can make money on YouTube directly off your streams
Facebook Live
- Since it’s the biggest social media platform, you can use livestreams to reach its massive user base
- On top of live streams, you can post regular videos, photos, text, gifs, and more to promote your brand
- Facebook makes it super easy to start a live stream — all it takes is a click of a button and you’re good to go
- Once your Facebook live stream is over, it’s automatically saved to your page or group so fans can take a look later
- With Facebook, your live videos are shareable, so you can go viral and reach tons of people who can be your Facebook followers
As you can see, both platforms offer have a lot of features that can help your brand out. Instead of sticking with one, you can even use both platforms for your livestreams.
Ways to Embed Live Streams on your Website
When it comes to embedding your live streaming videos, there are 2 ways you can do it:
- Manual Way: Fetch the embed code of the live video, tweak that HTML code according to your needs, and then embed it on your website.
- Easy Way: Use a WordPress plugin to automatically embed the livestreams in just a few clicks — no coding needed.
With the first method, it can take more time and effort to embed live streams on your website, especially if you’re regularly making new videos.
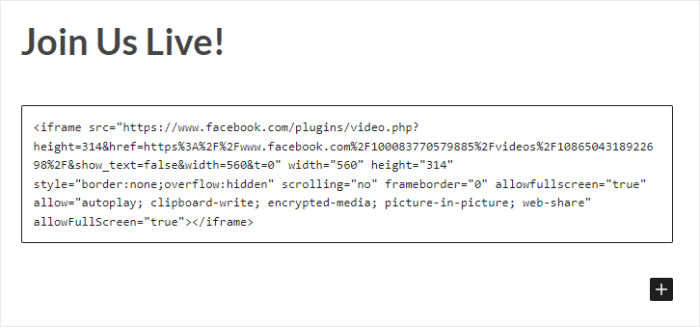
And you can’t customize how the videos look on your website unless you’re familiar with coding. So, your video content might not fit your branding.
Personally, I use social media feed plugins to embed livestreams and sidestep all that hassle.
After trying out a lot of options, I went with Smash Balloon social media feed plugins for this guide.
Using Smash Balloon, you can embed content from the biggest social platforms out there: Facebook, YouTube, Instagram, TikTok, and Twitter.
And this includes embedding livestreams from Facebook and YouTube. It’s so easy that you can do it in a few simple clicks with zero coding.
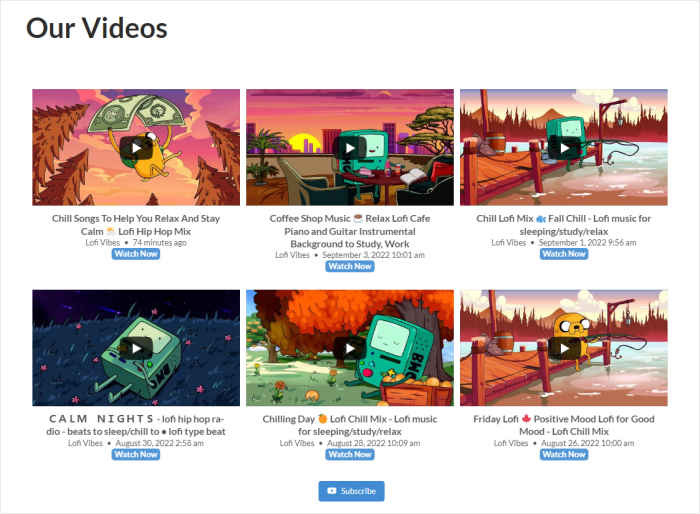
On top of live streaming videos, you can also embed different types of social media feeds on your website, including:
- Twitter hashtag feed
- Instagram reels
- Facebook events calendar
- YouTube playlist feed
- TikTok videos
- And much more…
Plus, you can use a simple live feed editor to customize how your social media feeds look on your website.
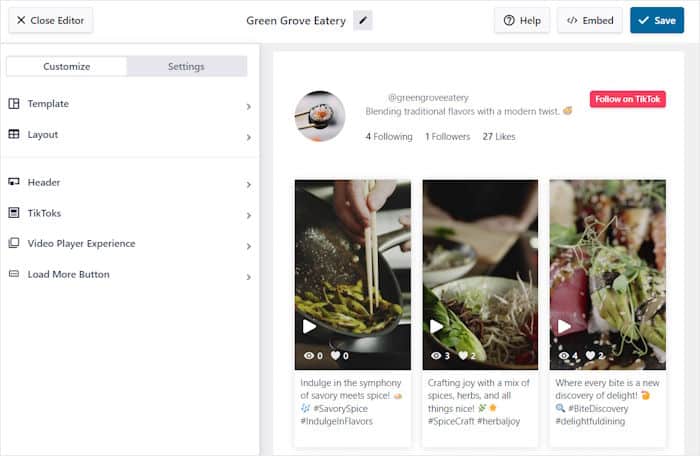
By embedding other types of Facebook and YouTube content, you can convert visitors into subscribers and followers.
Unlike most plugins, Smash Balloon doesn’t use iFrames and will actually embed social media posts or livestreams on your website.
This is great for your SEO, so you can reach even more people from search engine results.
And it’s not just me, either. Over 1.75 million active users are using Smash Balloon, including some of the biggest brands out there.
The best part? Smash Balloon comes with a team of skilled experts who are always ready to lend you a hand whenever you need it.
If any of this sounds useful to you, I recommend you try out Smash Balloon for yourself.
How to Embed Live Streaming Video On Your Website
With that, I’ll go ahead and show you how Smash Balloon can help you embed livestreams on your website.
How to Embed YouTube Live Streams in WordPress
With Smash Balloon’s YouTube Feed Pro plugin, it’s super easy to create, customize, and embed feeds of live videos on your website – all with zero coding.
Just follow the 3-step guided flow, and it will take you through the whole process. In just minutes, you can have a feed of YouTube live streams on your website.
On top of livestreams, you can also embed your YouTube channel, playlist, search results, or single videos.
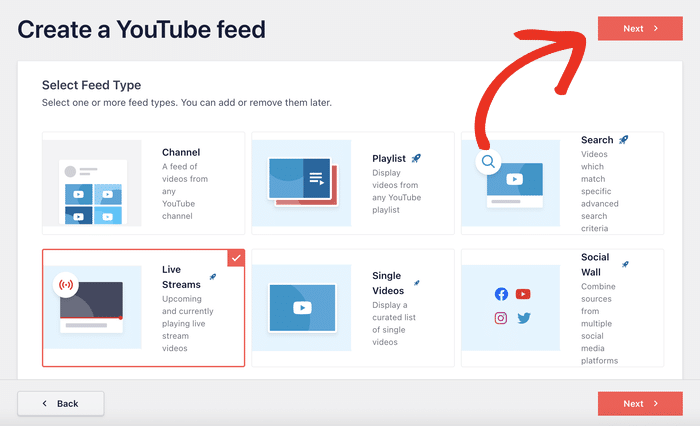
You also get total control over the design of your YouTube video feeds, whether you’re showing regular videos or livestreams.
To start, you can import a template with pre-built designs to instantly create a unique video feed.
On top of that, you get a live feed editor so you can customize your YouTube feeds in detail.
In just a few simple clicks, you can change your feed’s layout, color scheme, header design, number of posts, button designs, and much more.
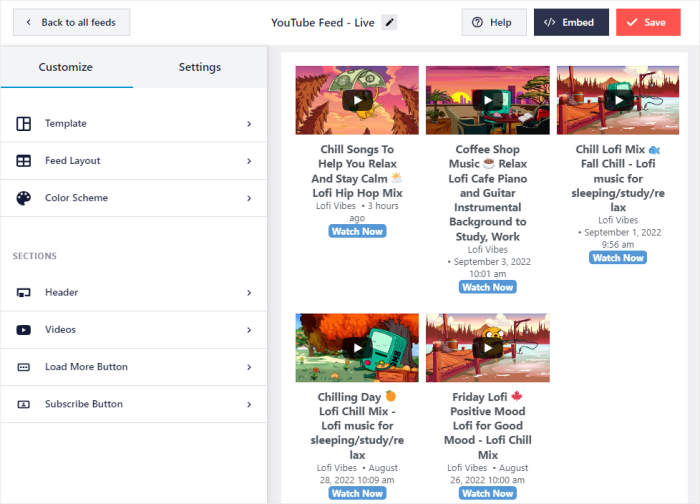
Once you’re happy with how your YouTube livestreams look, you can start embedding it directly from the customizer.
In fact, you can display it on your WordPress page, sidebar, or the footer.
After you do that, anyone visiting your website can check out your current or past live stream. You can then sit back and collect new views with ease.
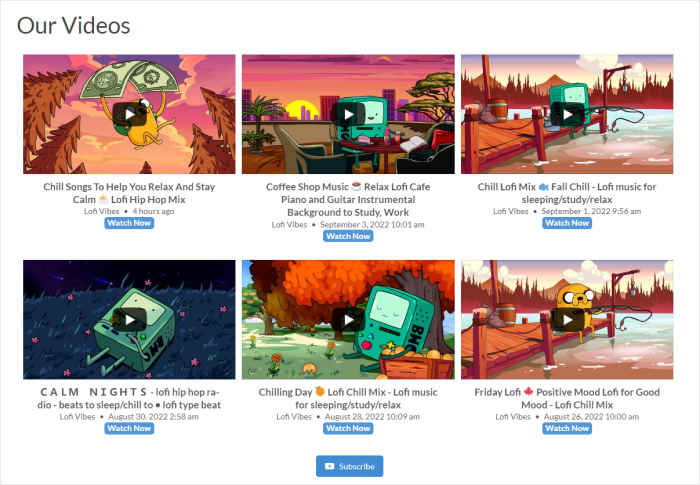
To help you get more out of YouTube, the plugin also comes with additional features:
- It comes with smart loading, so you can display tons of videos and your site will still load super fast
- When playing your videos, you can display a banner below the video with a handy subscribe button
- If you post a new YouTube live stream, the plugin will automatically update the feed on your site
- The plugin is fully compatible with all the major page builders like Elementor, Divi, Astra, and more
Pro Tip: Want to learn more? Here’s a full guide on how to embed YouTube live streams on your website.
Grab your copy of YouTube Feed Pro here if you want to get started today!
How to Embed Facebook Live Stream in WordPress
For the simplest way, you can use Smash Balloon’s Facebook Feed Pro plugin to add live streams to your website.
And it works just like the YouTube Feed Pro plugin. You get a handy 3-step guided flow that makes the whole process quick and easy.
After you start the guided flow, the plugin gives you tons of feed types to choose from. On top of live Facebook videos, you use the plugin to embed:
- Timeline feed
- Photo feed
- Facebook video feed
- Facebook album feed
- Events calendar
- Facebook reviews feed
- And much more…
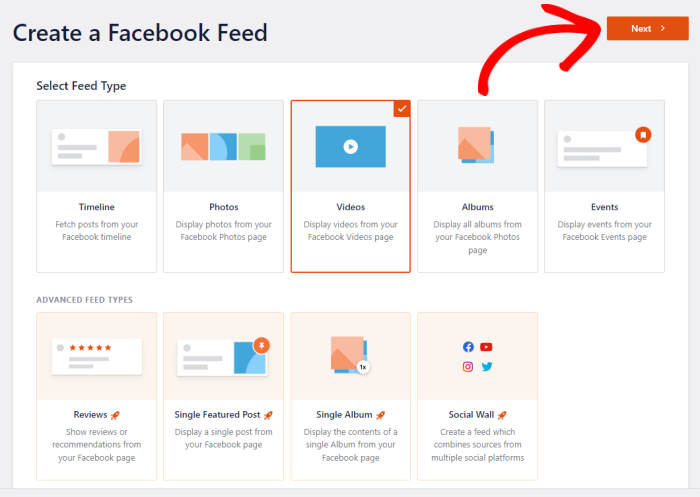
You also get pre-designed templates and themes that you can import with a single click. As a result, making beautiful Facebook video feeds is easier than ever.
And like with YouTube, you also get a visual customizer for in-depth customization.
Using the options here, you can change your layout, feed size, colors, header, post style, load more button, and much more.
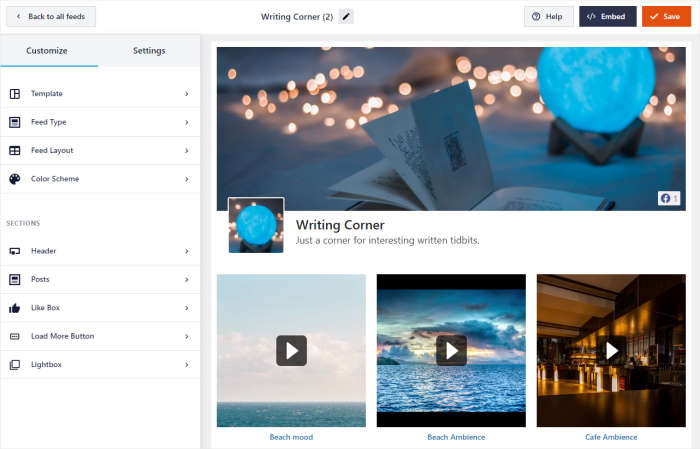
Towards the right, you get a real-time preview of your Facebook feed to track your customization.
Once you’re done with the customization, embedding your Facebook live videos is quick and easy.
You can directly add the Facebook feed to your page, sidebar, or footer. Plus, you can use a convenient WordPress block to embed your feeds – no coding needed!
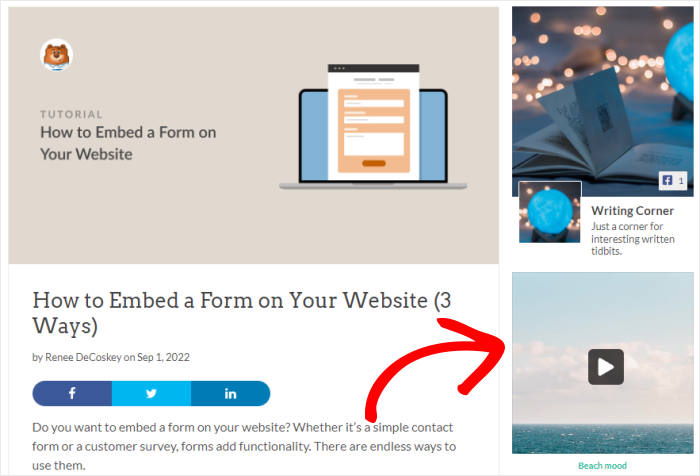
All in all, the plugin is a lifesaver if you’re looking for a way to promote your Facebook livestreams and engage website visitors.
Pro Tip: For step-by-step instructions, you can check out our guide on how to embed Facebook live streams on your website.
To check out the plugin and get started, you can grab Facebook Feed Pro here!
And there you go!
Now you know the easiest way to embed live streaming videos on your website. As a result, you can keep your website visitors engaged, build a relationship, and convert them into customers.
Using Smash Balloon plugins, you can create, customize, and embed social feeds in just a few easy clicks – no need to touch a single line of code.
Ready to embed live streams and more?
Grab the All Access Bundle to get Smash Balloon plugins for the biggest social media platforms: Facebook, YouTube, Instagram, and Twitter.
If you want to get more out of Facebook and YouTube, you can follow our guide on how to improve social media marketing.
More Video Marketing Tips & Guides
- How to Schedule a Video Post on Facebook (Step-by-Step Guide)
- Reasons Why Your YouTube Shorts Are Not Getting Views [+ What to Do]
- How to Increase Watch Hours on YouTube Easily (Proven Ways)
- Types of YouTube Videos to Skyrocket Your Subscribers Easily
- How to Fix Facebook Video Embeds Not Working [+Solutions]
Start Embedding Your Live Streams Now
Adding live video to your site is a great way to keep visitors watching longer. I’ve found that doing this manually for different social media platforms is a lot of work.
That’s why I recommend the Smash Balloon All Access Bundle. It gives you every tool you need to show live videos from Facebook, YouTube, and more, all in one package.
Here’s how you can get started:
- Get the All Access Bundle and try it risk-free for 14 days to use unlimited social media feed plugins on unlimited websites
- Set up your live video feeds quickly so your website automatically shows your stream whenever you go live
- Change how your video player looks with the simple editor to make sure it fits right in with your website’s design
- Keep visitors on your site by letting them watch your events and streams without sending them away to other apps
Having access to all these plugins means you are ready for any social media platform at any time. It’s the most practical way to handle all your social media video needs in one place.
Have any questions about using the All Access Bundle for your live streams? Drop a comment below and I’ll get back to you as soon as I can!


When a live feed is embedded in Wordpress using Smash Balloons for FB, will a new video feed show up automatically in the website when a new live stream is started in FB??
Hi Larry,
In this case, new videos are not displayed in real-time on your feed; the plugin will check for new posts/videos in a specific interval, you can adjust this interval by changing the caching setting on the plugin, so it can check for new posts faster. To do so, navigate to Facebook feed > Settings > Feeds > Caching. You can reduce the caching time to every 30 minutes, then save the changes.
I hope this helps! Please let me know if you have any questions.
Thanks! 🙂
Doesn’t working on mobile.if I click auf live then picture freezes and showing nothing.Why is that?
Hey Makis,
This could be a conflict with another plugin on your site that is affecting the feed; kindly send us a support request using the form on our website here, including the System Info.
To obtain this information, follow the steps on this page.
We ask you to use our form, as the System Info contains other website information and the Access Token for your connection, which we do not suggest posting here.
Thanks! 🙂