Social Wall
  Feed Analytics

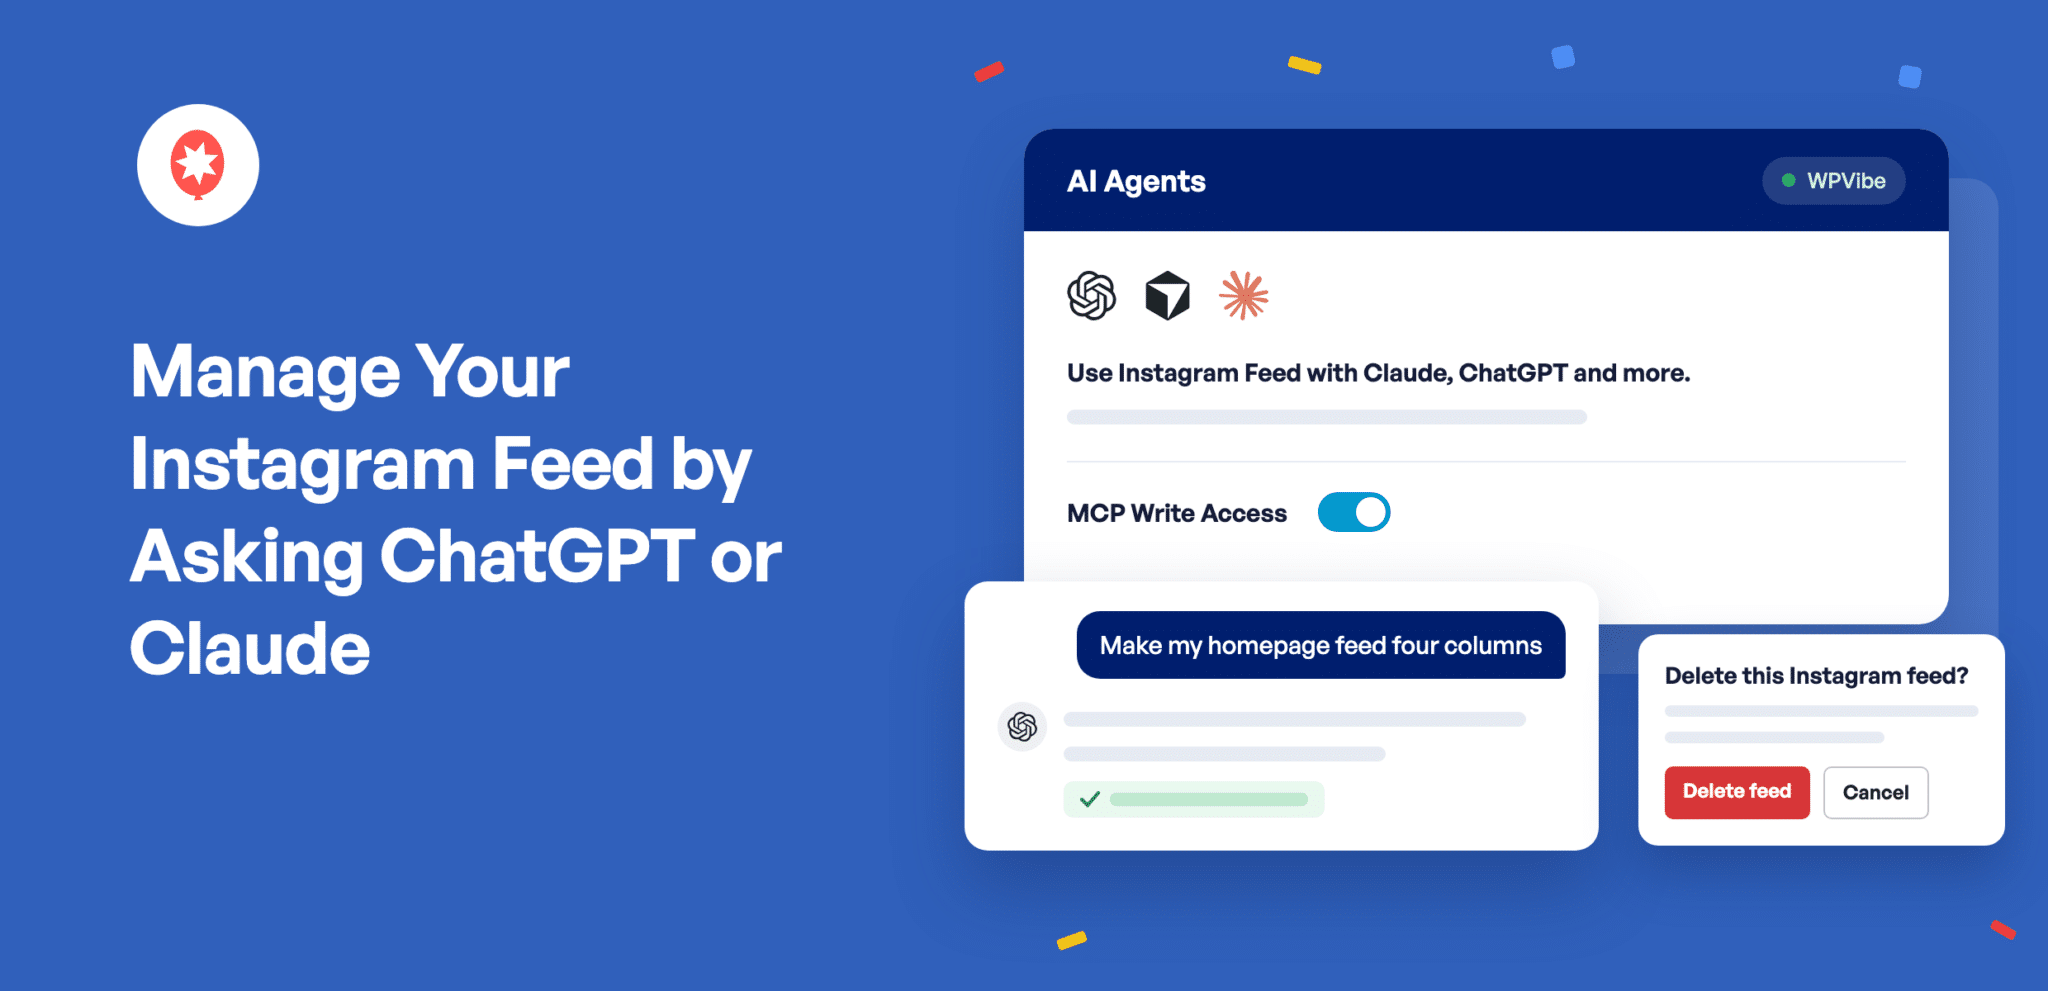
If you already keep ChatGPT or Claude open while you work, now your Instagram feed can live in that same chat.
Smash Balloon Instagram Feed Pro 6.14.0 lets you ask your AI assistant to handle it. Connect ChatGPT, Claude, or Cursor through WPVibe, a free WordPress plugin from SeedProd, and you can say something like “make my homepage feed four columns” and have it done.
New to Instagram Feed Pro? It’s the Smash Balloon plugin that shows your Instagram posts, Reels, and stories on your WordPress site, with no code. AI Agents comes with every Pro plan, Basic, Plus, and Elite, and with the All Access Bundle.
Here’s what you can do starting today:
- Connect ChatGPT, Claude, or Cursor to your Instagram feeds with the free WPVibe plugin
- Ask your AI to create a feed, change its layout, or match its colors to your brand
- Get any feed’s shortcode by asking for it
- Decide what your AI can change, and approve every feed deletion yourself
The same update also opens your Reels in a full-screen viewer that plays with sound. We cover that in its own post: let visitors watch your Instagram Reels full-screen.
Manage Your Instagram Feed by Asking Your AI
Once your site is connected, you talk to your assistant the way you’d ask a coworker for a hand. Tell it what you want your feed to look like, and it makes the change while you carry on in the chat you already have open.
Here are a few things you can hand off:
- “Show 12 posts in four columns on my homepage feed, and hide the captions.” Most layout, header, caption, button, and color settings work the same way.
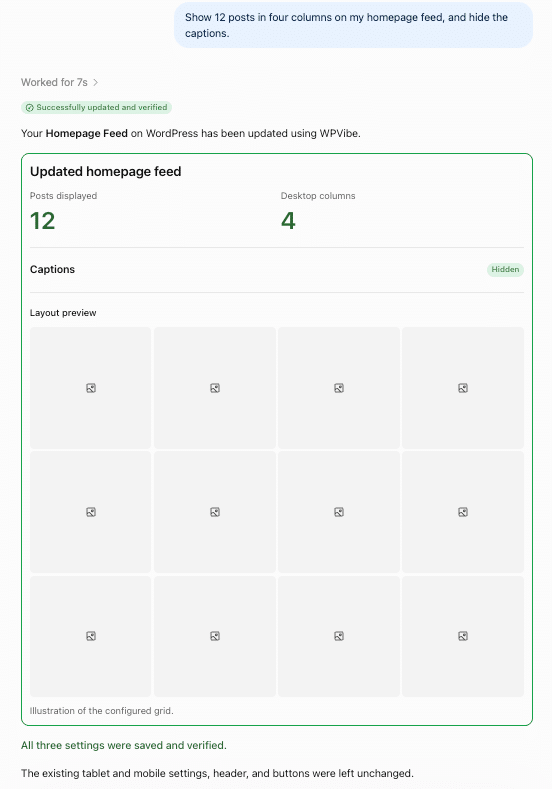
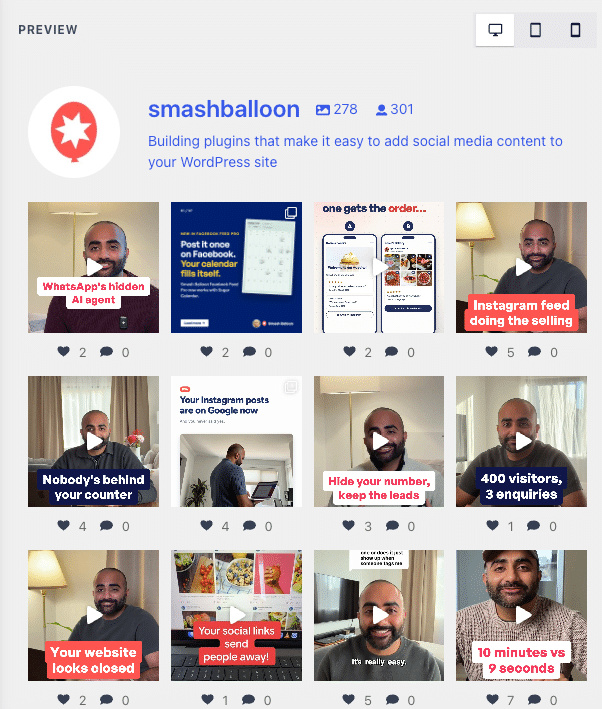
And here’s the feed right after: 12 posts in four columns, with the captions gone.
- Opening a second location? Ask for a new feed from an Instagram account you’ve already connected.
- Can’t remember which shortcode, the short piece of text you paste where a feed should appear, belongs on your Contact page? Ask for a list of your feeds and their shortcodes.
Set It Up Once With a Free Plugin
WPVibe is the free plugin that does the connecting. It’s made by SeedProd, part of the same family of WordPress products as Smash Balloon, and it works with ChatGPT, Claude, Cursor, and other AI assistants.
Instagram Feed Pro installs it for you with one click, and once it’s on your site, your AI can help with the rest of WordPress too, like drafting posts and pages.
Get your free WPVibe plugin
WPVibe connects ChatGPT, Claude, and Cursor to your WordPress site, and it’s what lets your AI manage your Instagram feeds. The plugin is free, and so is its starter plan. Or skip the download and let Instagram Feed Pro install it for you in one click.
Download WPVibe FreeYou Decide What Your AI Can Change
Handing your website to an AI is a big ask, so Instagram Feed Pro’s AI tools start your assistant off able to look but not change anything. It can see your feeds, your settings, and which Instagram accounts are connected, and it never sees your Instagram login or the keys that connect your account. When you want it making changes too, you switch on MCP Write Access, and you can switch it off again any time. WPVibe also has its own tools for the rest of your WordPress site, and it asks for your approval in the chat before anything destructive.
With MCP Write Access on, deleting a feed still comes back to you. Your assistant can only ask to delete one. You get a link, open it in your browser, see exactly which feed and shortcode it means, and click Delete feed or Cancel. The link only works once, so nothing gets deleted by surprise.
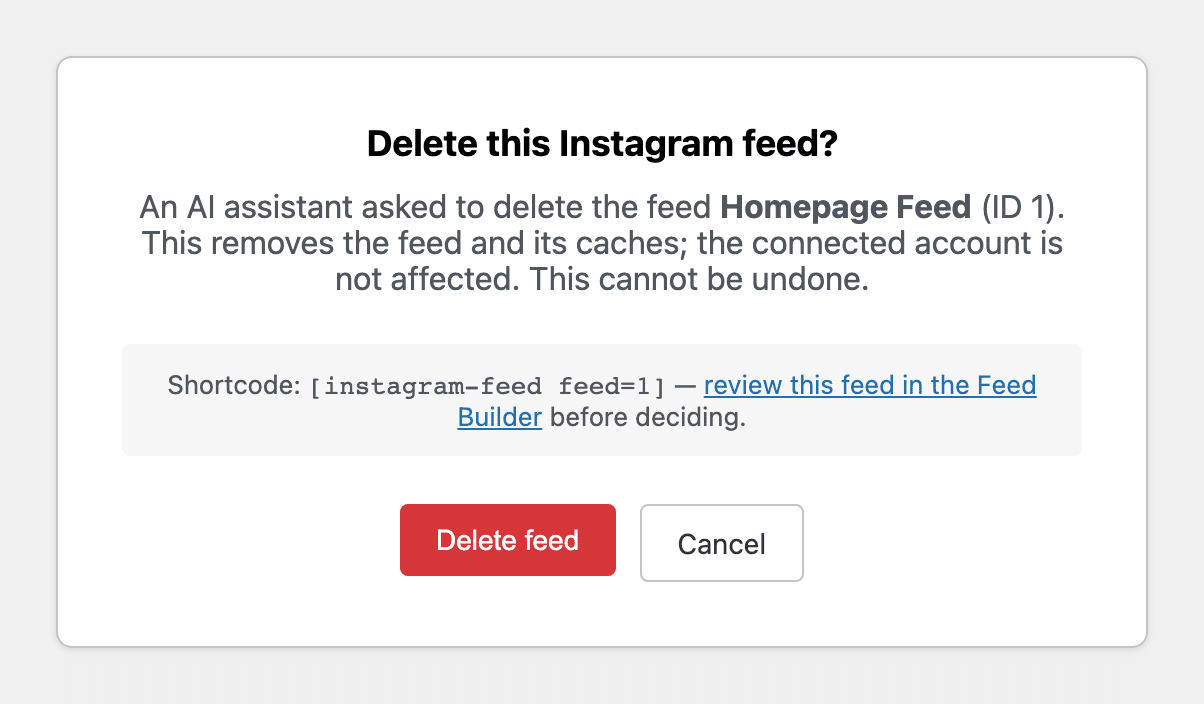
Adding a new Instagram account works the same way. Your assistant hands you a link, and you connect the account yourself in your browser.
See a real feed change made from ChatGPT
Watch one message switch a feed to two posts per row with the like counts hidden, then pick your plan. AI Agents comes with every Smash Balloon Instagram Feed Pro plan.
See the DemoHow to Connect Your Instagram Feed to ChatGPT or Claude (in 10 Minutes)
AI Agents is available on every Instagram Feed Pro plan and the All Access Bundle, so if you’re on any of them, you already have it. You’ll also need WordPress 6.9 or newer, and your site’s address needs to start with https://, since WPVibe only connects over a secure link.
You only do this once. After that, you only have to ask.
Step 1: Update Instagram Feed Pro. In your WordPress dashboard, go to Dashboard » Updates, or Plugins » Installed Plugins, and update Instagram Feed Pro to 6.14.0.
Step 2: Install WPVibe. Go to Instagram Feed » Settings. On the General tab, find AI Agents and click Install WPVibe for free.

Step 3: Open WPVibe. Once it’s installed, the box says WPVibe is connected to Instagram Feed. That means WPVibe is ready, and you’ll connect your AI in the next steps. Click Open WPVibe.

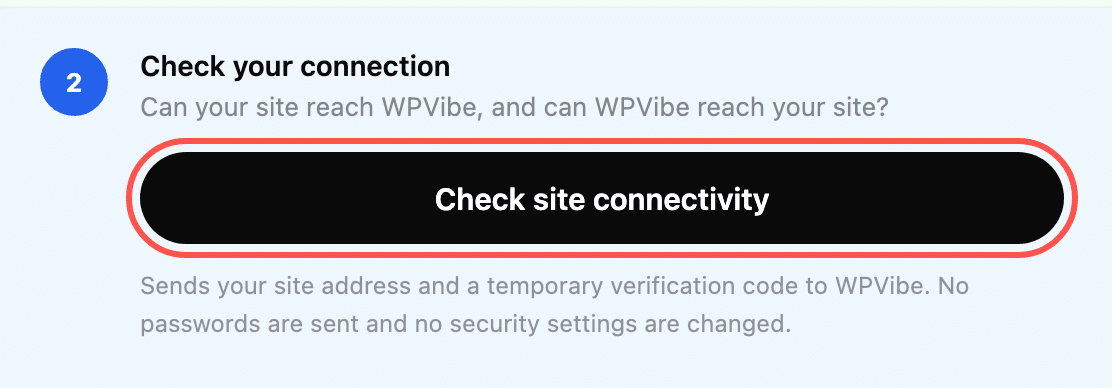
Step 4: Check your connection. The WPVibe screen opens with a short setup checklist. Under Check your connection, click Check site connectivity so WPVibe can confirm it can reach your site.
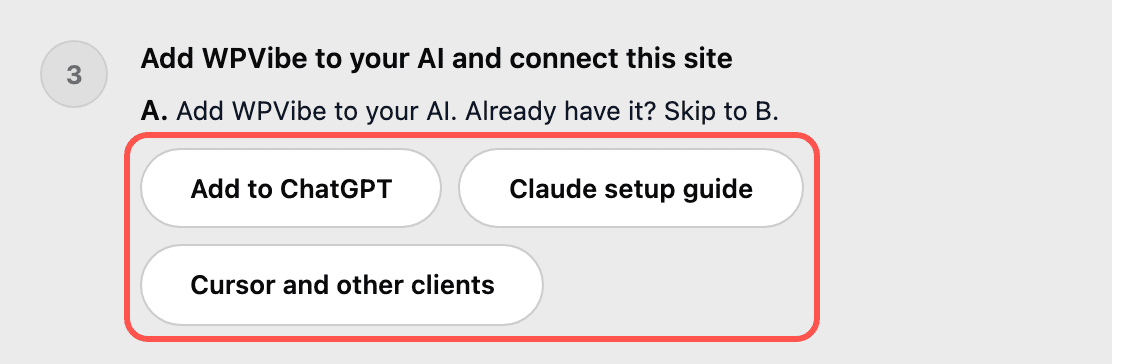
Step 5: Add WPVibe to your AI. Under Add WPVibe to your AI and connect this site, pick Add to ChatGPT, Claude setup guide, or Cursor and other clients.
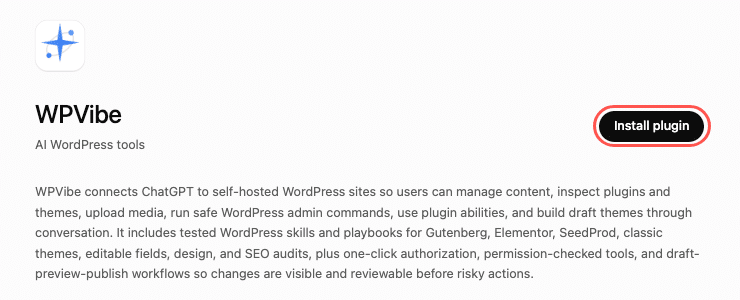
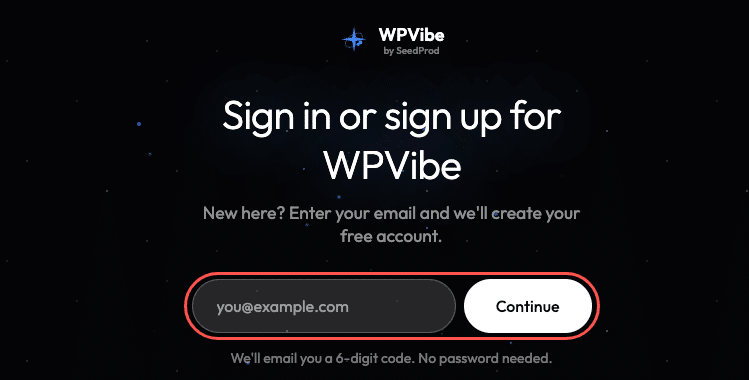
Step 6: Install WPVibe in your AI. If you picked Add to ChatGPT, ChatGPT opens the WPVibe app page. Click Install plugin, then sign in to your free WPVibe account, or create one. WPVibe emails you a 6-digit code to type in, and you’re connected. Using Claude? The Claude setup guide walks you through adding WPVibe as a connector, with the same sign-in.
Step 7: Let your AI make changes, if you want it to. Back in Instagram Feed » Settings, switch on MCP Write Access and click Save Changes. Leave it off to keep your AI’s Instagram Feed tools look-only.

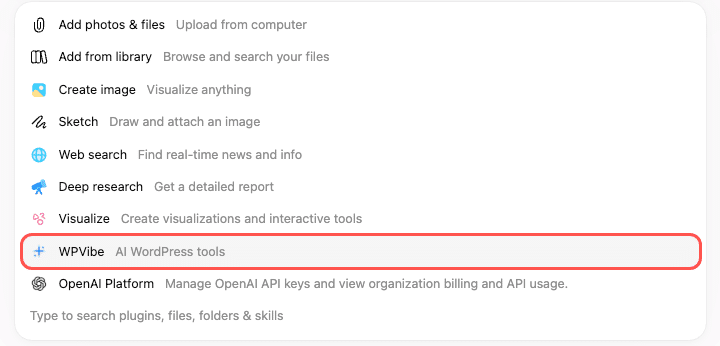
Step 8: Ask your first question. Open ChatGPT, Claude, or Cursor and try “List my Instagram feeds and their shortcodes.” In ChatGPT, click + in the message box and choose WPVibe first, so it answers from your site.
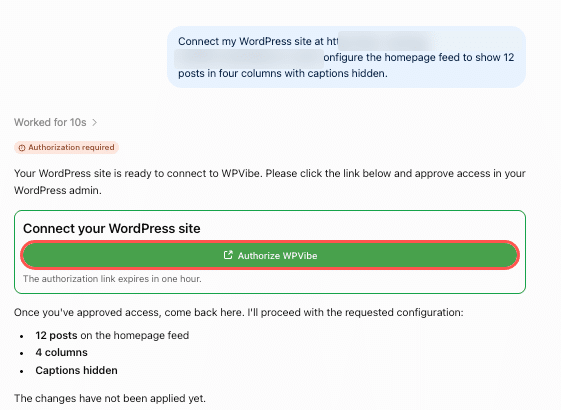
Step 9: Connect your site the first time. The first time you ask, ChatGPT asks for your site’s address. Type it in, then click Authorize WPVibe.
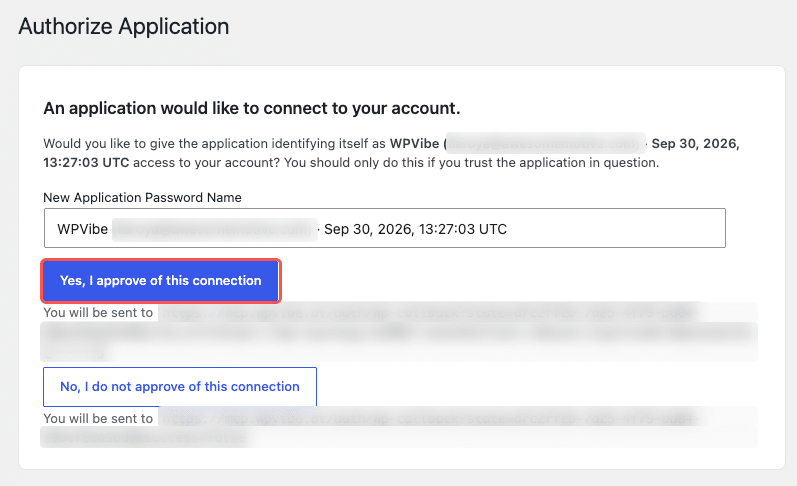
Your WordPress admin opens and asks whether WPVibe can connect to your account. Click Yes, I approve of this connection.
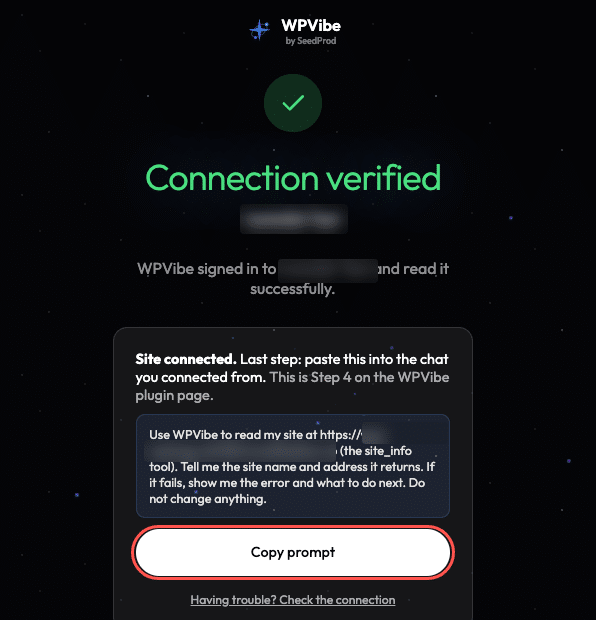
WPVibe shows Connection verified. Click Copy prompt and paste it into ChatGPT so it can confirm it reads your site.
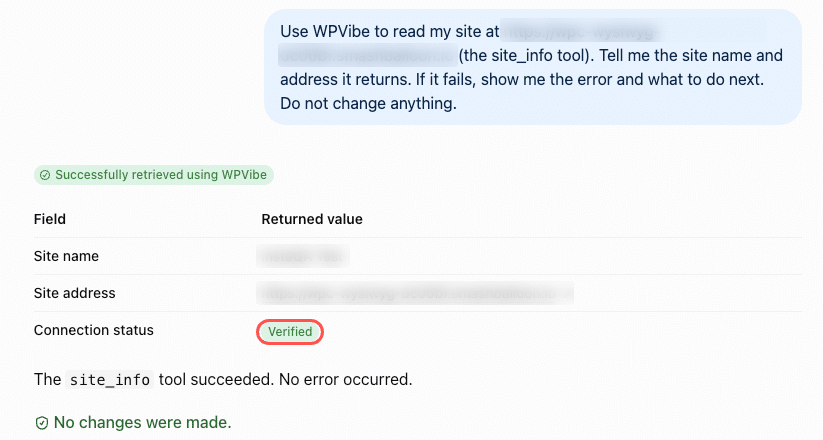
ChatGPT replies with your site’s name and address. When Connection status says Verified, you’re set. Ask your question again, and this time it answers from your site. From there, try a change like the one at the top of this post, and your feed updates the same way.
Frequently Asked Questions
Which plan do I need?
Any Instagram Feed Pro plan, Basic, Plus, or Elite, or the All Access Bundle.
Is WPVibe free?
Yes. The plugin is free, and WPVibe’s free plan covers a daily allowance of WordPress actions. It works with the free versions of ChatGPT and Claude, and paid WPVibe plans raise that daily allowance if you need more.
Can my AI delete a feed without asking me?
No. Your assistant can only request a deletion. The feed is deleted only after you open the confirmation link in your browser and click Delete feed.
Can my AI set up hashtag feeds or filters?
No. Your AI handles everyday settings like layout, columns, captions, and colors. Hashtag feeds, filters, and moderation are set up in the feed editor.
Does my AI see my Instagram password?
No. Your assistant never sees your Instagram login or the keys that connect your account. When you add a new account, you connect it yourself in your browser.
What do I need besides Instagram Feed Pro?
WordPress 6.9 or newer, a site address that starts with https://, and a free WPVibe account, which you create the first time your AI connects.
Update Today and Let Your AI Handle Your Feed
Did you know that if you update today, you could change your homepage feed by sending ChatGPT or Claude one message, about ten minutes from now?
And you can do it without:
- Leaving the chat you’re already in
- Copying shortcodes between tabs
- Worrying that your AI deletes something you wanted to keep
If you’re on any Instagram Feed Pro plan, update to 6.14.0 and open the AI Agents box under Settings.
If you’re using the free Smash Balloon Instagram Feed, upgrading to Instagram Feed Pro adds AI Agents on top of everything you already have.
And if you’re new to Smash Balloon, Instagram Feed Pro puts your Instagram posts and Reels on your site, and now you can run it from the AI chat you already use.
Run your Instagram feed from ChatGPT or Claude
AI Agents comes with every Instagram Feed Pro plan and the All Access Bundle. Connect WPVibe once, and after that a feed change takes one message. Backed by a 14-day money back guarantee.
Get Instagram Feed ProWhile you’re updating, your Reels get a new look too. See how full-screen Reels work on your site.
What’s the first thing you’ll ask your AI to change? Drop a comment below and let us know.