Do you want to make an Instagram feed wall?
Showing social media content on your website is a great way to grow your followers, engage visitors, and get more sales.
But manually creating Instagram walls can get tough and you have to deal with a lot of code.
And if you choose to hire a developer instead, it can even cost thousands of dollars!
The good news?
We’re going to show you how to create Instagram feed walls on your website in a few easy steps – no coding needed.
Before we start the step-by-step tutorial, let’s see how adding Instagram feed walls can help your business.
Or you can click here to directly go to the tutorial.
Why Use Instagram Feed Walls?
An Instagram feed can help you show photos, videos, and more from Instagram on your website.
As a result, you can easily engage your website visitors with relevant photos and videos.
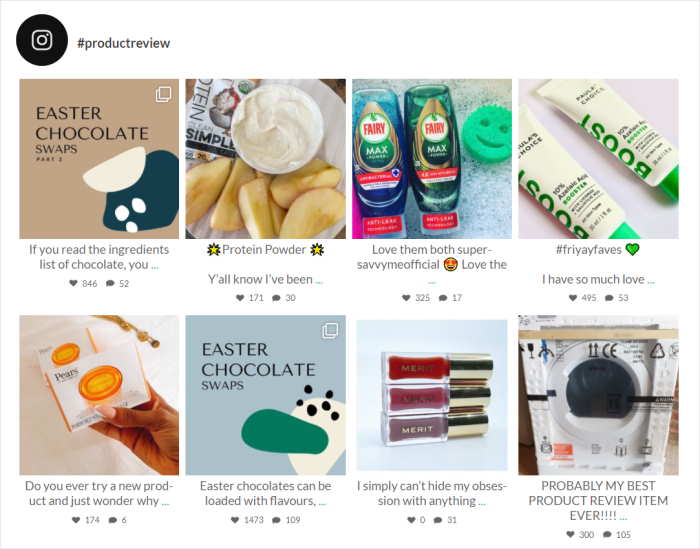
Plus, you can even display your own Instagram content with the help of an Instagram feed wall. Then, your brand can get tons of likes, comments, and followers with ease.
And that’s just the start. Adding Instagram feed walls can help your business in lots of different ways.
- You can create shoppable Instagram feed walls to give your visitors an easy shopping experience and increase your sales.
- To boost your conversions, you can show customer reviews, testimonials, and product demonstrations from Instagram on your site.
- Your Instagram feed wall can also show posts that have your own branded hashtag. That way, you can improve your social media presence.
- With Instagram video galleries, your website can keep visitors interested for much longer – and that means better SEO for you.
As you can see, Instagram feed walls can help you grow your social media presence, boost engagement, and get more sales with ease.
To help you out, we’re going to show you the simplest way you can embed Instagram feed walls on your site.
Easiest Way to Add Instagram Feed Walls
If you want to show Instagram content on your website, there are 2 ways you can do it:
- Manual Way: Get the embed codes snippets for all the Instagram posts you want to show and manually add them to your website.
- Easy Way: Use a WordPress plugin to create, customize, and embed Instagram feeds on your site in a few clicks.
With the manual way, it’s much more time-consuming since you can only add Instagram posts 1 at a time. On top of that, it’s also more complicated since you have to deal with a lot of code.
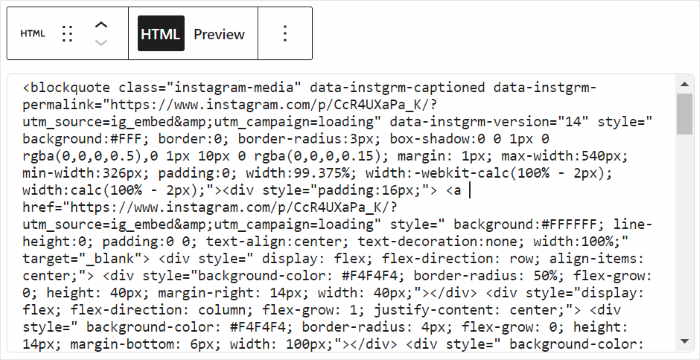
It’s also much harder to customize your Instagram feed wall that way. So, you might have to hire expensive developers to make the wall fit your branding.
To make it much easier, you can just use a WordPress plugin like Instagram Feed Pro.

Using Instagram Feed Pro, you can show beautiful Instagram feed walls on your website in no time.
To get started, all you have to do is follow a guided flow – no need to code or hire a developer.
Want to create beautiful designs for your Instagram feed wall? You can use the live feed editor to customize everything with ease.
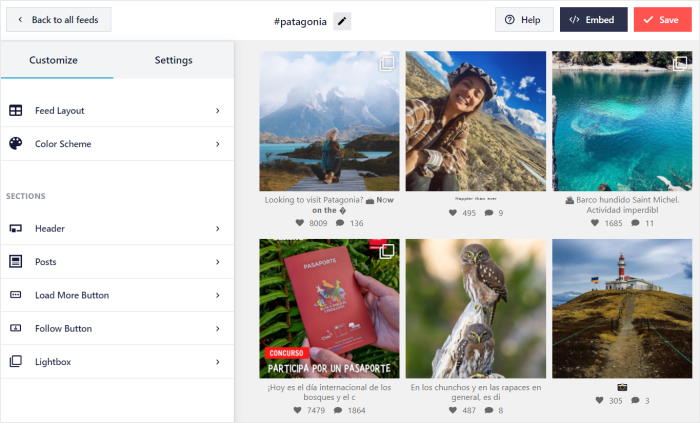
Plus, you get tons of options when it comes to the type of Instagram content you want to show. Instagram Feed Pro supports photo galleries, hashtag feeds, Instagram reels, stories, and much more.
Because of all these amazing Instagram plugin features, Instagram Feed Pro has over 1 million users and a rating of 4.9/5.
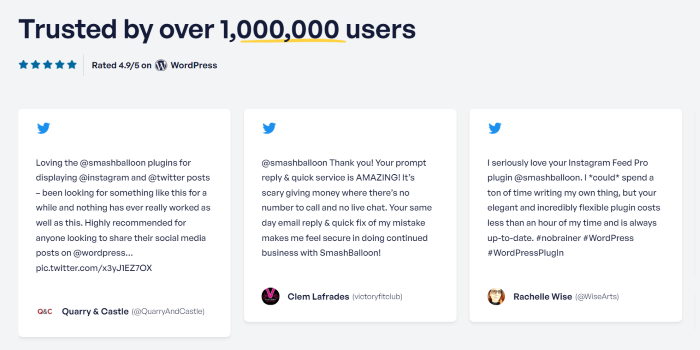
As the best Instagram feed plugin in the market, you also get a dedicated support team of WordPress experts to help you out.
If you want the easiest way to create Instagram feed walls, get your copy of Instagram Feed Pro today.
With that, let’s go ahead and show you how to make an Instagram wall and add it to your site.
How to Make an Instagram Feed Wall for Your Website
Now let’s get started with our step-by-step guide on how to create, customize, and embed Instagram feed walls.
Step 1: Install the Instagram Feed Pro Plugin
To get started, go and get your copy of the Instagram Feed Pro plugin here.
Once you have the plugin, just install and activate it on your website.
Don’t know how to do that? You can just follow our simple guide on how to install WordPress plugins.
For the next step, you can create your Instagram feed wall using the plugin.
Step 2: Create Your Instagram Feed Wall
Using Instagram Feed Pro, you can create your Instagram feed wall in just a few easy steps.
From your WordPress dashboard, navigate to the Instagram Feed » All Feeds menu.
After that page, click on the Add New button at the top.
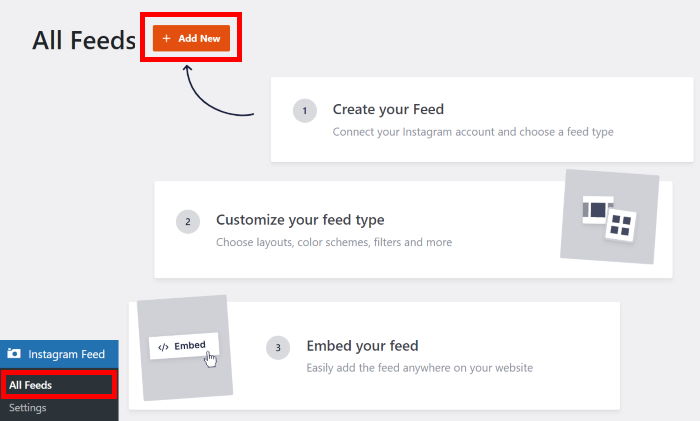
You can then choose the type of Instagram feed wall that you want on your site.
Instagram Feed Pro gives you 3 options to pick from:
- User Timeline: Show Instagram photos and videos from your account
- Public Hashtag: Embed Instagram posts that have specific hashtags
- Tagged Posts: Display posts that mention your Instagram account
You can also choose more than 1 option here and combine different feed types into a single feed.
After you pick the option you prefer, click on the Next button.
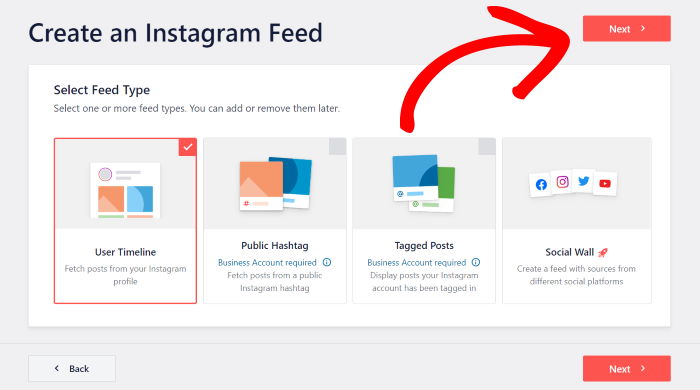
As you can see, it’s easy to create an Instagram feed wall using this plugin.
In step 3, you can connect this Instagram feed wall to a source so that it can show Instagram posts on your site.
Step 3: Connect an Instagram Account
After creating your Instagram feed wall, the plugin will ask for a source.
You can just use your Instagram account as the source here.
To get started, click on the Add Source button.
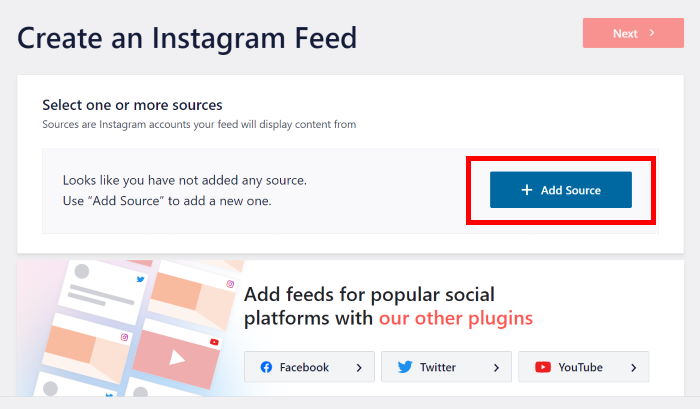
After that, you can pick the type of Instagram account you want to connect to.
Using a personal Instagram account, your Instagram feed wall can only show posts from your own account.
But with a business account, you can show more types of Instagram content, including Instagram reels, Instagram hashtag walls, mentions feeds, and much more.
Select your Account Type on the popup and then click on Login with Instagram.
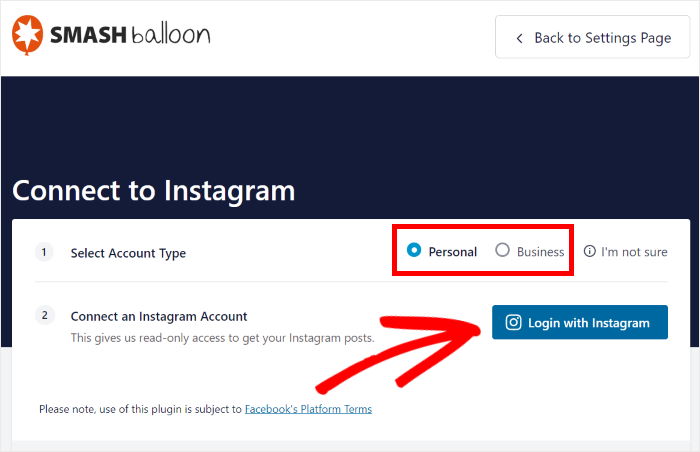
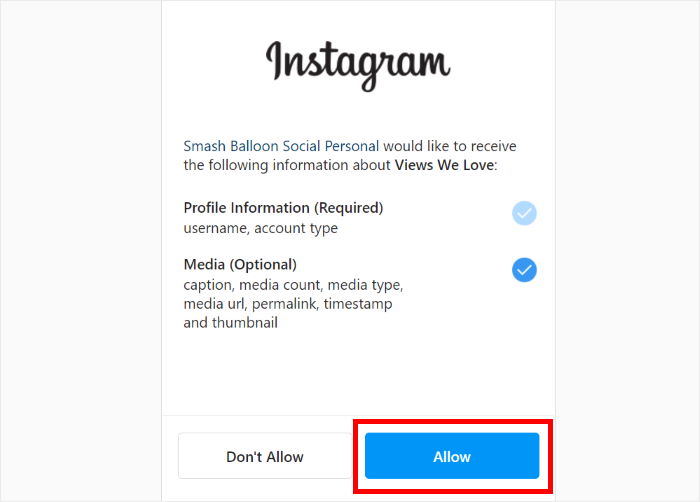
To finish connecting your account, the plugin will open Instagram and then ask you for read-only access.
Using that access, Instagram Feed Pro will only view your Instagram info and can’t actually make changes at all.
That way, Instagram Feed Pro is completely safe.
To confirm the read-only access, click on the Allow button on the popup.
After you do that, click on Next to finish connecting your Instagram account.
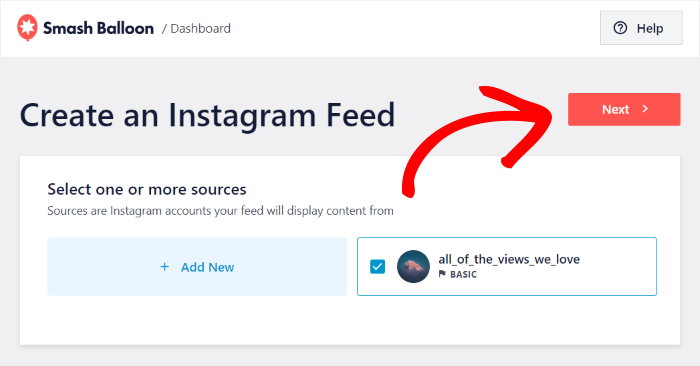
Now that you’ve created your Instagram feed wall and connected it to a source, it’s time to customize its design in step 4.
Step 4: Customize your Instagram Feed Wall
You can now see your Instagram feed wall open in the live feed editor.
Here, you can use the options on the left to change your feed layout, header style, color scheme, feed size, follow button, and much more.
There’s also a live preview of your Instagram feed wall on the right so you can track your changes.
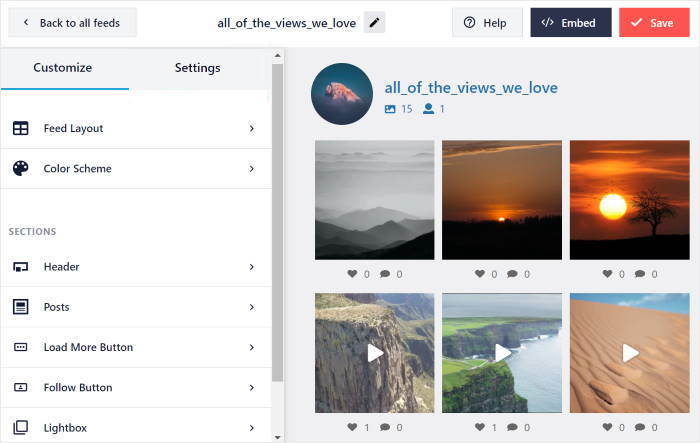
Now let’s get started with the customization by clicking on the Feed Layout option on the left.
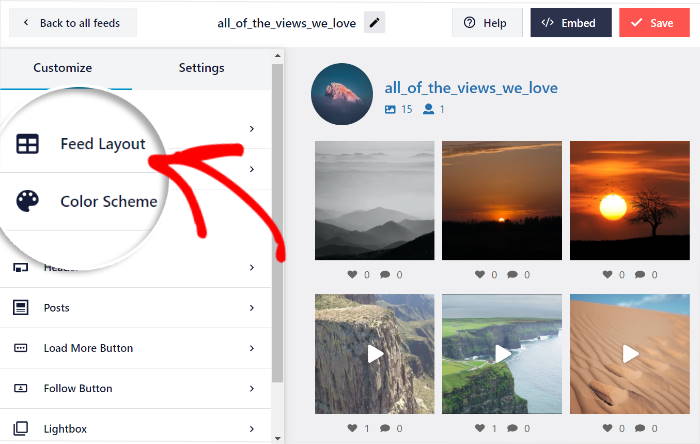
Now, you can see the 4 feed layout options that you get with Instagram Feed Pro: Grid, Carousel, Masonry, and Highlights.
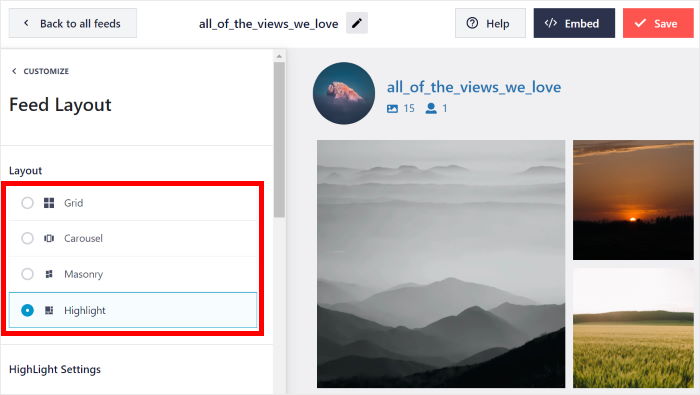
Using the Instagram grid layout, you can show many posts at once in rows and columns. As a result, you can have an Instagram feed wall that looks clean and minimal.
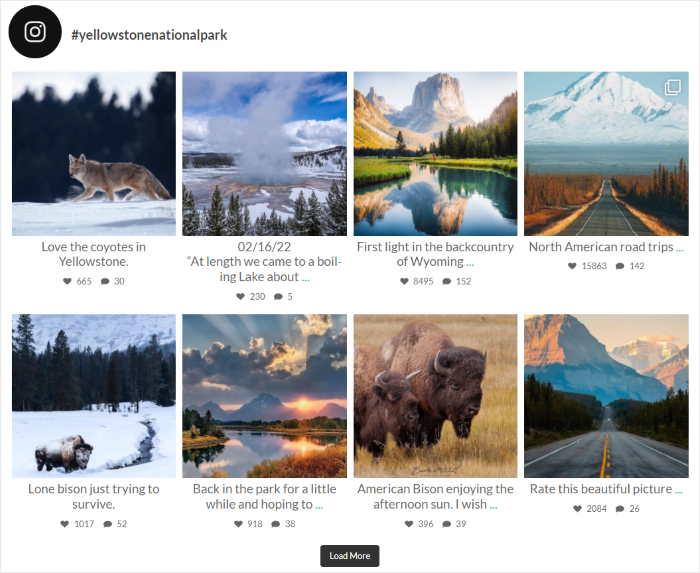
Next, there’s the carousel layout which will put your Instagram feed on a carousel slider. That way, you can make your website more interactive.
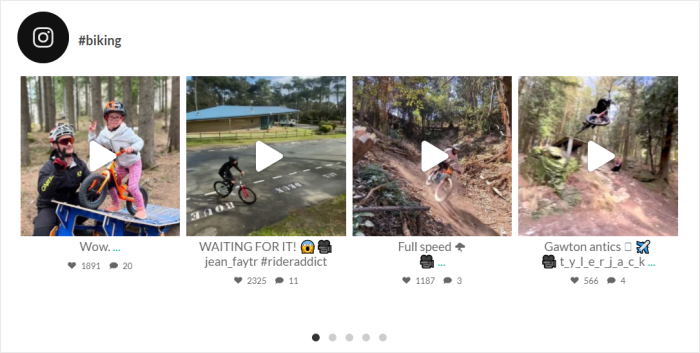
The masonry layout will show your Instagram posts in different rows without cropping them.
As a result, you can have an Instagram feed wall where the photos and videos keep their original proportions.

Finally, we have the highlight layout that removes the icons and captions and increases the size of certain posts.
This layout is great for an Instagram gallery wall where you want to put the focus on the images.

Select the feed layout that you want here, and then click on the Save button.
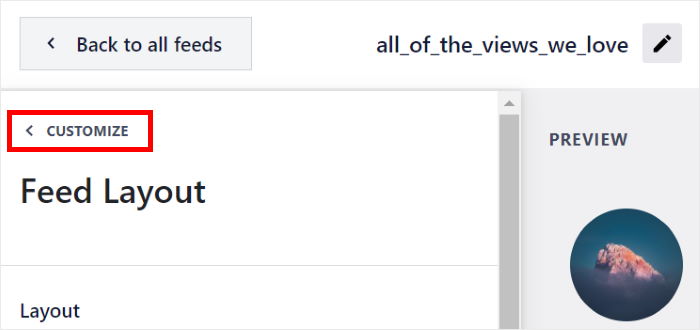
With that, you can return to the previous customization options by clicking on the small customize button at the top.
Next, click on the Color Scheme option on the left to change the colors of your Instagram feed wall.
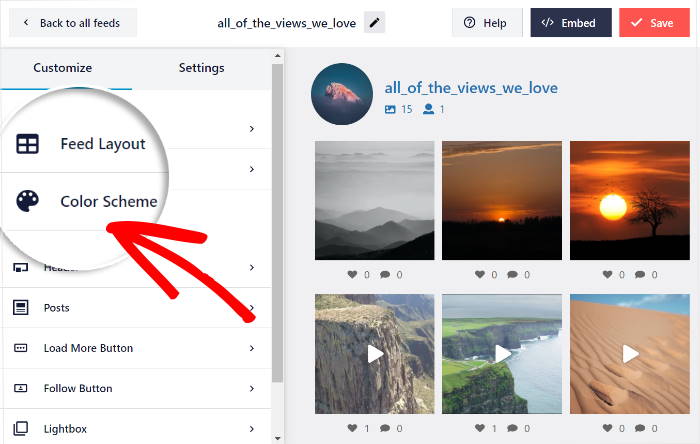
To easily set your colors, Instagram Feed Pro has 4 different color schemes:
- Inherit from Theme: Copy the colors of your website automatically
- Light: Use a light background for your Instagram feed wall and a dark font
- Dark: Choose a dark background with a light font color for your feed wall
- Custom: Select all the colors yourself
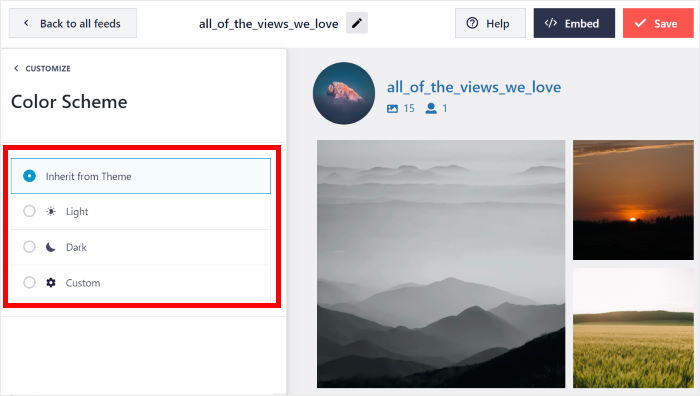
Once you select your colors scheme here, click on the Save button.
As you can see, you can use the live feed editor to go ahead and set your feed size, header design, follow button, post style, and much more.
And remember to click on Save to confirm your changes once you’re done.
Finally, it’s time for step 5 where you add this Instagram feed wall on your WordPress site.
Step 5: Embed Your Instagram Feed Wall on Your Website
If you want to embed your Instagram feed wall, there are 2 ways you can do this:
- Embed the Instagram feed wall on your WordPress page
- Embed the Instagram feed wall on your WordPress sidebar or footer
Let’s show you how to use these methods below:
Embed Instagram Feed Wall on WordPress Page
You can start embedding your Instagram feed wall directly from this live feed editor.
All you have to do is click on the Embed button to get started.
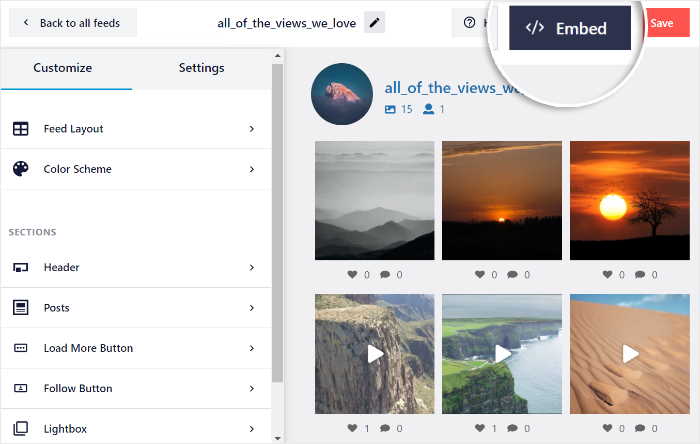
You can now see a new popup where you can select how you want to embed your Instagram feed wall.
Here, click on the Add to a Page button to continue.
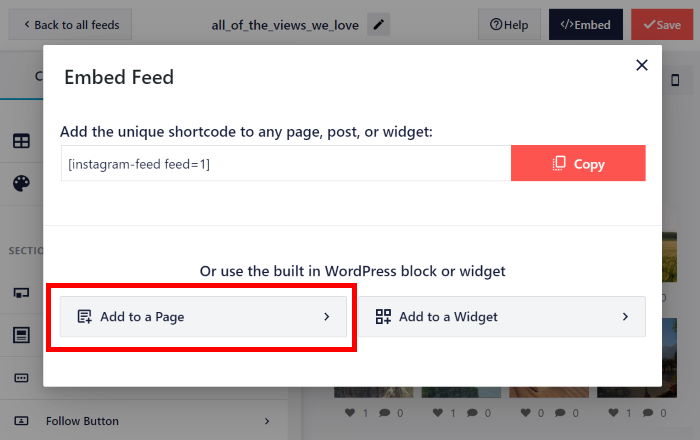
Next, the plugin will show you a list of WordPress pages on your site.
Just select the page where you want to embed the Instagram feed wall and click on Add.
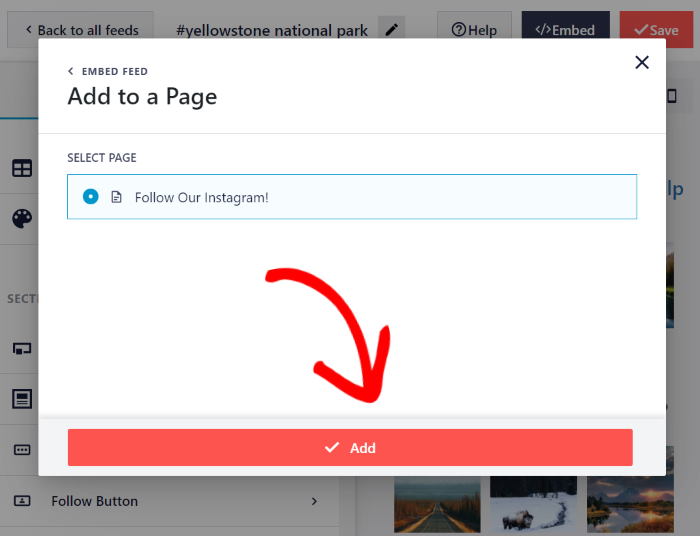
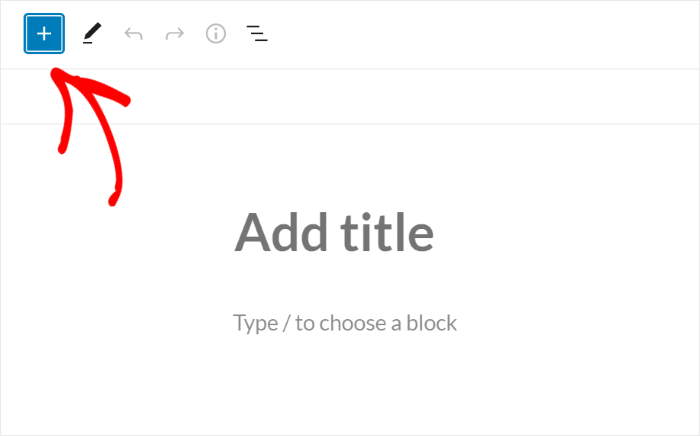
Once you do that, Instagram Feed Pro will open that page in the WordPress editor.
To embed your Instagram feed wall, first, add a new widget by clicking on the plus (+) icon.
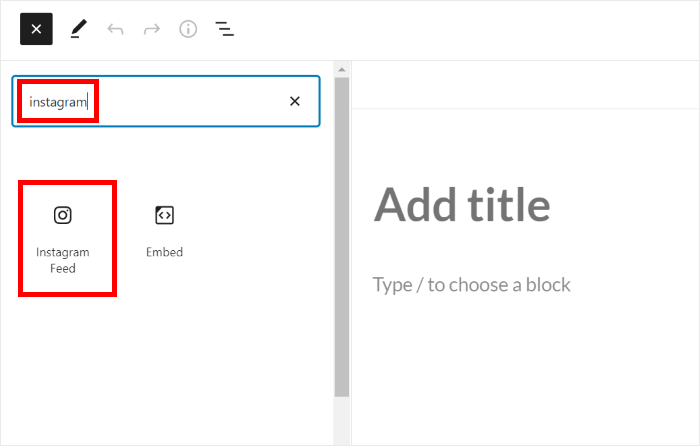
Now write “instagram” in the search bar at the top and then select the Instagram Feed block from the search results below.
Now, you can just click on the Publish or Update button at the top to save your changes.
If you open your website, you can see how your Instagram feed wall looks to your visitors.

With Instagram Feed Pro, it’s easier than ever before to embed Instagram content on your WordPress site.
Now let’s take a look at the next way to embed your Instagram feed wall.
Embed Instagram Feed Wall on Your WordPress Sidebar or Footer
To embed your Instagram feed wall, first, open it in the live feed editor once again.
For that, go to the Instagram Feed » All Feeds menu from your WordPress dashboard and click on the Instagram feed wall that you created.
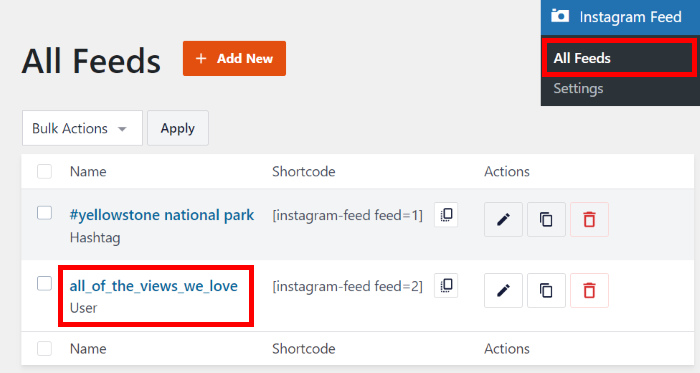
This will open the live feed editor once again so you can embed the Instagram widget on your website.
To get started, just click on the Embed button in the top right corner.

After that, you’ll see the popup that asks where you want to embed your new Instagram feed wall.
Just click on the Add to a Widget option here.
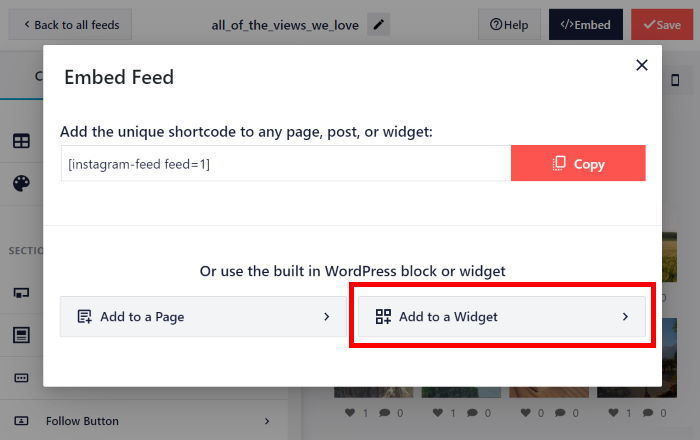
Instagram Feed Pro will then send you to the widgets page of your website so you can embed your Instagram feed wall.
If you want to show the feed wall on your sidebar, select the Sidebar panel.
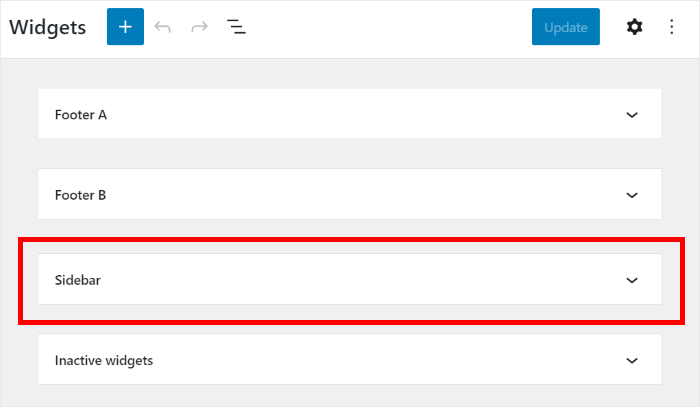
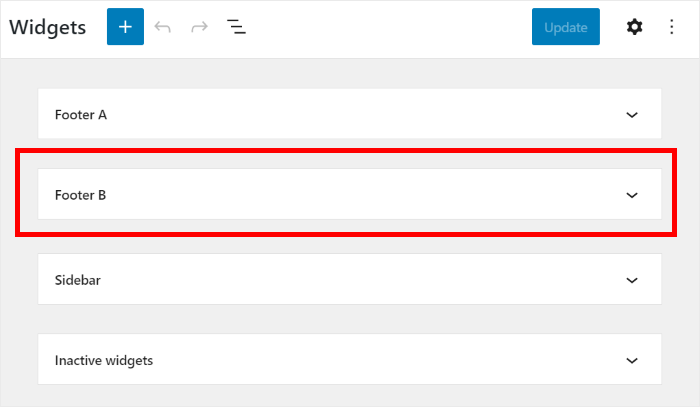
Want to use the footer instead? Then click on the Footer panel.
We’ll use the sidebar panel for our tutorial.
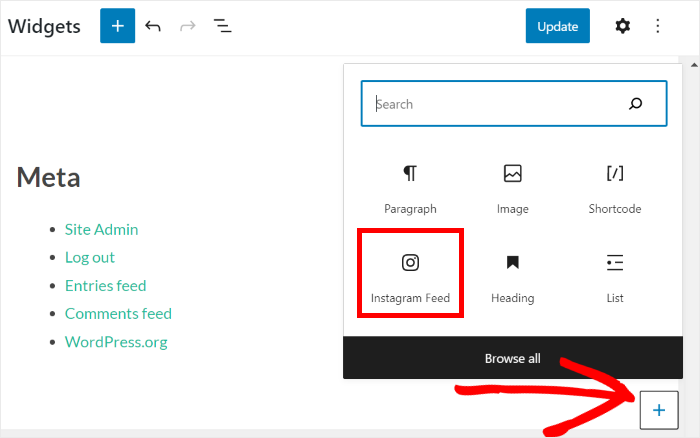
To add a new WordPress widget, click on the plus icon (+) here.
Finally, click on the Instagram Feed widget to embed your Instagram feed wall.
To confirm your changes, remember to click on the Update button at the top.
Now just open your WordPress website, and you can see how your Instagram feed wall looks like a widget.

And there you go!
Now you can easily show Instagram feed walls on your website to engage your visitors, boost your sales, and get more Instagram followers.
Want more ways to boost your Instagram marketing? You can look at our list of the best Instagram marketing tips.
Ready to create Instagram feed walls on your site? Get started with Instagram Feed Pro today.
If you enjoyed this article, feel free to follow us on Twitter and Facebook for more social media marketing tutorials.

