Want a quick and easy way to embed your Facebook live stream on your website?
If you want to turn more site visitors into real-time viewers and grow your audience fast, embedding Facebook live streams is a smart move.
Live video is more popular than ever, and bringing your streams straight to your website helps you keep visitors engaged, expand your reach and even win new customers.
I remember the first time I tried to display Facebook lives on my site… Manual embed codes felt clunky and didn’t give me the control or look I wanted.
That’s why I always use the beginner-friendly Facebook Feed Pro plugin, which makes the whole process simple and coding-free.
In this guide, I’ll walk you through the exact steps I use to embed Facebook live streams on my website. You’ll be able to display your live videos in just a few clicks, even if you’re new to WordPress or don’t have any technical background.
In This Article
- Easiest Way to Embed Facebook Live Stream on WordPress
- How to Embed Facebook Live Stream on Your Website
- Why Embed Facebook Live Stream on Your Website?
Easiest Way to Embed Facebook Live Stream on WordPress
In the past, you could paste Facebook links directly on your website, and WordPress would automatically embed them.
Unfortunately, WordPress dropped support for this oEmbeds feature, so displaying content from Facebook became a lot harder.
Now, you’ll have to manually generate the embed code for each live stream and then add the code to your site.
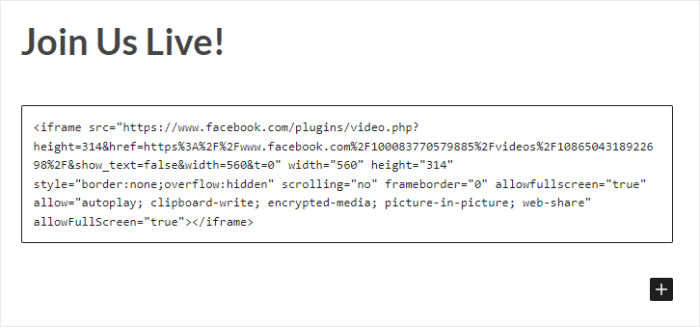
As you can guess, this process can be long and complicated – especially if you’re not used to dealing with a lot of code.
Plus, you can’t customize how your live stream looks, so it might not even fit your website’s branding.
The good news?
You can simply use a WordPress plugin that can automatically embed Facebook content for you.
And the best plugin that can help you get started right away is Facebook Feed Pro.
Using Facebook Feed Pro, you can display all kinds of Facebook content on your website in just minutes.
Once you activate the plugin, you’ll see a 3-step guided flow that you can follow.
This will take you through the whole process of creating, customizing, and embedding Facebook feeds on your site.
And on these Facebook feeds, you can show live streams, Facebook photo galleries, Facebook albums, videos, Facebook events, reviews, and more. You get tons of options to choose from here!
Plus, your Facebook feeds will automatically inherit the design of your website. So, your live streams will perfectly match your branding once you embed them.
You also get a live feed editor with tons of different customization options to change how Facebook content appears on your site.
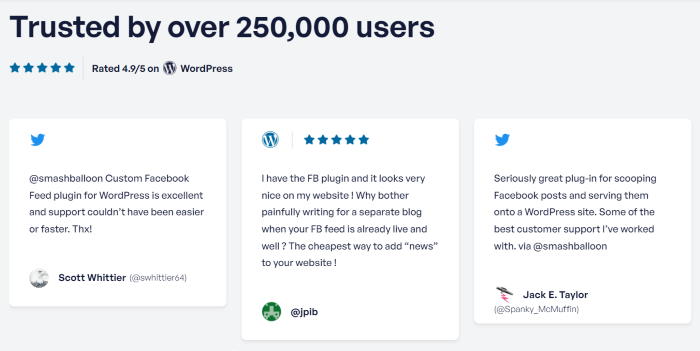
Facebook Feed Pro also has a rating of 4.9/5 stars from 250,000+ users all over the globe. As you can see, this really is the best Facebook feed plugin in the market.
Want to display Facebook feeds with ease? Get Facebook Feed Pro here!
With that, let’s move on and see how this plugin can help you embed live streams on your website.
How to Embed Facebook Live Stream on Your Website
Ready to learn how to embed your Facebook live videos on WordPress?
Just follow this easy guide below, and you can get started in no time!
Step 1: Install the Facebook Feed Pro Plugin
First, grab your copy of the Facebook Feed Pro plugin from here and then install it on your website.
If you want a quick refresher on how to do that, you can follow this guide on how to install a WordPress plugin.
After the plugin is ready, you can move on to step 2 and create a Facebook feed.
Step 2: Create a New Facebook Feed
Using a Facebook feed, you can start displaying your live streams on your website.
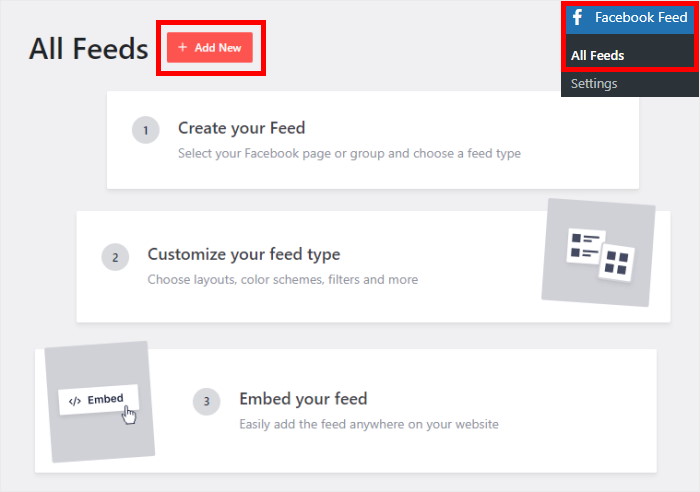
To create your feed, first, open the Facebook Feed » All Feeds menu from your WordPress dashboard area.
After that, click on the Add New button at the top.
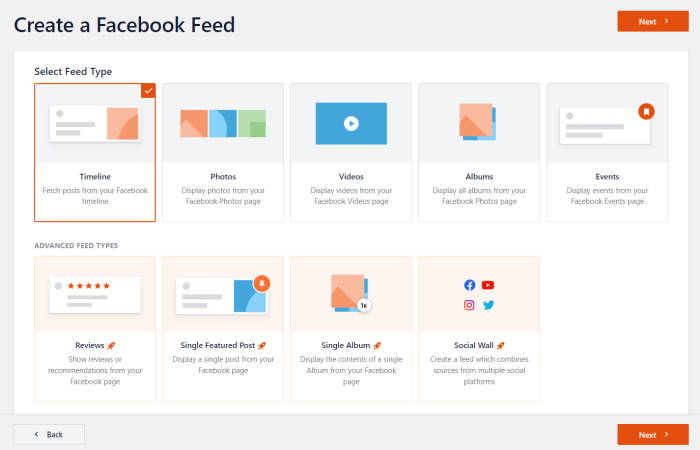
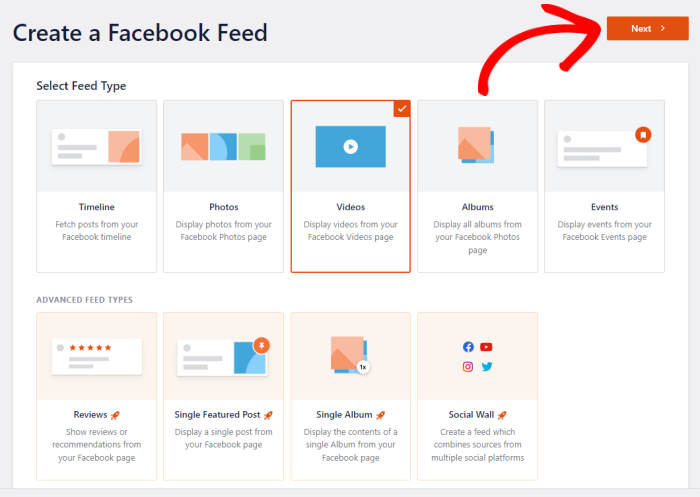
After that, you can select the type of content you want to show on your Facebook feed. This plugin supports page timeline, photo galleries, events calendars, reviews, and much more.
To display live streams, select the Videos option and click on Next.
Now you have a new Facebook video feed on your website to show your live streams. In step 3, you can connect your Facebook account to this feed.
Step 3: Connect Your Facebook Page
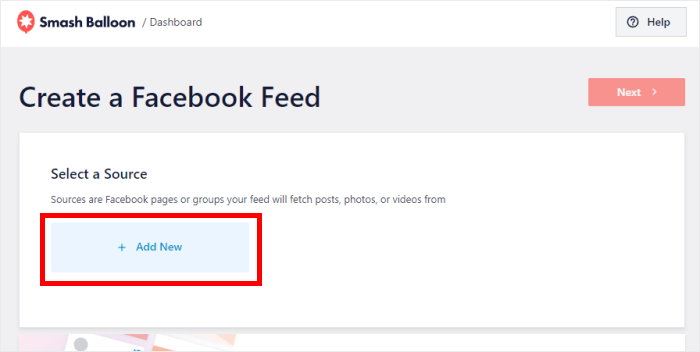
By connecting a Facebook page, your feed can fetch live streams from Facebook and then display them on your website.
Just click on the Add New button here to get started.
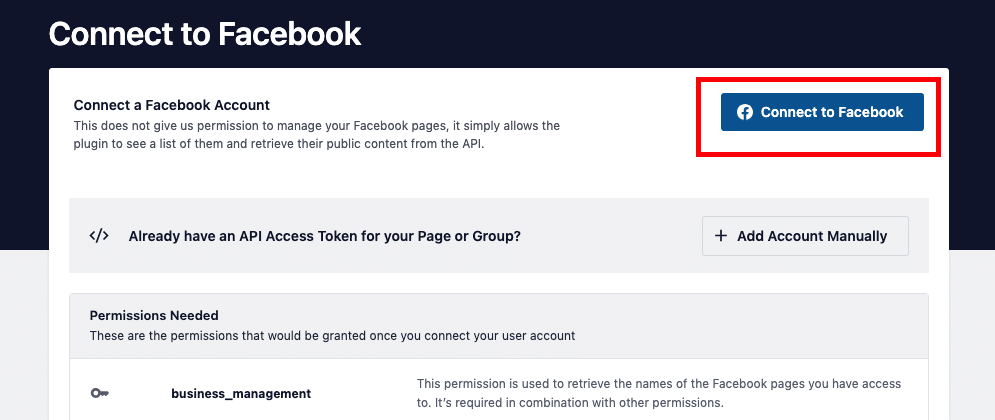
After that, the plugin will redirect you to connect your Facebook account. Go ahead and click on Connect to Facebook.
Doing that will open Facebook on your web browser. Here, you can confirm the account you’re using by clicking on the Continue button.
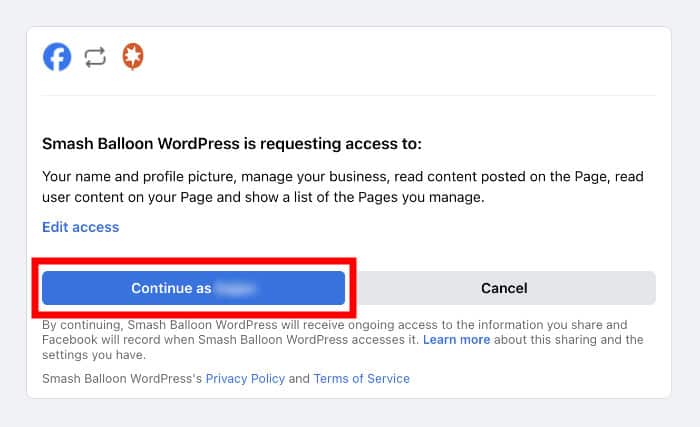
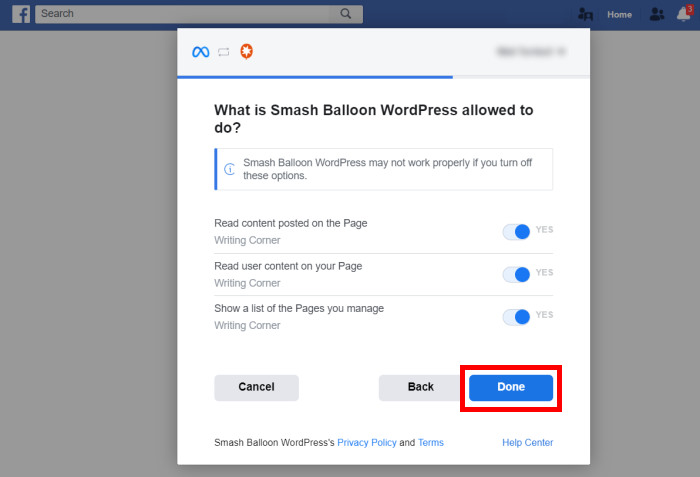
Once you’ve confirmed which Facebook account you’re going to use to connect as your source, you can now give the plugin read-only access to your Facebook so that it can show live streams on your website.
With this read-only access, Facebook Feed Pro can only view content and won’t be able to make any changes to your account.
Just click on the Done button to confirm the read-only access.
Now, the plugin will send you to your website once more. From here, you can confirm your Facebook page as the source for this Facebook live video feed.
To do that, click on the Add button.
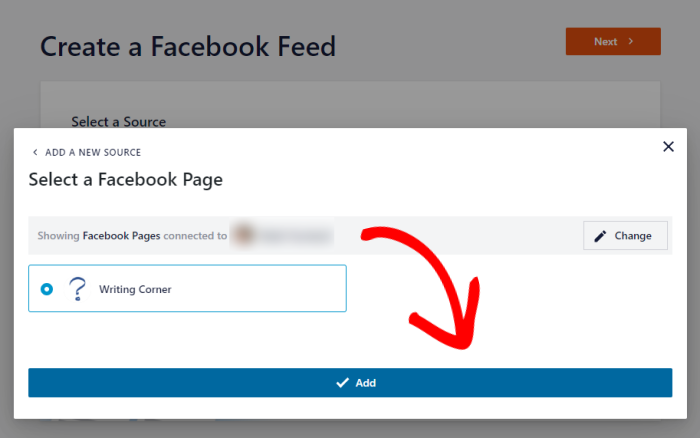
Whenever you make new Facebook feeds, you can now select this page as the source in just a single click.
You can now click on the Next button to continue to the next step.
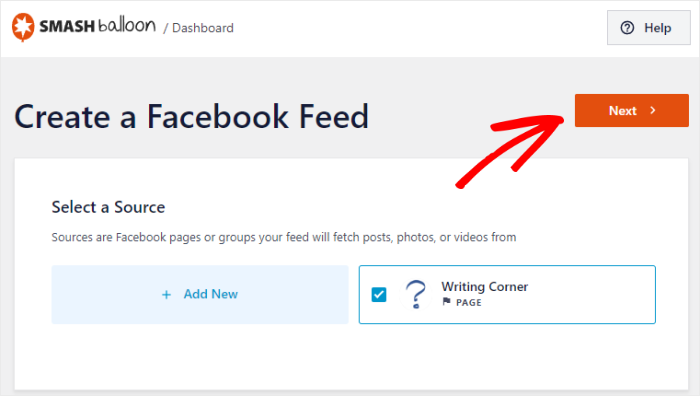
Now, your Facebook feed is ready to display live-streaming videos on your website.
But before you start embedding your live Facebook feed, you can customize its design in step 4.
Step 4: Customize Your Facebook Live Streams
Since the plugin automatically inherits your website’s design, your Facebook live streams will look amazing right out of the box.
Want more control over the design of your Facebook live streams? This plugin has you covered.
First, you can choose to import a pre-built feed template for your feed. You have 7 options to choose from:
- Default
- Simple masonry
- Widget
- Large grid
- Large album
- Showcase carousel
- Simple carousel
Just select your feed template here and then click on Next.
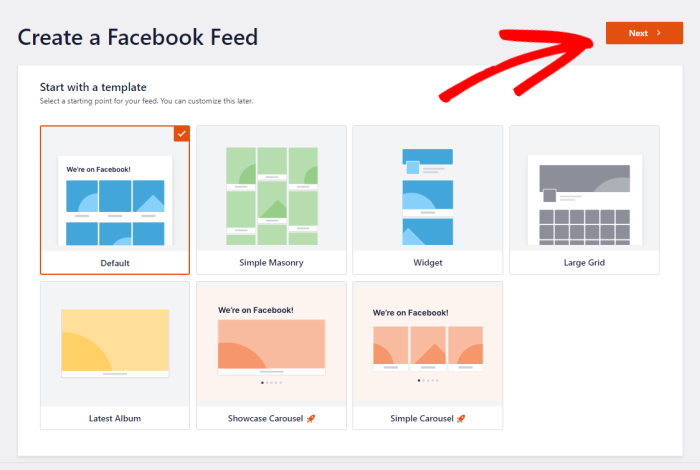
After that, the plugin gives you 2 different ways to display Facebook live streams:
- Show all the streams on your page
- Only show content from your chosen playlist
After you choose the option you prefer, click on the Next button.
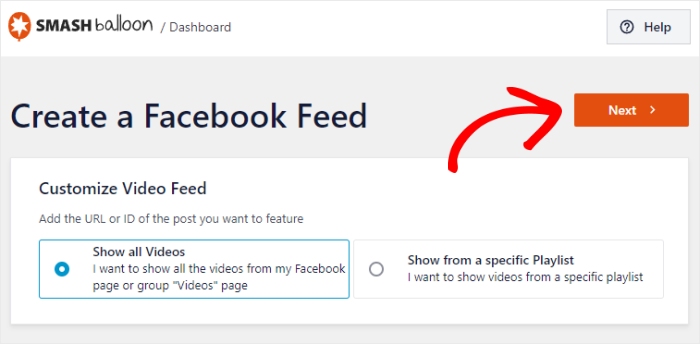
We’ll use the Show all Videos option for this example.
Now, the plugin will open the live feed editor so you can customize your Facebook live streams in detail.
You can use the options on the left to change your layout, feed size, colors, header, post style, load more button, and much more.
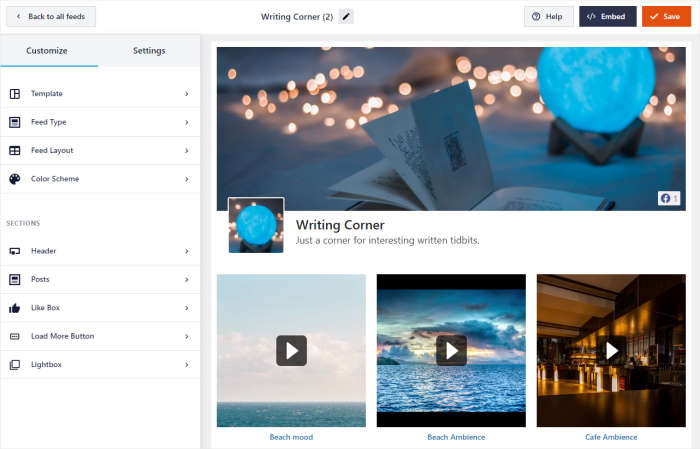
When you make any changes, the live preview on the right will show how your Facebook live streams look.
From here, click on the Color Scheme option to start the customization.
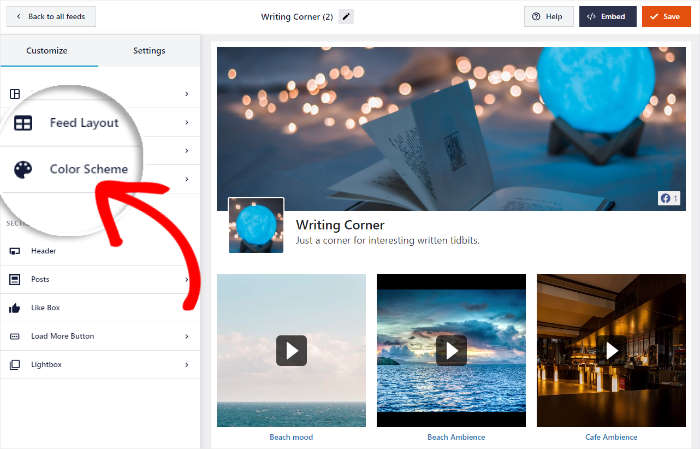
To set the colors for your Facebook live streams, you can choose from 4 color schemes:
- Inherit From Theme: Copy your WordPress theme’s colors
- Light: Show a light background with a dark font
- Dark: Display a dark background alongside light font color
- Custom: Manually select all the colors of the feed
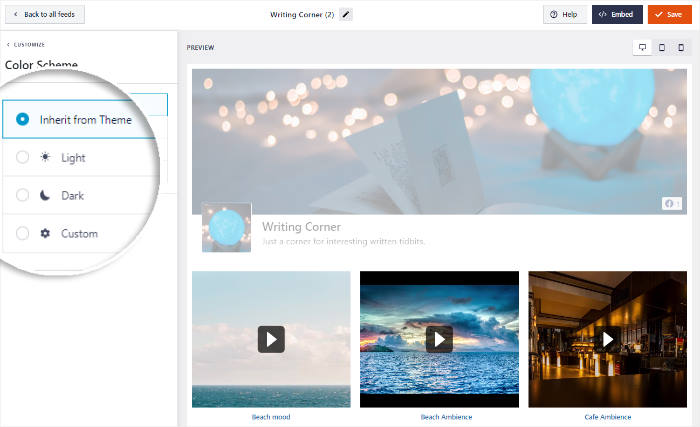
Choose your color scheme from the options and then click on the Save button at the top.
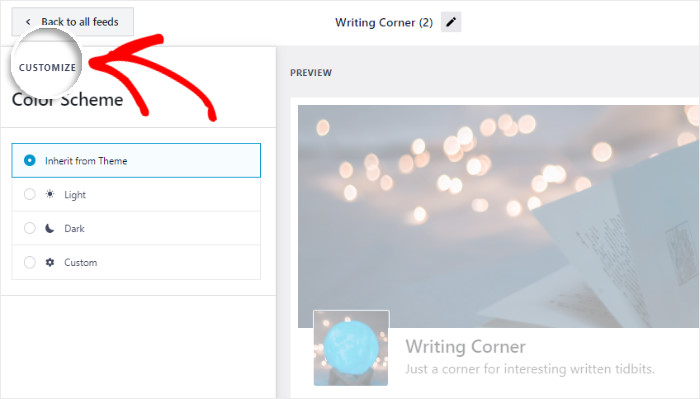
You can then continue setting up the design of your live streams by clicking on the Customize button.
Next, you can choose the appearance of the Facebook header above your streams.
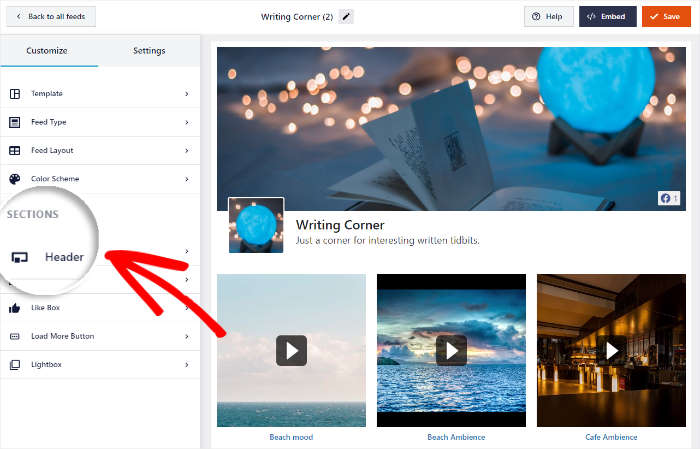
For that, click on the Header option on the left.
Using the Header Type option, you can choose how your header looks:
- Visual: Display a visual header with a cover photo, profile photo, number of likes, and more
- Text: Manually write a line of text to use as the heading above your live streams
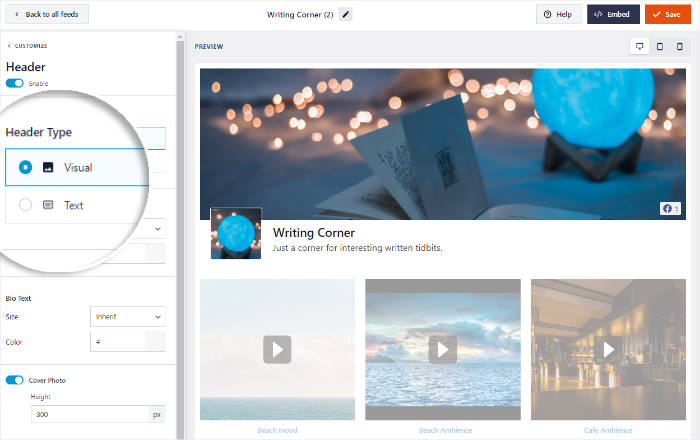
Just select the header type you prefer to continue. Remember to click on Save to confirm the design of your header.
As you can see, it’s super easy to customize your Facebook live streams using the plugin’s live feed editor. You can use the rest of the options to set your number of videos, layout, button design, like box, and more.
Finally, click on the Save button to keep your changes.
With that, you can move on to the final step and embed your Facebook live streams.
Step 5: Embed Facebook Live Streams on Your Website
Now, you can choose from 2 different ways to embed your Facebook live streams:
- Embed Facebook live stream on the website’s page
- Embed Facebook live stream on the website sidebar or footer
Let’s see how you can do both of these methods below.
Embed Facebook Live Stream on the Website’s Page
The good news is that you can start embedding your Facebook streams directly from this live feed editor.
Simply click on the Embed button at the top to get started.
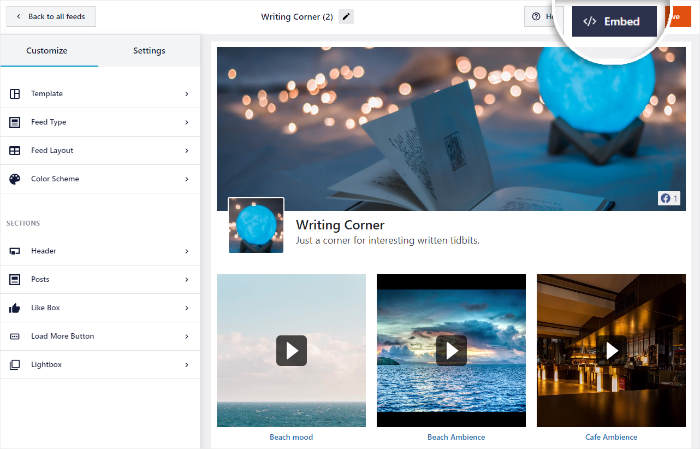
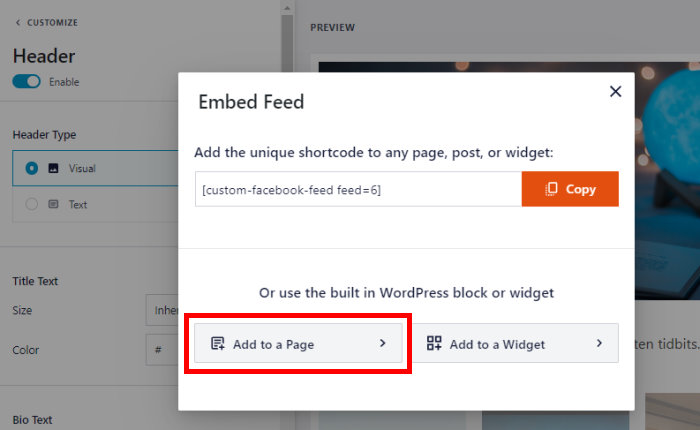
Doing that will open a popup where you can choose the location of your Facebook live streams.
Since we’re adding it to a web page, click on the Add to a Page option.
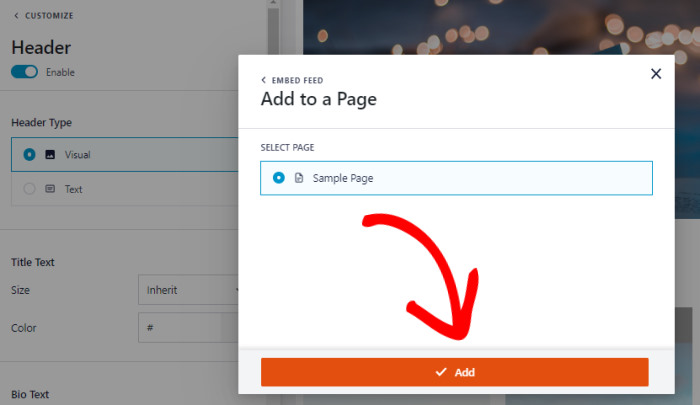
Next, you’ll see a list of the available pages on your site.
Just select the page where you want to display the Facebook live streams and then click on Next.
The plugin will now open that page in the WordPress editor so you can embed your Facebook content.
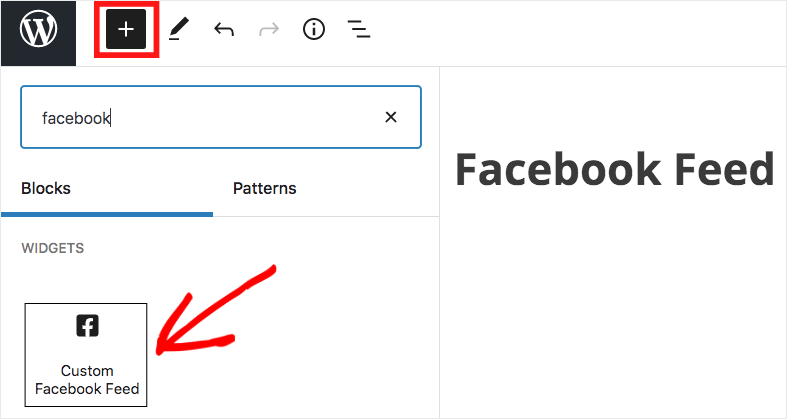
For that, click on the plus icon (+) and then select the Custom Facebook Feed block.
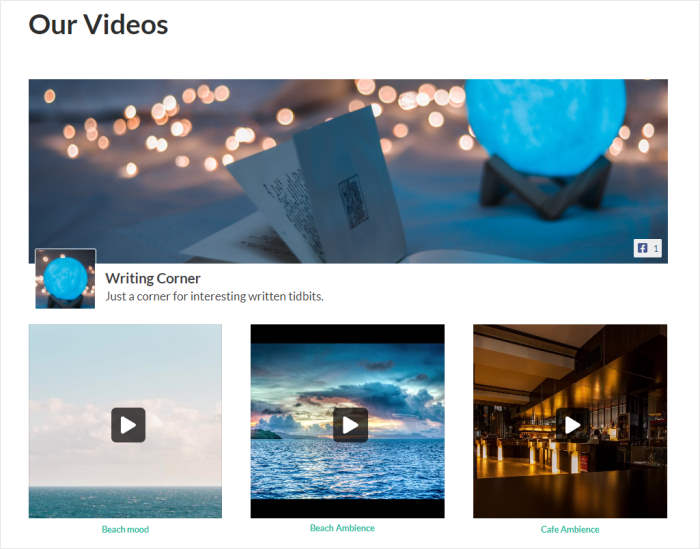
Now on the Update button and your Facebook live streams will be embedded on your website.
If you open this page, you can check out how the live streams look to your website visitors.
Let’s look at the next method of adding Facebook streams to WordPress.
Embed Facebook Live Stream on the Website Sidebar or Footer
Using the live feed editor, you can also embed your streams as Facebook widgets on your sidebar or footer.
First, navigate to the Facebook Feed » All Feeds menu from your WordPress dashboard area.
After that, click on the Facebook video feed which has your live streams.
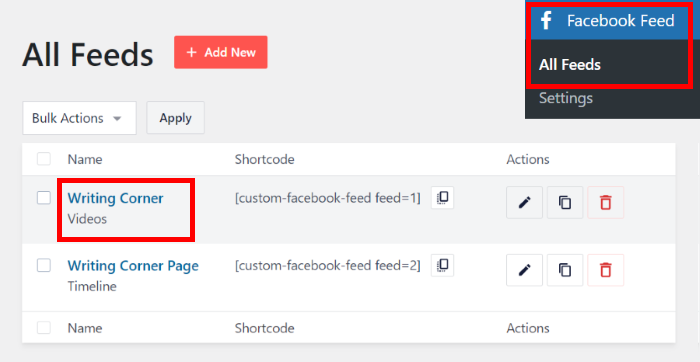
Doing that will show your Facebook live streams in the live feed editor once again.
Like before, click on the Embed button at the top.

After that, you can use the popup to choose the location of your Facebook streams.
Since we’re embedding a Facebook live streaming widget, click on Add to a Widget here.
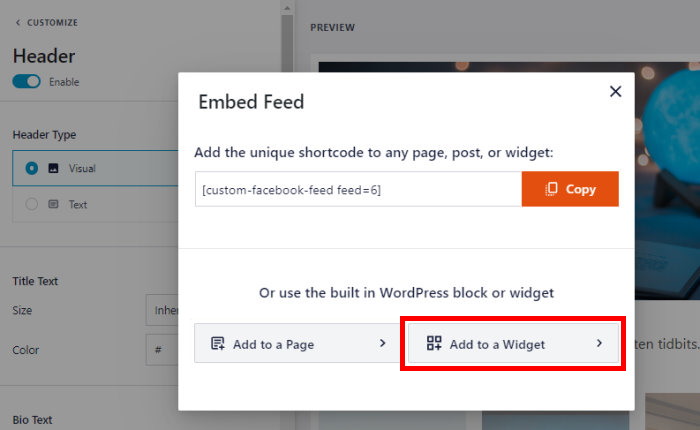
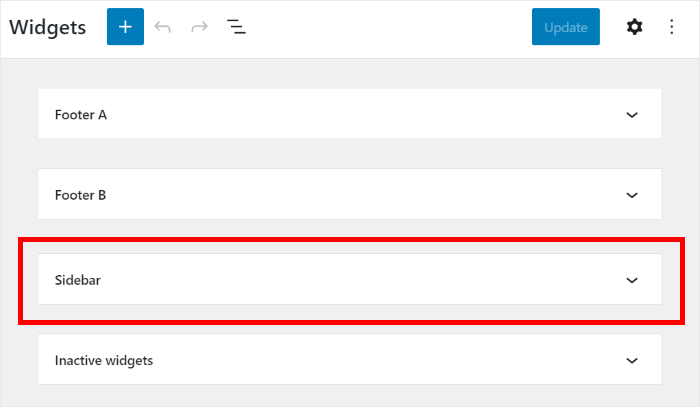
After that, the plugin will send you to your website’s Widget page. From there, you can add, remove, and manage your WordPress widgets.
To display Facebook live streams on your sidebar, click on the Sidebar panel.
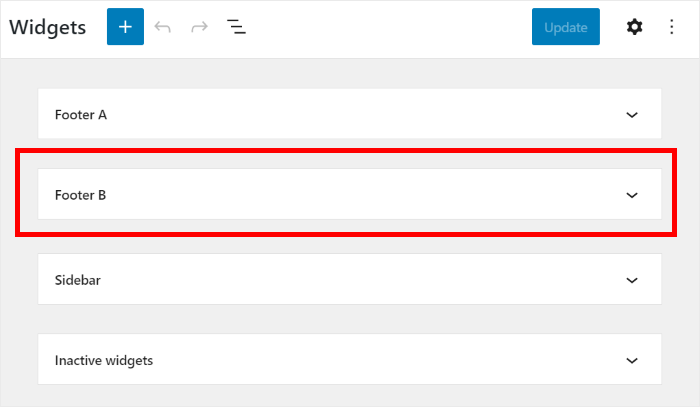
Want to show live streams on your footer instead? Click on the Footer panel, then.
We’ll use the sidebar for our example.
To add a new widget, just click on the plus (+) icon at the bottom.
Finally, click on the Custom Facebook Feed widget to embed the live streams on your WordPress site.
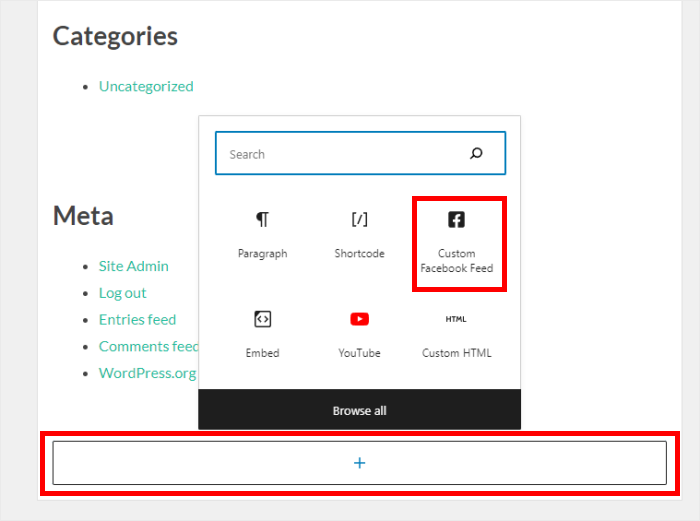
To confirm your new widget, click on the Update button at the top.
You now have a new Facebook widget that displays your live streams. If you open your site, you can see how it looks:
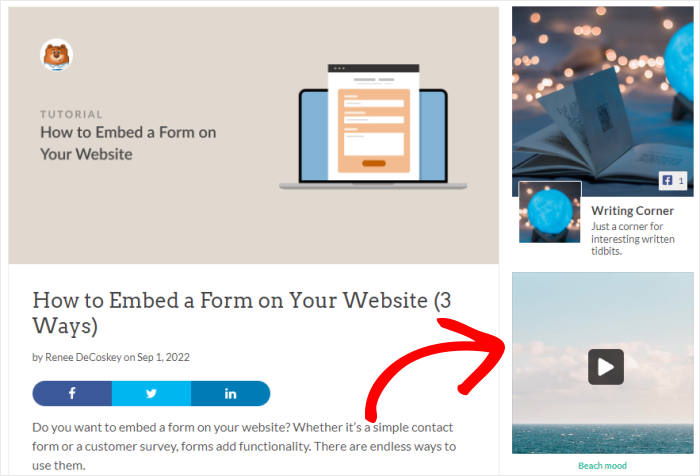
And there you have it!
We hope this showed you how to embed a Facebook live stream on your website. You can now turn website visitors into viewers and followers with ease.
Why Embed Facebook Live Stream on Your Website?
Facebook Live is a popular platform for live streams and a great place to promote your business if you want to reach tons of people.
After all, 82% of people prefer live videos from brands compared to regular social media posts.
And if you embed live streams on your website, you can turn your site traffic into new viewers and followers.
That way, you can boost your brand’s Facebook presence with ease. And that’s just the start!
Here are some more Facebook marketing hacks that you can try with live streams:
- You can share live events like announcements, webinars, product launches, and more with your website visitors
- By embedding your old live streams, you can keep getting more views and give visitors more content to watch
- Customers who aren’t active on Facebook can join your live streams directly from your site
- To convert visitors into customers, you can embed live streams with product demonstrations and testimonials
All in all, Facebook live streams can be a fantastic option if you want to keep visitors on your site, grow your Facebook following, boost your sales, and more.
With the Facebook Feed Pro plugin, it’s easier than ever to display social media content from Facebook.
Ready to embed your Facebook live stream? Grab your copy of Facebook Feed Pro here!
Want to embed YouTube live stream on a website? You can follow our complete guide on how to embed live-streaming videos.
Found this helpful? You can follow us on Facebook and Twitter for more helpful social media marketing tips and tricks.


I am looking to embed “only” the live stream, and to display an image when the livestream is not playing. Can I do this with this tool?
Hi Francis,
In this case, the video will display a thumbnail when you embed it, so the visitor will see that before playing the video.
If you have any other questions, kindly send us a support request using the form on our website here,
Thanks! 🙂