Social Wall
 Feed Analytics


Would you like to change what your Instagram feed shows in its header, under each post, and when visitors hover over a post?
In this guide, we’ll go through the header, caption, like and comment, and hover options in the feed editor. For each one, we’ll show you what it changes on your feed.
Before you get started, make sure Instagram Feed Pro is installed and activated on your WordPress site.
Here is what we will cover.
- Changing the Header
- Changing the Captions
- Changing the Like and Comment Summary
- Changing the Hover State
- Saving and Viewing Your Feed
- Frequently Asked Questions
Changing the Header
The header sits above your posts. It shows your profile picture, your account name, and your bio.
To start, open your feed in the feed editor.
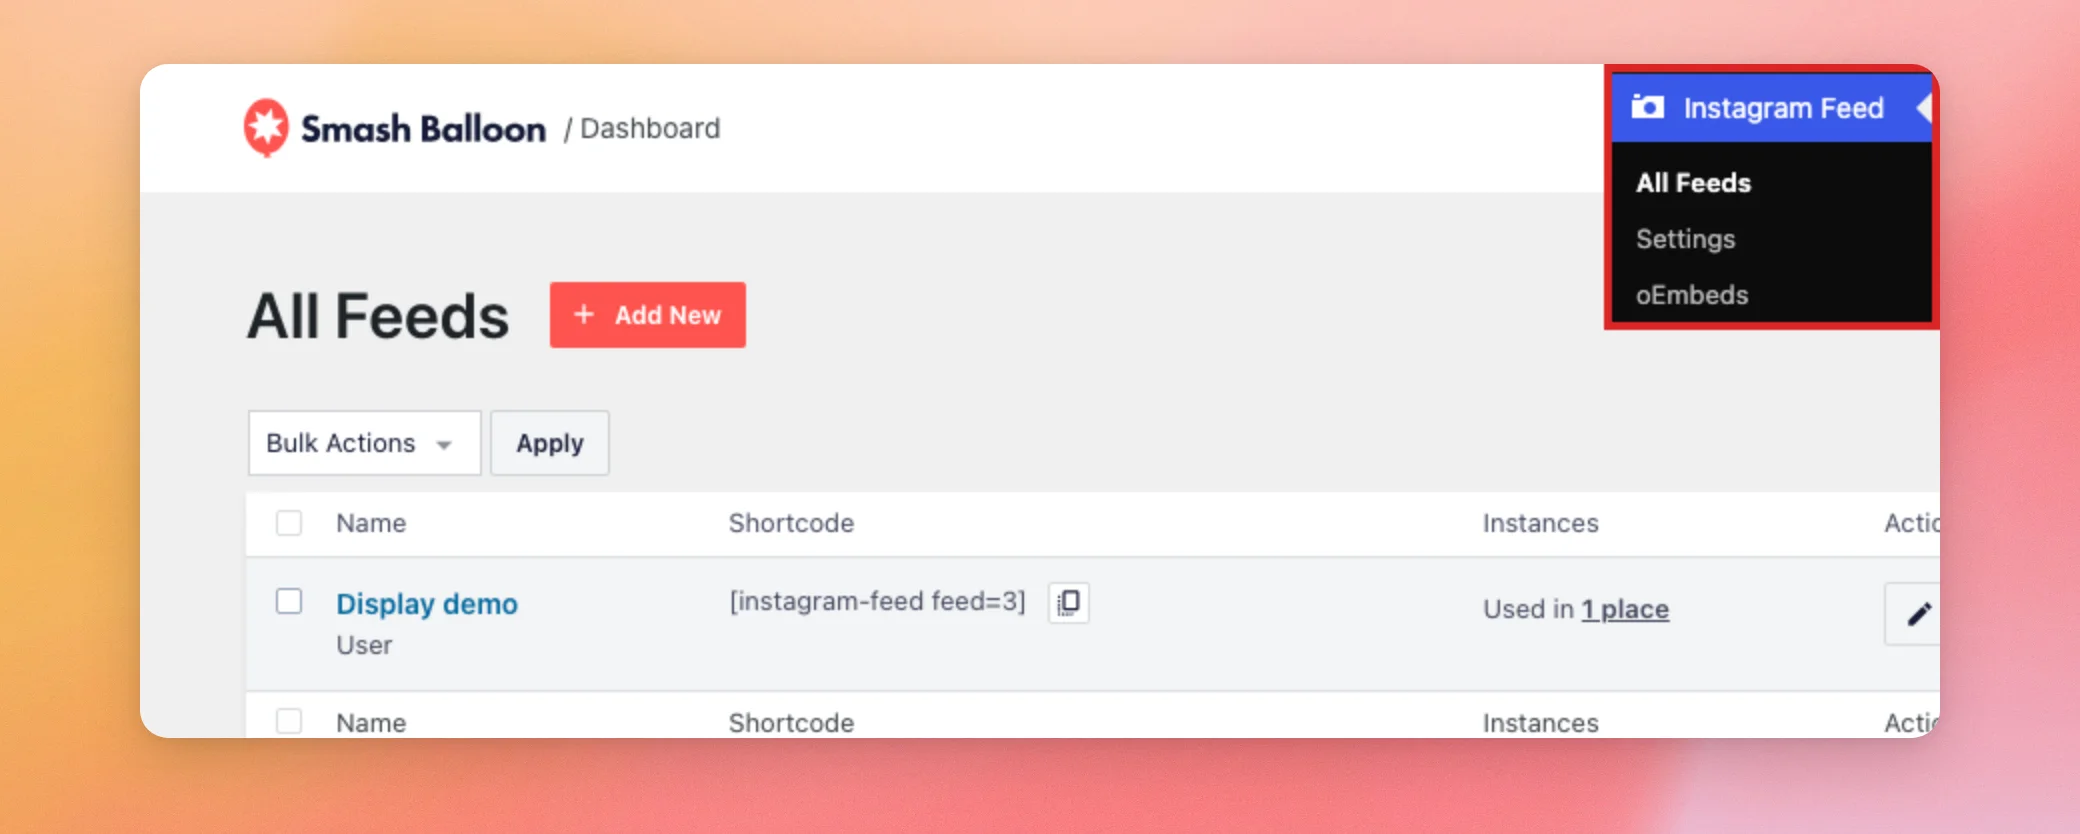
- In your WordPress dashboard, go to Instagram Feed » All Feeds.
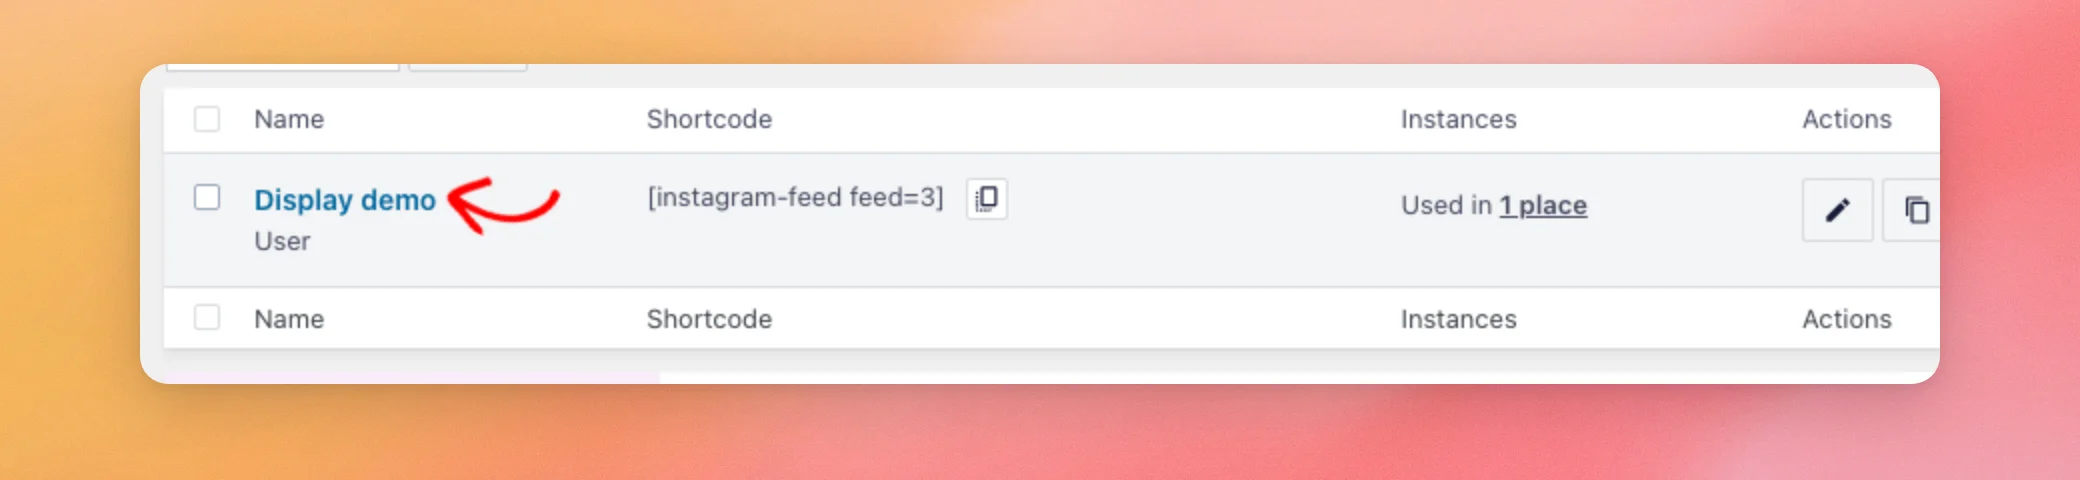
- Next, click the name of the feed you want to change.
- The feed editor opens on the Customize tab. In its list of sections, click Header.
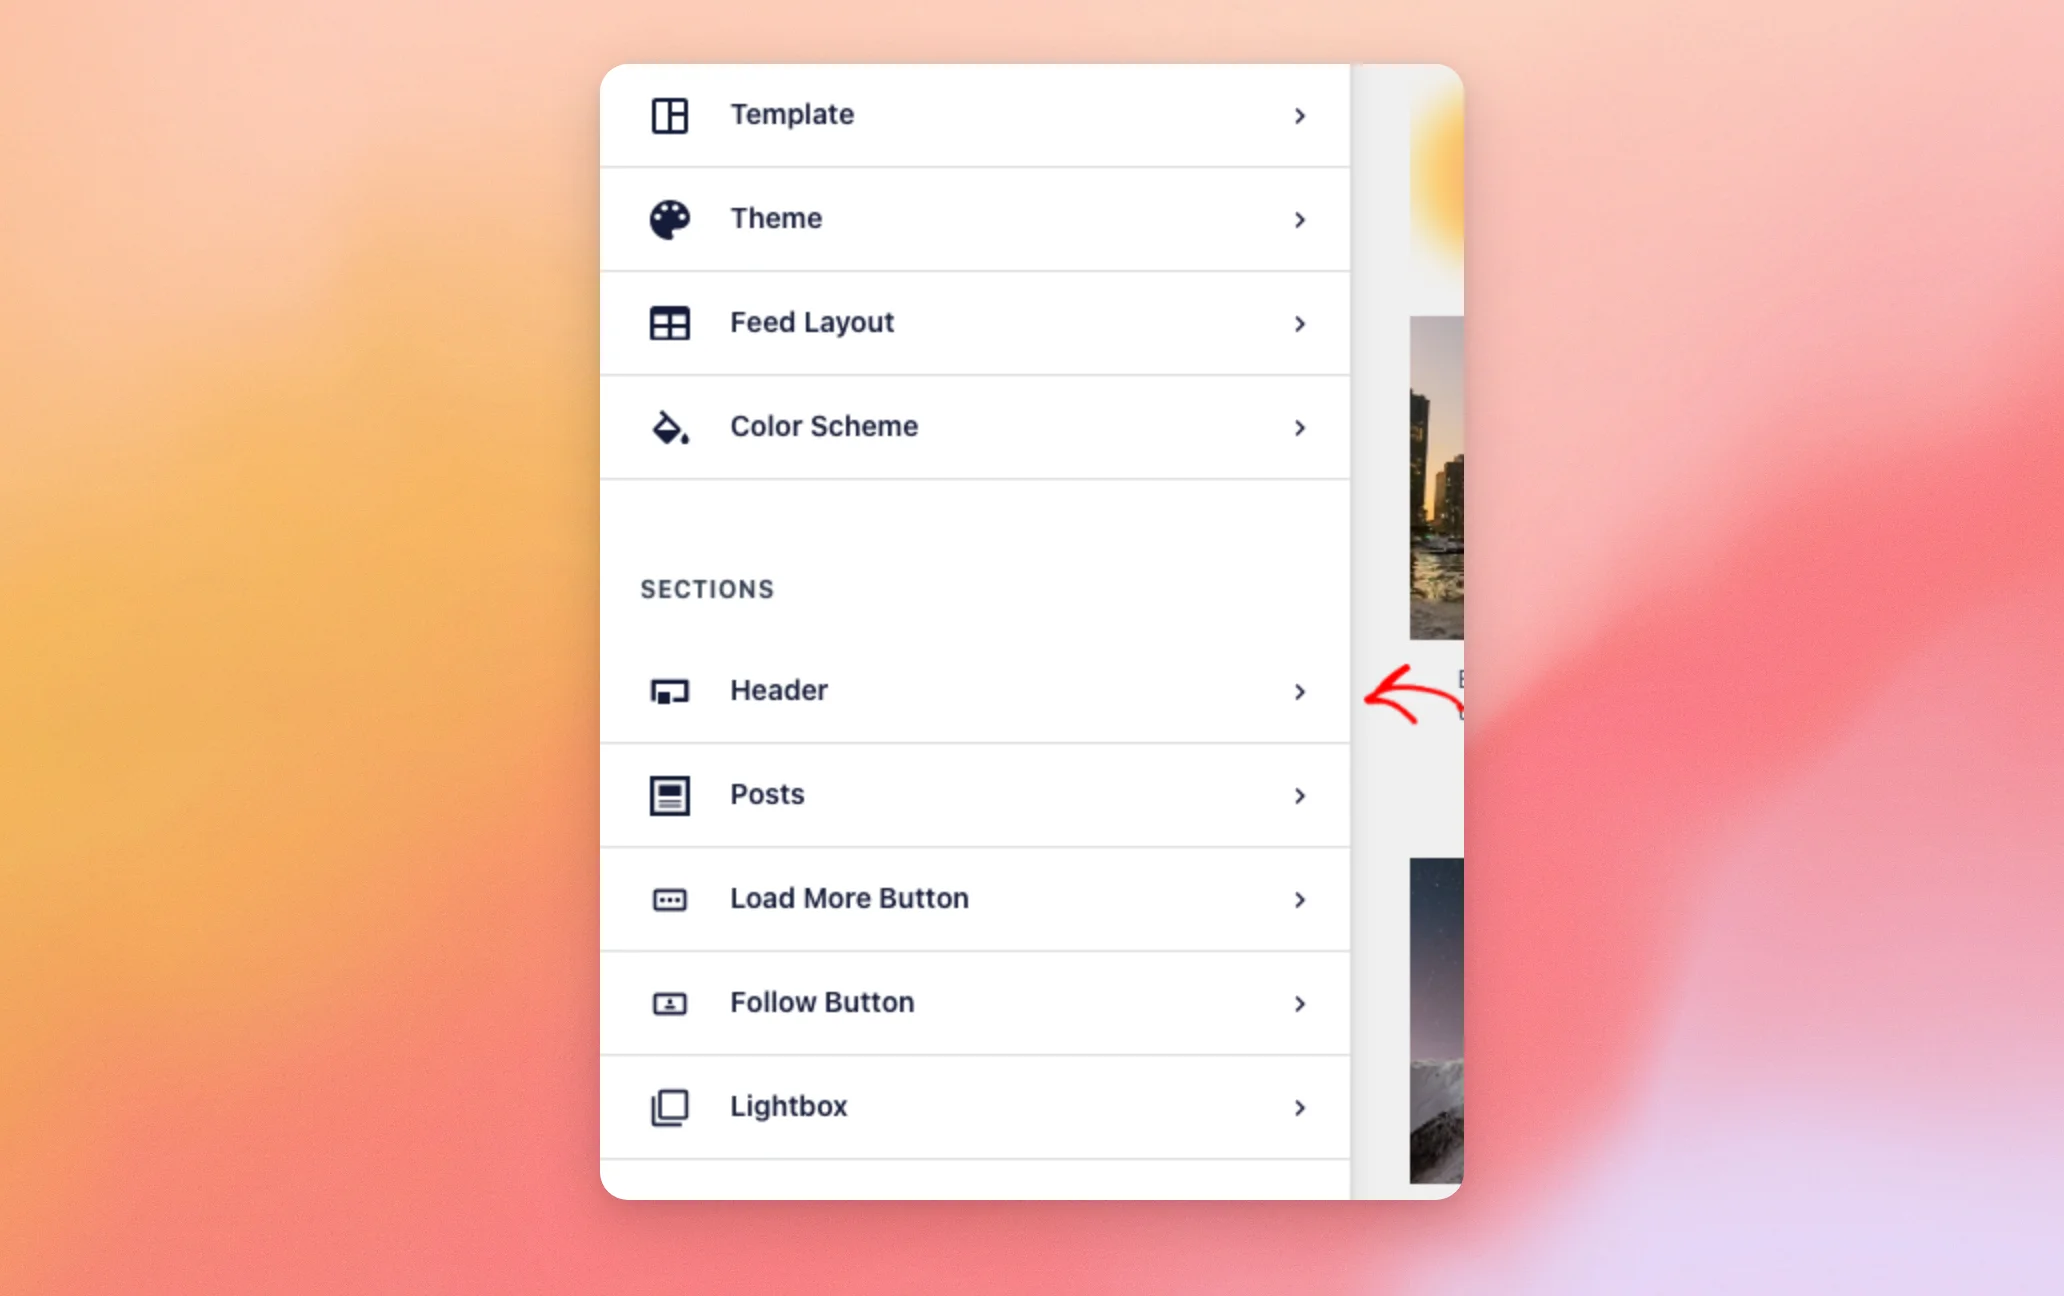
The Header section opens in the sidebar. The preview on the right shows each change as you make it.
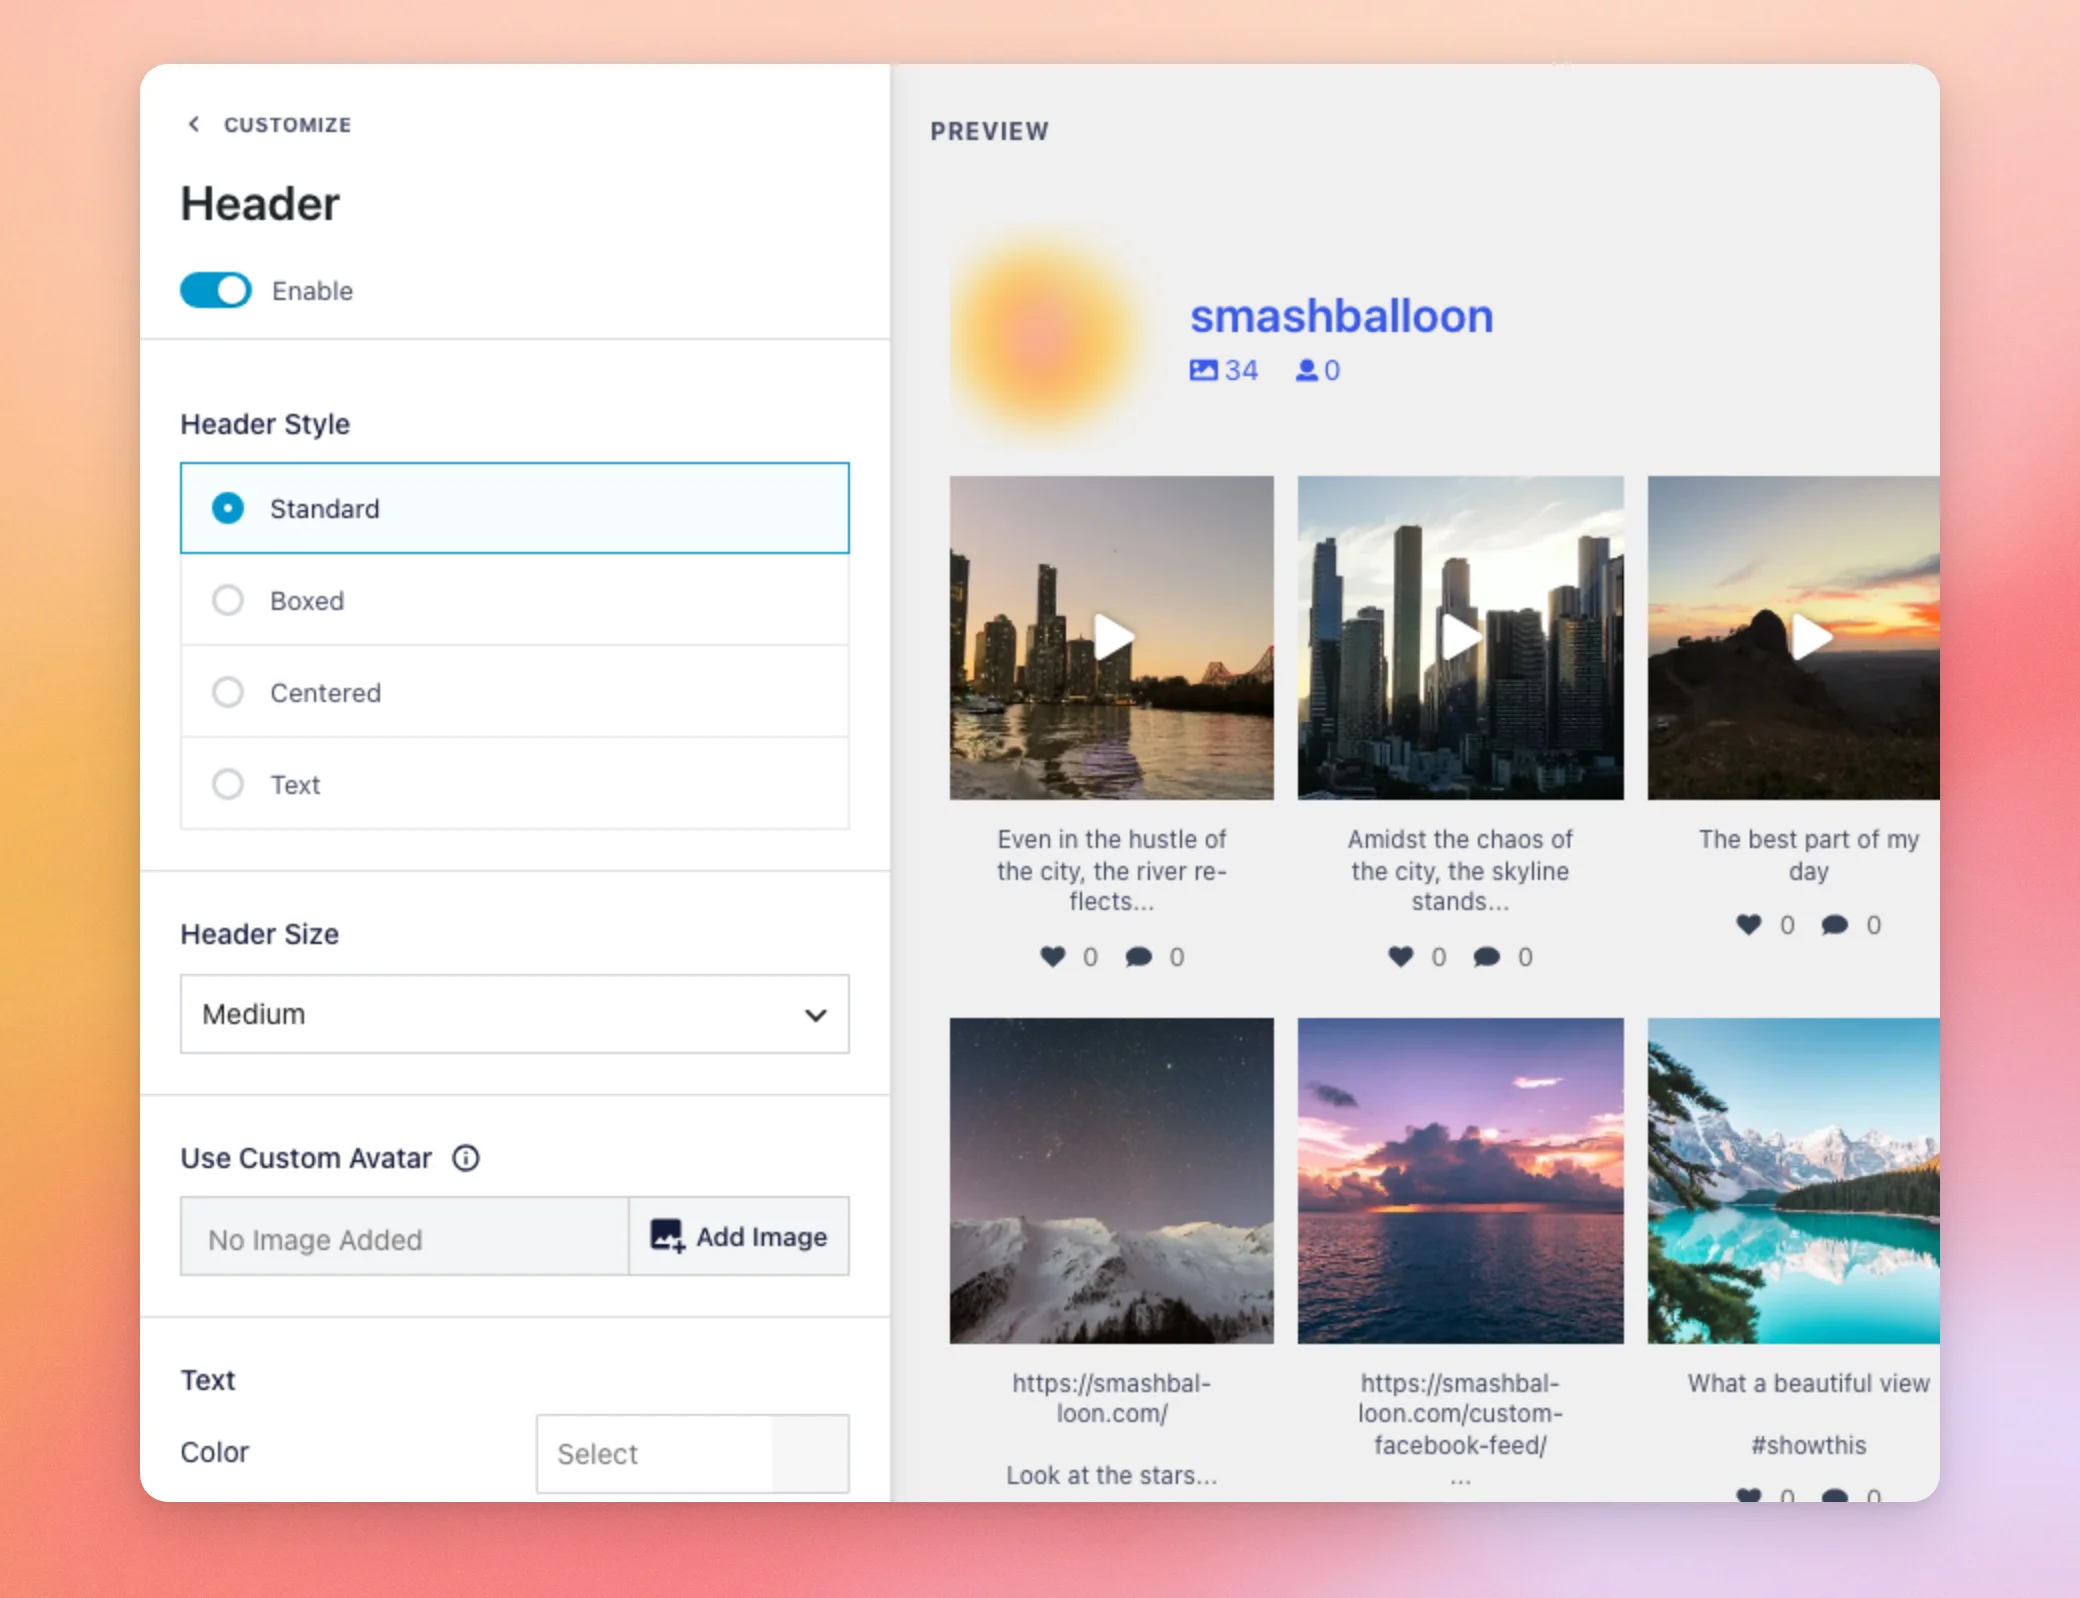
| Option | What it changes on your feed |
|---|---|
| Enable | Shows or hides the header. When it’s off, the other header options are hidden. |
| Header Style | Sets the header’s layout. Standard shows your profile picture with your name and bio beside it. Centered stacks them in the middle of the header. Boxed puts the header in a colored box. With the Default theme, a bar below the box holds the posts and followers counts and the Follow button. Text swaps the whole header for a line of text you type. |
| Header Size | Sets the size of the profile picture and the header text. The options are Small, Medium, and Large. |
| Use Custom Avatar | Shows an image you add here in place of your Instagram profile picture. It’s handy when Instagram doesn’t send a profile picture for your account. |
| Color | Under Text, sets the color of the name and bio text in the header. |
| Primary Color | Shows with the Boxed style. Sets the box’s background color. |
| Secondary Color | Shows with the Boxed style and the Default theme. Sets the background color of the bar below the box. |
Lower in the same section, you’ll find the options for the followers count, the bio, the header’s position, and stories.
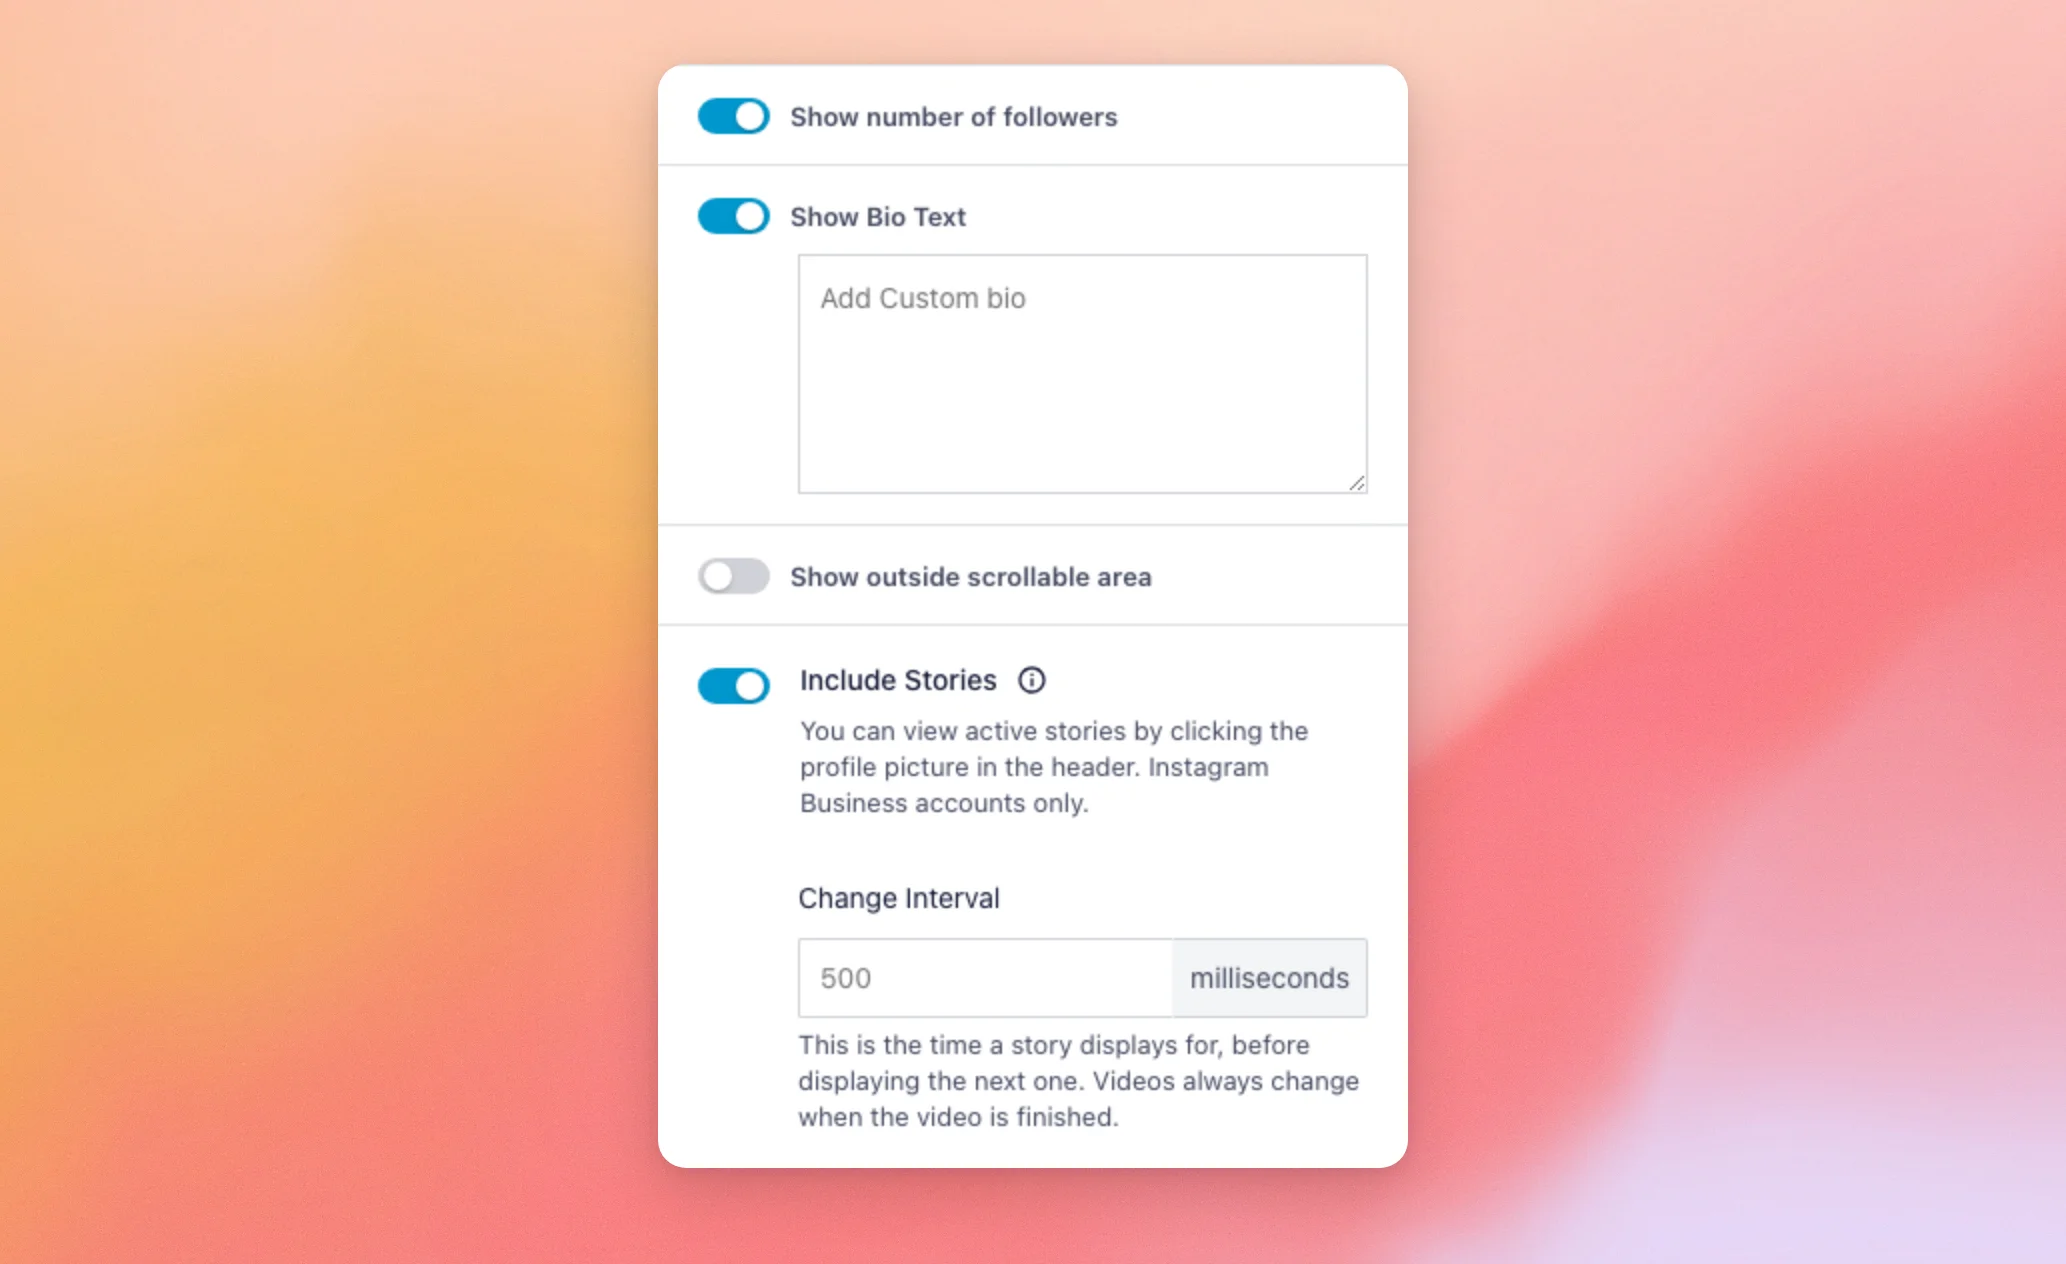
| Option | What it changes on your feed |
|---|---|
| Show number of followers | Shows your followers count in the header. |
| Show Bio Text | Shows the bio in the header. When it’s on, the Add Custom bio box lets you type your own bio in place of the one from Instagram. It’s also how you show a bio when Instagram doesn’t send one. |
| Show outside scrollable area | When your feed has a set Feed Height (in the Feed Layout section), your posts scroll inside the feed. To keep the header above that scrolling area, turn this on. The header then stays in view. |
| Include Stories | Lets visitors view your active Instagram stories by clicking the profile picture in the header. This works with Instagram Business accounts only. To learn more, see our guide on showing Instagram stories. |
| Change Interval | Shows when Include Stories is on. Sets how long each story shows before the next one, in milliseconds. The lowest value is 500. When the box is empty, each story shows for 5000 milliseconds (five seconds). Videos always play to the end before the next story. |
Header Size, Use Custom Avatar, the text Color, and the options in the second table show with the Standard, Boxed, and Centered styles. With the Text style, the section shows three options instead. Text is the line the header shows, and Size and Color set how it looks.
With any style but Text, a hashtag feed’s header shows the hashtag in place of your profile picture, name, and bio. If your header doesn’t show on your site, see why the header and Follow button aren’t showing. If your profile picture is missing, see what to do when your profile picture is missing.
Changing the Captions
The caption is the text that shows under each post. Its options are in the Posts section. From any section, the Customize link at the top of the sidebar takes you back to the list of sections.
- In the Customize tab’s list of sections, click Posts.
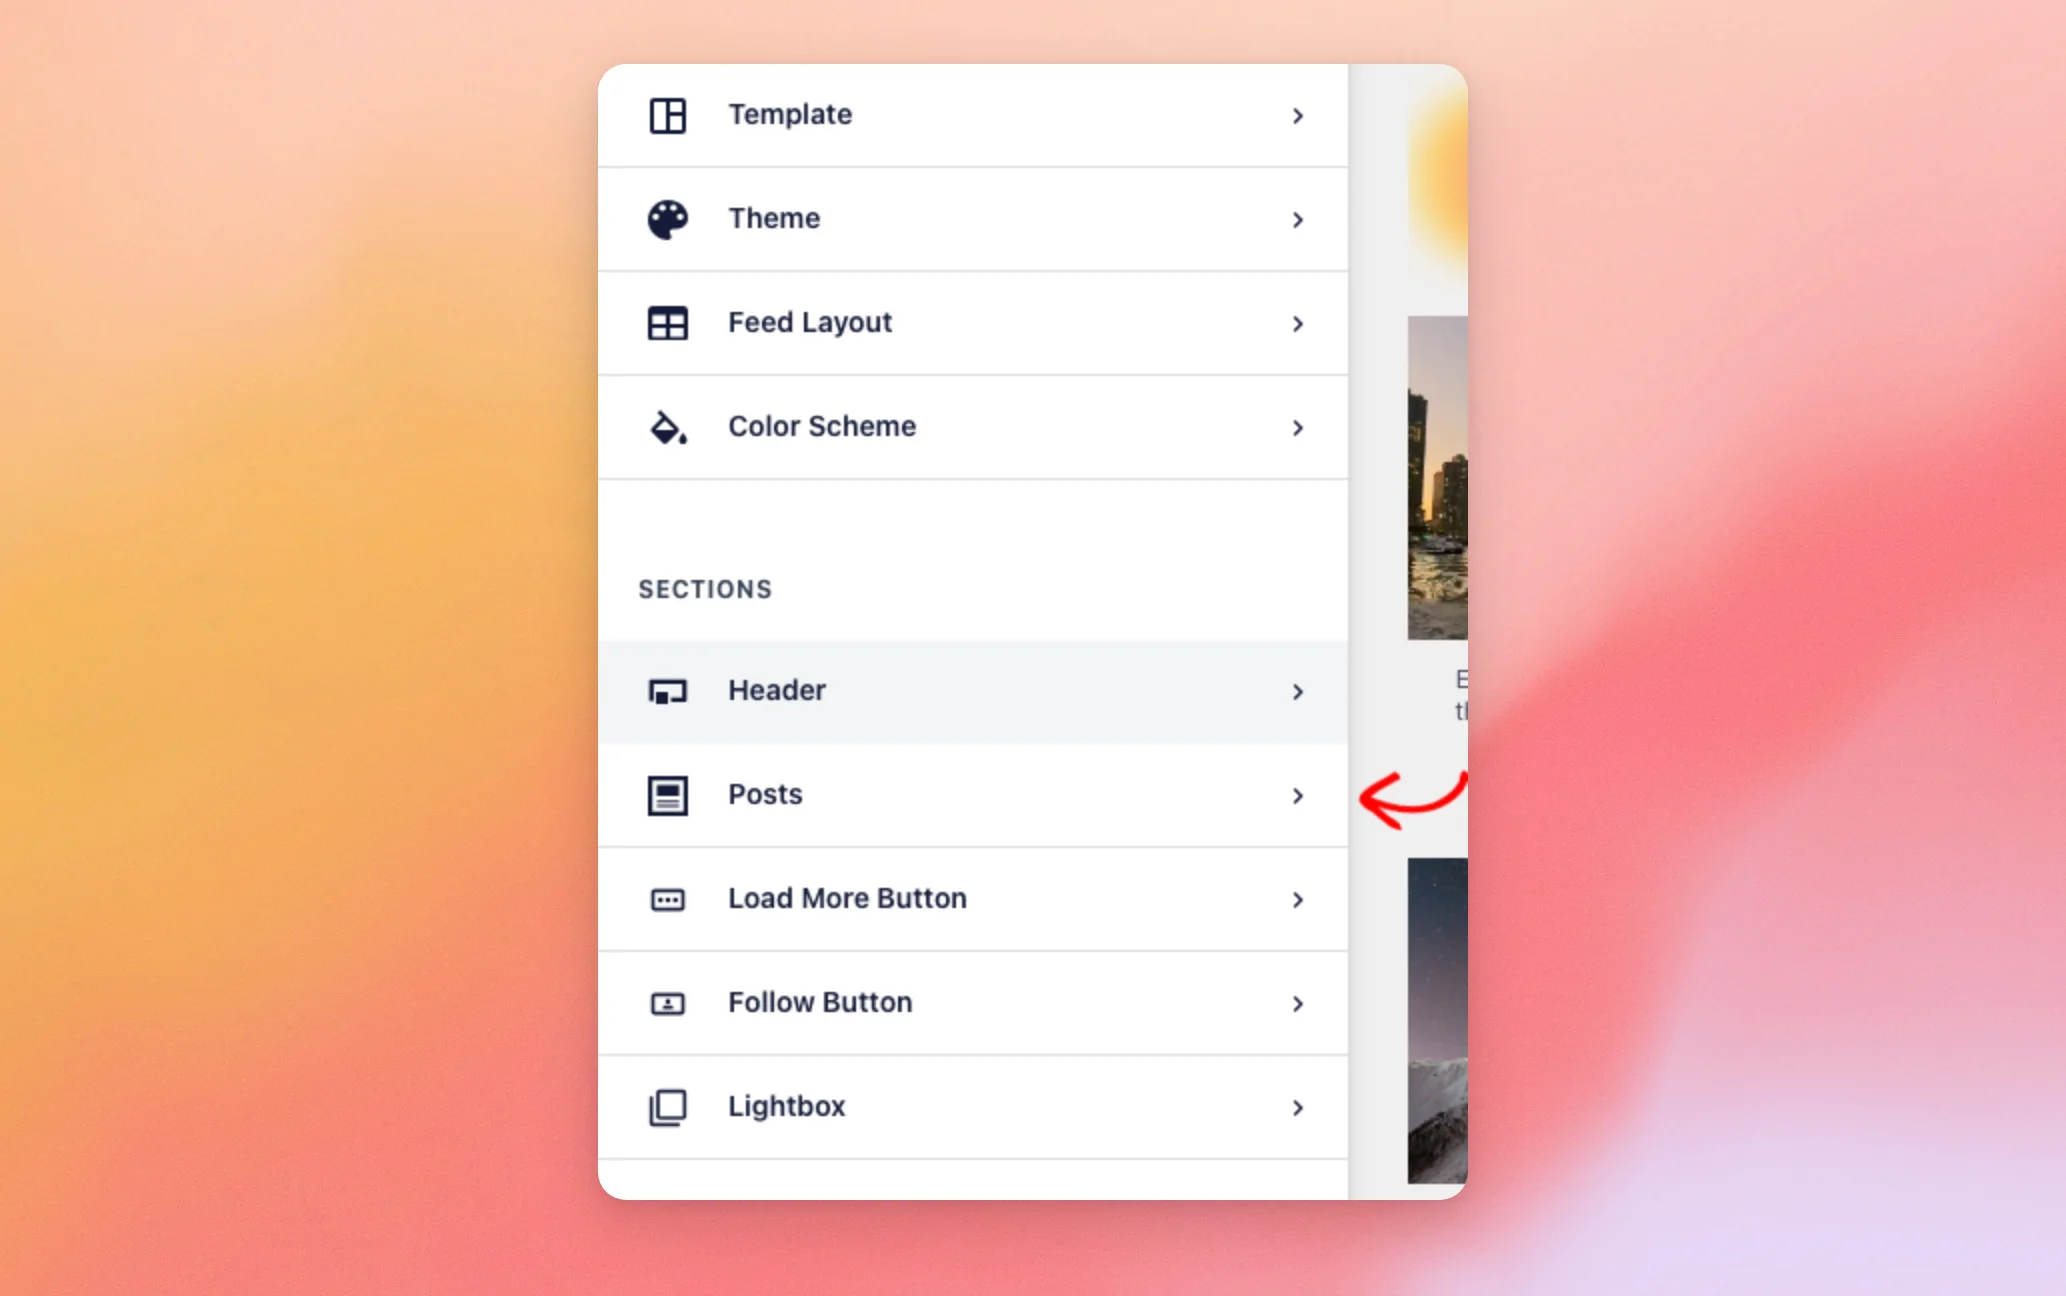
- The Posts section lists its parts. Next, click Caption.
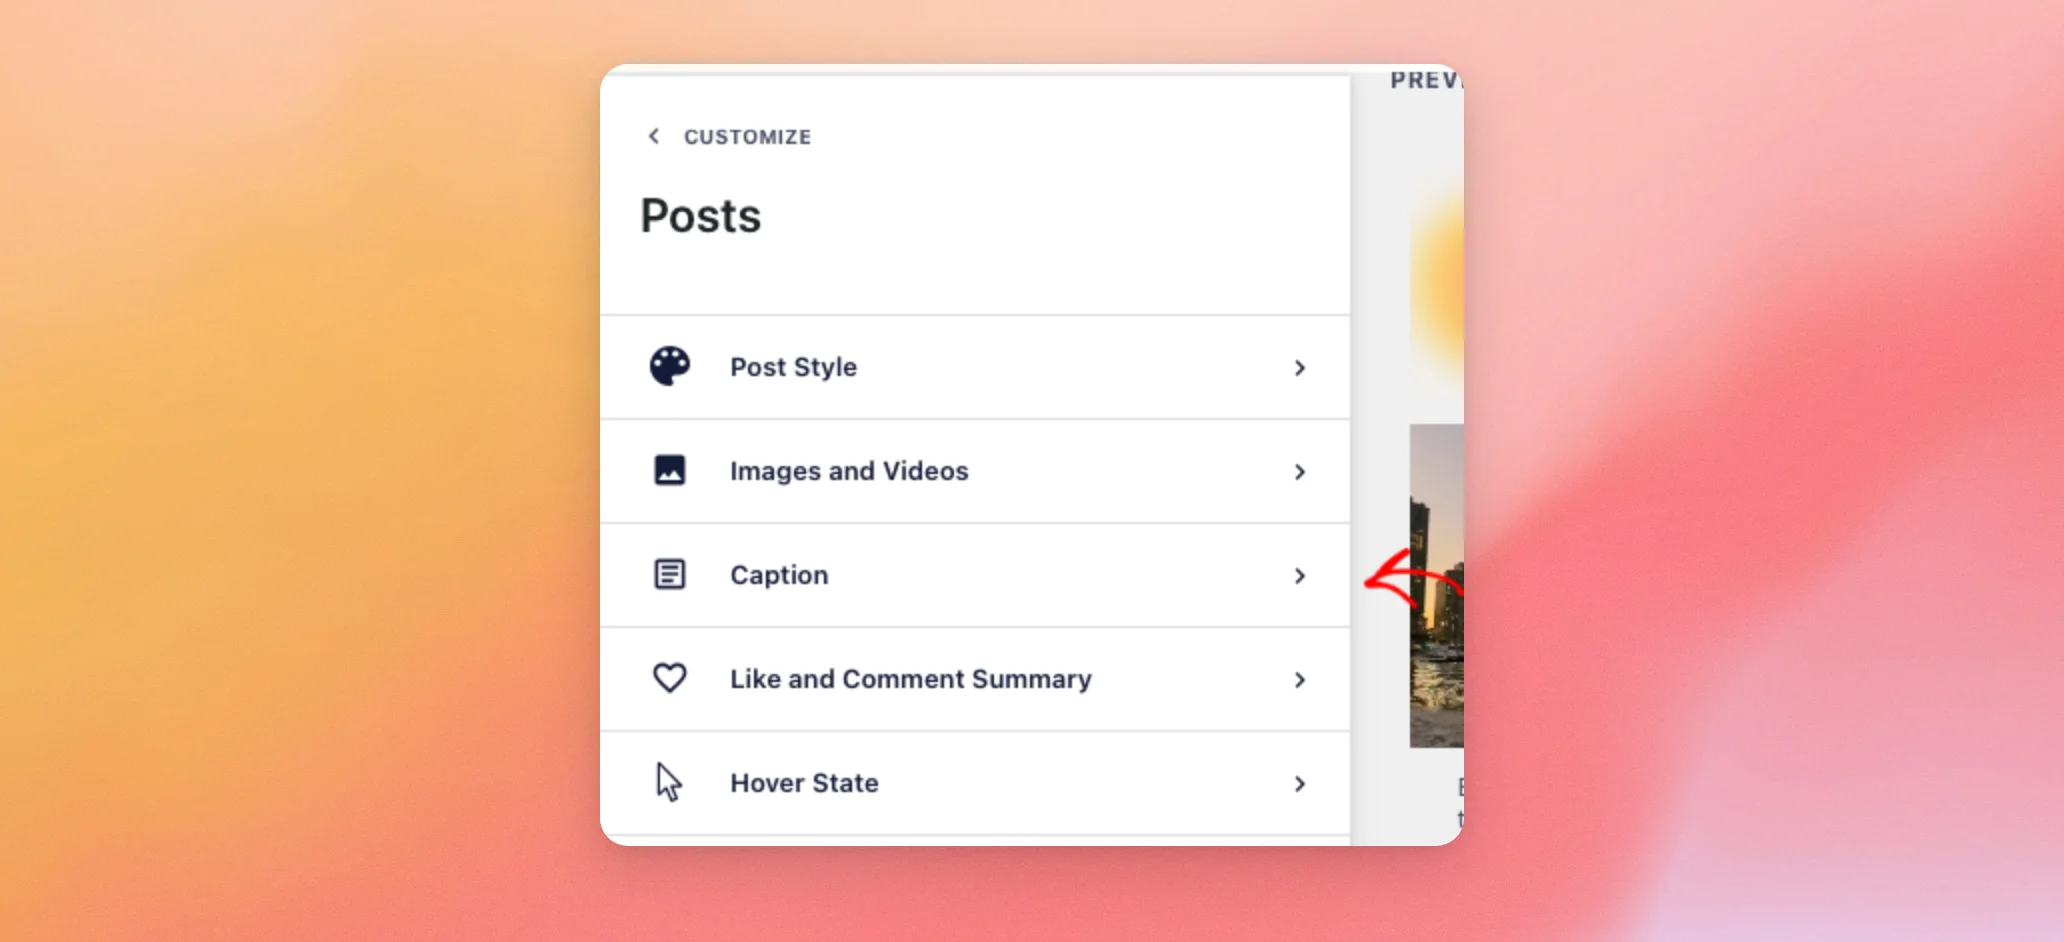
The Caption section opens next to the posts in the preview.
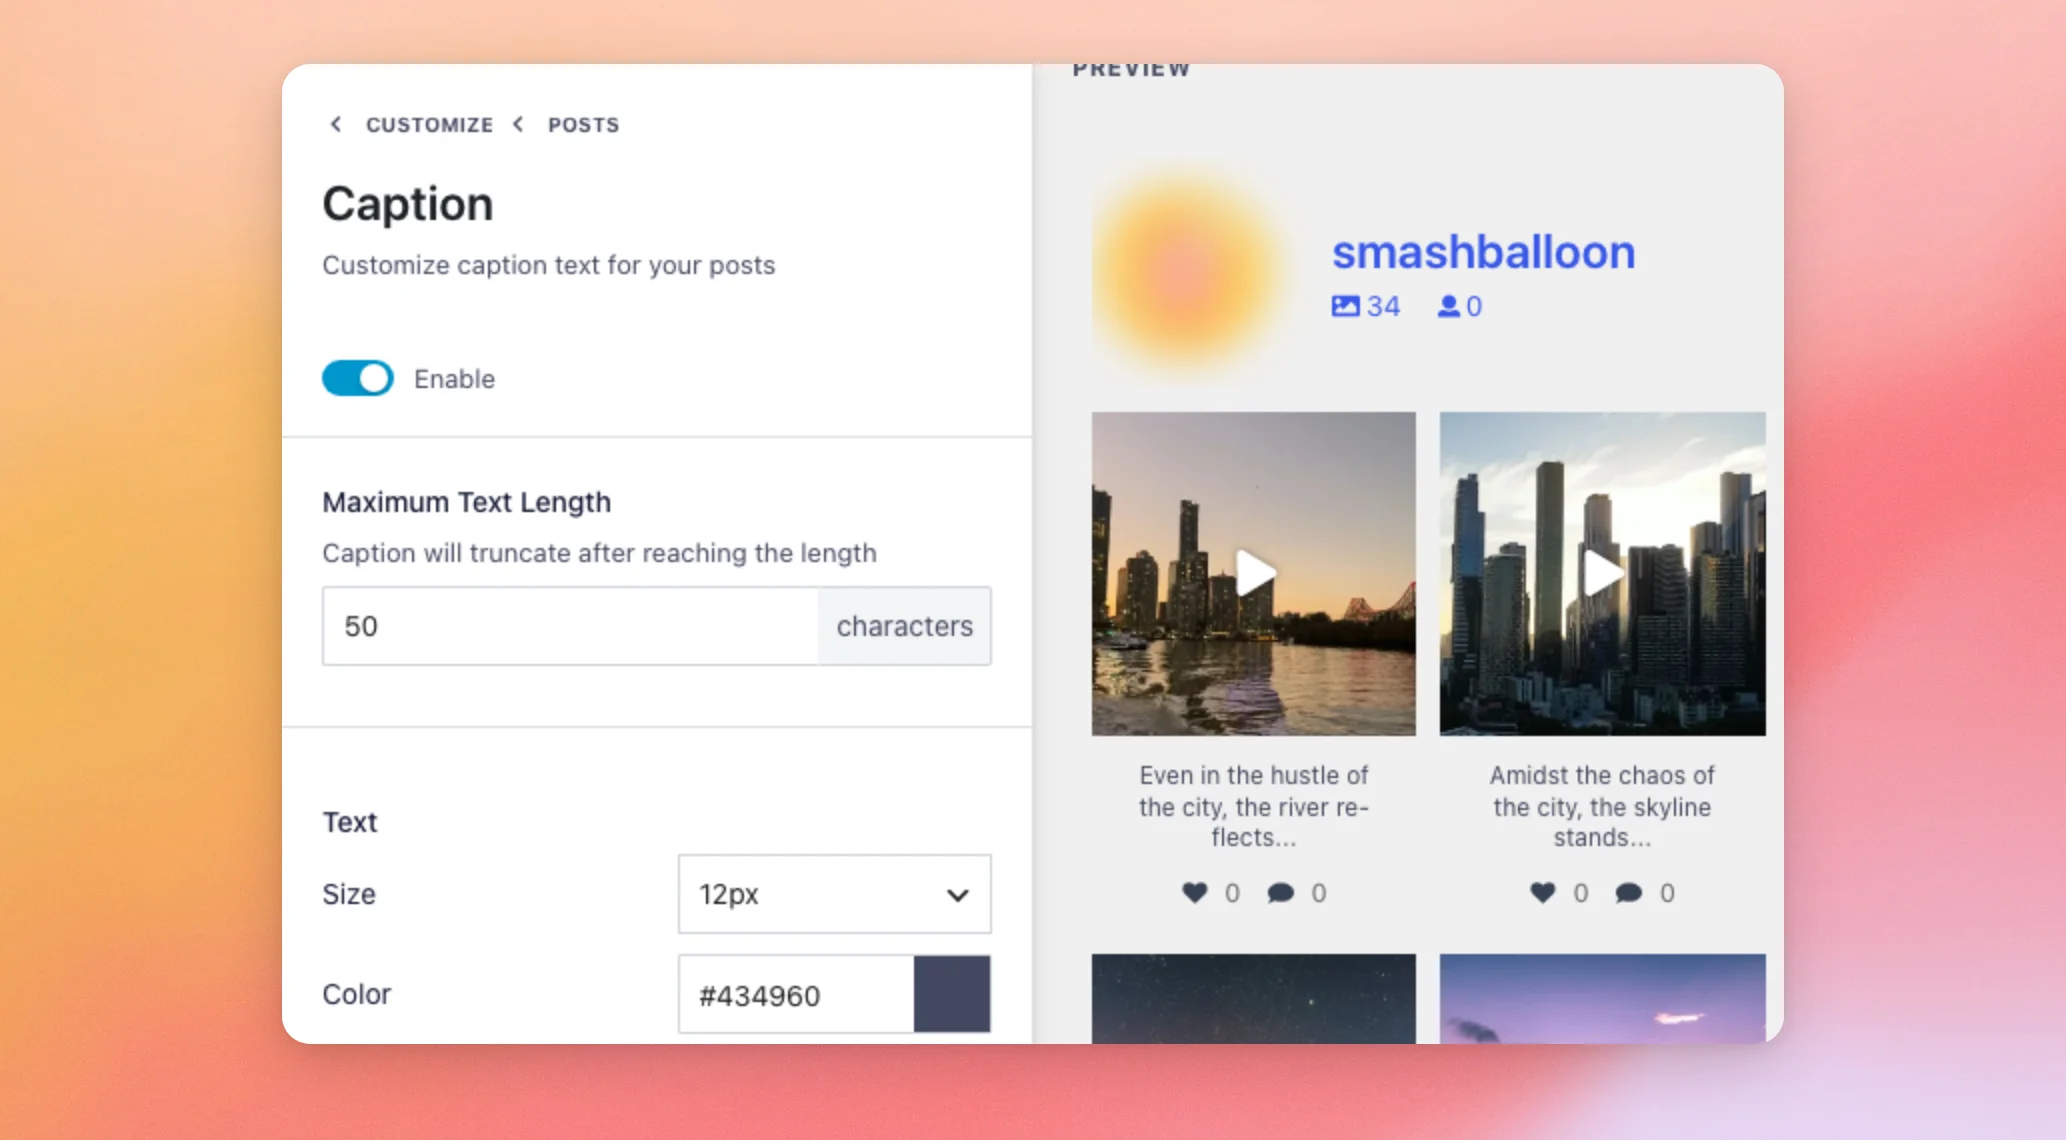
| Option | What it changes on your feed |
|---|---|
| Enable | Shows or hides the caption under each post. You can turn it on or off with the Grid, Carousel, and Masonry layouts. |
| Maximum Text Length | Sets how many characters of each caption show. The caption is cut off after that number. |
| Size | Under Text, sets the size of the caption text. |
| Color | Sets the color of the caption text. |
The Highlight layout hides the caption under each post.
Changing the Like and Comment Summary
The like and comment summary shows the number of likes and comments under each post, each with its own icon. Its options are in the Posts section too. From the Caption section, the Posts link at the top of the sidebar takes you back there.
- In the Posts section, click Like and Comment Summary.
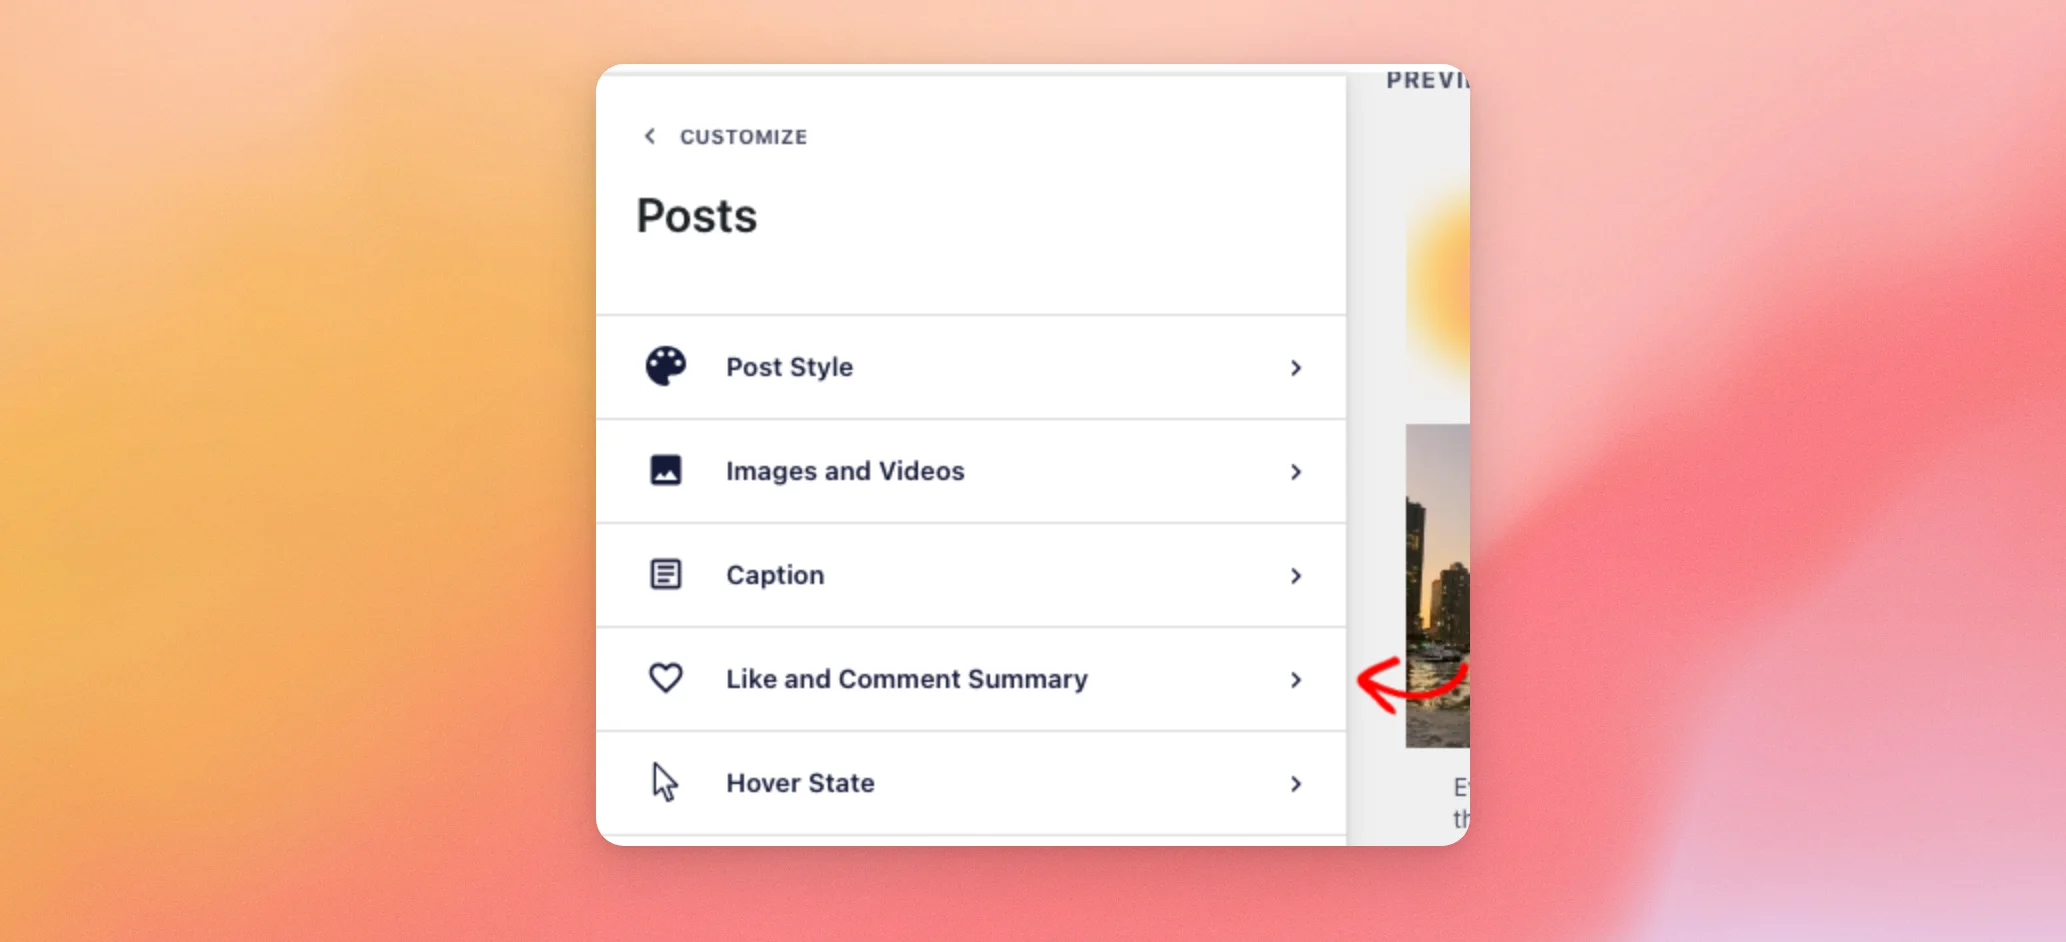
The Like and Comment Summary section opens next to the posts in the preview.
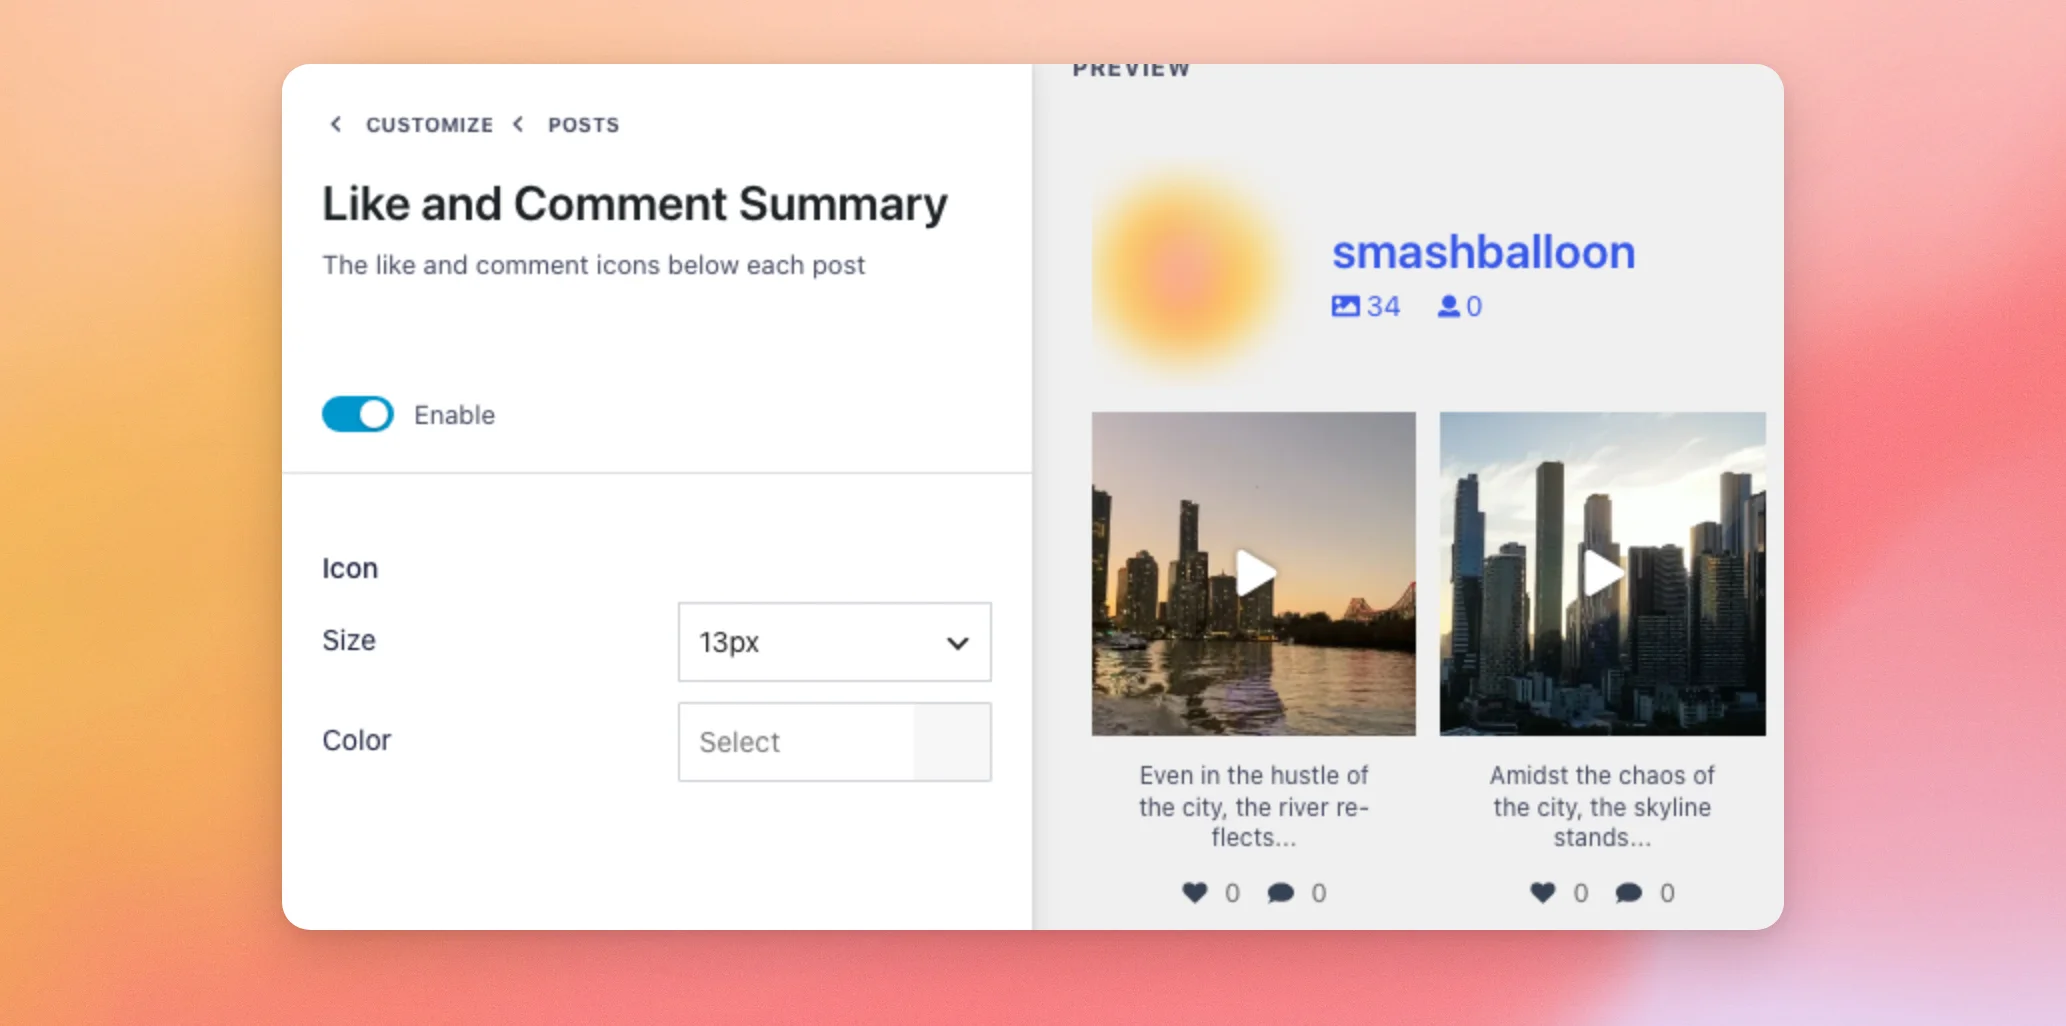
| Option | What it changes on your feed |
|---|---|
| Enable | Shows or hides the like and comment counts under each post. You can turn it on or off with the Grid, Carousel, and Masonry layouts. |
| Size | Under Icon, sets the size of the like and comment icons. |
| Color | Sets the color of the icons. |
Note: Like and comment counts work with Business accounts only. A post shows its counts only when Instagram sends them to your site. To show the counts in the pop-up lightbox too, see how to add like and comment counts to the lightbox.
To give the icons a different color only on posts that have a like or comment, see how to change the color of the icons when a photo has a like or comment.
To turn the lightbox on or off for a feed or show comments in it, see Setting Up the Instagram Feed Lightbox.
Changing the Hover State
The hover state is what shows over a post when a visitor moves their mouse over it.
- In the Posts section, click Hover State.
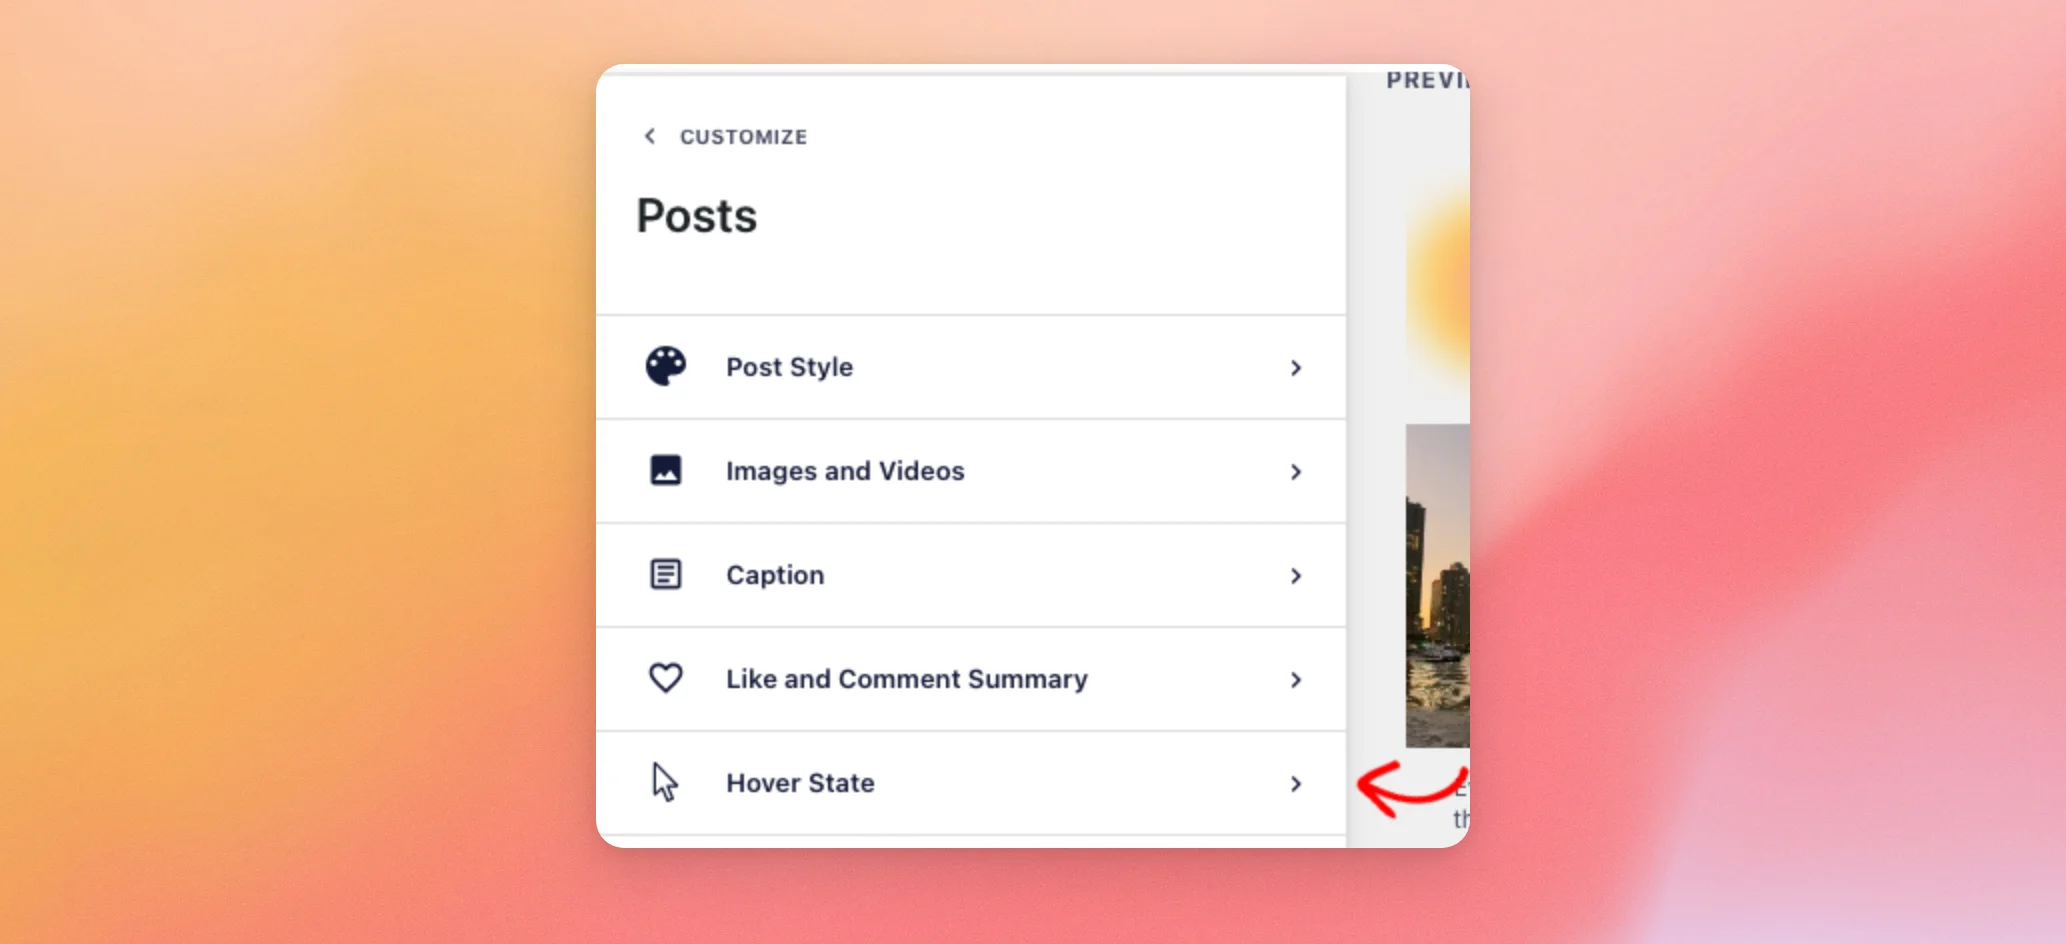
The Hover State section opens in the sidebar.
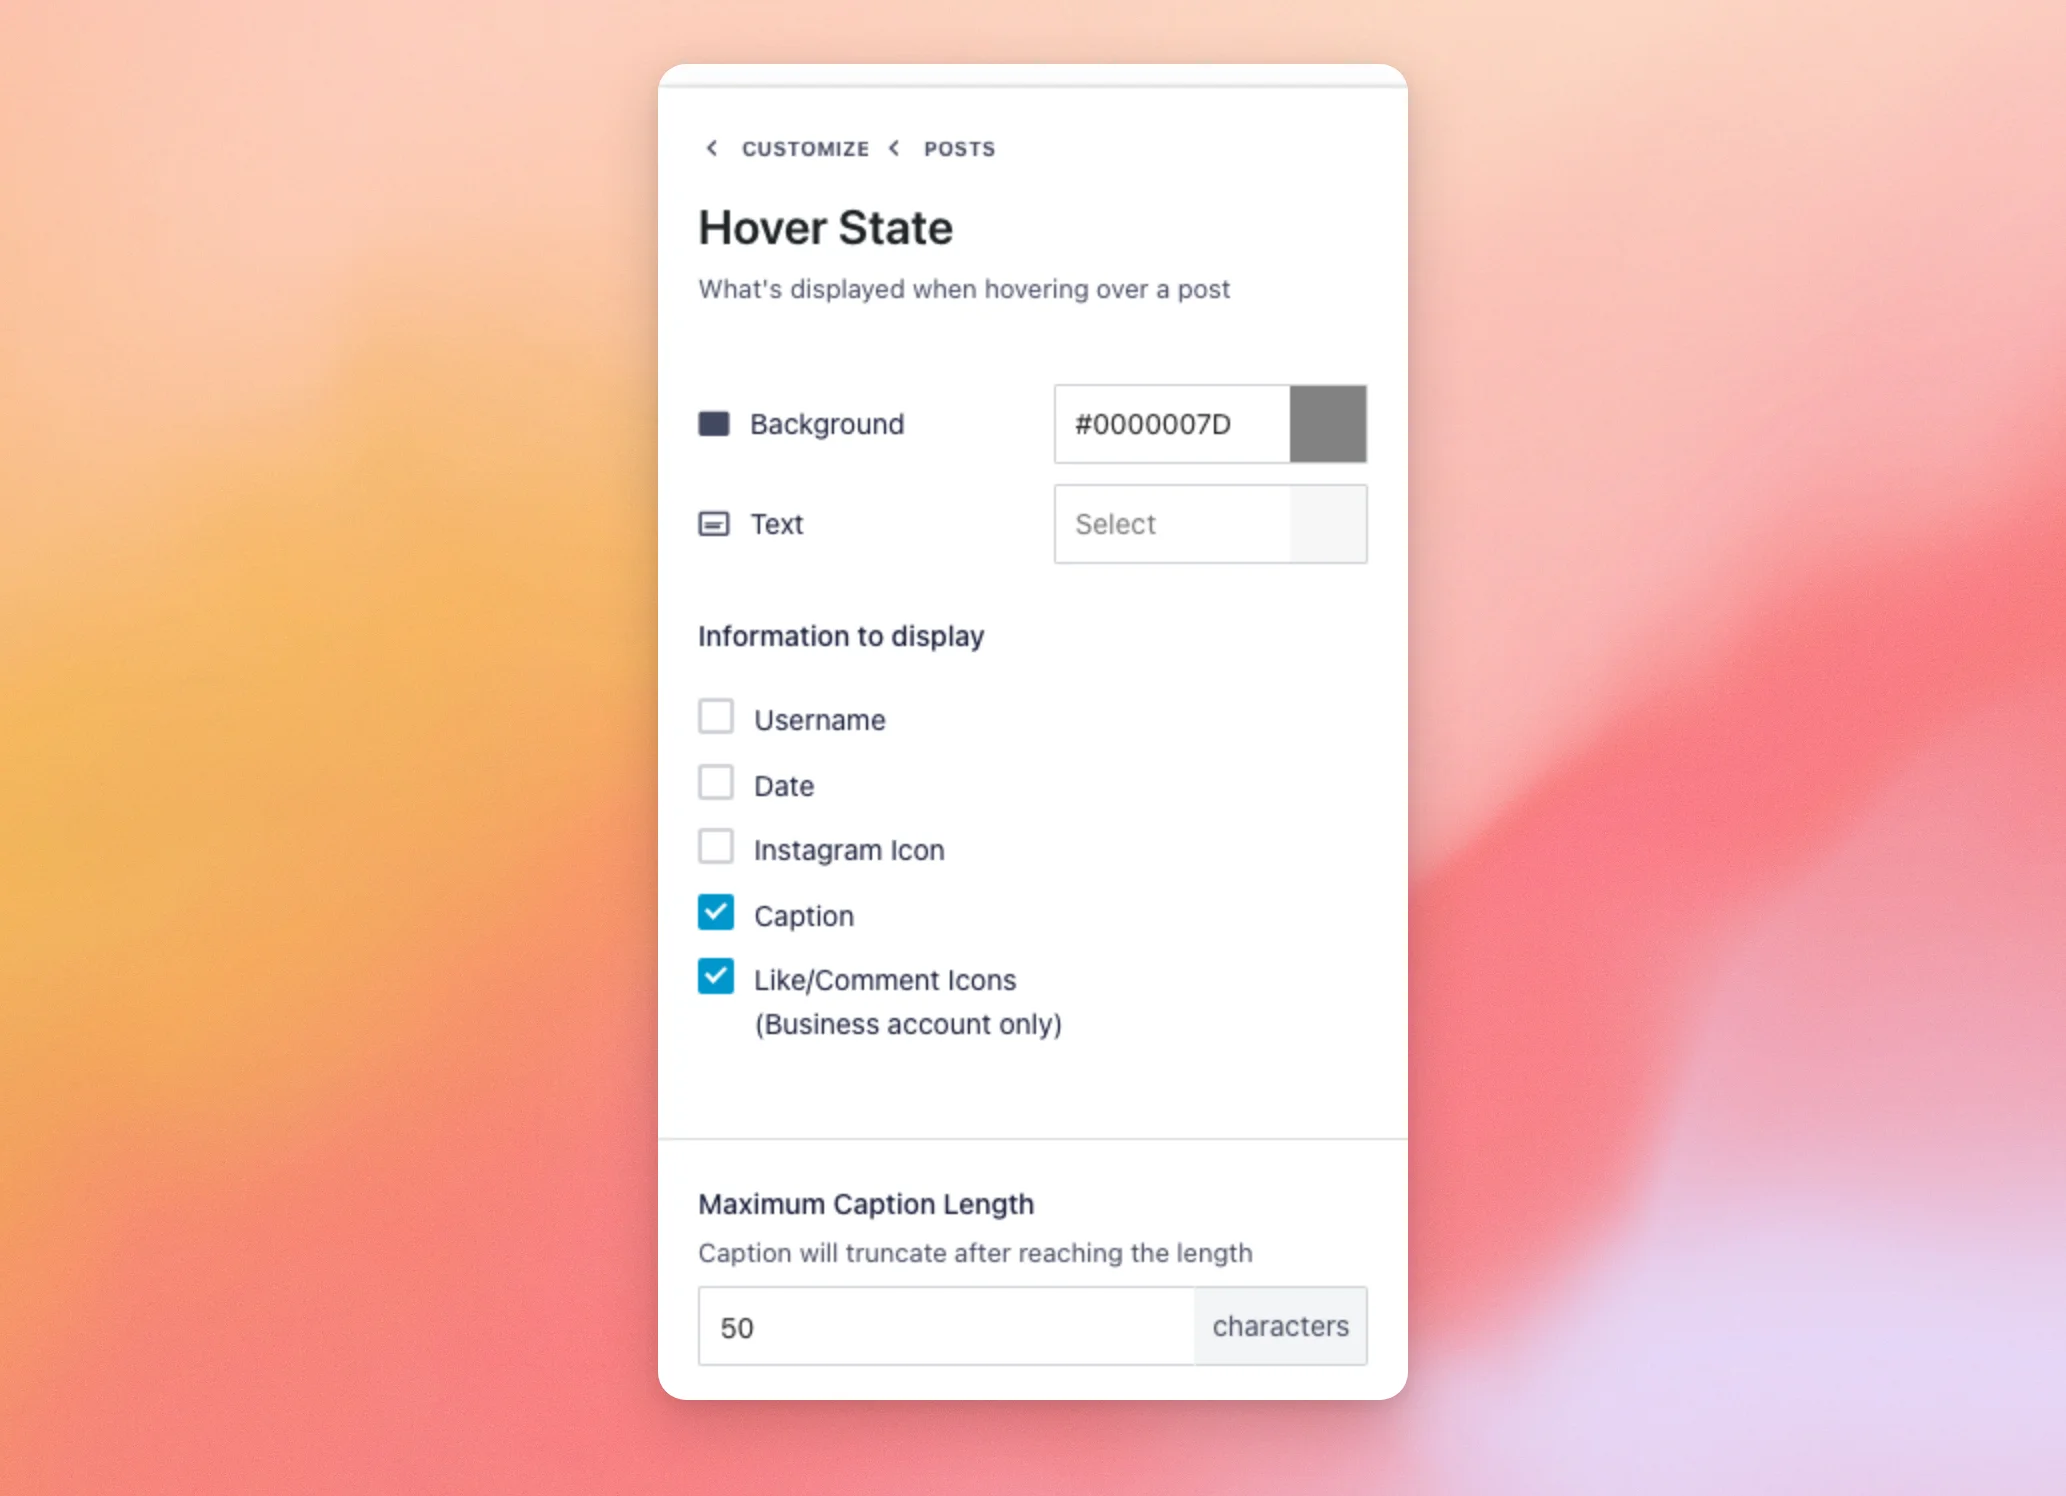
| Option | What it changes on your feed |
|---|---|
| Background | Sets the color of the layer that covers a post on hover. |
| Text | Sets the color of the text on that layer. |
| Information to display | Picks what shows on hover. The choices are Username, Date, Instagram Icon, Caption, and Like/Comment Icons. Like/Comment Icons works with Business accounts only. |
| Maximum Caption Length | Sets how many characters of the caption show on hover. You can change it when Caption is checked. The caption is cut off after that number. |
With Date checked, the hover layer shows the month and day the post went up, without the year. The Date option works only when your feed uses the Default theme, which you can check in the Theme section of the Customize tab. To show the date in another format, see how to change the date format shown on hover.
Saving and Viewing Your Feed
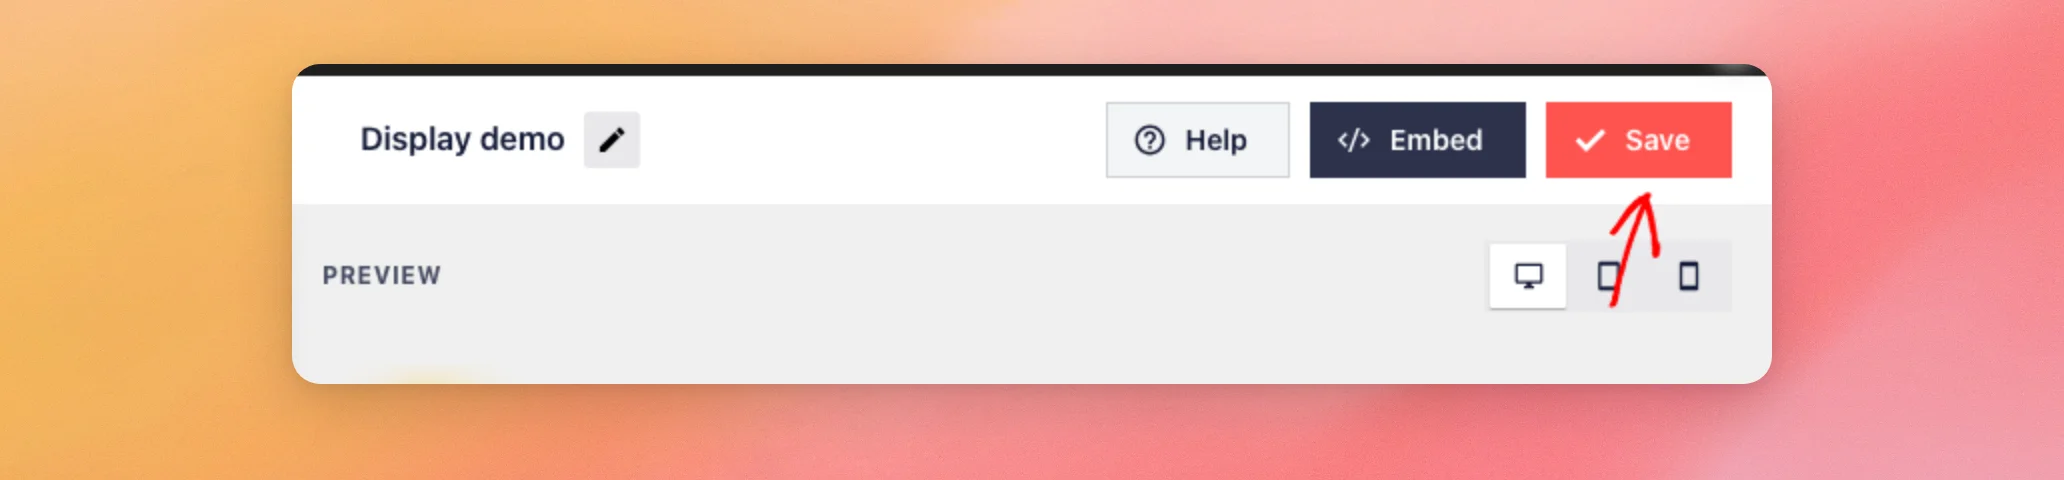
The editor doesn’t change your feed on your site until you save.
- When you’re done, click Save at the top of the editor.
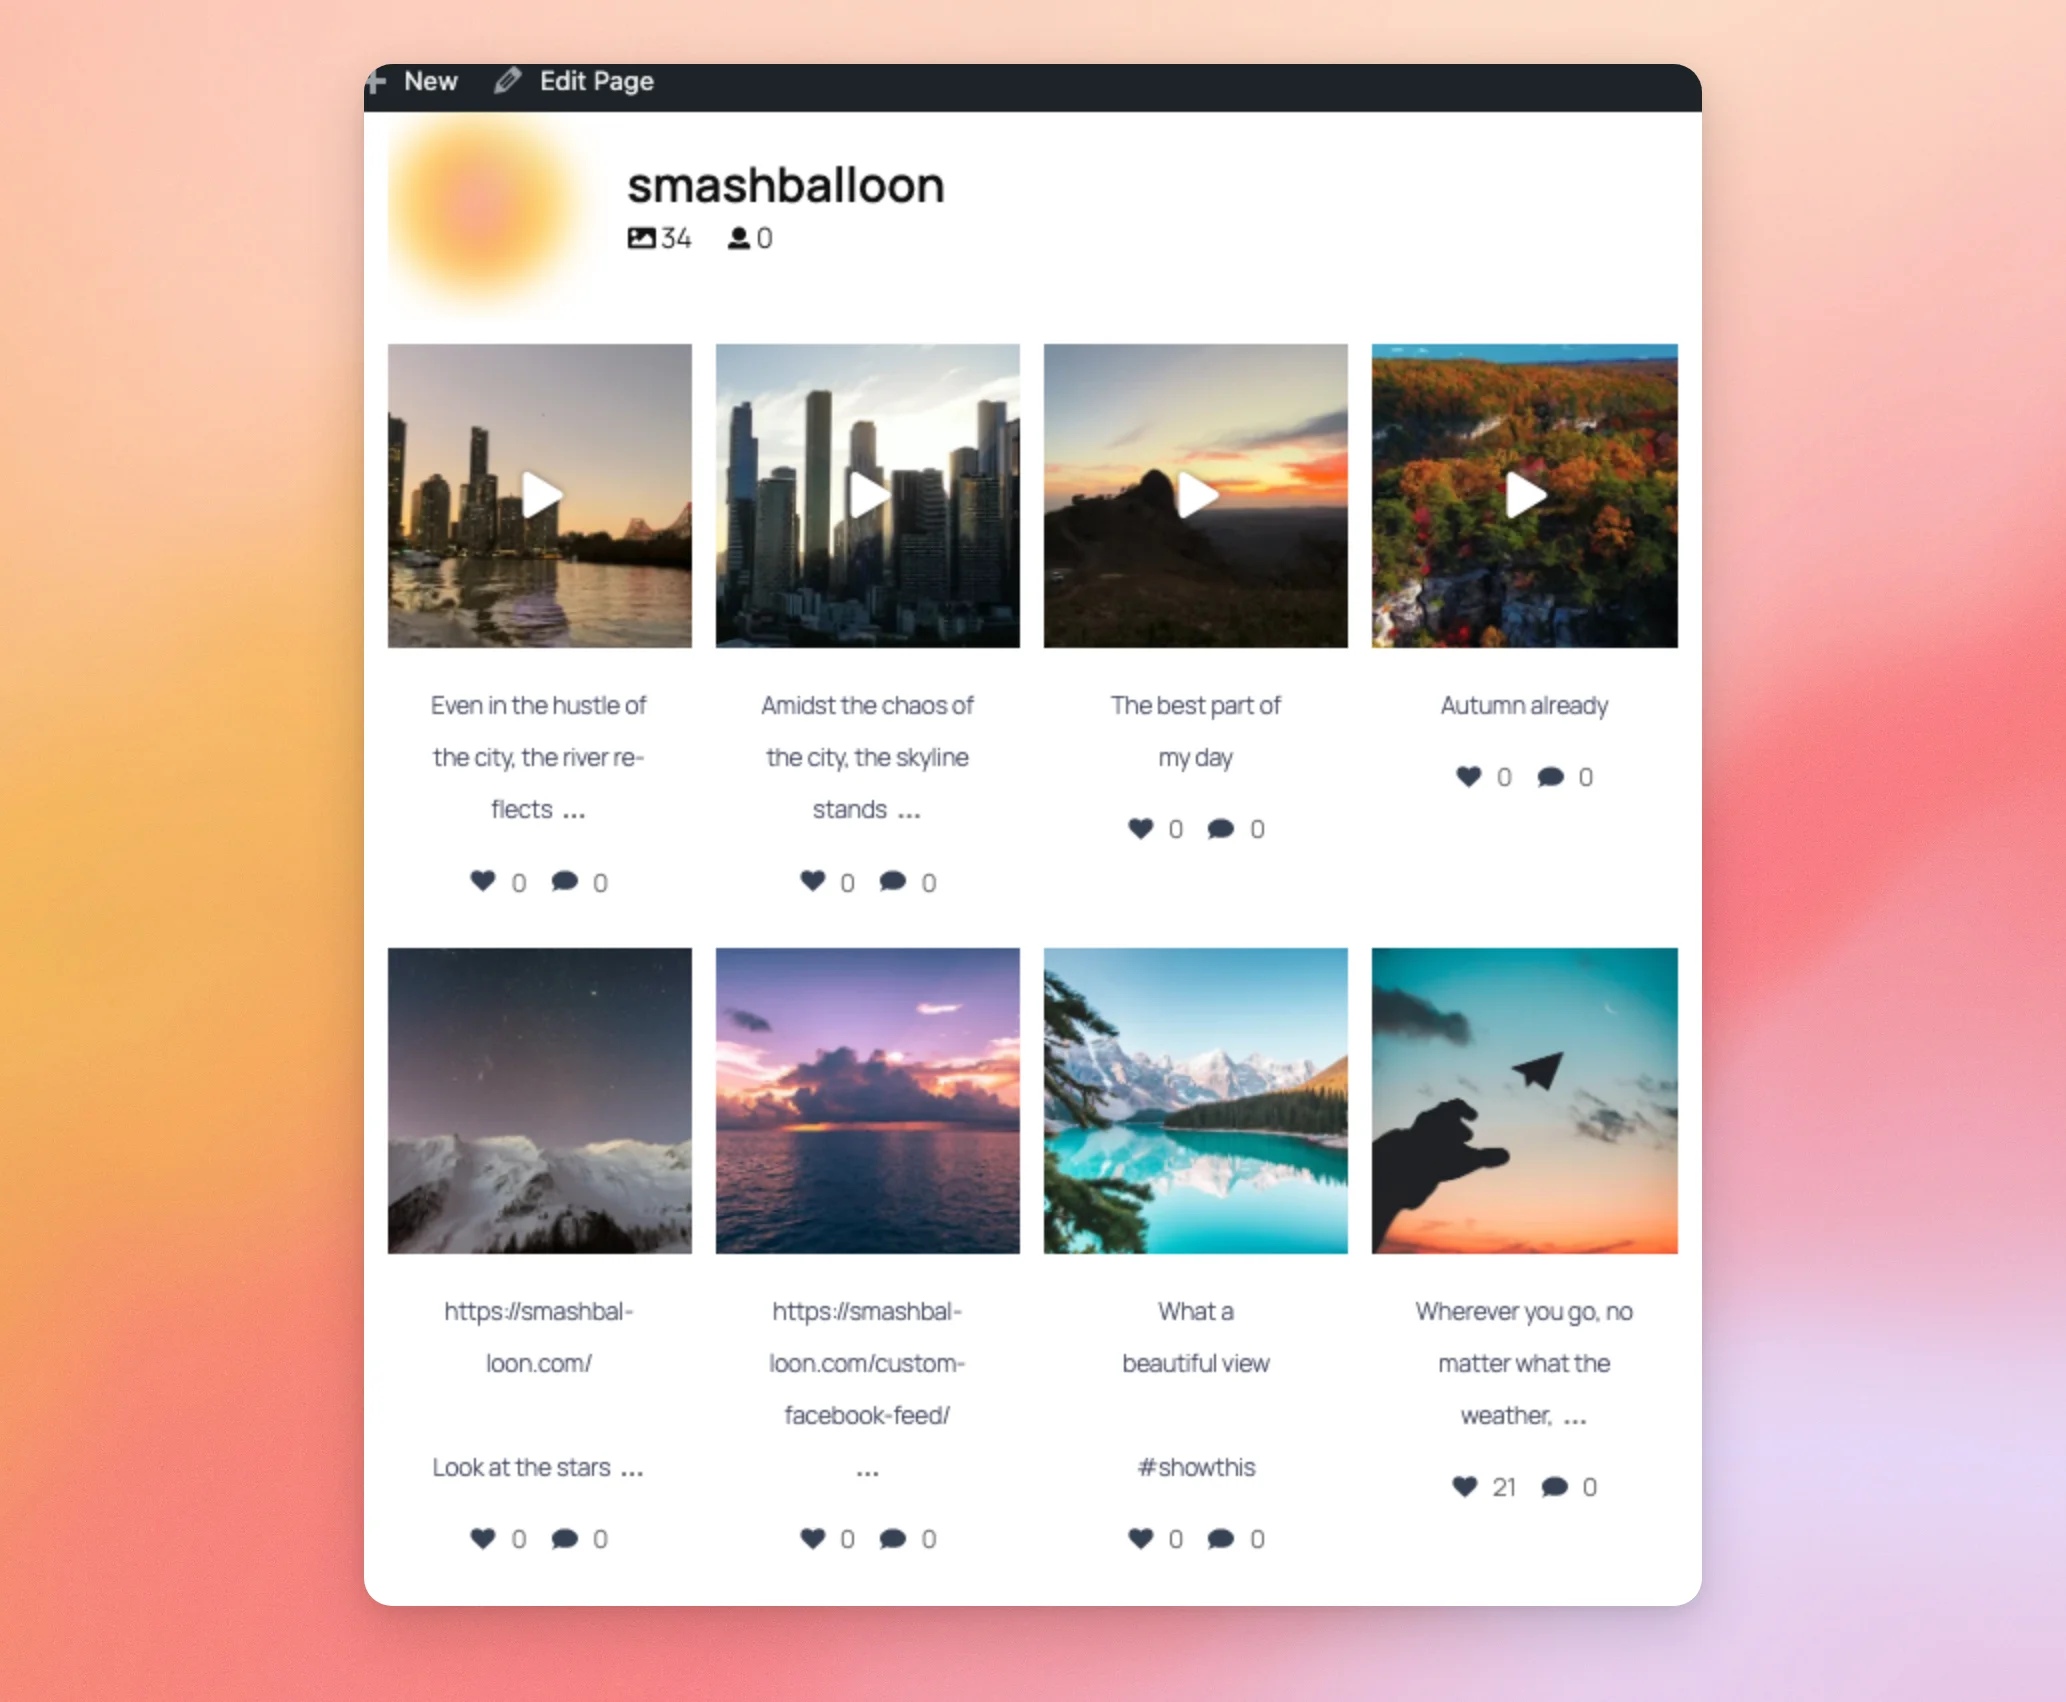
After you save, your feed shows the new options on every page where you’ve added it. Here’s a feed with the header, captions, and like and comment counts turned on.
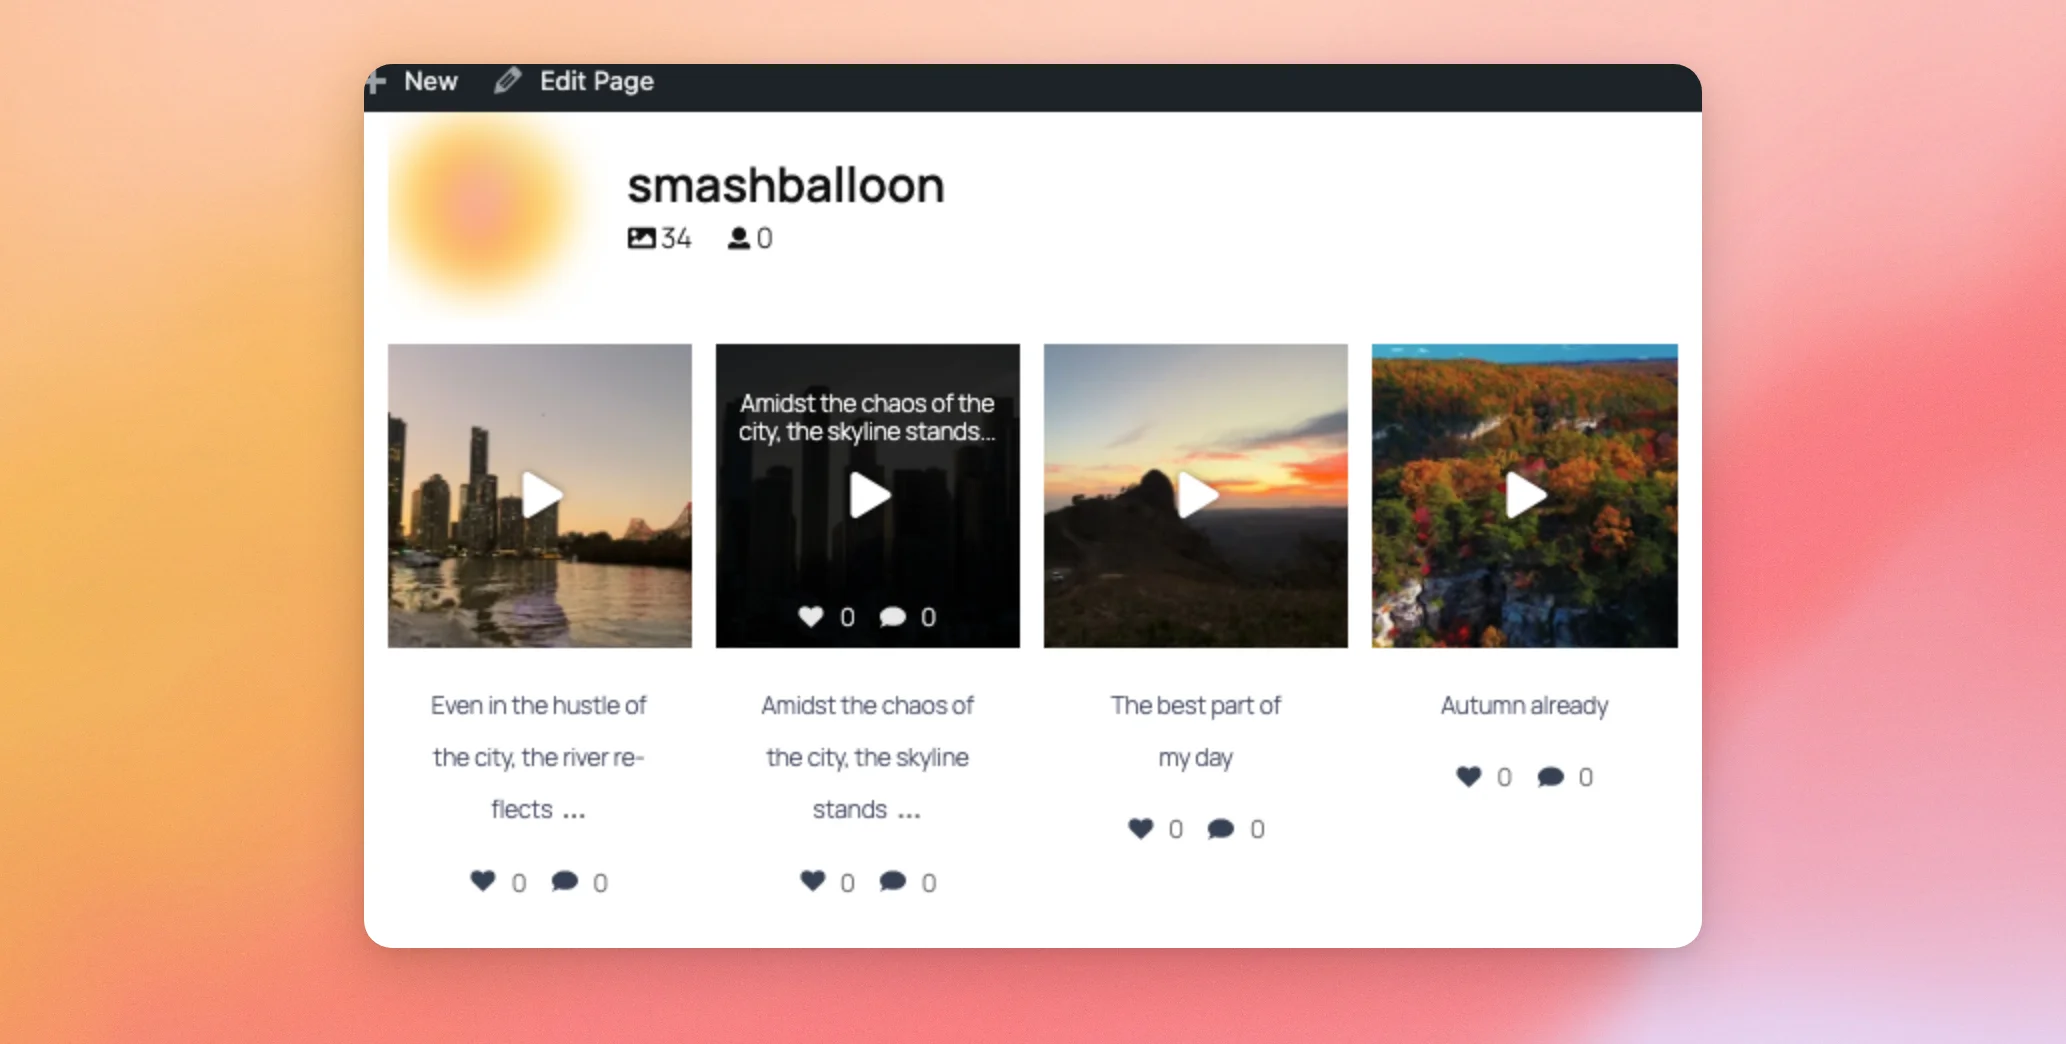
When a visitor hovers over a post, the hover layer shows the information you picked.
That’s it! You now know what each display option changes on your Instagram feed. Next, you might like to learn how to show your Instagram stories in your feed.
Frequently Asked Questions
Here are answers to some of the most common questions about the display options.
Do I need a certain license level for these options?
No. The header, caption, like and comment, and hover options work with every Instagram Feed Pro license level. They do need an active license. Without one, Caption, Like and Comment Summary, and Hover State show as locked options under Advanced in the Posts section. In the Header section, Header Style, Show number of followers, and Include Stories are locked under Advanced too.
Why can’t I turn captions or like and comment counts on?
The Enable switch for both works with the Grid, Carousel, and Masonry layouts. To check your layout, open the Feed Layout section of the Customize tab. For like and comment counts, the first source in your feed also needs to be a Business account.
Why doesn’t the date show when I hover over a post?
The hover layer shows the date from the Date option only when Date is checked under Information to display in the Hover State section. The Date option also needs your feed to use the Default theme.