Social Wall
 Feed Analytics


Would you like to check what a setting on the Instagram Feed Settings page does before you change it?
This guide goes through each tab of the Settings page and explains what every setting on it does. We’ll also show you how to export and import a feed’s settings and what data the plugin shares with Smash Balloon.
Before you get started, make sure Instagram Feed Pro is installed and activated on your site. If you use the free version, see our guide on setting up the free version.
Note: The screenshots in this guide show Instagram Feed Pro. The free version also has a Data Sharing tab, which we cover in the data sharing section.
Here is what we will cover.
- Working With the Settings Page
- Using the General Tab
- Using the Feeds Tab
- Using the Advanced Tab
- Using the Snippets Tab
- Controlling Data Sharing and Usage Tracking
- Frequently Asked Questions
Working With the Settings Page
To open your settings, go to Instagram Feed » Settings in your WordPress dashboard.
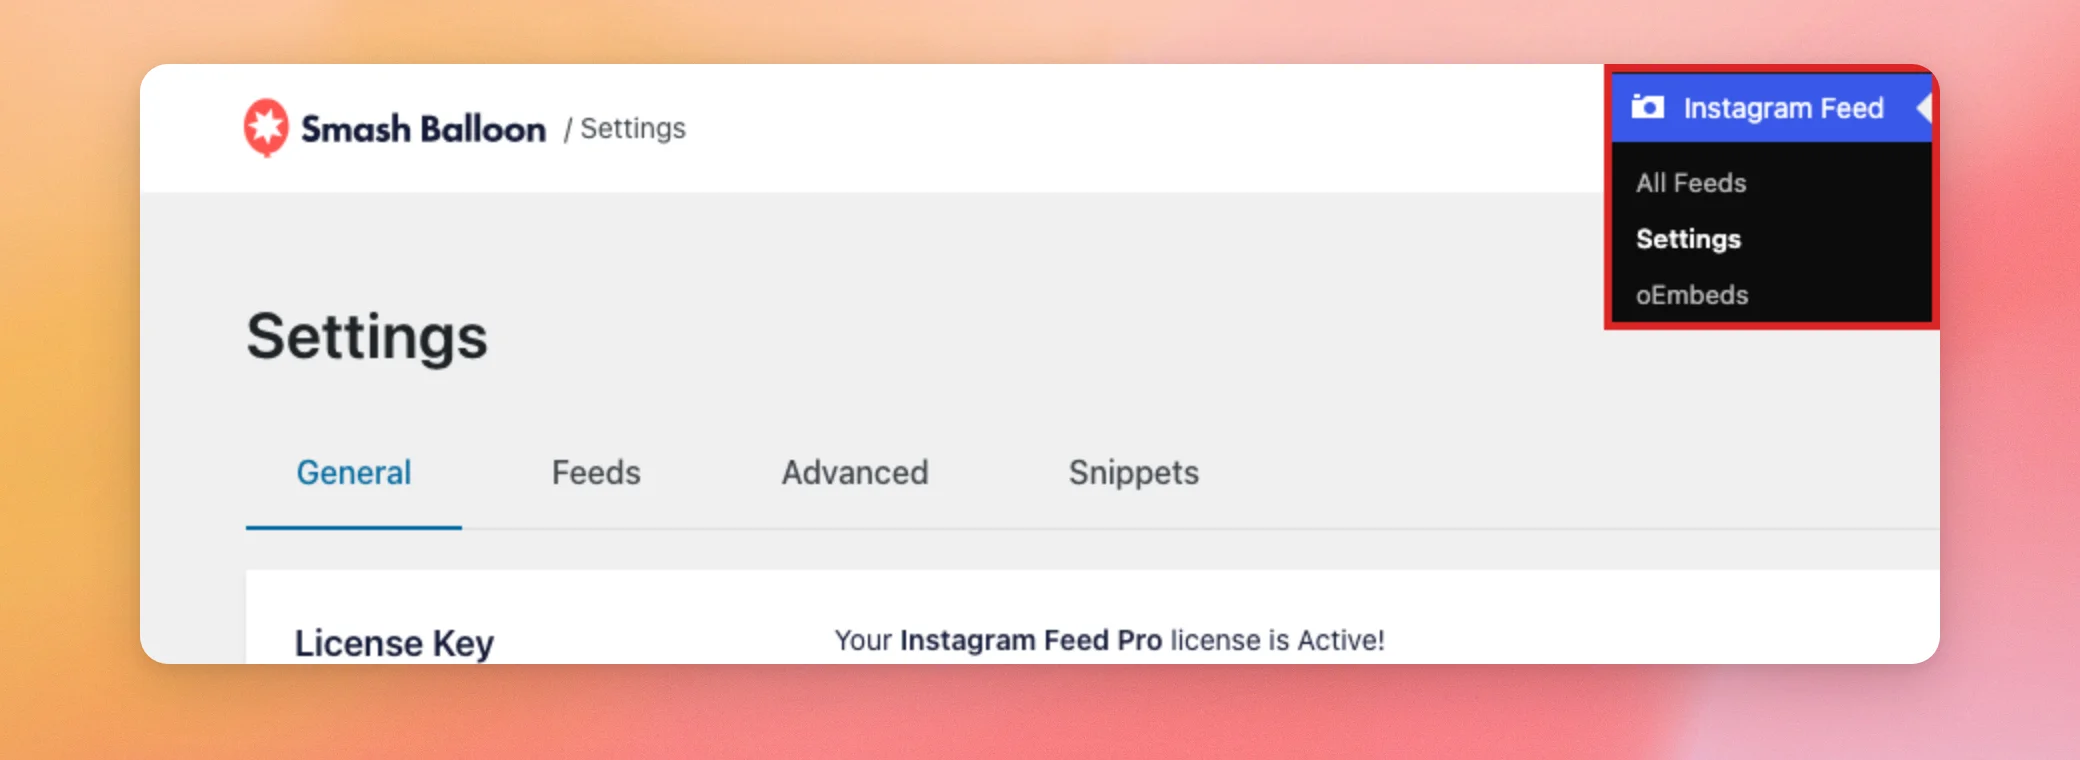
The page has four tabs called General, Feeds, Advanced, and Snippets. We’ll go through them in that order.
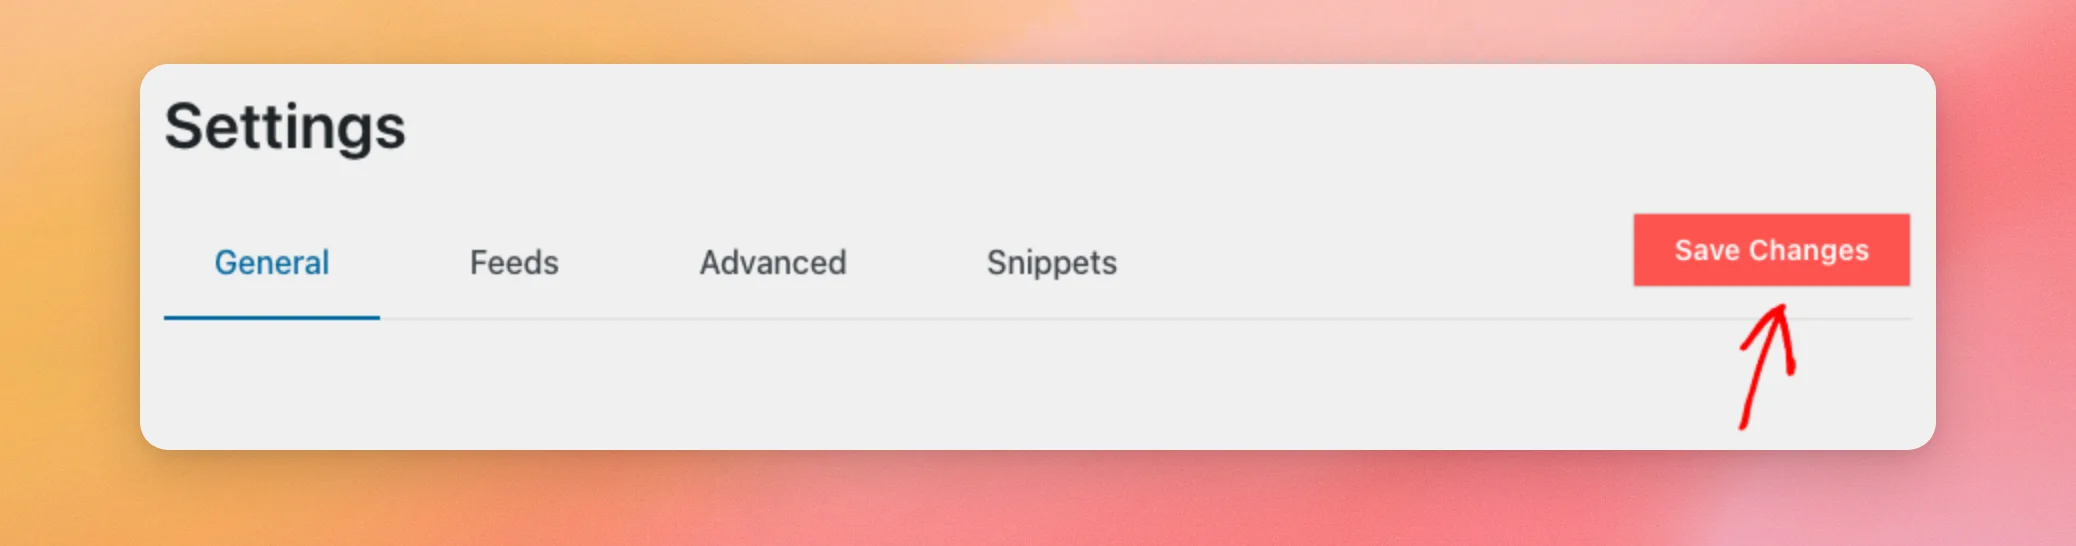
After you change a setting, click Save Changes at the top right of the page. Buttons that act right away, such as Export or Clear All Caches, don’t need a save.
Let’s start with the General tab.
Using the General Tab
The General tab opens first. It holds your license, your AI assistant access, your connected accounts, and the tools for exporting and importing feeds.
License Key
This section shows whether your license is active. When it is, the section reads “Your Instagram Feed Pro license is Active!”.
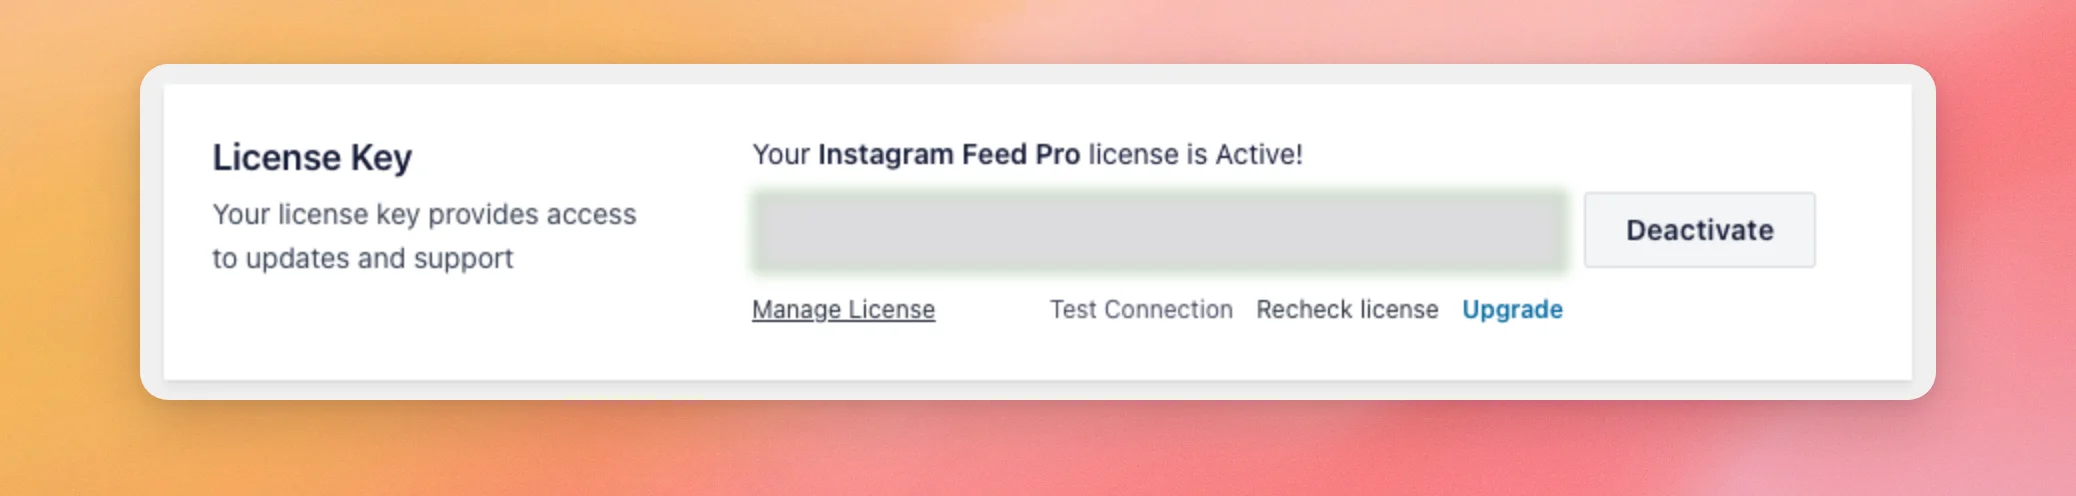
The section has these controls.
- Deactivate removes the license from this site. When no license is active, the button reads Activate.
- Manage License opens the downloads page of your Smash Balloon account.
- Test Connection checks that your site can reach the Smash Balloon license server. It then shows “Connection successful” or “Connection failed”.
- Recheck license refreshes your license’s status on the page.
- Upgrade opens the Instagram Feed pricing page.
To learn how license levels and site limits work, see our guide on licenses.
AI Agents and MCP Write Access
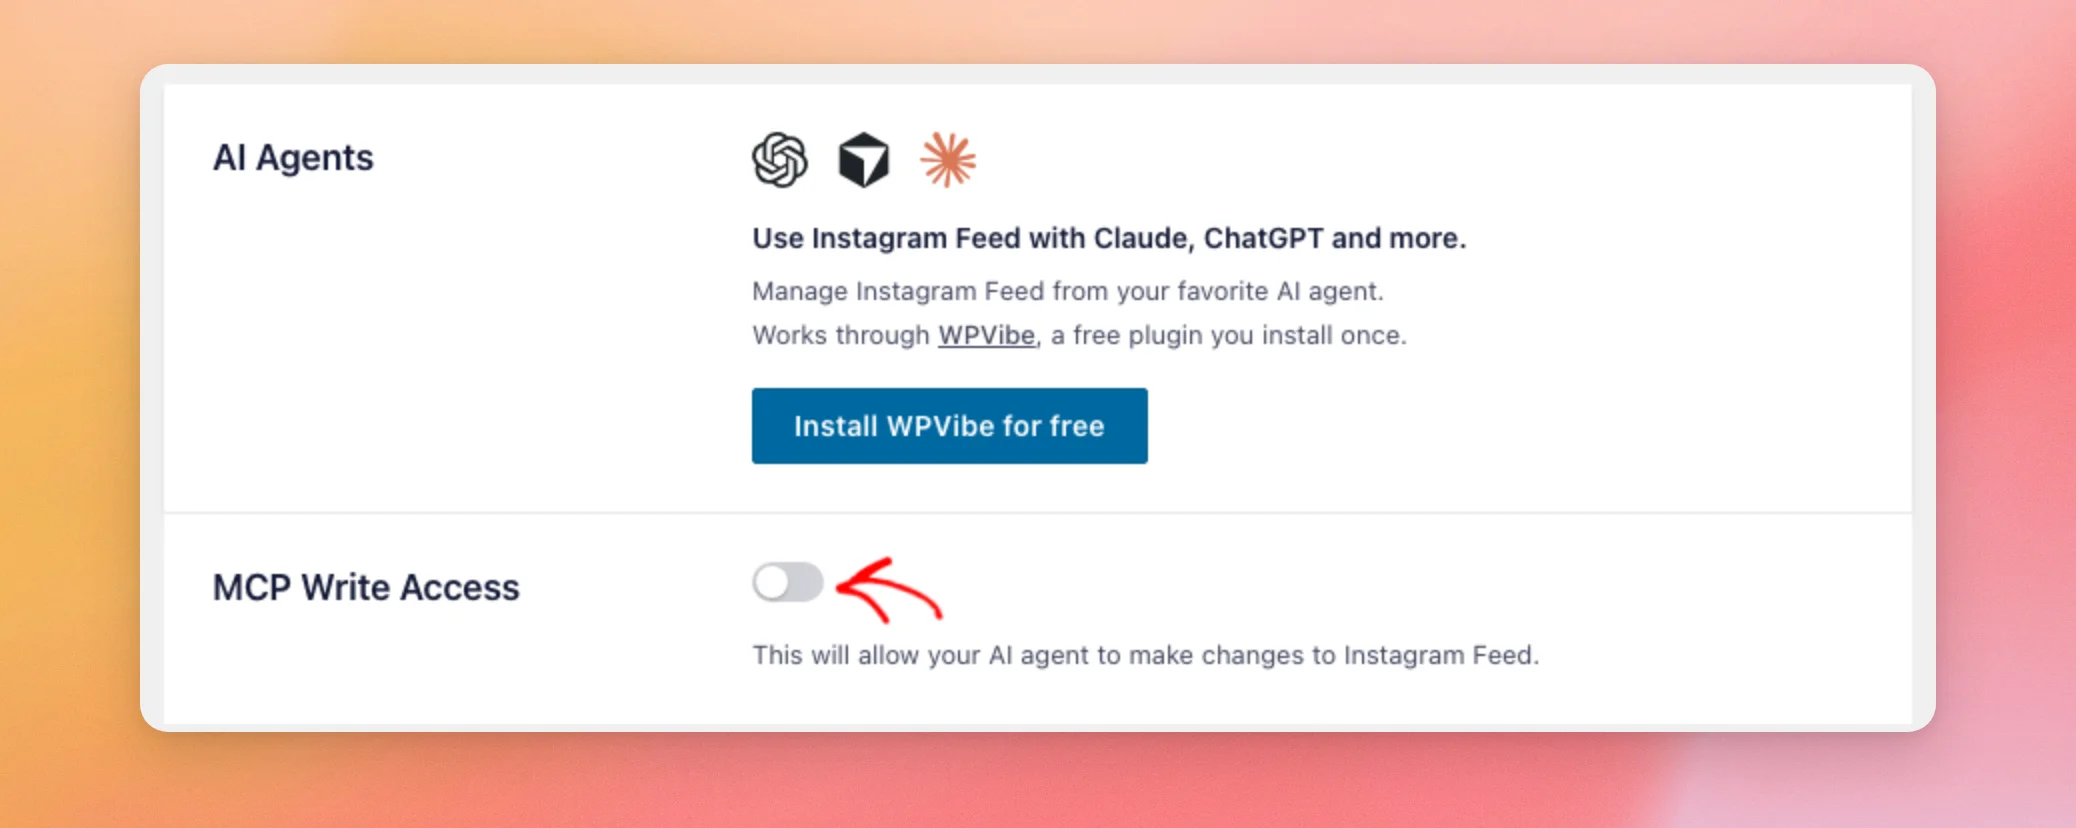
The AI Agents section lets you manage Instagram Feed from an AI assistant such as Claude or ChatGPT. It works through WPVibe, a free plugin you install once. The Install WPVibe for free button installs it for you.
MCP Write Access is off by default. While it’s off, your AI assistant can read your feeds and settings but can’t change them.
To let it make changes, turn on the MCP Write Access switch and save your changes. Turning the switch off again takes that access away.
Connecting an assistant needs WordPress 6.9 or later. Our guide on managing Instagram Feed with AI assistants walks you through it.
Manage Sources
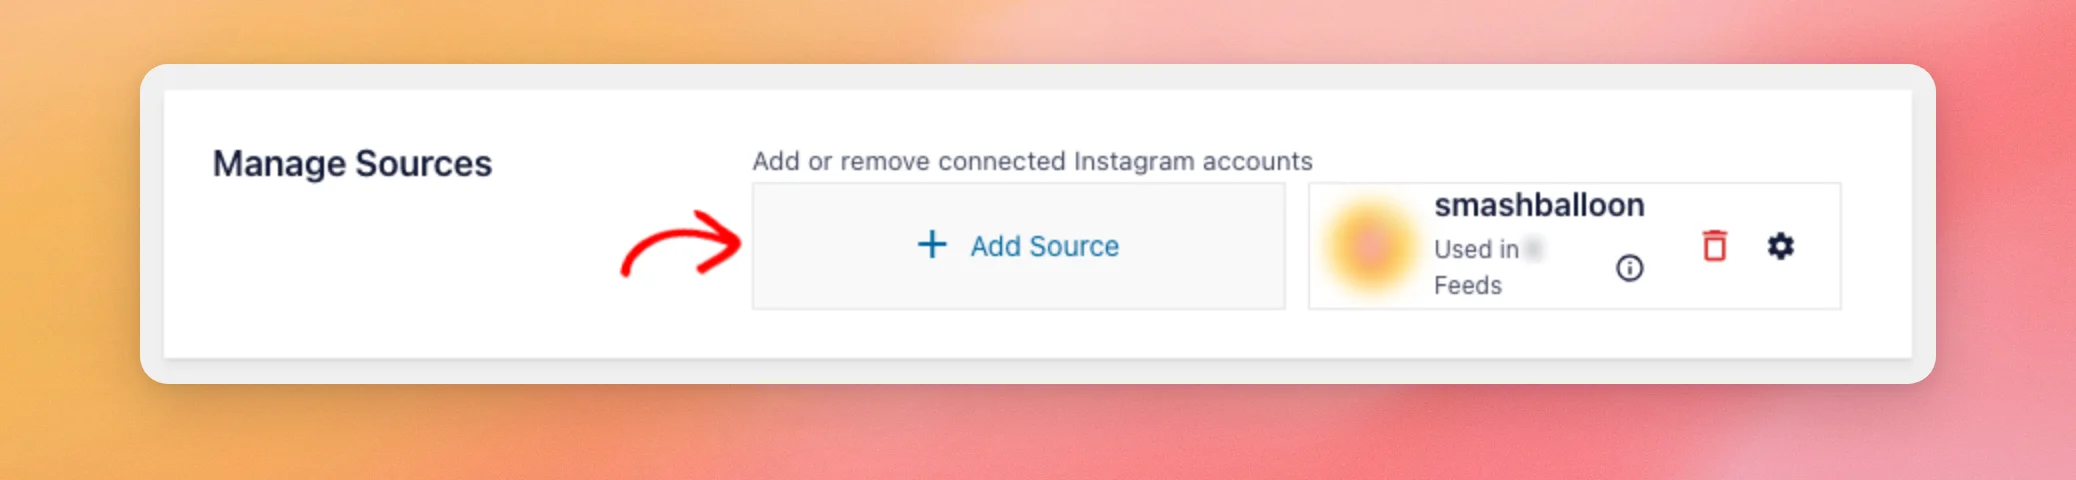
Manage Sources lists the Instagram accounts connected to your site. Each account has its own card, which shows how many feeds use it.
To connect another account, click Add Source.
To choose a connection type, see our guide on Instagram Business Basic. If an account stops working, see our guide on reconnecting an invalid source.
Preserve Settings If Plugin Is Removed
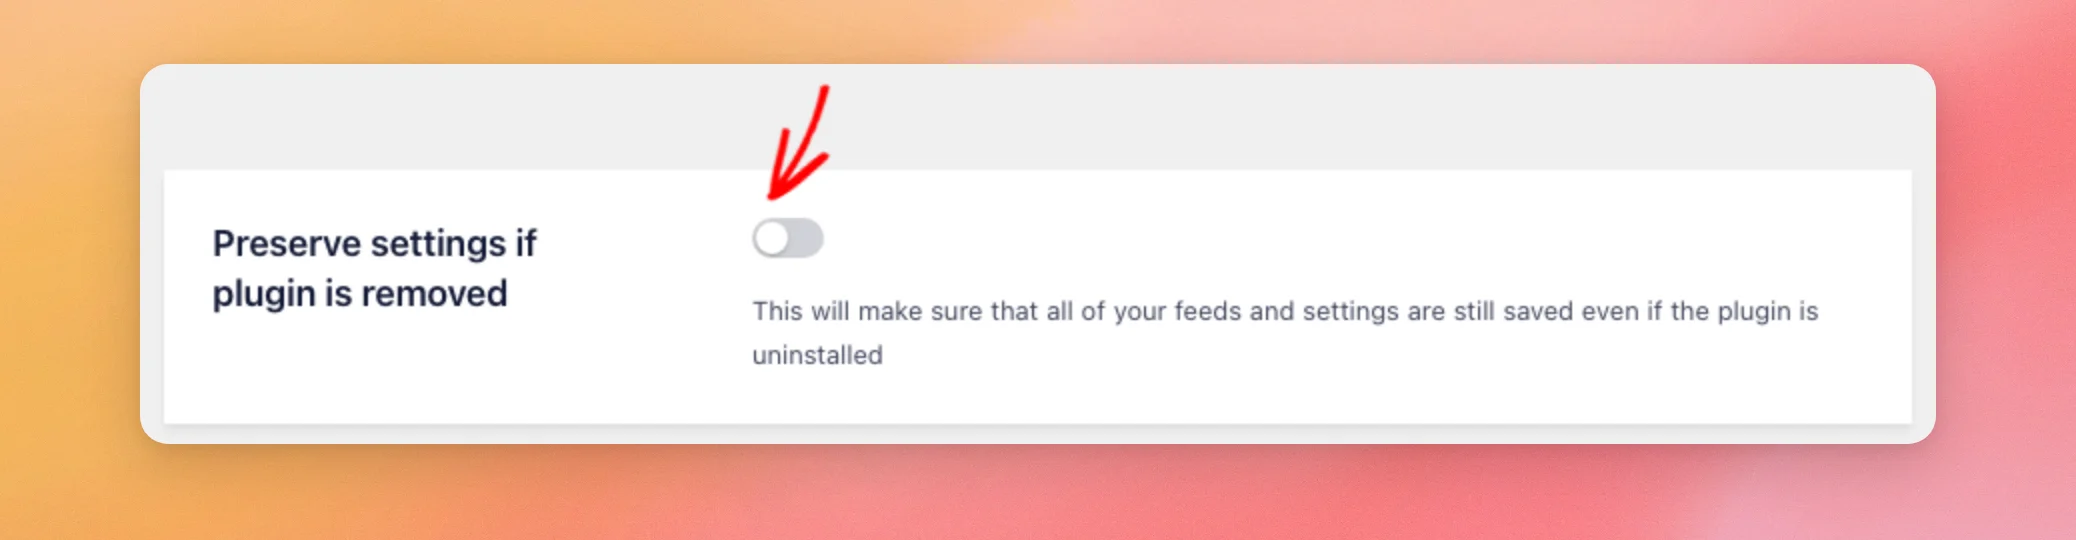
This switch is off by default. While it’s off, deleting Instagram Feed also deletes your feeds and settings.
If you plan to reinstall the plugin, turn on this switch before you delete it. Your feeds and settings then stay on your site.
Your connected accounts, cached posts, and stored images are deleted either way. After you reinstall, you may need to connect your account again.
Next, we’ll look at how to export and import a feed’s settings.
Exporting and Importing Feed Settings
Export Feed Settings saves one feed’s settings as a .json file. Import Feed Settings reads that file and creates a new feed from it. This is handy for copying a feed to another site or for keeping a copy of its settings.
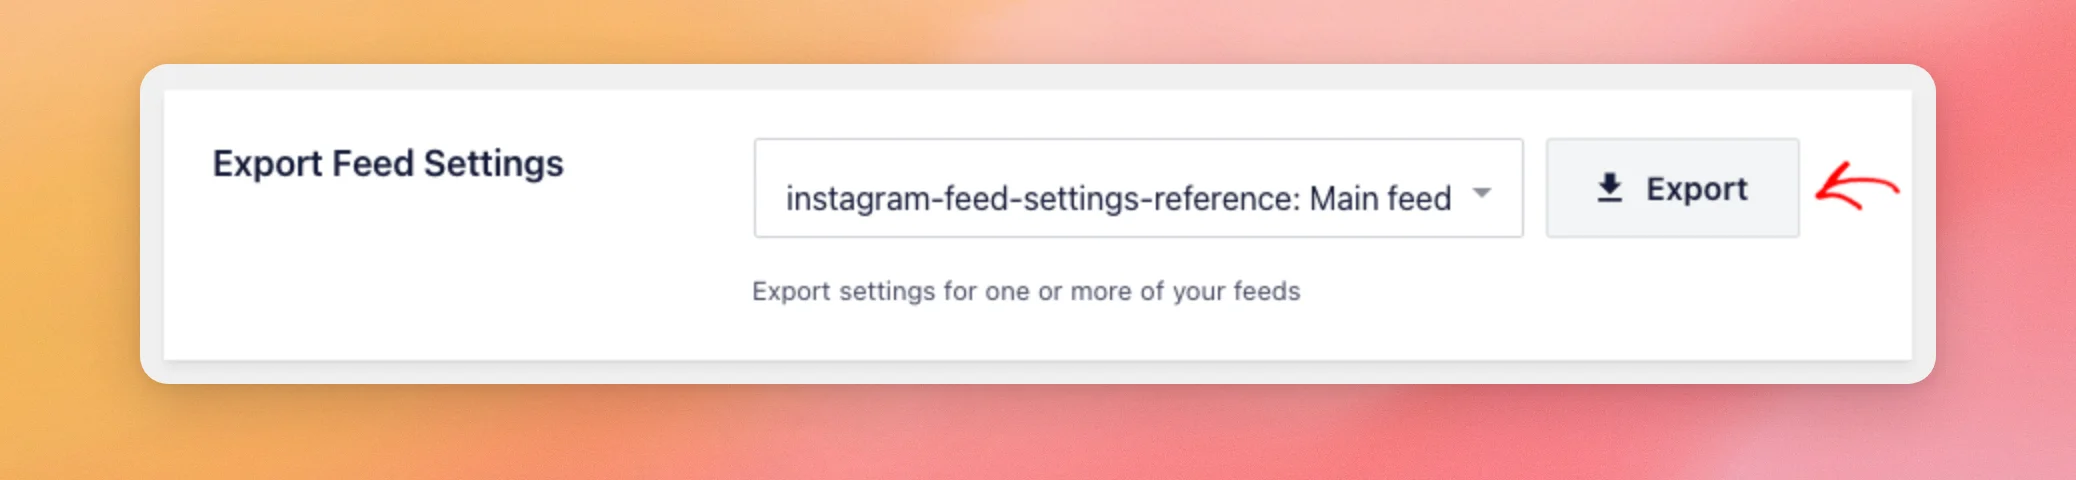
To export a feed, choose it from the list under Export Feed Settings. Then, click Export. Your browser downloads a .json file named sbi-feed- followed by the feed’s name.
Note: The file holds the connection details of the feed’s Instagram account, including its access token. Keep the file private. Don’t post it in public places such as a forum.
To import a feed, click Import under Import Feed Settings and choose the .json file. Instagram Feed creates a new feed from it and shows “Feed imported successfully”. Your other feeds stay as they are.
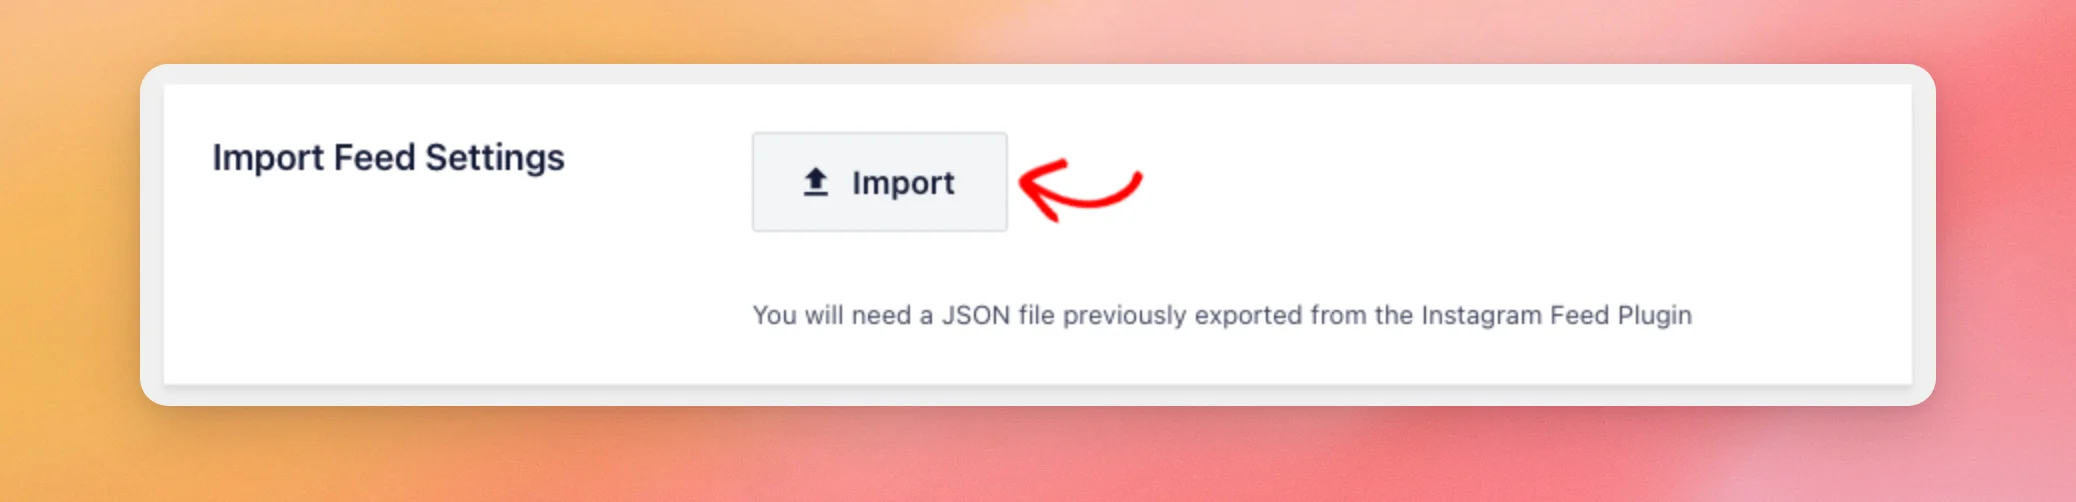
Importing doesn’t connect an Instagram account. The new feed uses the account named in the file. On another site, that account must be connected in Manage Sources.
Data Sharing
This section explains the limited usage data Smash Balloon collects and the in-plugin notifications it sends. In Instagram Feed Pro, data sharing is always on. There’s nothing to change here.
The section’s three links open our pages on data sharing, terms and conditions, and privacy.
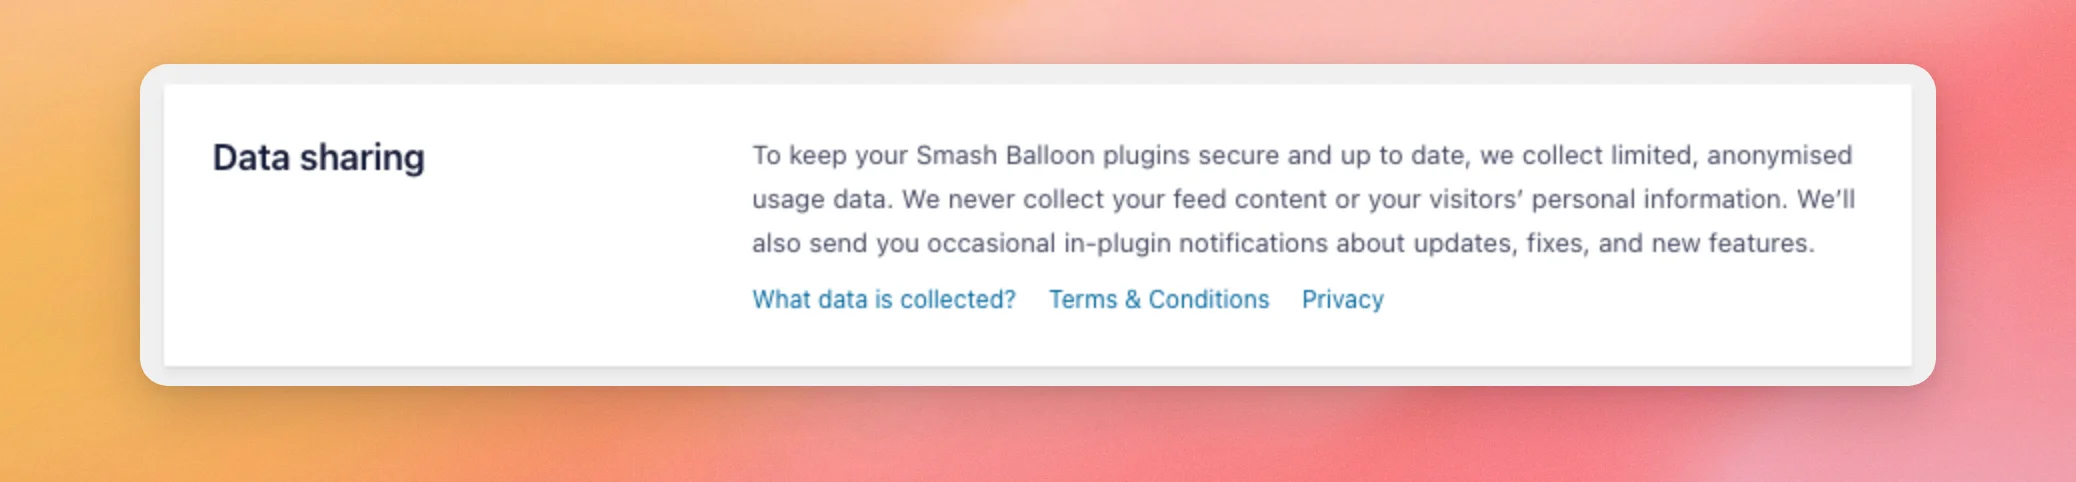
To see what’s shared and how to stop the weekly usage report, see the data sharing section below. For all Smash Balloon plugins, see our guide on managing data sharing.
Using the Feeds Tab
The Feeds tab has two settings, Caching and GDPR. Both apply to all your feeds.
Settings that change only one feed are in the feed editor instead. To add a Load More button or turn on Infinite Scroll, see Setting Up the Load More Button and Infinite Scroll. To choose which types of posts a feed shows and their order in Instagram Feed Pro, see Filtering and Sorting the Posts in Your Instagram Feed.
If you added custom CSS or JavaScript in an older version, this tab also shows Custom CSS and Custom JS boxes marked DEPRECATED. Their button moves your code to a snippet in WPCode. Our guide on the WPCode integration explains the move.
Caching
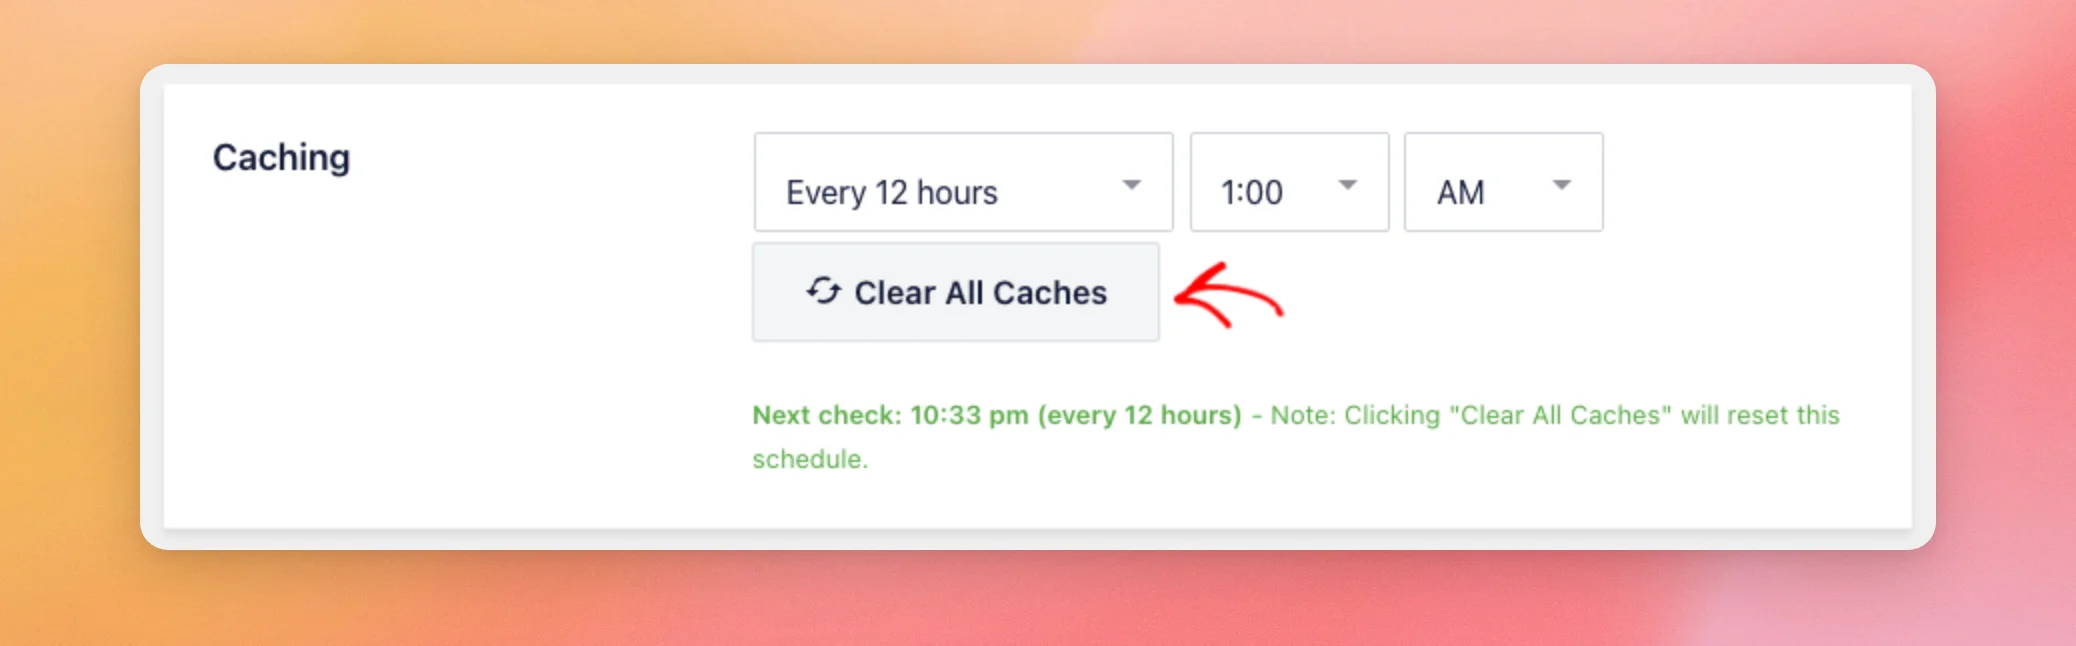
Caching sets how often Instagram Feed checks for new posts in the background. You can choose Every 30 minutes, Every hour, Every 12 hours, or Every 24 hours. The default is Every 12 hours, starting at 1:00 AM.
For Every 12 hours and Every 24 hours, you can also pick the time. The green line below the setting shows when the next check runs.
To clear the posts your feeds have stored so they fetch new ones, click Clear All Caches. This also restarts the update schedule.
GDPR
GDPR decides when your feeds load images and videos straight from Instagram. The list has three options.
- Automatic (default) waits for a visitor’s consent through a supported cookie consent plugin before it loads images and videos from Instagram. Without one of those plugins, it loads them as normal.
- Yes never loads images and videos from Instagram. Some features are limited with this option.
- No loads images and videos from Instagram as normal.
If you’re not sure, leave it on Automatic.
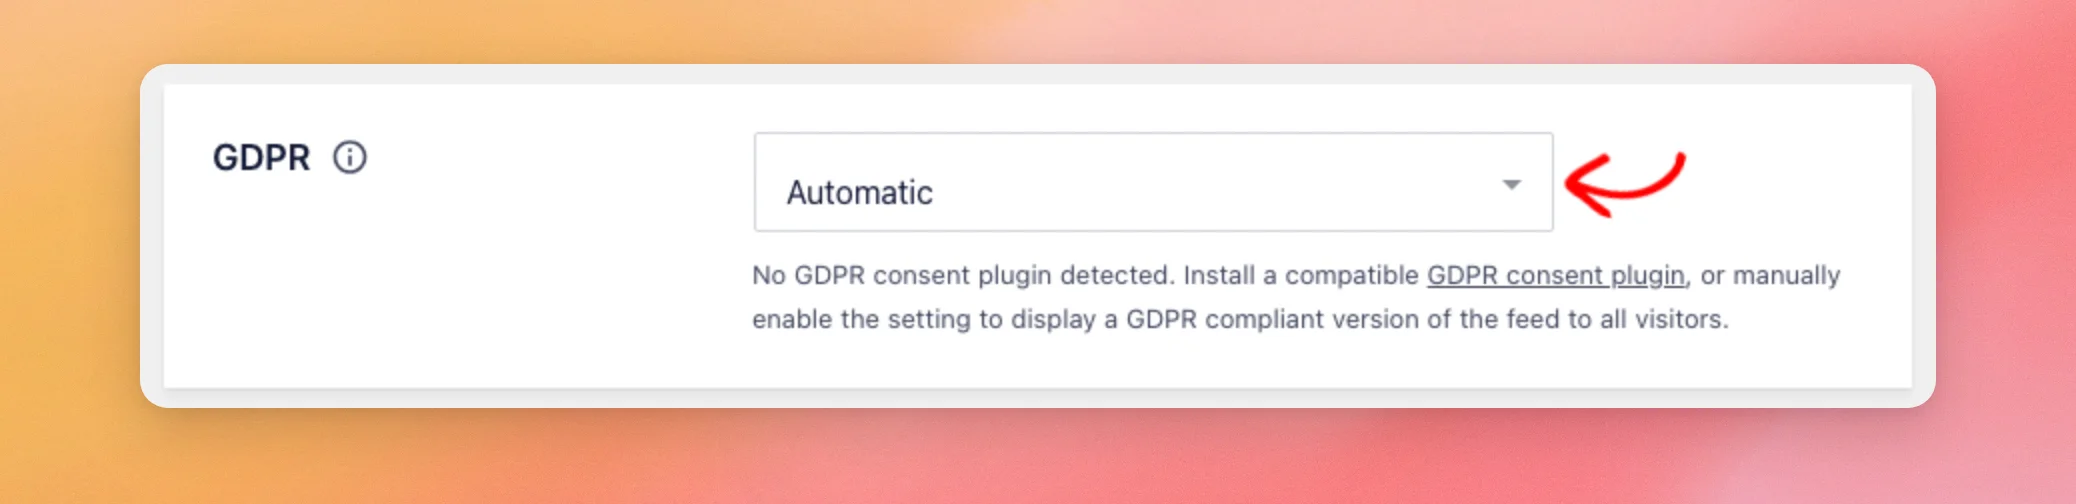
Our guide on GDPR compliance lists the supported consent plugins and the features that are limited.
Using the Advanced Tab
The Advanced tab holds settings for images, page loading, error reports, and your stored data.
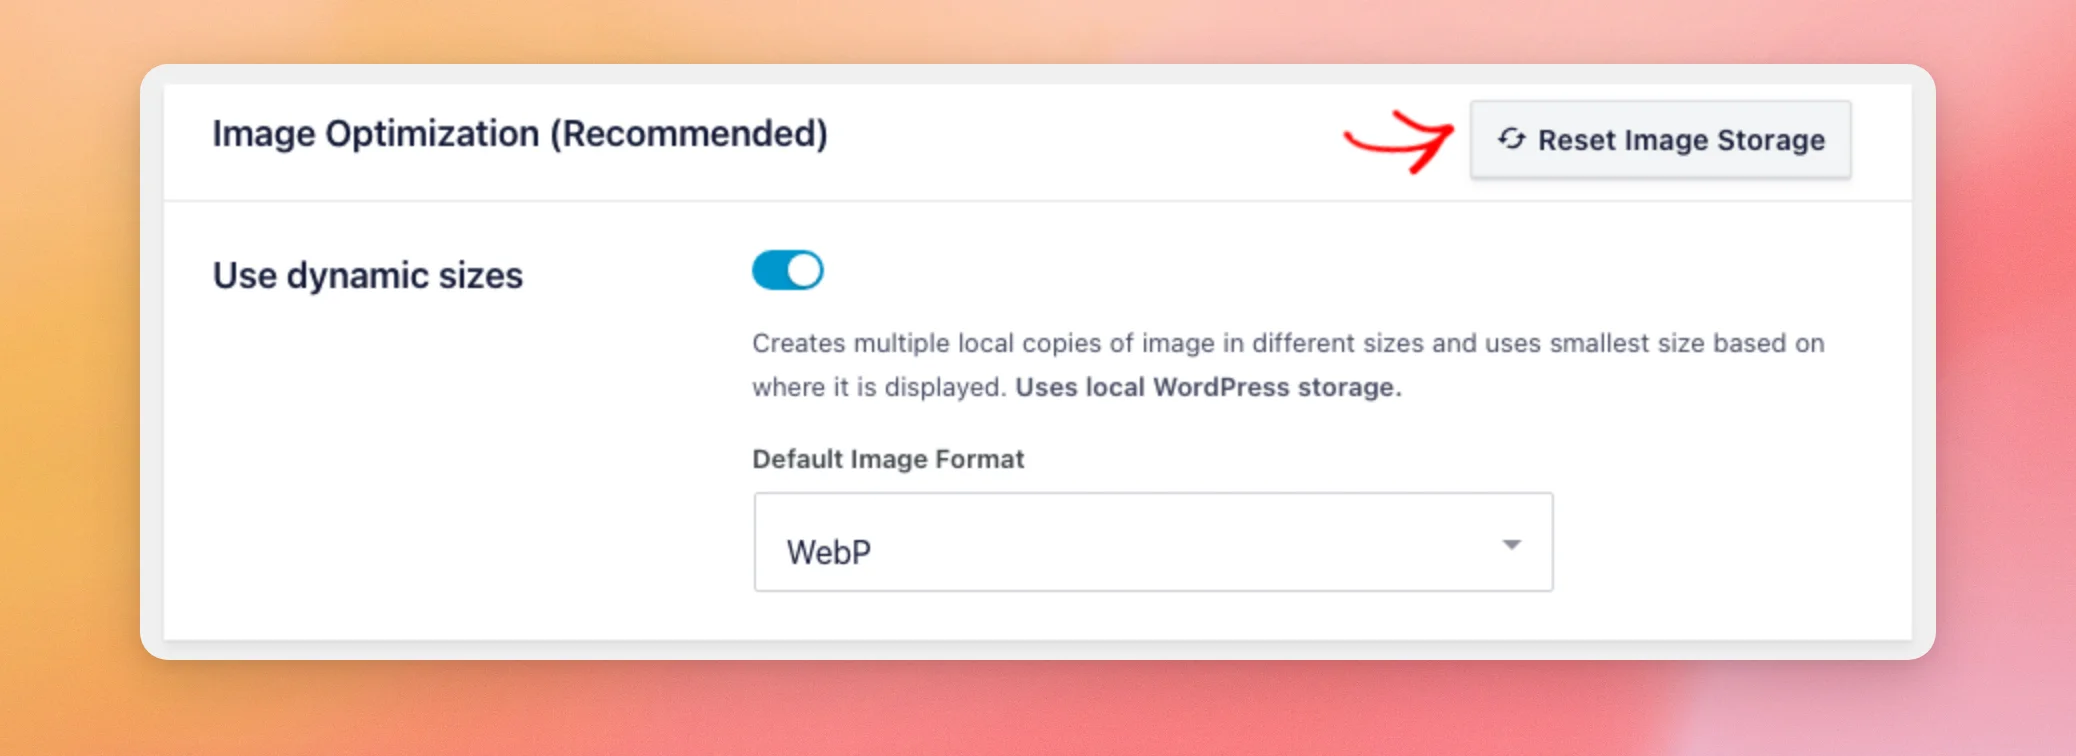
Image Optimization
- Use dynamic sizes is on by default. Instagram Feed saves copies of each image on your site in several sizes and shows the smallest one that fits. The copies use your WordPress storage.
- Default Image Format sets the format of those copies, WebP (default) or JPG. It shows only while Use dynamic sizes is on.
- Reset Image Storage deletes the image copies and post data stored on your site, and clears your feed caches.
To learn more, see our guide on how image resizing works.
On some sites that used custom templates or the older CSS file, a Use legacy CSS switch also shows here. It brings back the CSS file from version 6.2. To fix customizations that aren’t working properly, turn it on.
AJAX Theme Loading Fix and Reset Error Log
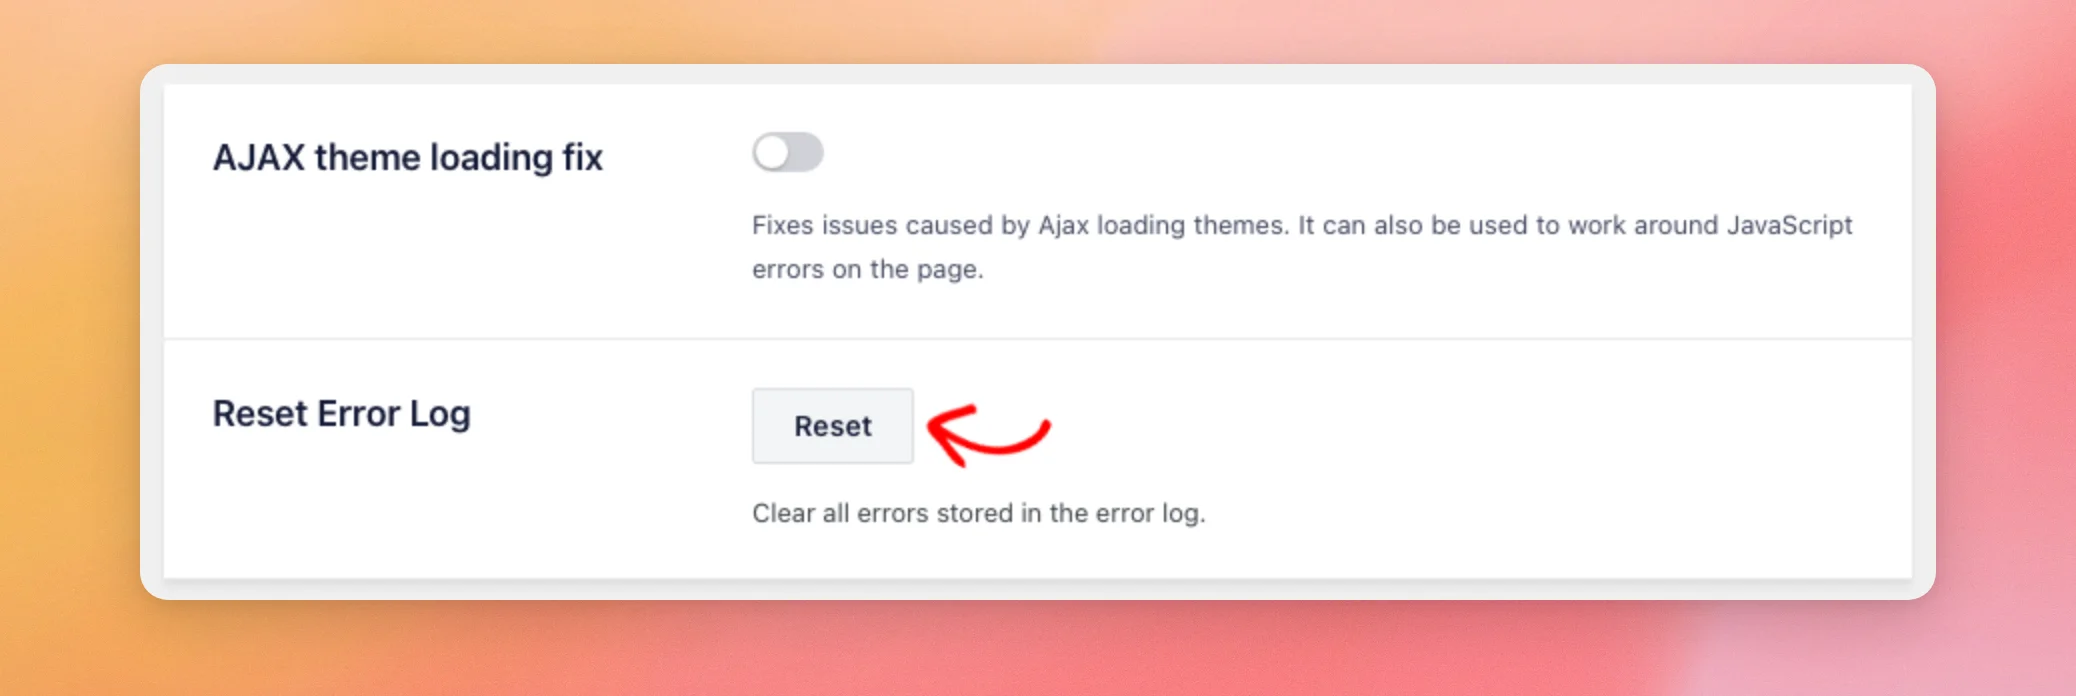
- AJAX theme loading fix is off by default. It fixes feeds on themes that load pages with AJAX. It can also work around JavaScript errors on the page.
- Reset Error Log clears all the errors the plugin has stored, along with their error notices.
If your feed only shows after you refresh the page, see our guide on photos that show only after a refresh.
Usage Tracking
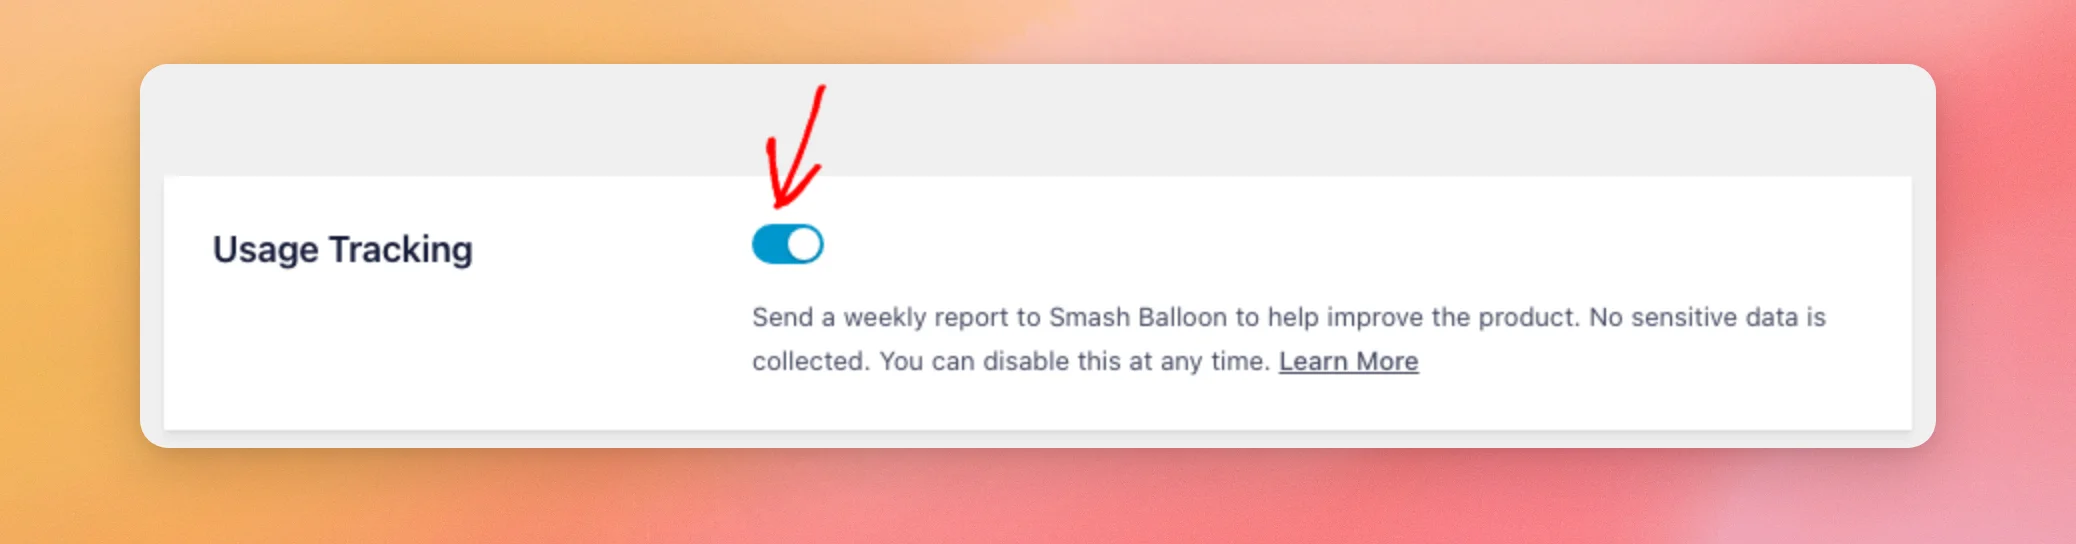
Usage Tracking sends Smash Balloon a report about your site and settings once a week to help improve the plugin. It’s on by default in Instagram Feed Pro.
To stop the report, turn off the Usage Tracking switch and save your changes.
To see what the report holds, see the data sharing section below.
Next, we’ll look at the settings that change how your feeds load.
Loading Settings
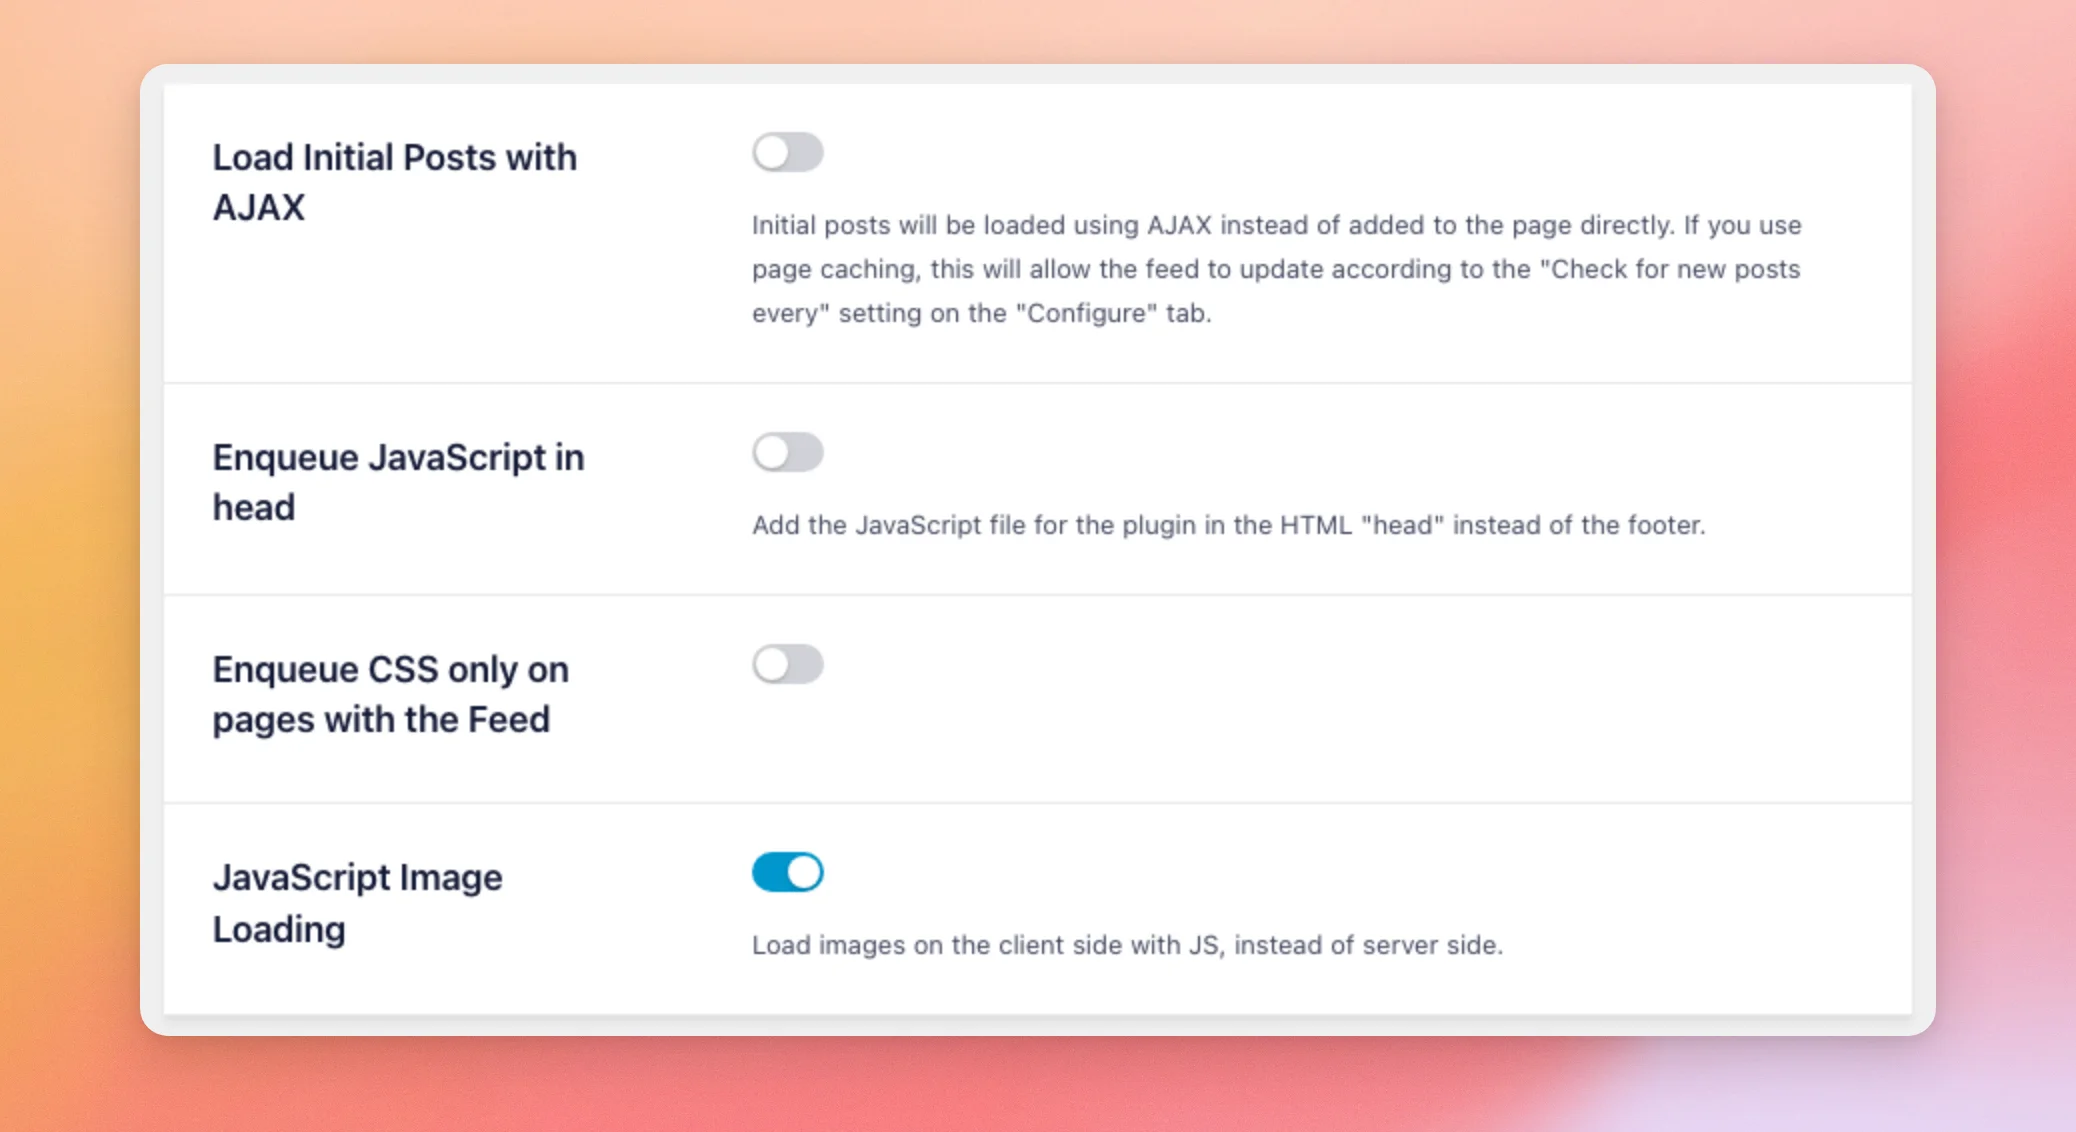
These four switches change how your feeds load on your pages.
- Load Initial Posts with AJAX is off by default. It loads your first posts with AJAX instead of adding them to the page directly. If you use page caching, this lets your feeds update even when the page comes from the cache.
- Enqueue JavaScript in head is off by default. It adds the plugin’s JavaScript file to the page’s head instead of the footer.
- Enqueue CSS only on pages with the Feed is off by default. It loads the plugin’s CSS file only on pages that show a feed, instead of on every page.
- JavaScript Image Loading is on by default. It loads images in the visitor’s browser with JavaScript instead of on your server.
Next, we’ll cover the error notice, email report, and Swipe View settings.
Admin Error Notice, Email Reports, and Swipe View
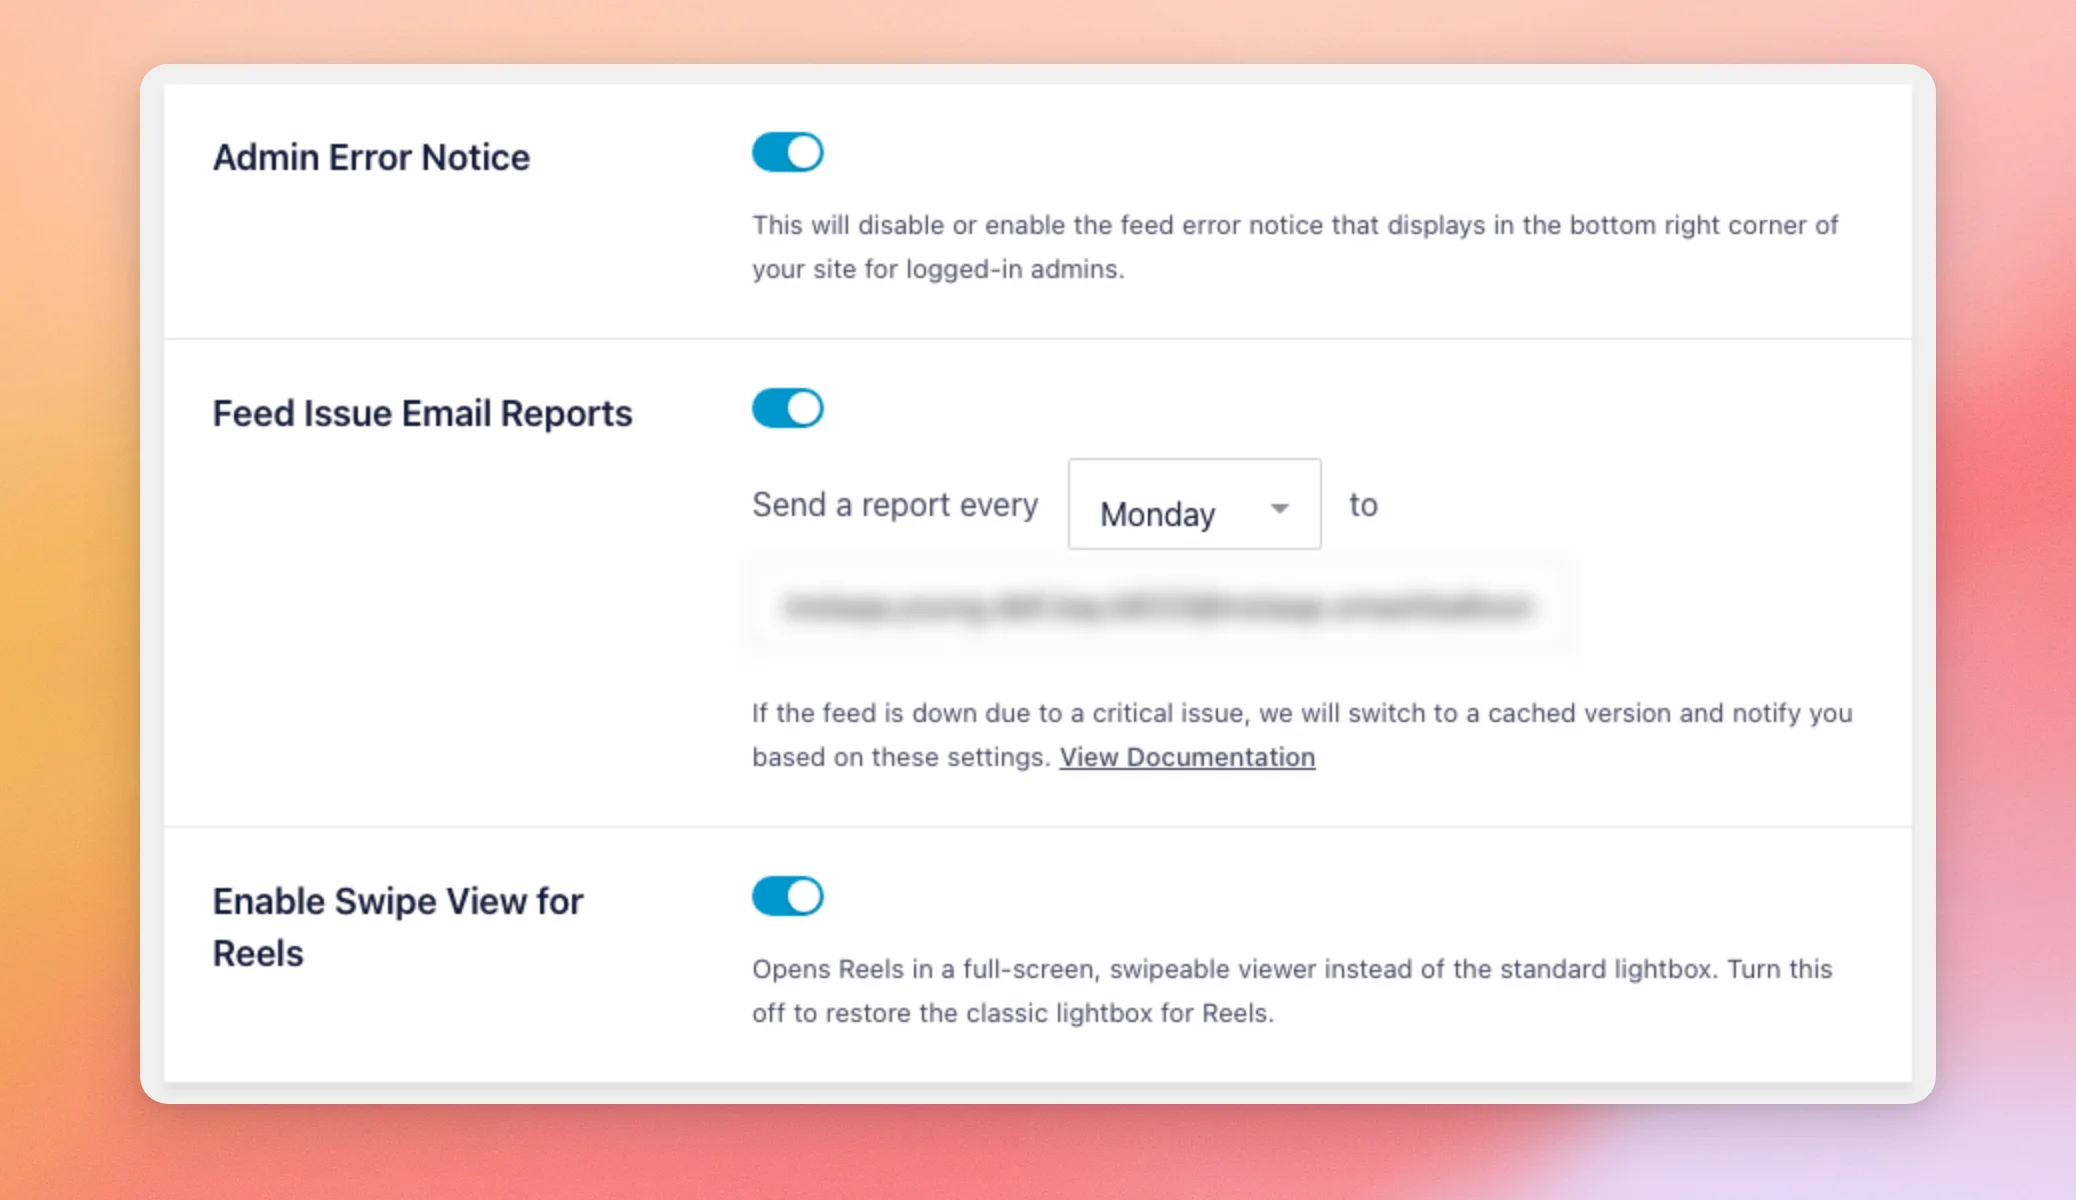
- Admin Error Notice is on by default. When a feed has an error, it shows a notice in the bottom right corner of your site. Only logged-in admins see it. To hide the notice, turn it off.
- Feed Issue Email Reports is on by default. If a feed goes down because of a critical issue, Instagram Feed shows a cached version of it. While a feed has a critical issue, or has shown its cached version for seven days or more, it emails a report on the day of the week you choose, to the addresses you enter. To stop the report emails, turn it off.
- Enable Swipe View for Reels is on by default. It opens Reels in a fullscreen viewer that you can swipe through. To open Reels in the standard lightbox, turn it off.
To learn more, see our guides on getting alerts when your feed stops updating, fixing a missing email report, and viewing Reels in Swipe View.
Manage Data
Delete all Platform Data removes all the Instagram data stored on your site, including your connected accounts, cached posts, and stored images. It runs as soon as you click it, with no confirmation. It can’t be undone.
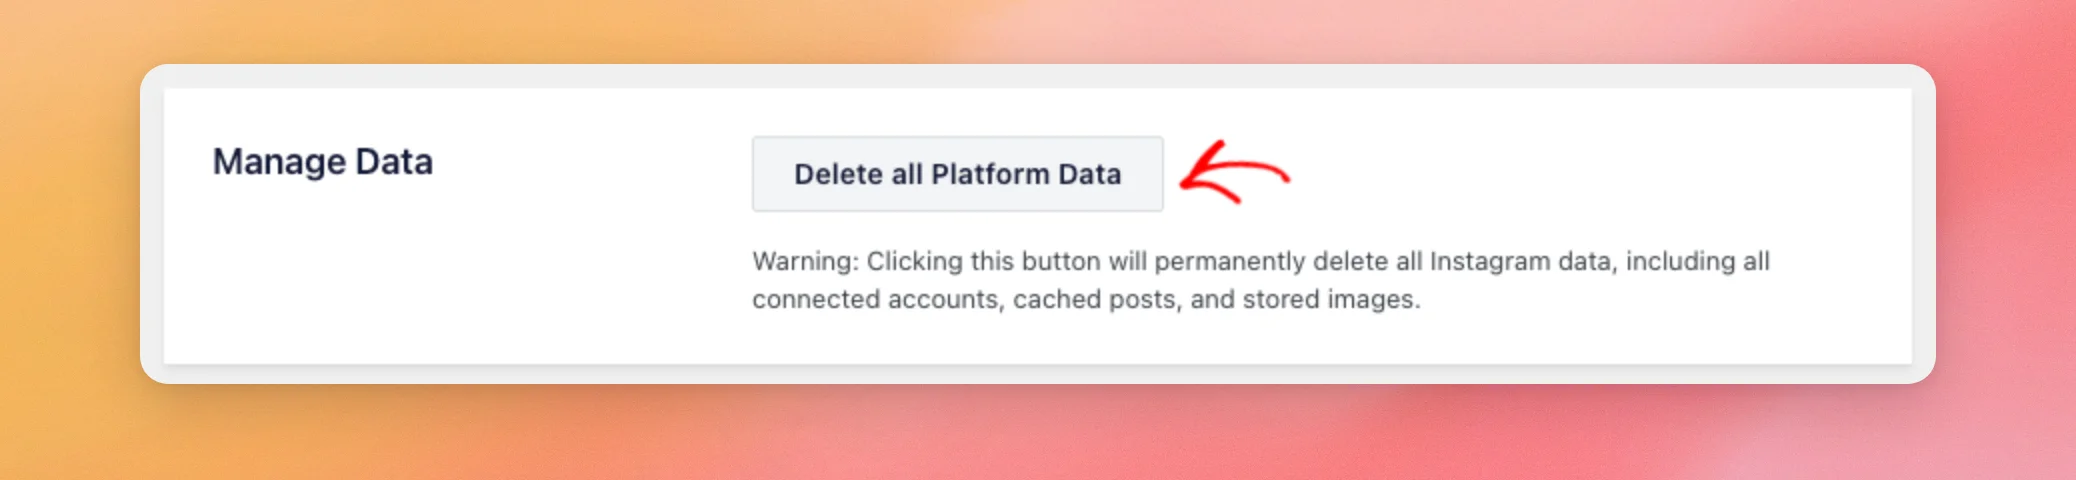
Our guide on deleting all platform data covers this button.
Using the Snippets Tab
The Snippets tab gives you ready-made code snippets from Smash Balloon. They run through WPCode, a free code snippets plugin.
Until WPCode is active, the tab shows a One-click Install WPCode button, or an Activate WPCode button if WPCode is already installed. After that, each snippet has its own Use Snippet button.
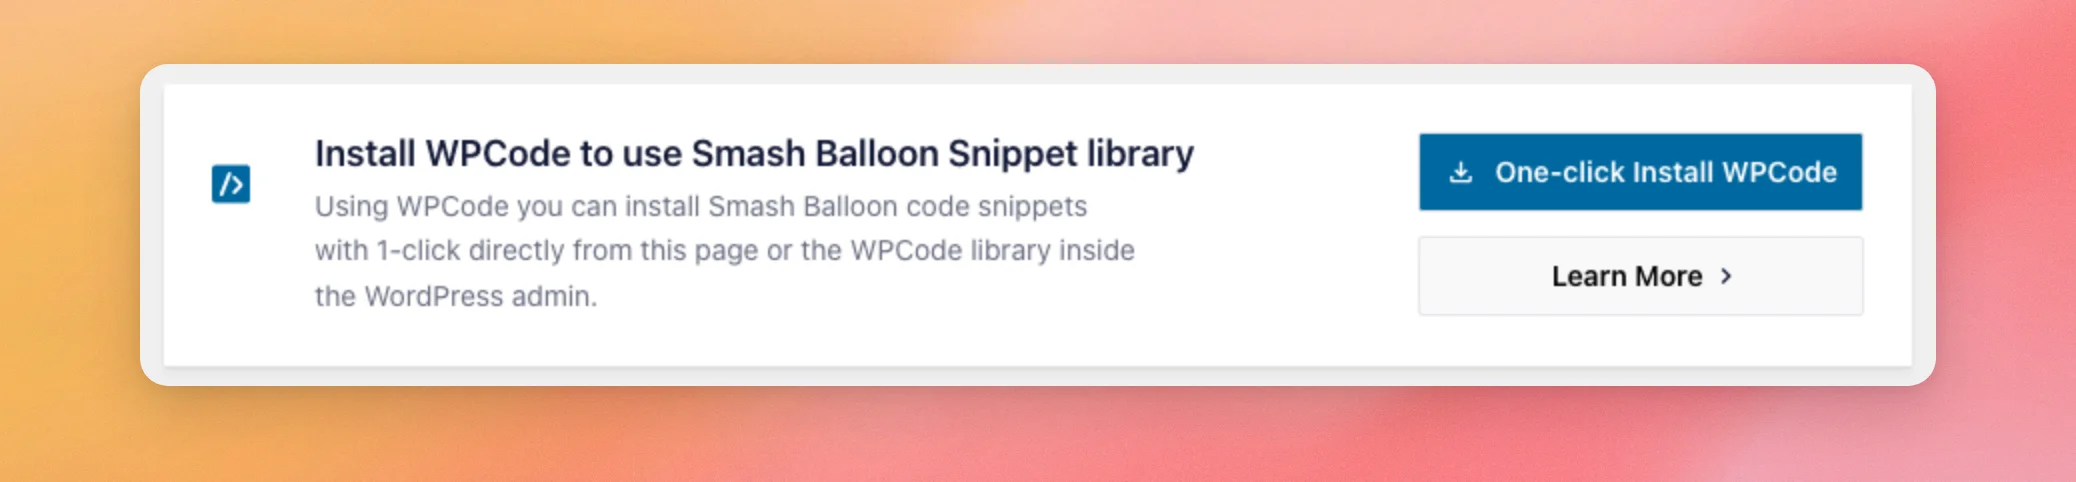
The Learn More button opens our guide on how the WPCode integration works.
Controlling Data Sharing and Usage Tracking
Two settings, Data sharing and Usage Tracking, decide what Instagram Feed shares with Smash Balloon.
Understanding What Data Sharing Allows
While data sharing is on, Instagram Feed can send the weekly usage report and load in-plugin notifications about updates, fixes, and new features. While it’s off, the plugin sends no report and doesn’t fetch notifications from Smash Balloon. If In-Plugin Notifications is on, it shows only the notifications that come with the plugin.
In Instagram Feed Pro, data sharing is always on. In the free version, it’s off until you turn it on.
Checking What the Usage Report Holds
The report goes out at most once a week, and only while both Usage Tracking and data sharing are on. It includes the following.
- Your site’s address, your WordPress and PHP versions, and your site’s language.
- Your active theme, and the name, version, and author of each active plugin.
- Your Instagram Feed version, and your license level, status, and expiration date.
- How many Instagram accounts are connected, by type.
- The names and display settings of up to 15 of your most recently edited feeds, and which features they use.
- Your settings from this page, such as caching and GDPR.
- How many errors happened, and the most recent error messages.
- How many days you opened the plugin’s admin pages, how long you stayed on average, and actions such as viewing this page or finishing setup wizard steps.
The report leaves out access tokens, including from the error messages it sends.
For the full list, see our data sharing page.
Turning Off Data Sharing and Usage Tracking
In Instagram Feed Pro, turn off the Usage Tracking switch on the Advanced tab and save your changes. The weekly report stops. Data sharing and in-plugin notifications stay on.
In the free version, go to the Data Sharing tab and turn off the Data sharing switch. This stops the usage report too. To stop in-plugin notifications as well, also turn off the In-Plugin Notifications switch, which you can change only while Data sharing is off. When you’re done, click Save Changes.
Answering the Data Sharing Pop-Up in the Free Version
While data sharing is off and you haven’t made a choice yet, the free version shows a pop-up in your WordPress dashboard. The pop-up is called “We’re updating how data sharing works”. Only admins see it, and it never shows while a Smash Balloon Pro plugin is active.
- Accept & Continue turns on Data sharing and In-Plugin Notifications.
- Skip, the X button, or the Esc key closes the pop-up and leaves both off.
Either way, the pop-up doesn’t come back. You can change your choice on the Data Sharing tab at any time. Since version 6.15.1, you can always close the pop-up and keep working, even when your choice can’t be saved.
That’s it! You now know what each setting on the Instagram Feed Settings page does, how to copy a feed’s settings to another site, and what the plugin shares with Smash Balloon.
Next, to get an email when a feed stops updating, see our guide on getting alerts when your Instagram feed stops updating.
Frequently Asked Questions
Here are answers to some of the top questions about the Instagram Feed settings.
Does an exported feed file include my Instagram connection?
Yes. The file holds the connection details of the feed’s Instagram account, including its access token. Keep it private. For more, see Exporting and Importing Feed Settings above.
Does importing a feed replace one of my feeds?
No. Importing creates a new feed. Your other feeds stay as they are. It doesn’t connect an Instagram account. The feed’s account must be connected in Manage Sources.
Does Preserve settings keep my connected account when I delete the plugin?
No. It keeps your feeds and settings. Your connected accounts, cached posts, and stored images are deleted either way.
Why don’t I see the Data Sharing tab?
The tab is hidden while a Smash Balloon Pro plugin is active, because data sharing is then always on. The General tab shows a Data sharing section instead.
How do I stop Instagram Feed Pro from sending usage data?
To stop it, turn off the Usage Tracking switch on the Advanced tab and save your changes. For more, see Turning Off Data Sharing and Usage Tracking above.