Social Wall
 Feed Analytics


Would you like to show the Instagram posts other people have tagged you in on your WordPress site?
In this guide, we’ll walk you through creating a Tagged Posts feed with Instagram Feed. A Tagged Posts feed shows the posts that other Instagram accounts have tagged your account in. We’ll also cover where to find your feed’s source and how the feed looks on your site.
Requirements: Tagged Posts feeds need Instagram Feed Pro at the Elite license level. They also need an Instagram account connected with Business Advanced. To connect one, see our guide on connecting Business Advanced.
Before you get started, make sure Instagram Feed is installed and activated on your WordPress site.
Here’s what we’ll cover.
- Creating a Tagged Posts Feed
- Finding Your Feed’s Source
- Saving Your Feed
- Seeing Your Tagged Posts Feed on Your Site
- Frequently Asked Questions
Creating a Tagged Posts Feed
To get started, we’ll create a new feed.
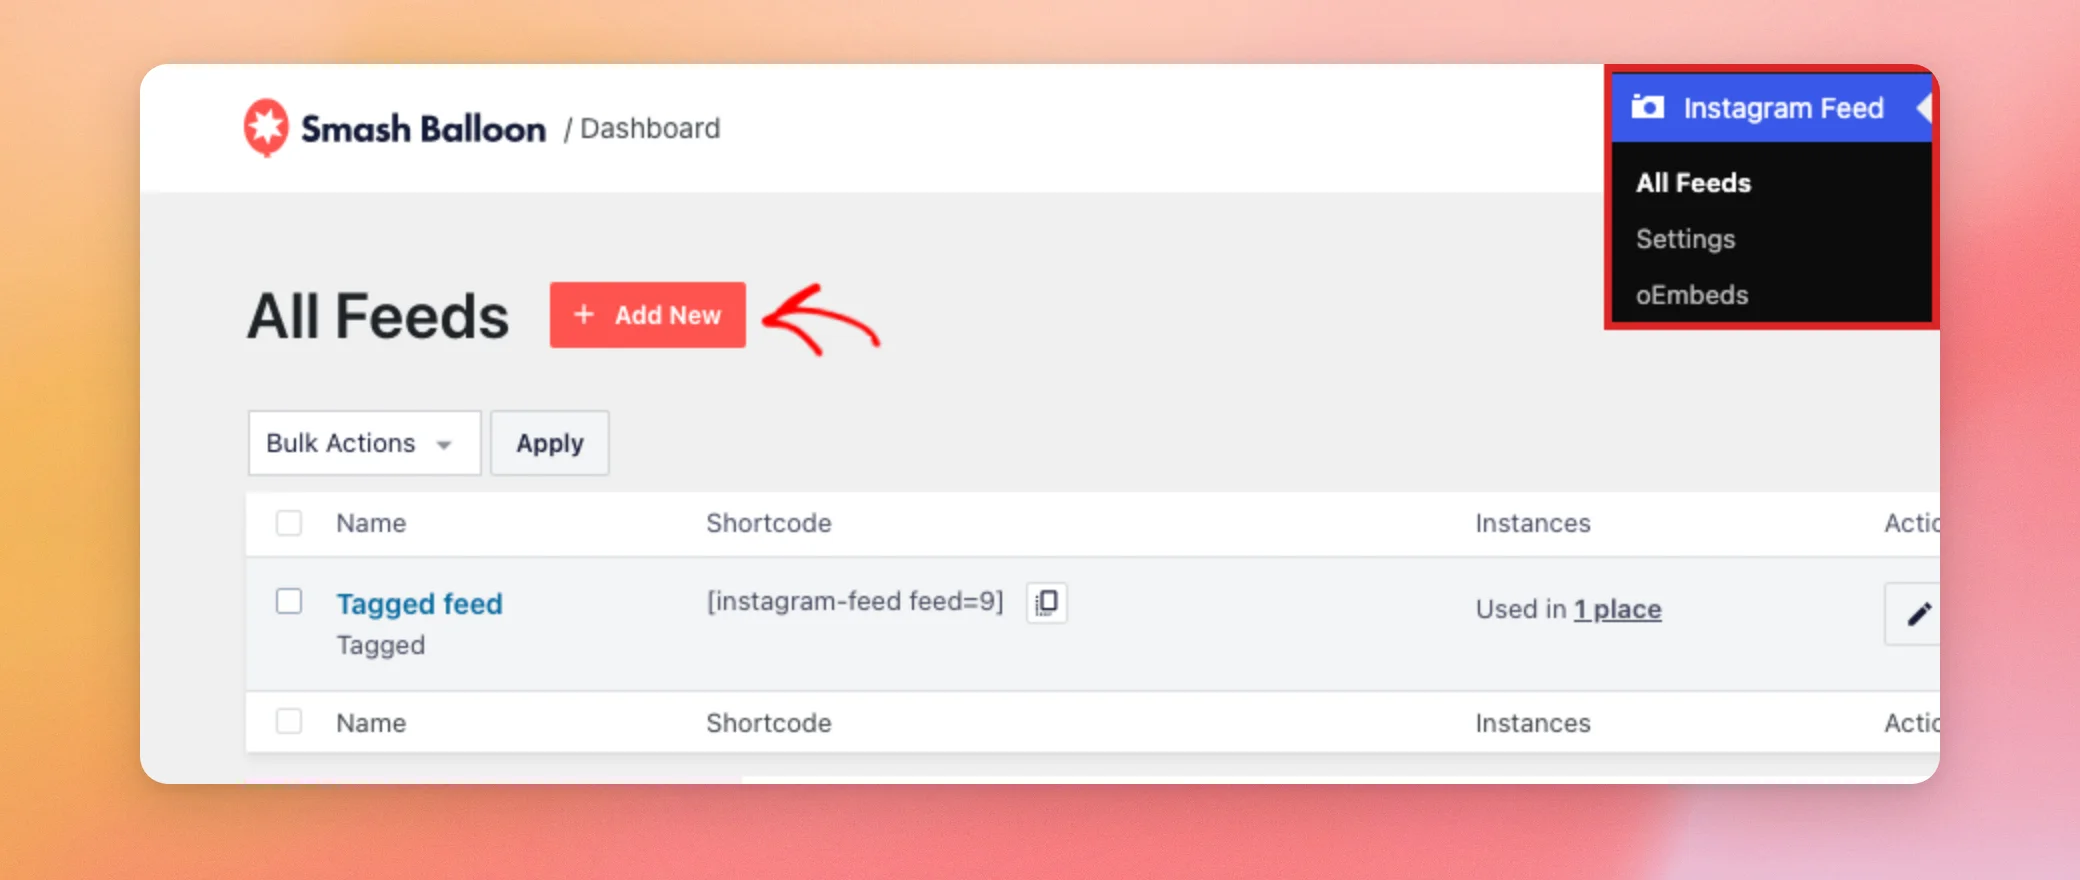
From your WordPress admin sidebar, go to Instagram Feed » All Feeds. Then, click Add New.
On the Select Feed Type screen, User Timeline is selected by default. To switch to a Tagged Posts feed, first click Tagged Posts.
Next, click User Timeline to clear it. This leaves only Tagged Posts selected. Then, click Next.
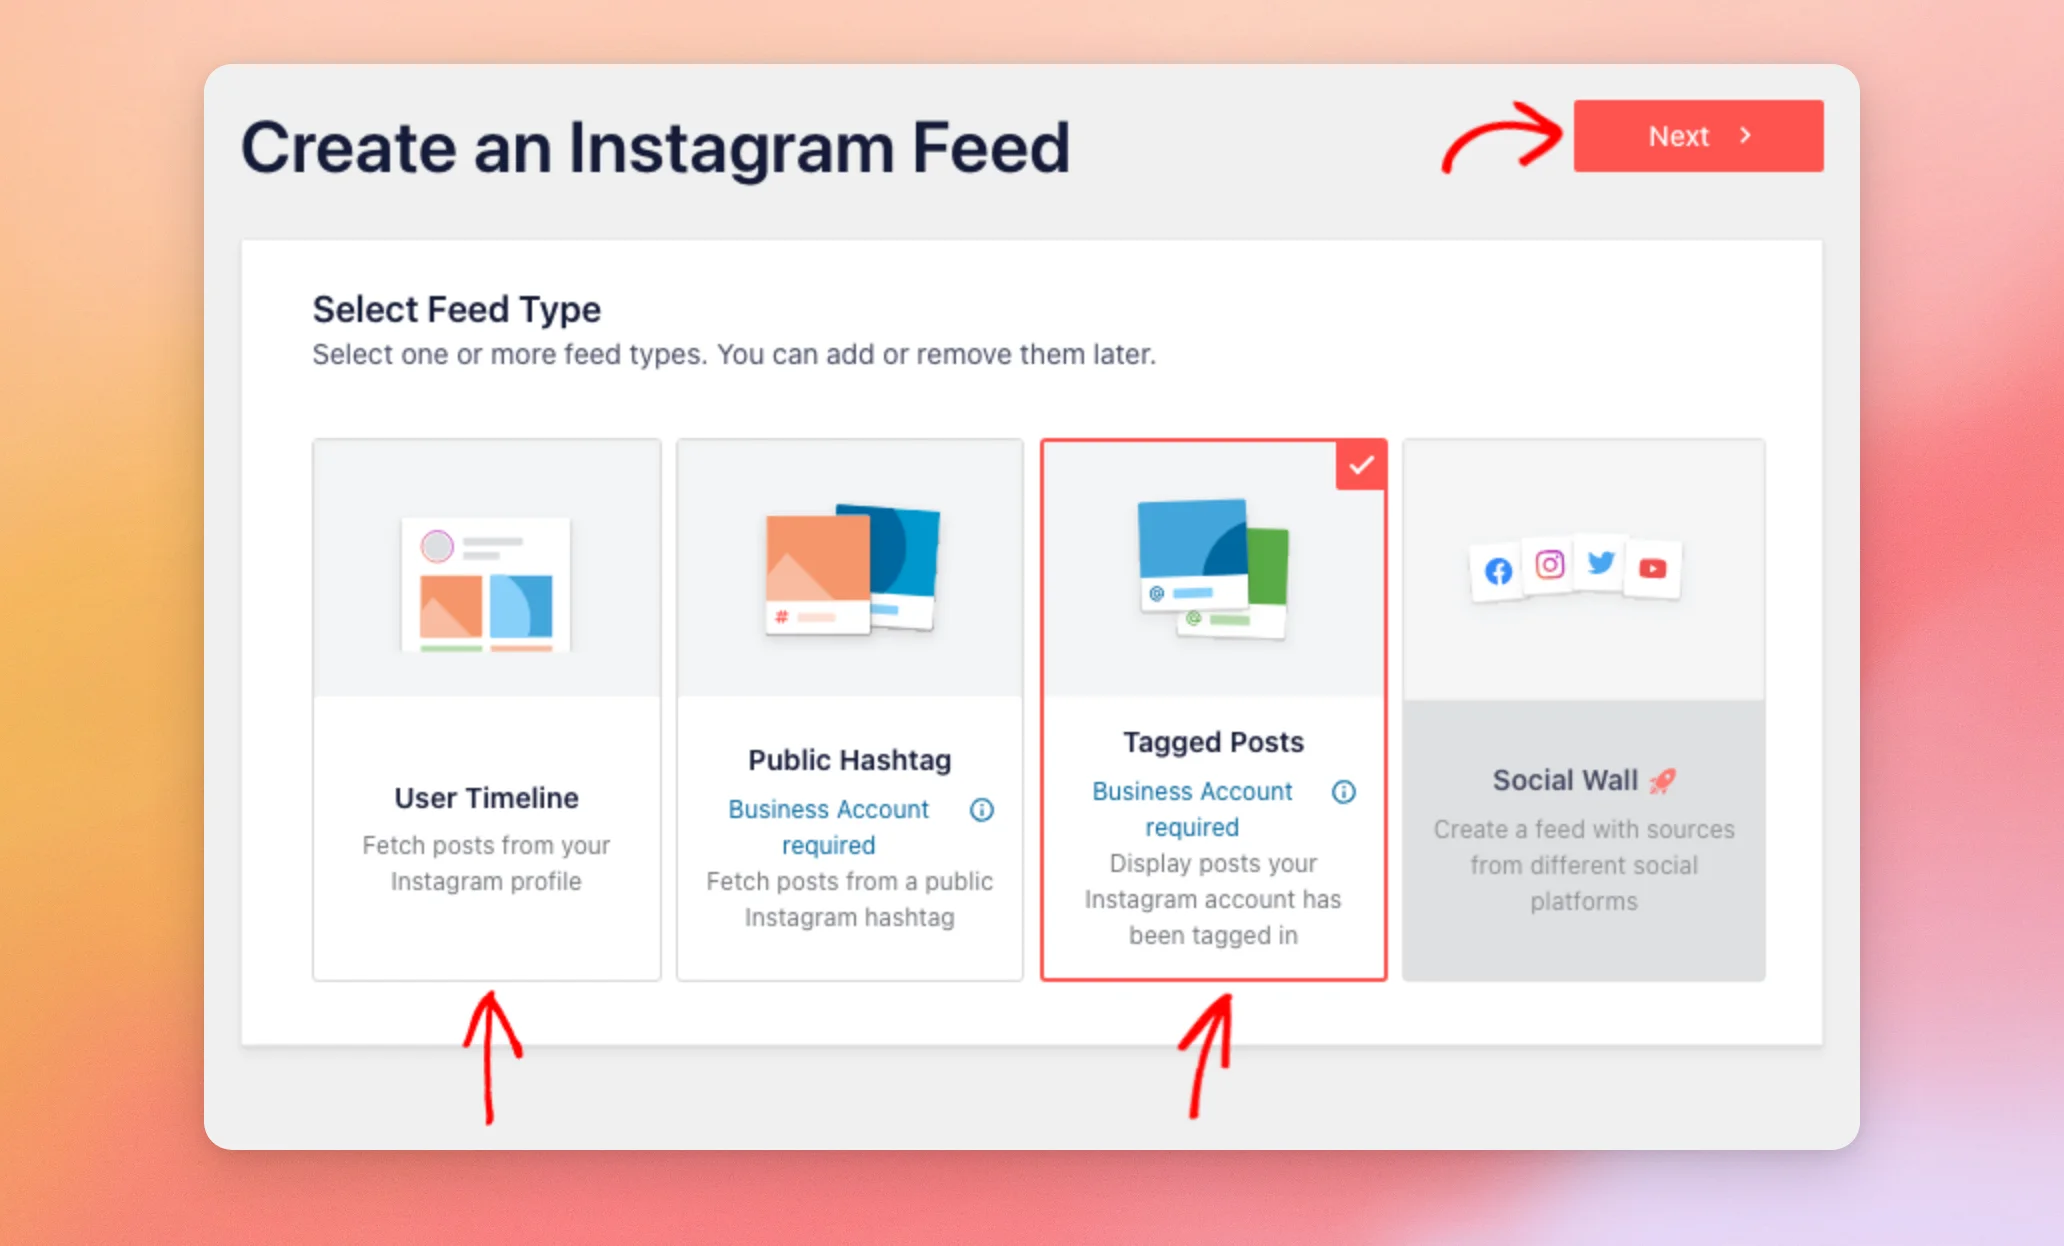
The Tagged Posts option is marked Business Account required. It needs a source connected with Business Advanced.
To show your own posts and your tagged posts together in one feed, keep User Timeline selected too.
To learn more, see our guide on combining multiple types of Instagram feeds.
On the Select one or more sources screen, click your Business Advanced source to select it. Then, click Next.
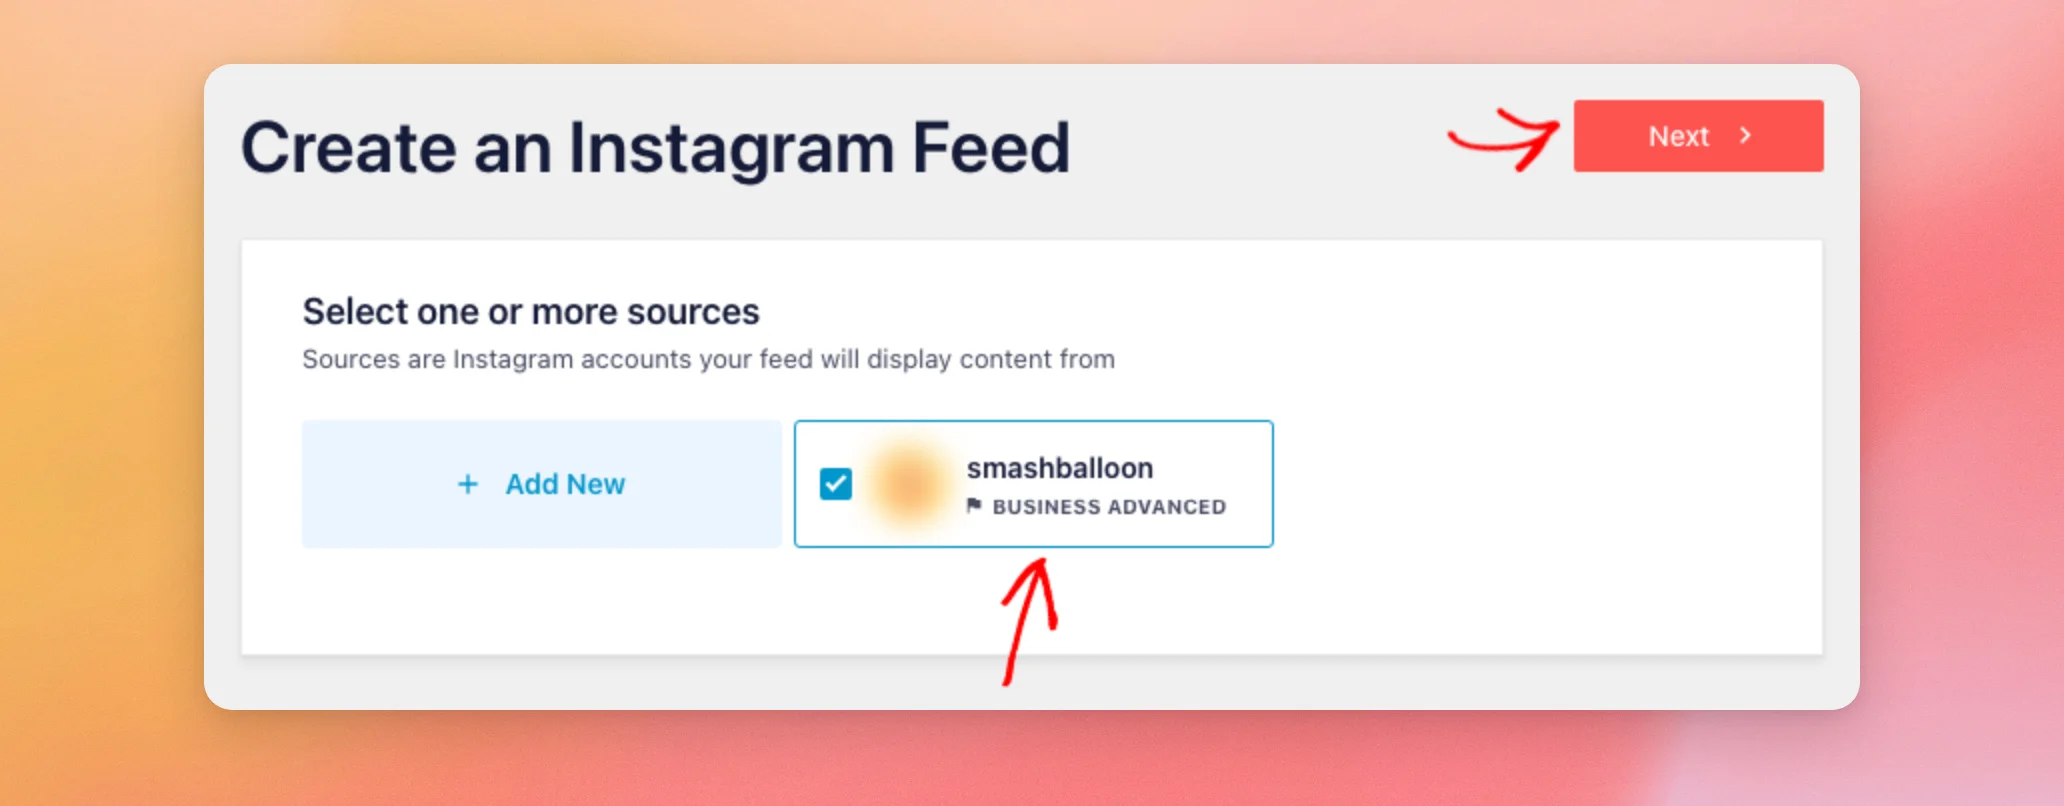
If your account is connected with Business Basic, connect it with Business Advanced first.
To learn how, see our guide on connecting Business Advanced.
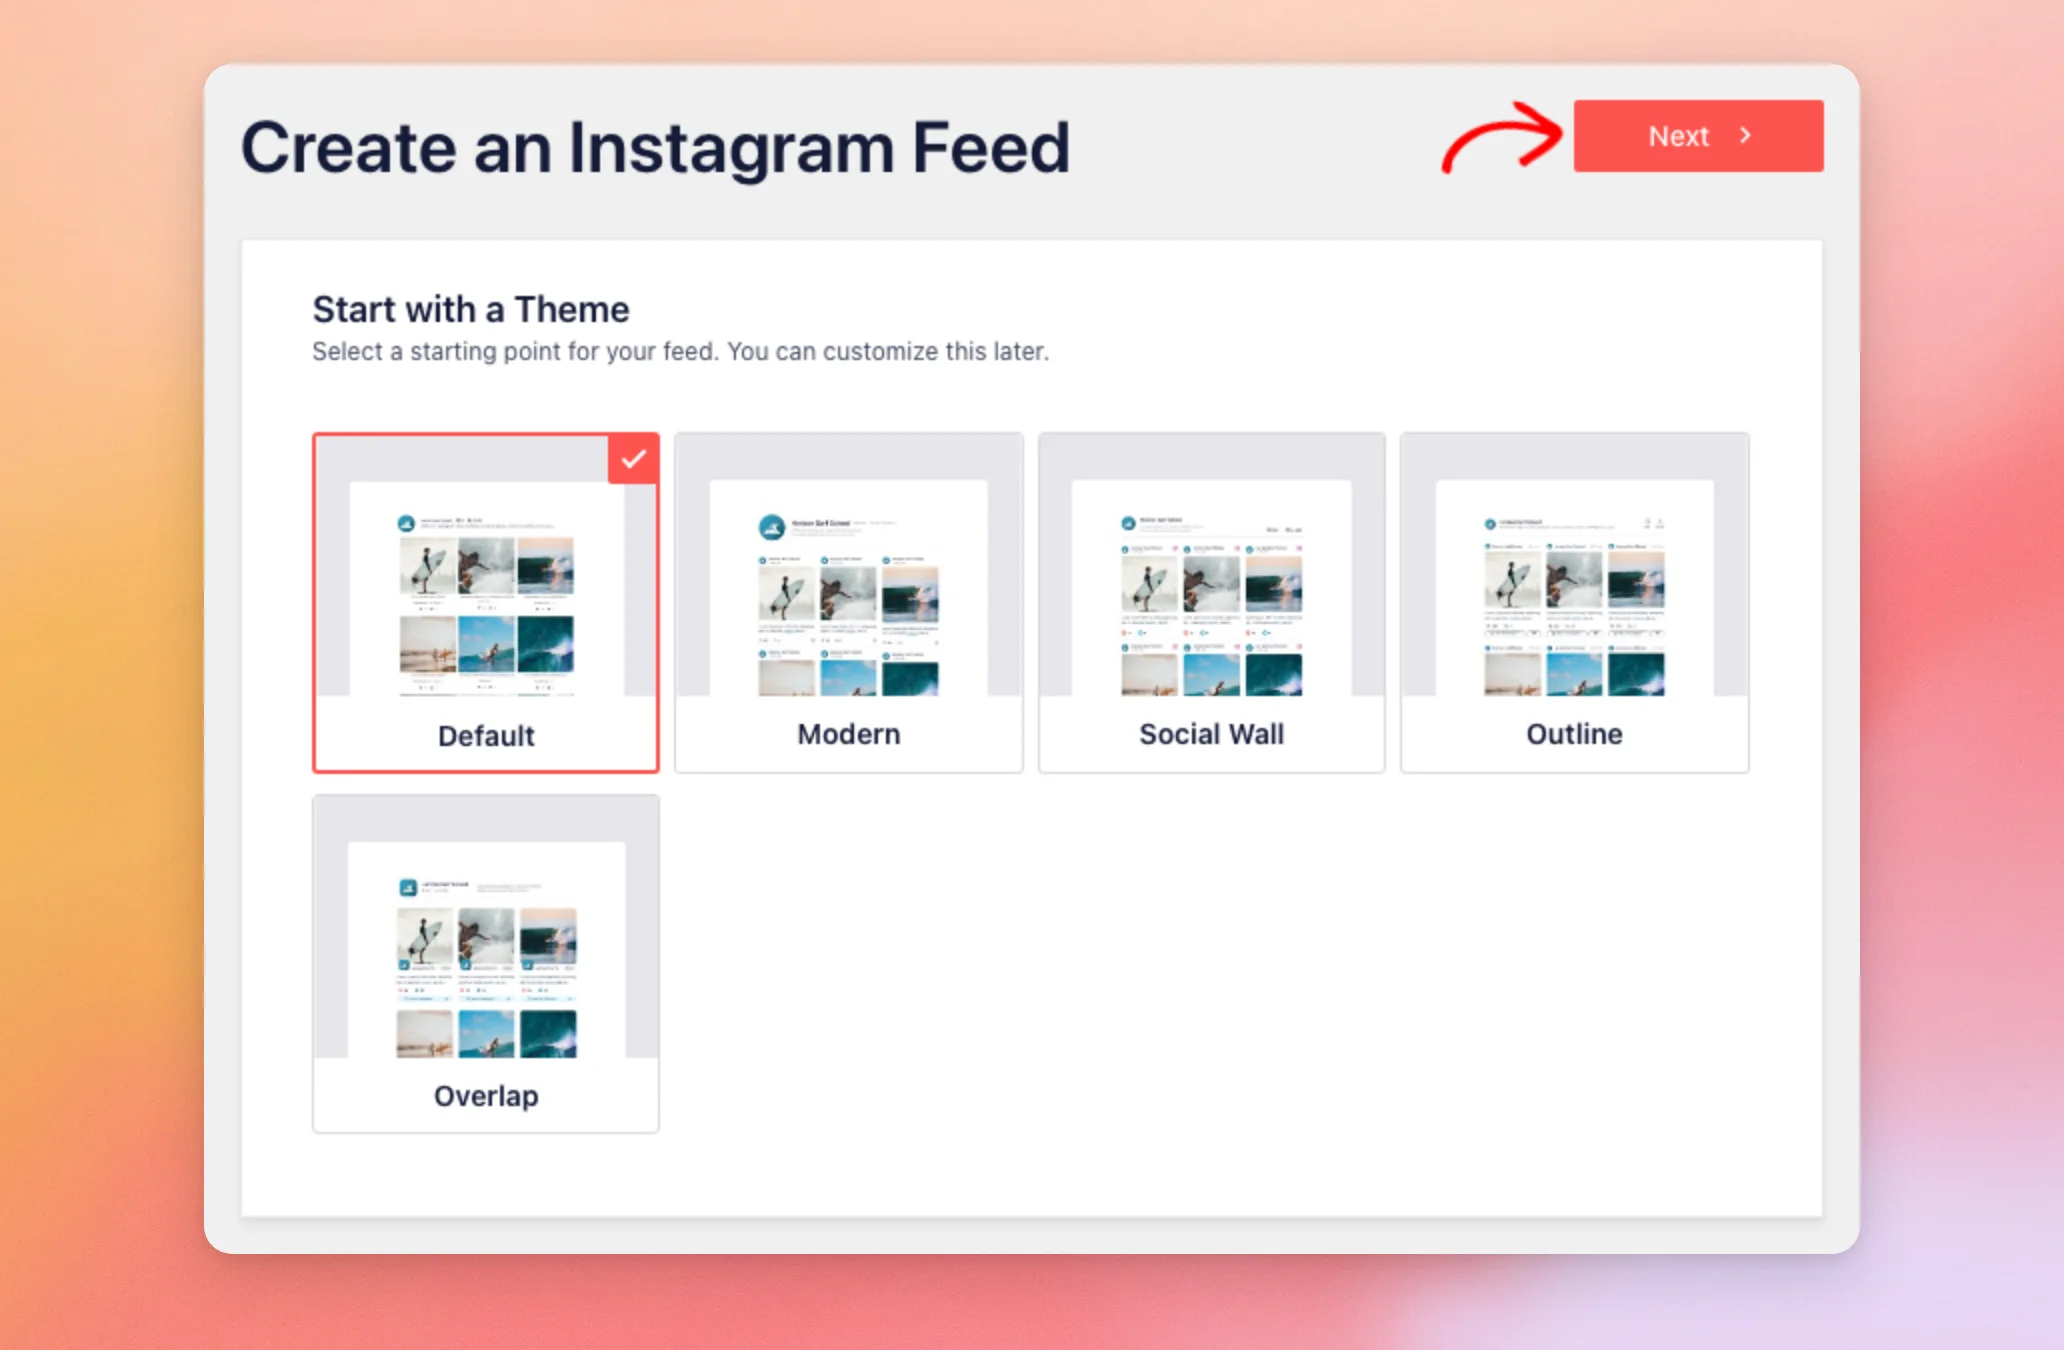
On the Start with a Theme screen, choose a theme for your feed. Then, click Next.
On the Start with a template screen, choose a template for your feed’s layout. Then, click Next.
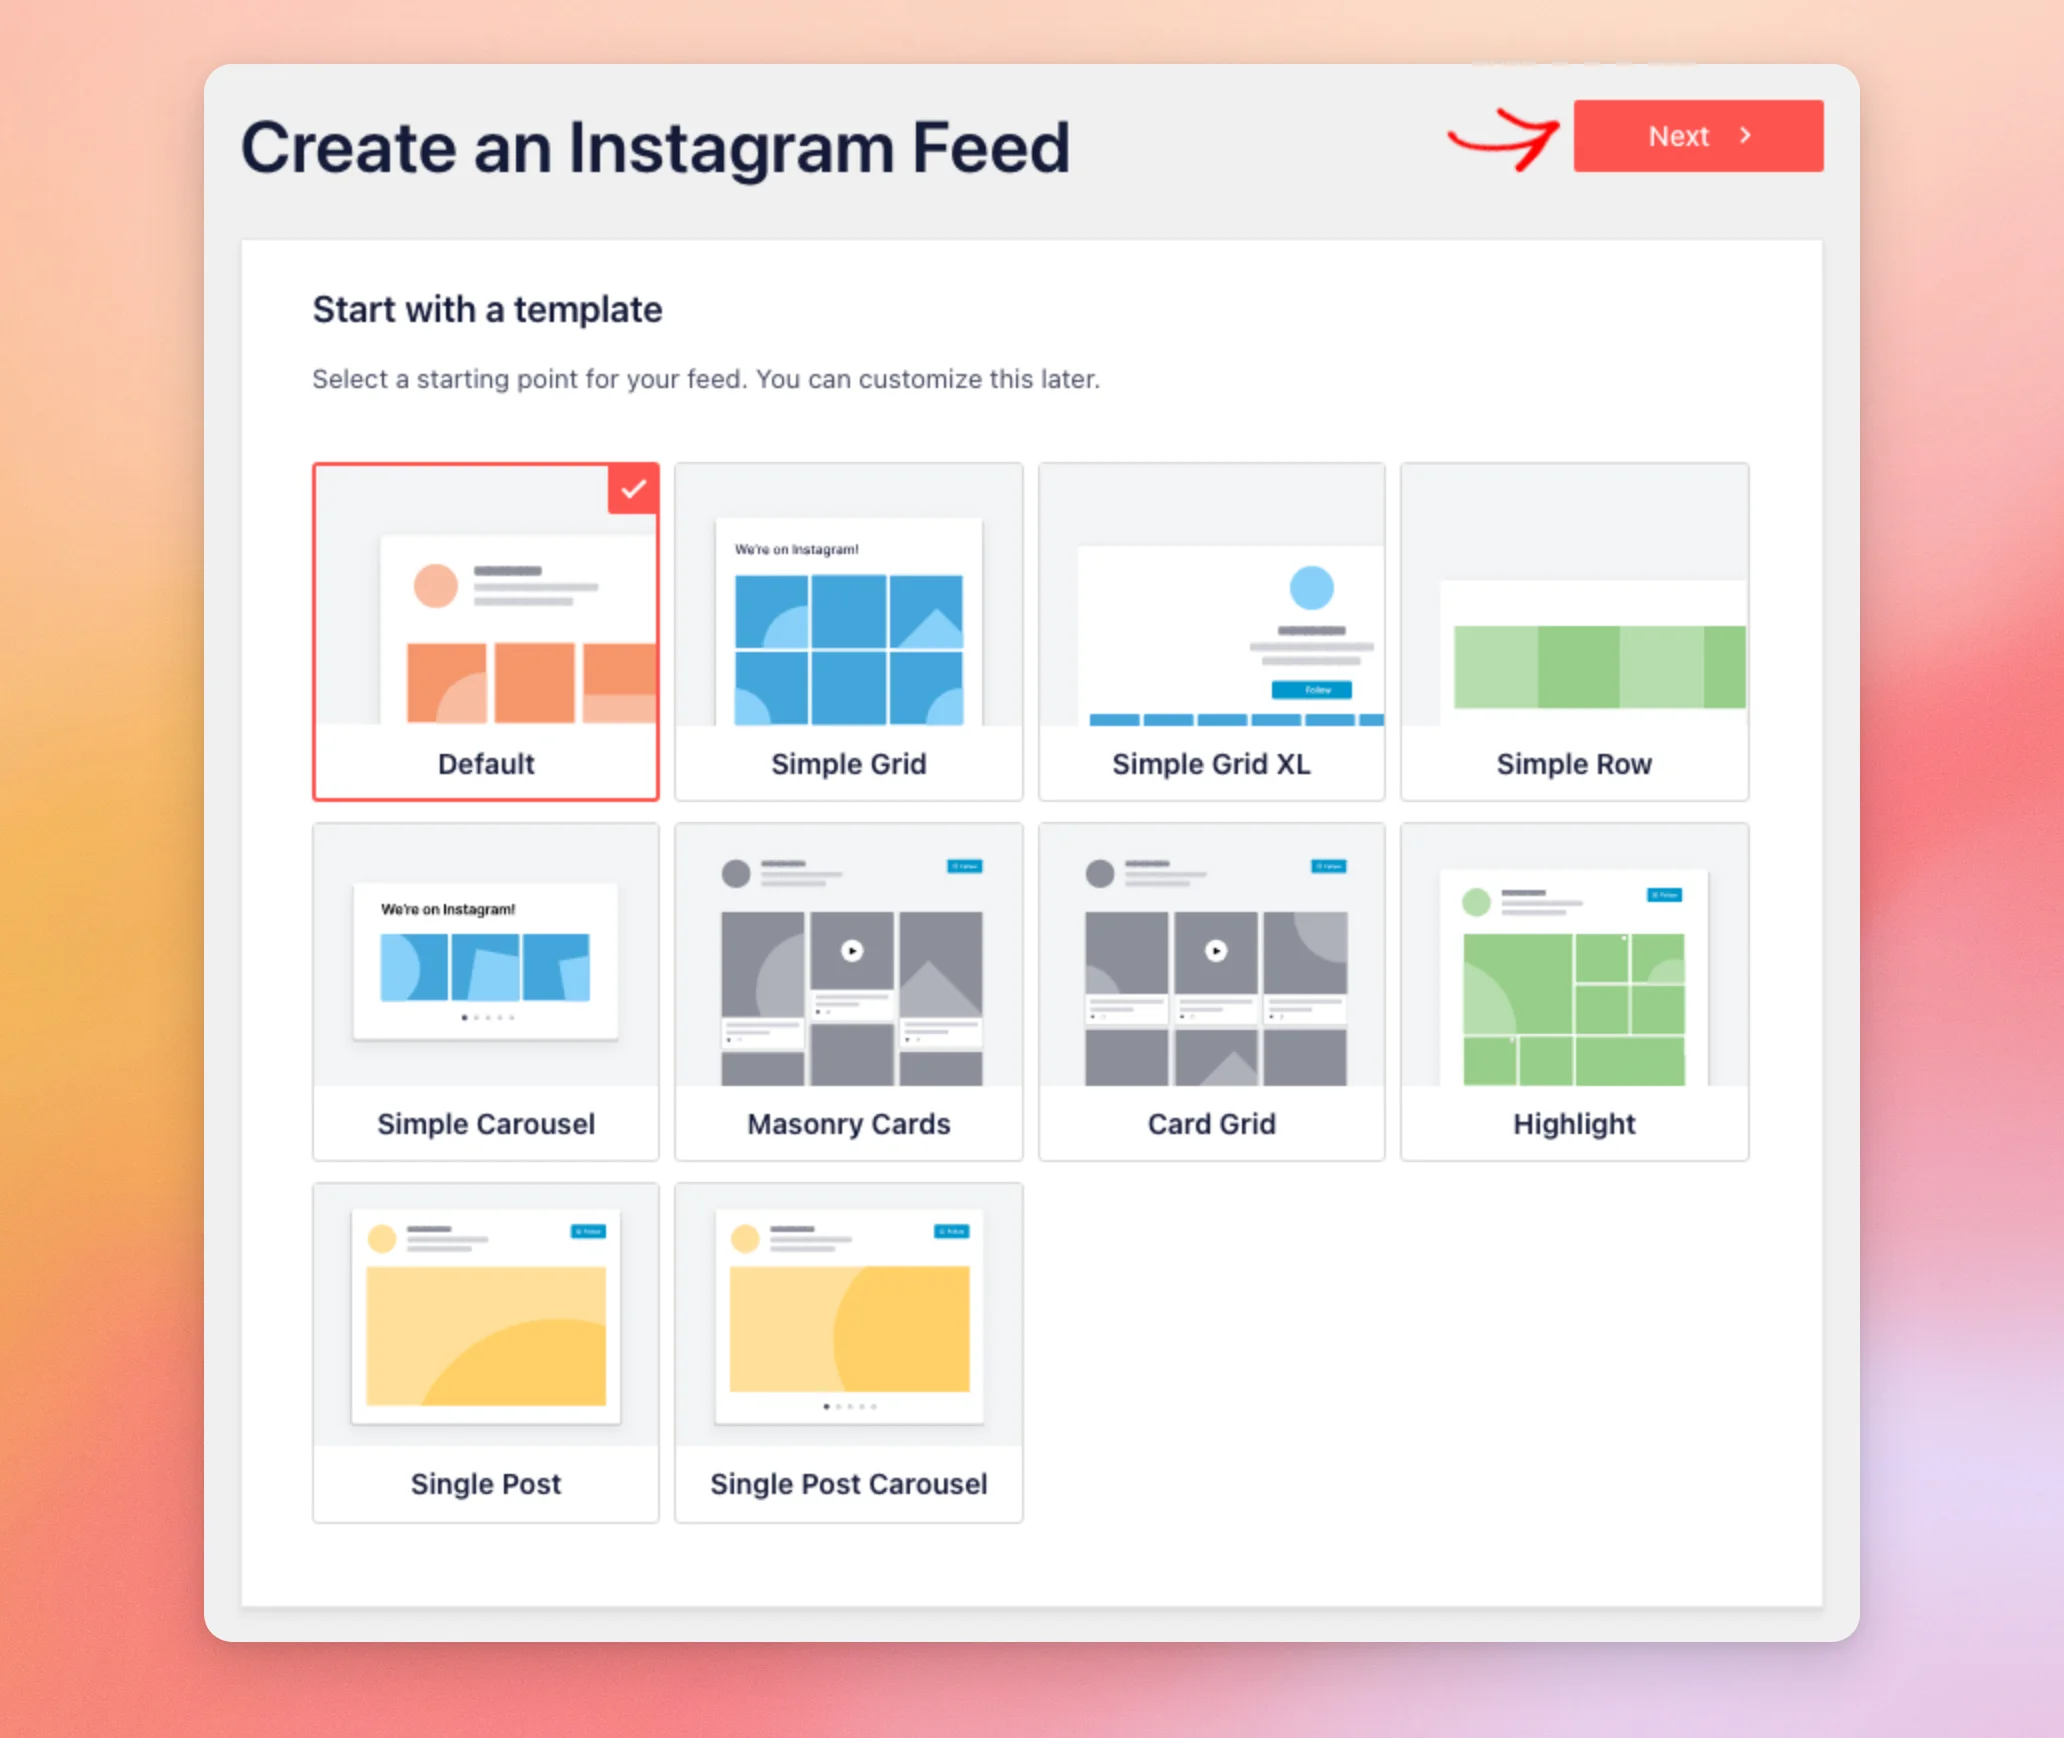
You can change the theme and the template later. To compare them, see our guide on using Instagram Feed templates and themes.
Your new feed now opens in the feed editor. The preview on the right shows the posts your account has been tagged in.
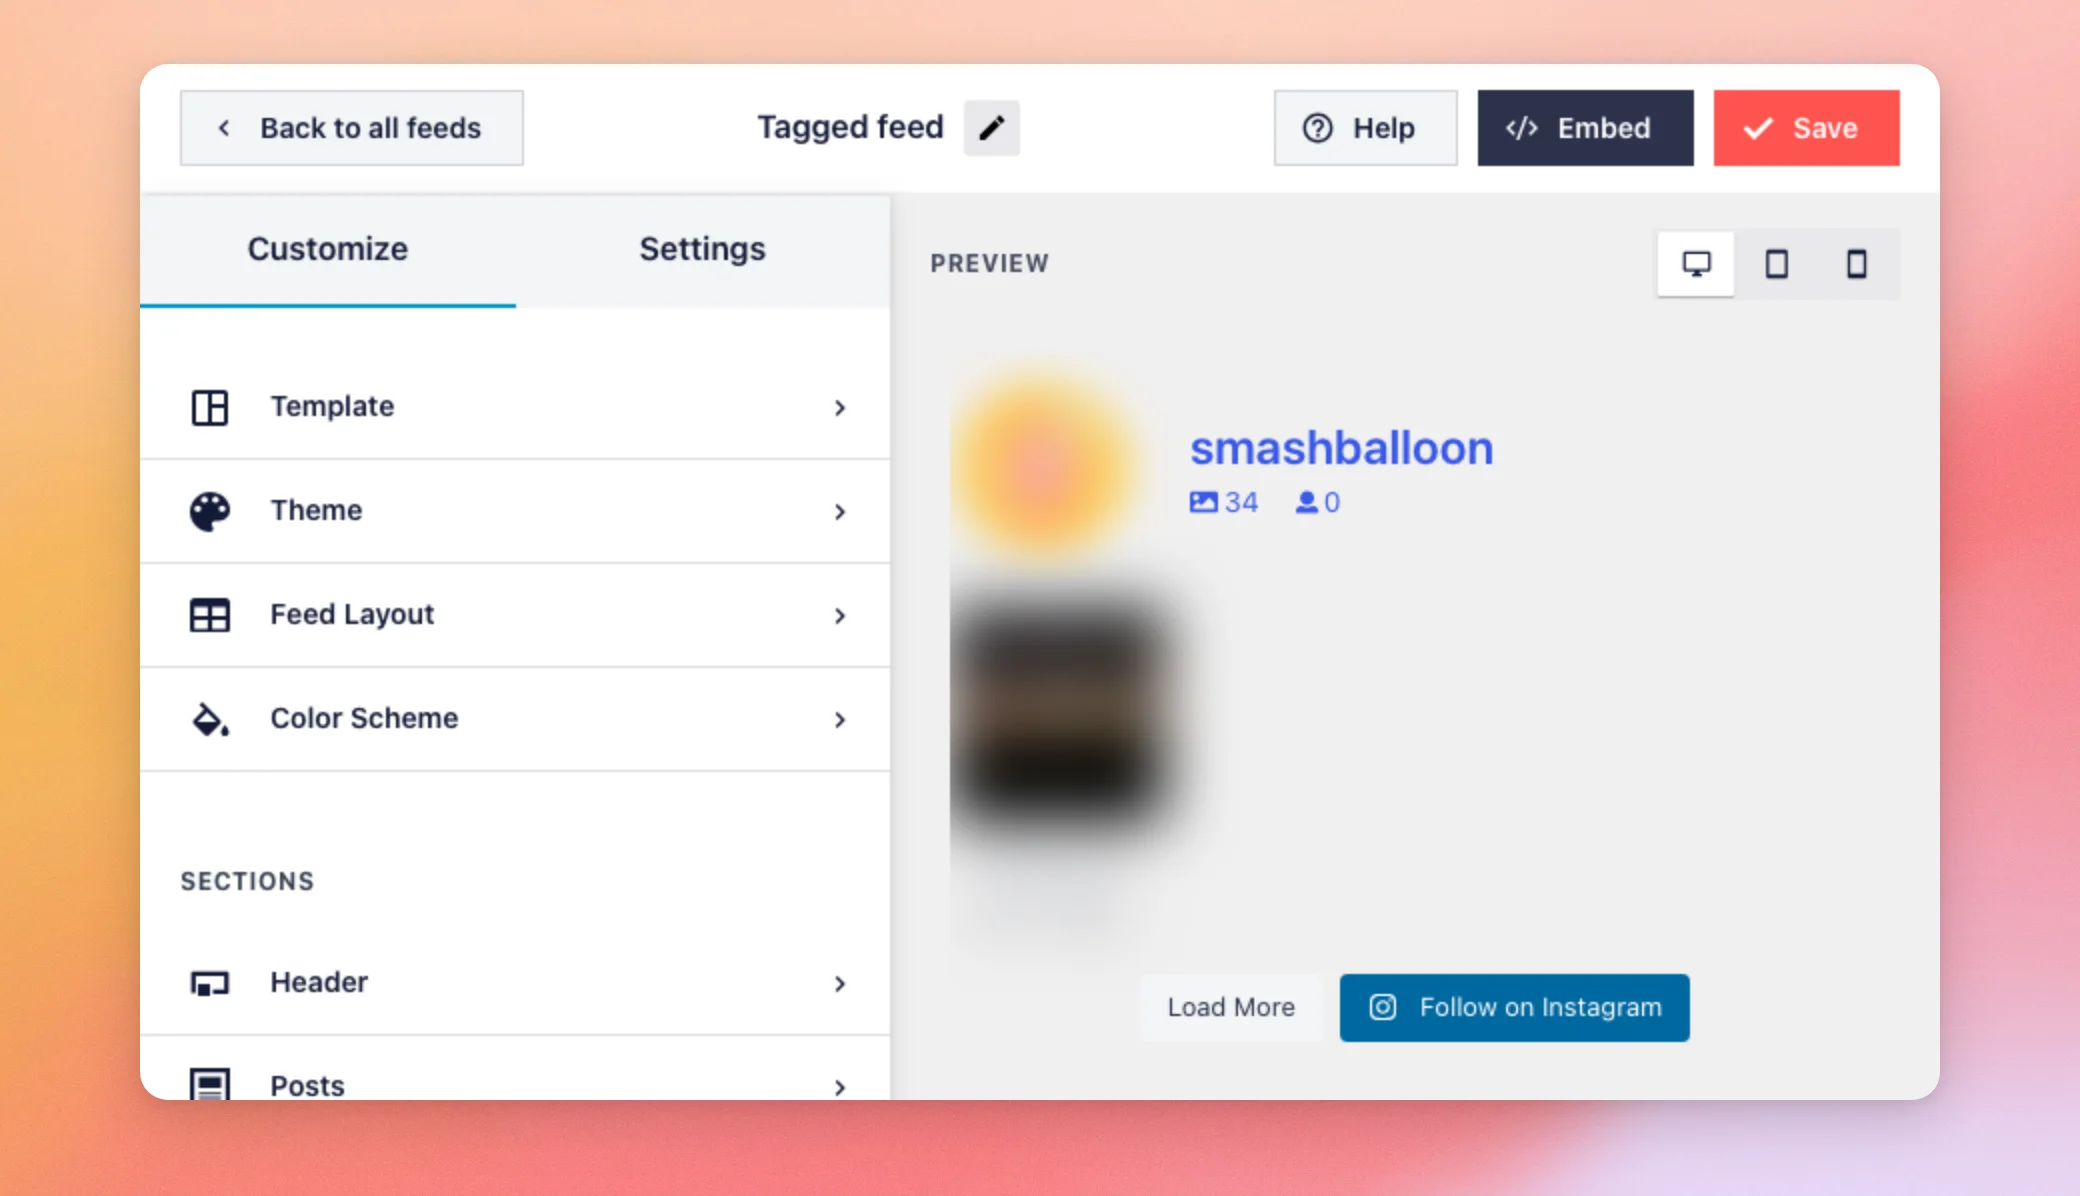
Next, use the Customize tab in the sidebar to change your feed’s template, theme, layout, and colors.
Now that your feed is created, you’re ready to see which source it uses.
Finding Your Feed’s Source
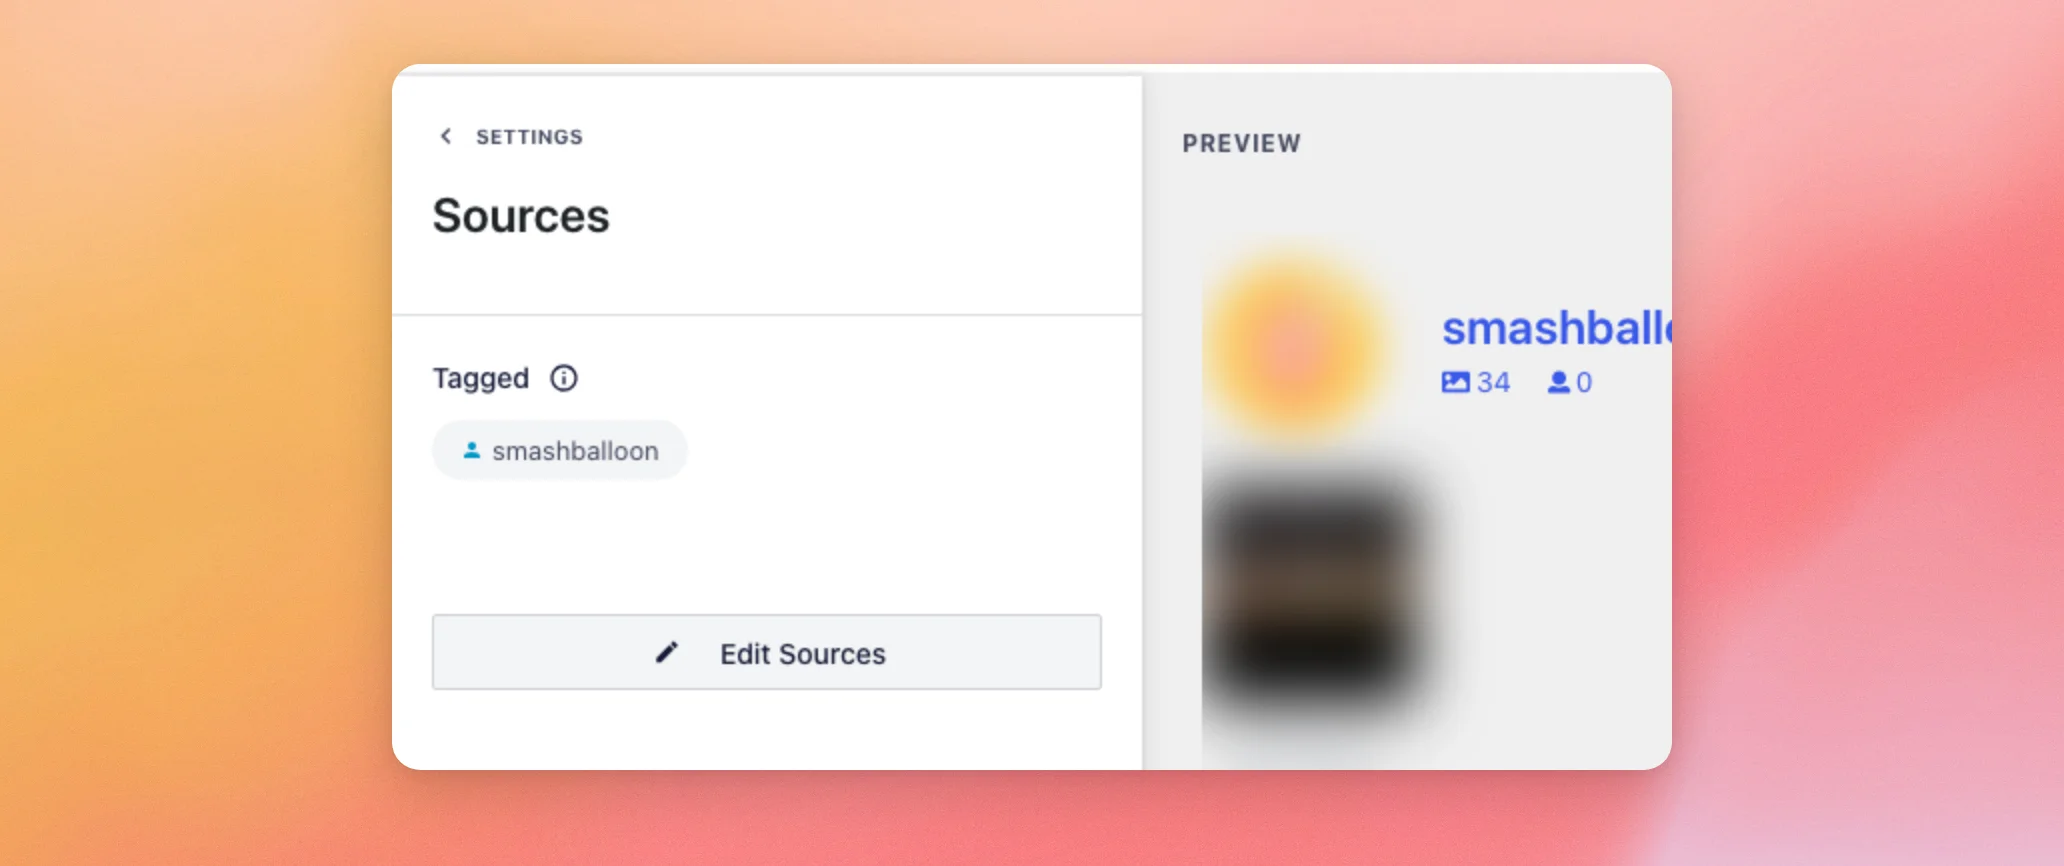
Your feed shows the posts that tag the source you picked. To see which source that is, click the Settings tab at the top of the sidebar. Then, click Sources.
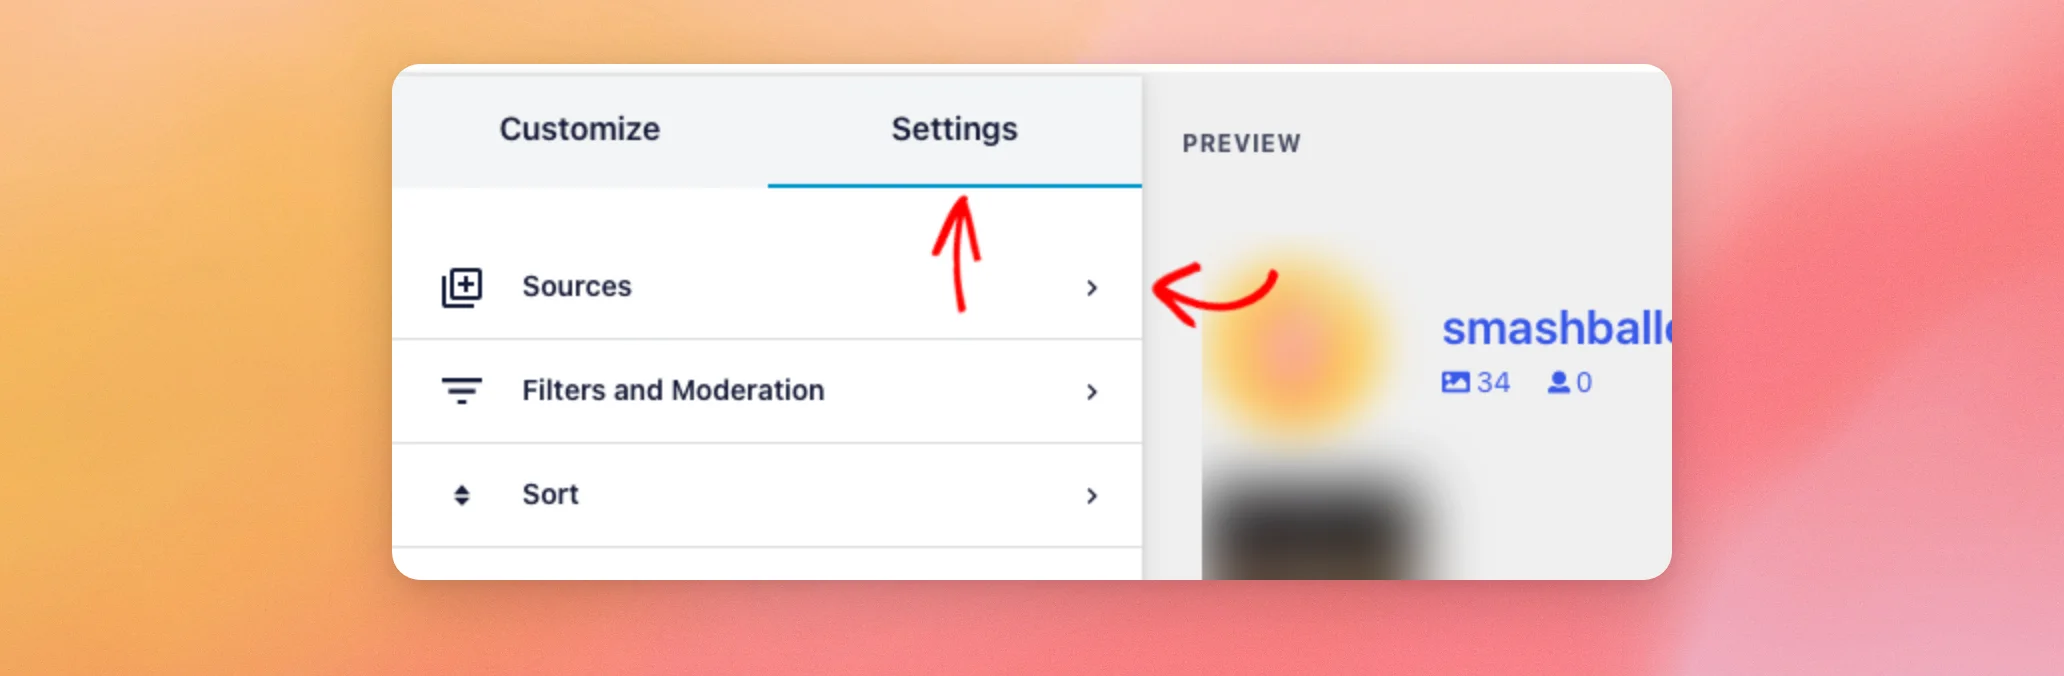
The Sources section lists Tagged as your feed type, with the source your feed uses below it.
Now that you know where your feed’s source is, you’re ready to save your feed.
Saving Your Feed
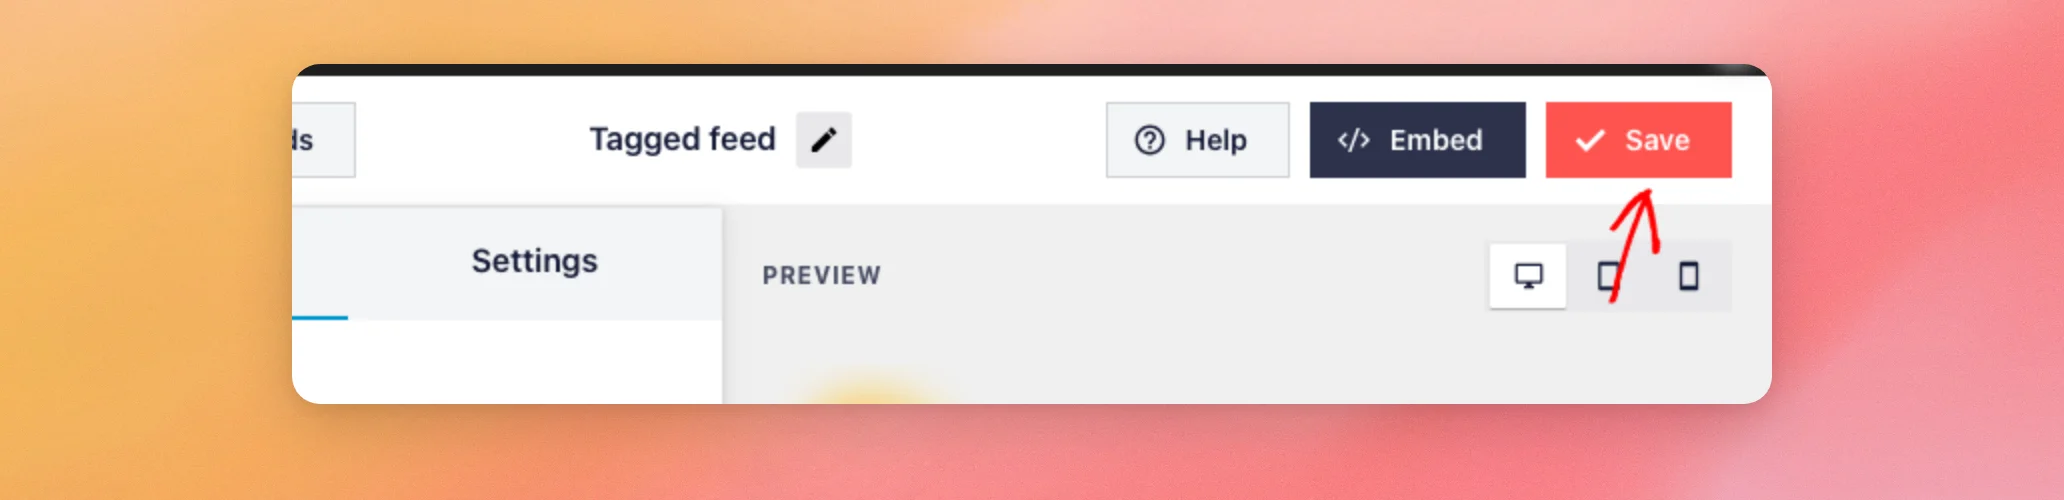
When you’re done, click Save at the top of the feed editor.
To add the feed to a page or post, see our Instagram Feed Pro setup guide. Its section on adding the feed to your site has the steps.
Seeing Your Tagged Posts Feed on Your Site
To see your feed on your site, open a page that shows it. The posts your account has been tagged in appear below the feed’s header.
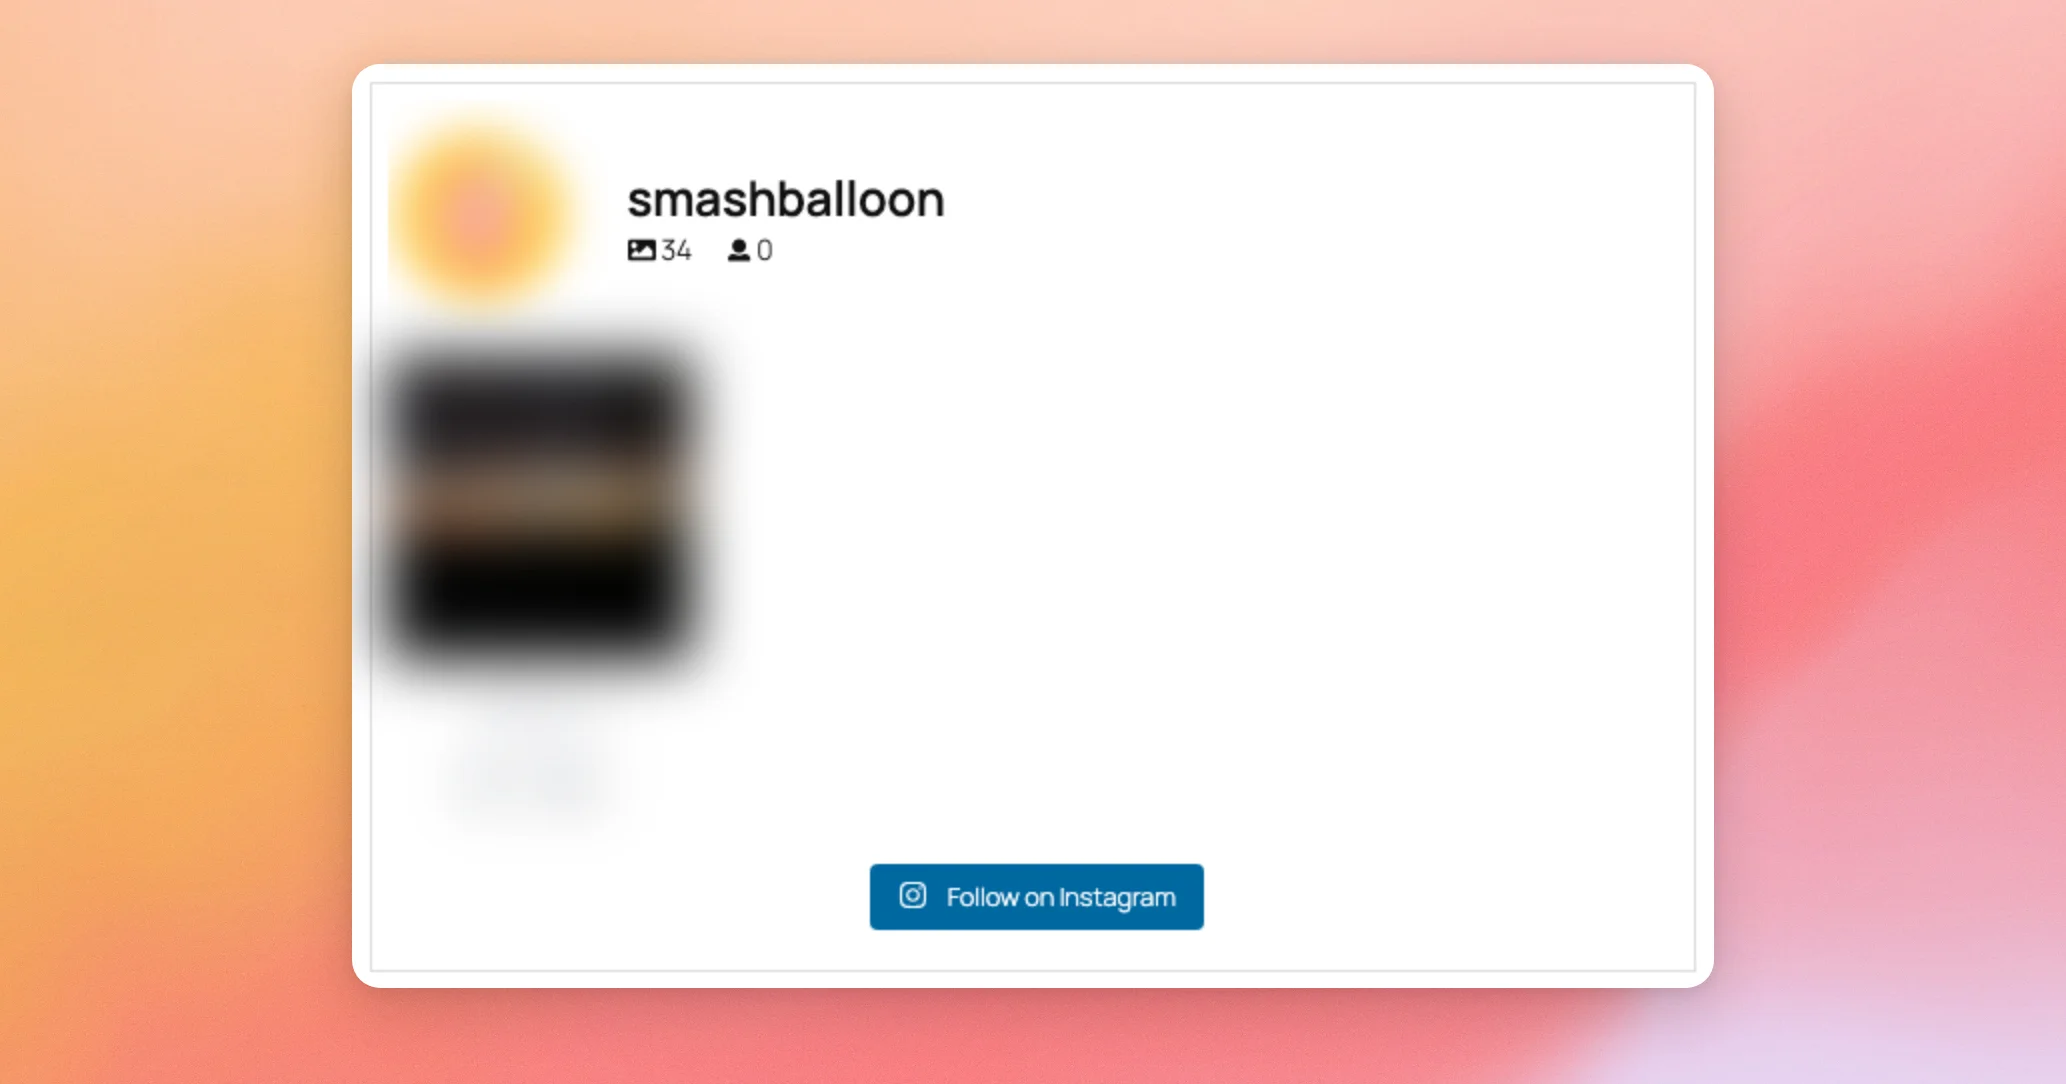
The header shows your own account, not the accounts that tagged you. The Follow on Instagram button below the posts also links to your own account.
That’s it! You now know how to create a Tagged Posts feed and show the posts you’re tagged in on your site. Next, see how to display an Instagram hashtag feed on your website.
Frequently Asked Questions
Below, we’ve answered some of the most common questions about Tagged Posts feeds.
Which license level do I need for a Tagged Posts feed?
Tagged Posts feeds come with the Elite license level. If your license doesn’t include them, choosing Tagged Posts on the Select Feed Type screen opens a window about upgrading instead. If no license key is entered on your site, the window asks you to activate your license. If your license has expired and its grace period has ended, it asks you to renew it.
Why can’t I select my source for a Tagged Posts feed?
Tagged Posts feeds need a source connected with Business Advanced. To use your account for this feed, connect it with Business Advanced, then pick that source on the source screen. See our guide on Instagram Business Advanced to learn how.
Why does my feed say “There is no connected business account for the user”?
This error shows when the account your feed uses isn’t connected to your site with Business Advanced. To fix it, connect that account with Business Advanced and use that source for your feed. To learn how, see our guide on connecting Business Advanced.
Can I show my own posts and my tagged posts in the same feed?
Yes. Keep both User Timeline and Tagged Posts selected when you create the feed. To learn more, see our guide on combining multiple types of Instagram feeds.
Whose header do I see at the top of my Tagged Posts feed?
If your feed shows a header, it shows the account you chose as the feed’s source, which is your own account. It doesn’t show the accounts that tagged you.