Social Wall
 Feed Analytics


Would you like to show visitors your overall star rating in one small badge on your site?
A Trust Badge shows your average rating and your number of reviews from the review sources you choose.
In this guide, we’ll walk you through creating a Trust Badge and changing how it looks. Then, we’ll add it to a page, to every page of your site, and to your email signature.
Requirements: Trust Badges require a Plus license level or higher.
Before you get started, make sure Reviews Feed is installed and activated on your WordPress site.
Trust Badges use the review sources you’ve already connected in Reviews Feed. If you haven’t connected one yet, see our guide on creating a reviews feed. For Google and Yelp, you can also connect a source without an API key.
- Creating a Trust Badge
- Customizing How Your Badge Looks
- Choosing Your Badge’s Sources
- Saving Your Badge
- Adding Your Badge to a Page
- Showing Your Badge on Every Page
- Using Your Badge’s Shortcode
- Adding Your Badge to Your Email Signature
- Managing Your Trust Badges
- Frequently Asked Questions
Creating a Trust Badge
To get started, we’ll add a new Trust Badge and choose the sources its rating comes from.
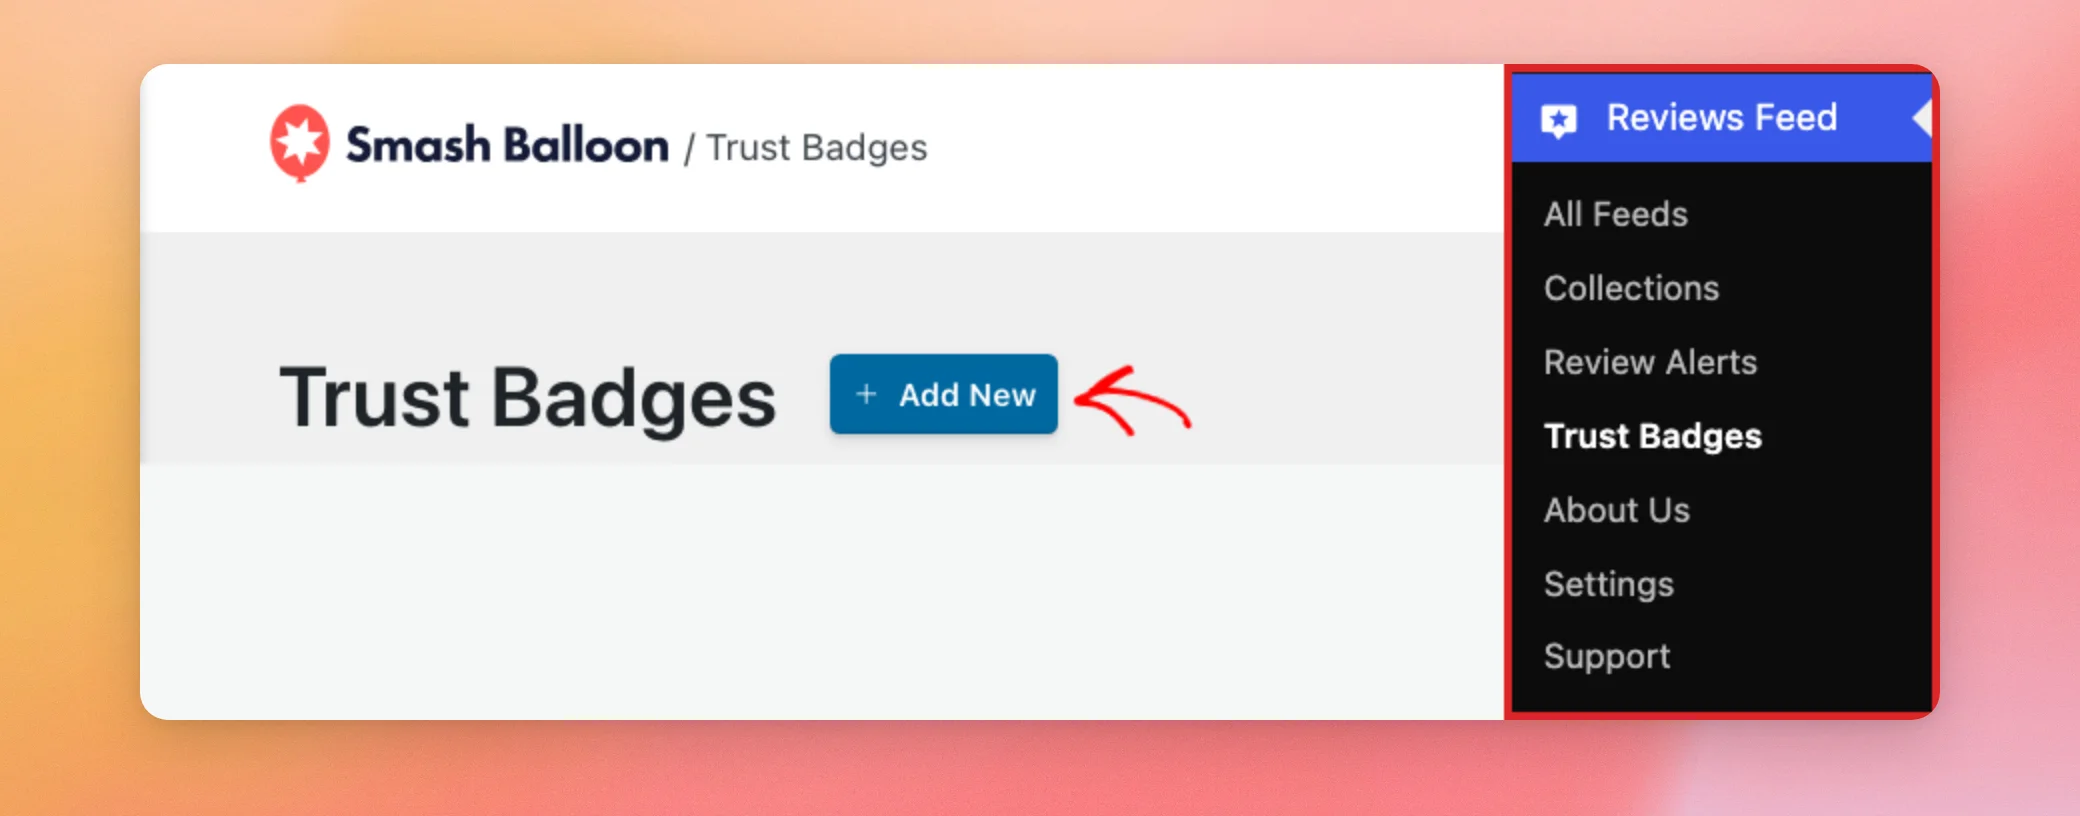
From your WordPress admin sidebar, go to Reviews Feed » Trust Badges. Then, click Add New.
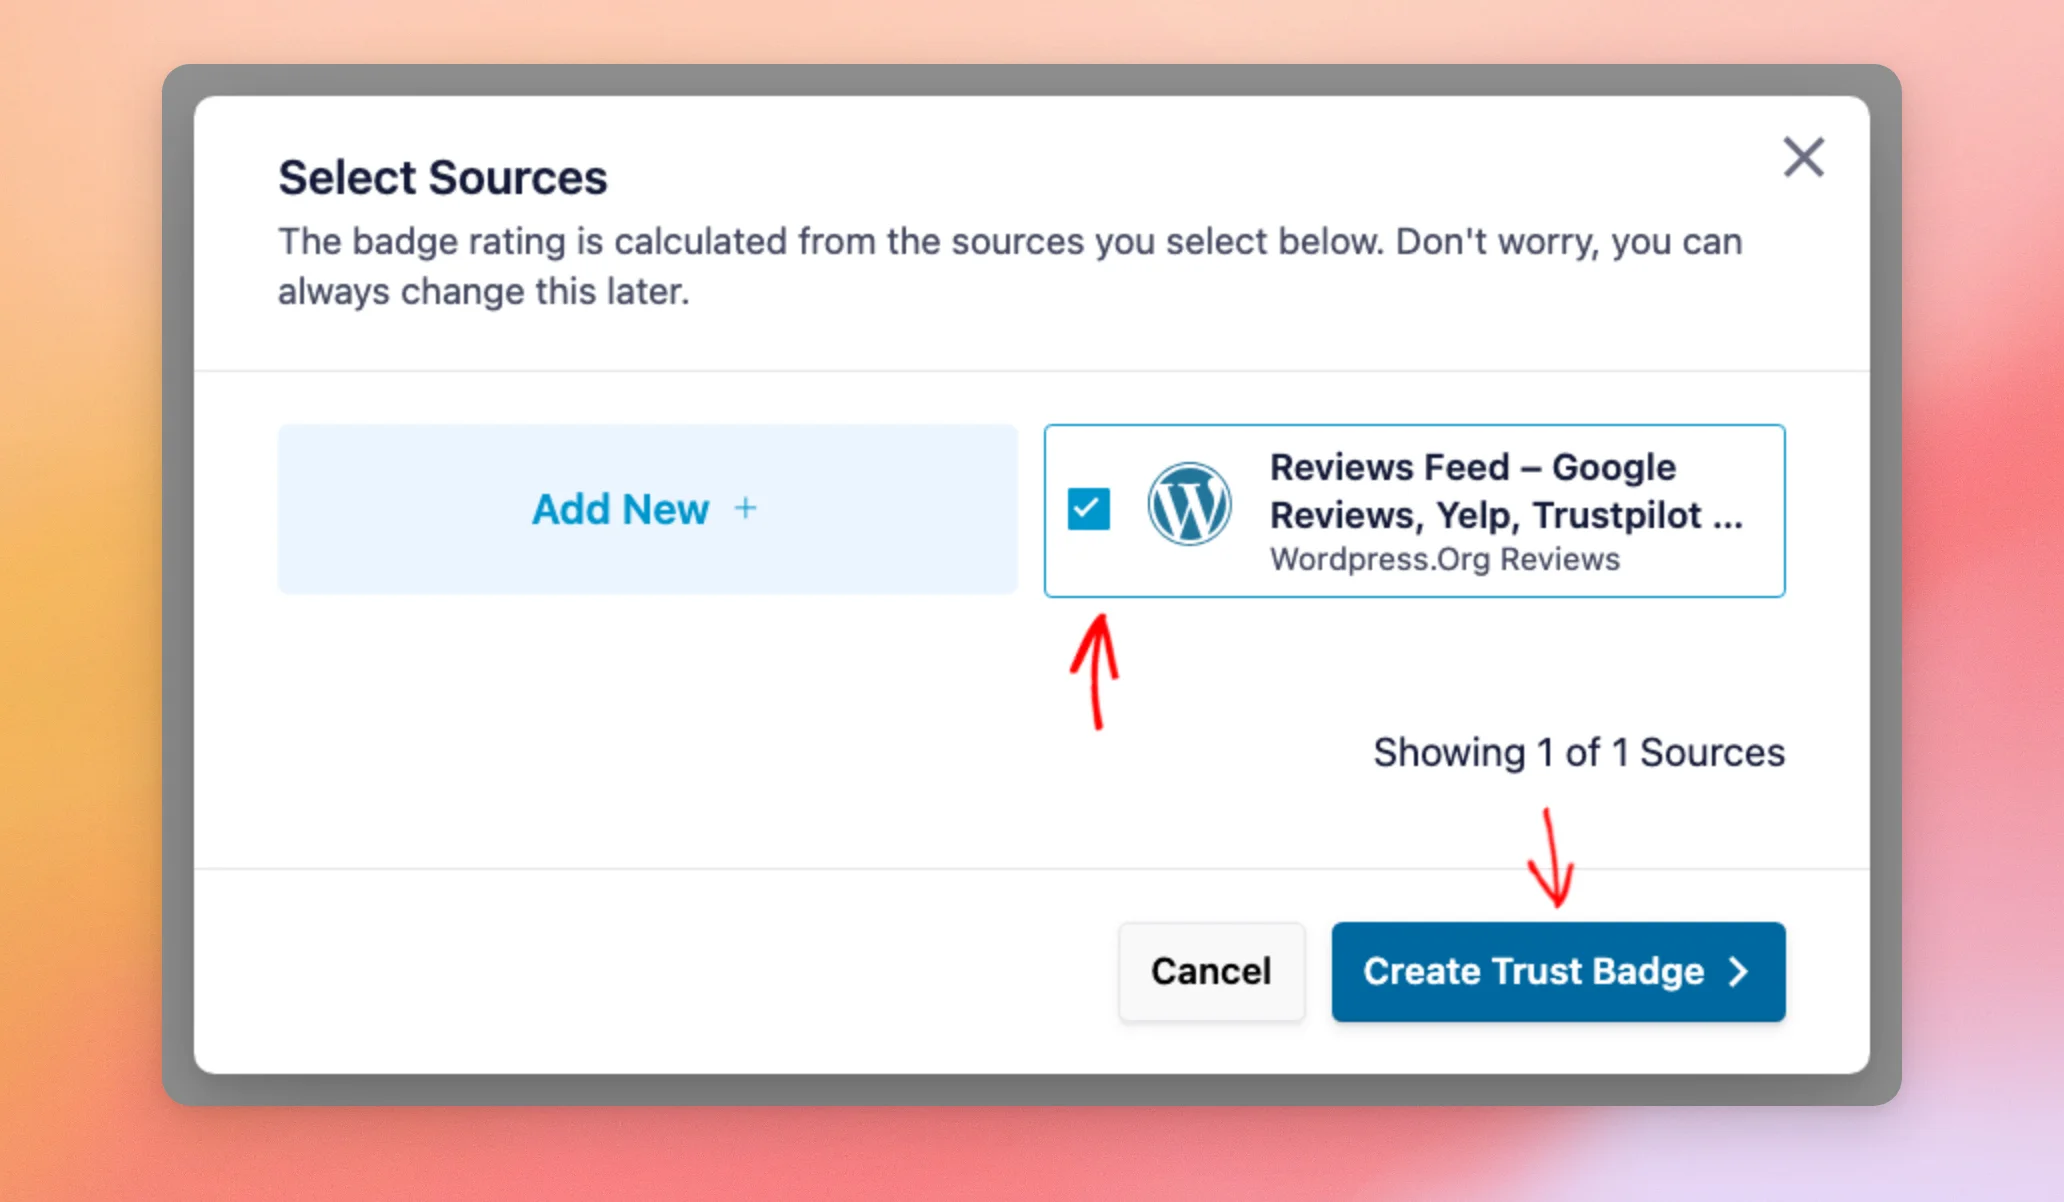
A Select Sources window opens. It lists the review sources you’ve connected in Reviews Feed. The window also has an Add New card for connecting a new source.
Next, check each source you’d like your badge’s rating to come from. You can change your choice later in the editor’s Settings tab. Then, click Create Trust Badge.
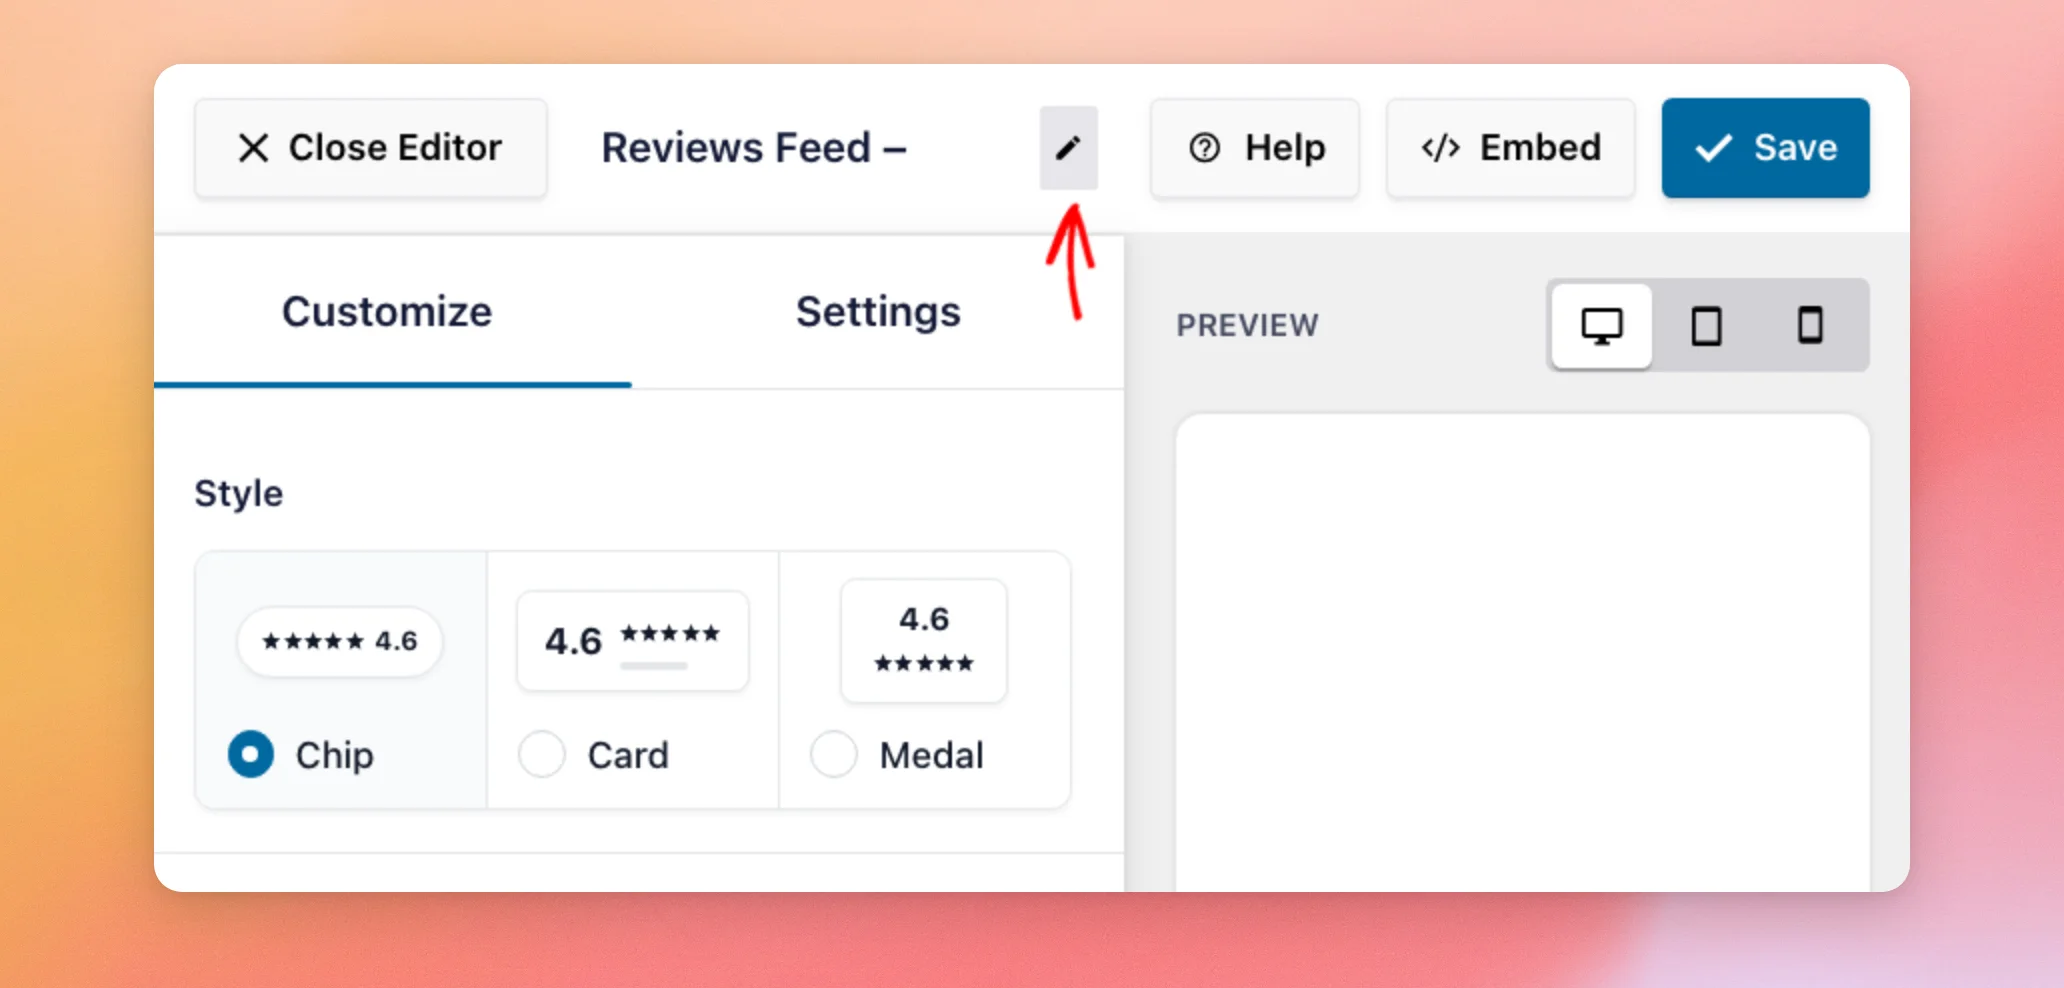
Your new Trust Badge opens in the editor. Its name is your source’s name followed by Trust Badge. Since you can create more than one badge, a short name helps you find it later.
To rename it, click the pencil icon next to its name at the top of the editor.
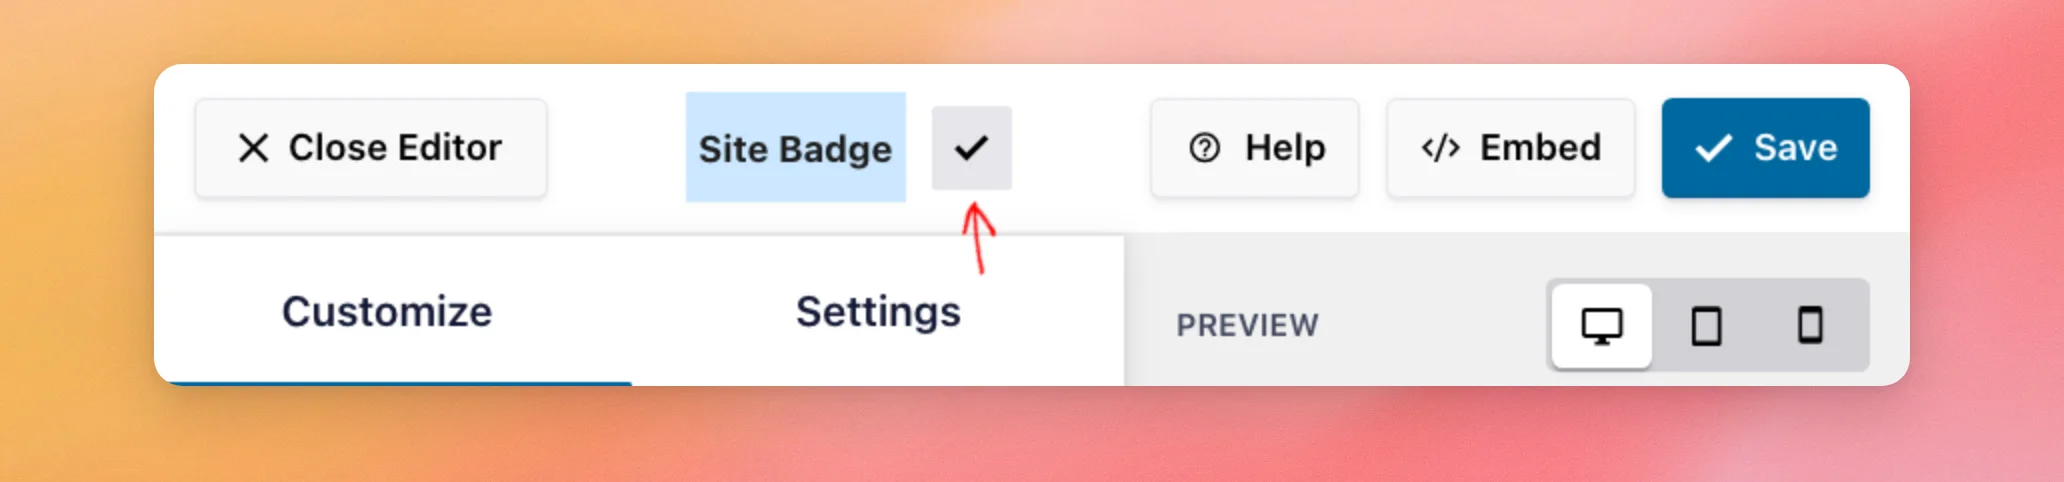
In the name field, type the new name. Then, click the check mark next to it.
The editor has two tabs. The Customize tab controls how your badge looks. The Settings tab controls which sources its rating comes from.
As you make changes, the preview on the right shows your badge with your real rating. Next, we’ll change how your badge looks.
Customizing How Your Badge Looks
The Customize tab opens first. It has four sections: Style, Theme, Accent, and Show/Hide Elements.
Choosing a Style and Theme
Under Style, there are three badge shapes: Chip (selected by default), Card, and Medal. Each tile shows a sample rating so you can compare the shapes. Your badge always shows your own rating.
If you’re not sure which shape to use, try each one and check the preview on the right.
To change the shape, click the style you’d like to use. In this example, we’ll click Card.

Under Theme, there are three color themes: Light (selected by default), Dark, and Tinted. To change the colors, click the theme that suits your site. In this example, we’ll click Dark.
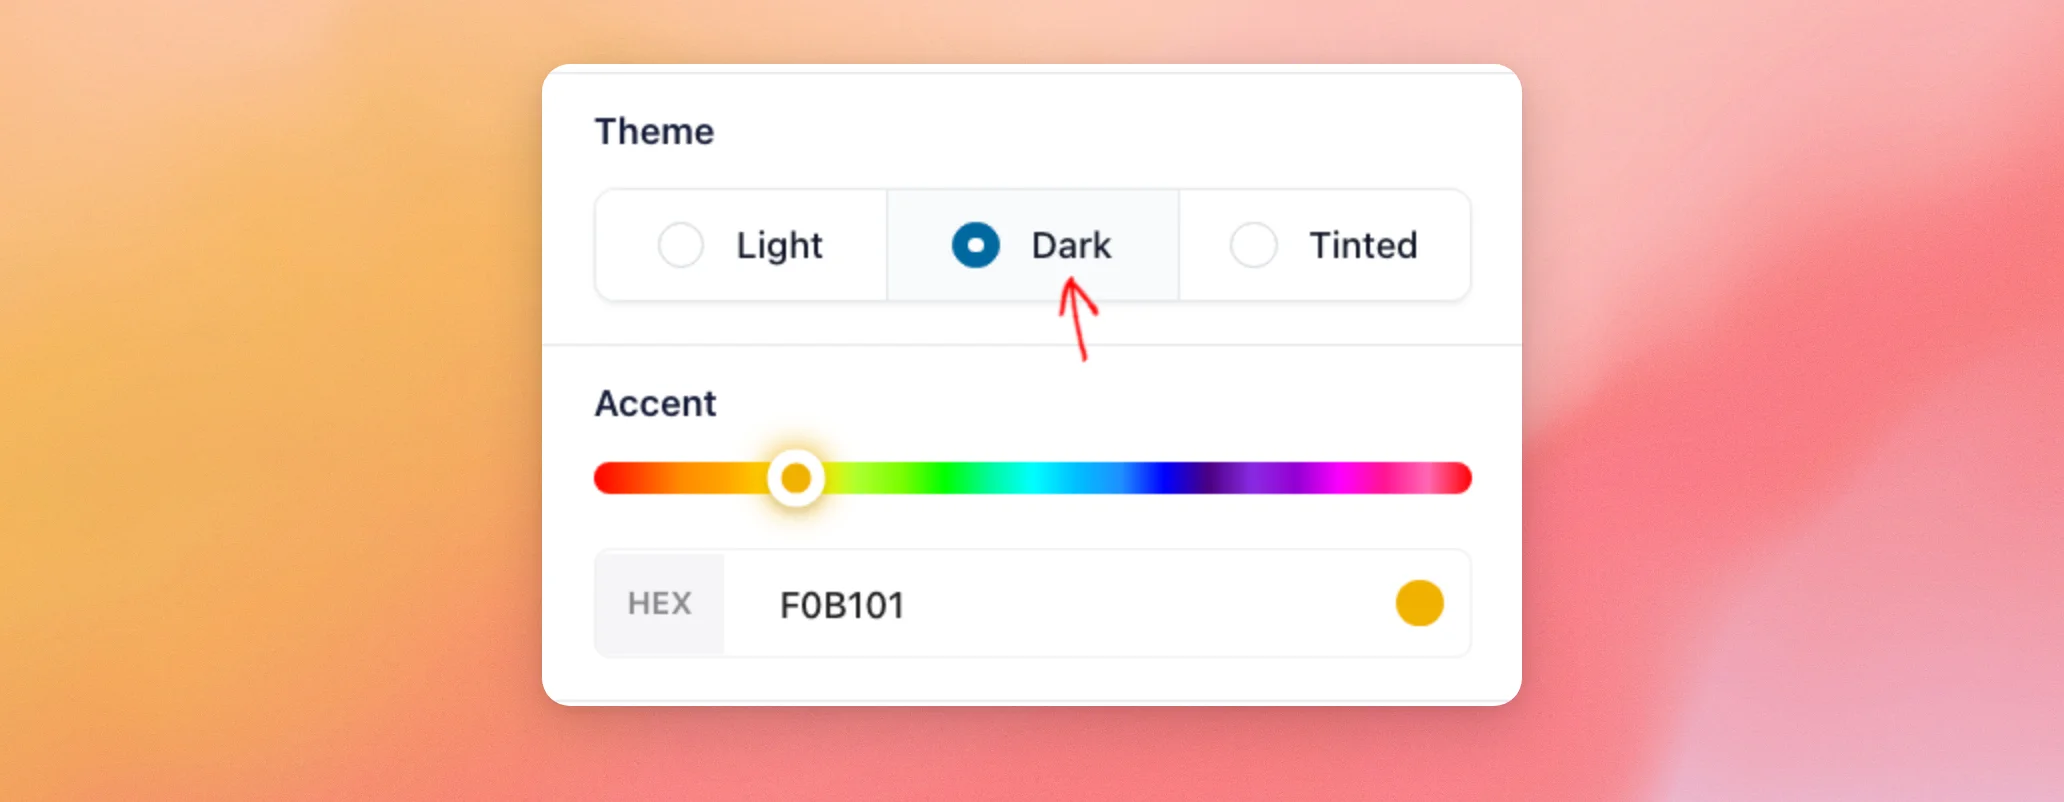
Below Theme, the Accent section sets the color of your badge’s stars.
To change it, drag its slider or type a color code in the HEX field. Once you change the color, a reset button appears next to them. It brings back the default gold.
When you choose the Tinted theme, this section is called Tint instead. Its slider then sets the color of the badge’s background.
Next, we’ll choose which parts of the badge to show.
Showing or Hiding Badge Elements
The Show/Hide Elements section lists the parts of your badge:
- Rating Value: Your average rating as a number, such as 4.3.
- Star Rating: Your average rating as stars.
- Review Count: Your total number of reviews.
- Platform Logos: The logo of each review platform your rating comes from.
- Footer: A line of text at the bottom of the badge, which can link to a page. It’s hidden by default.
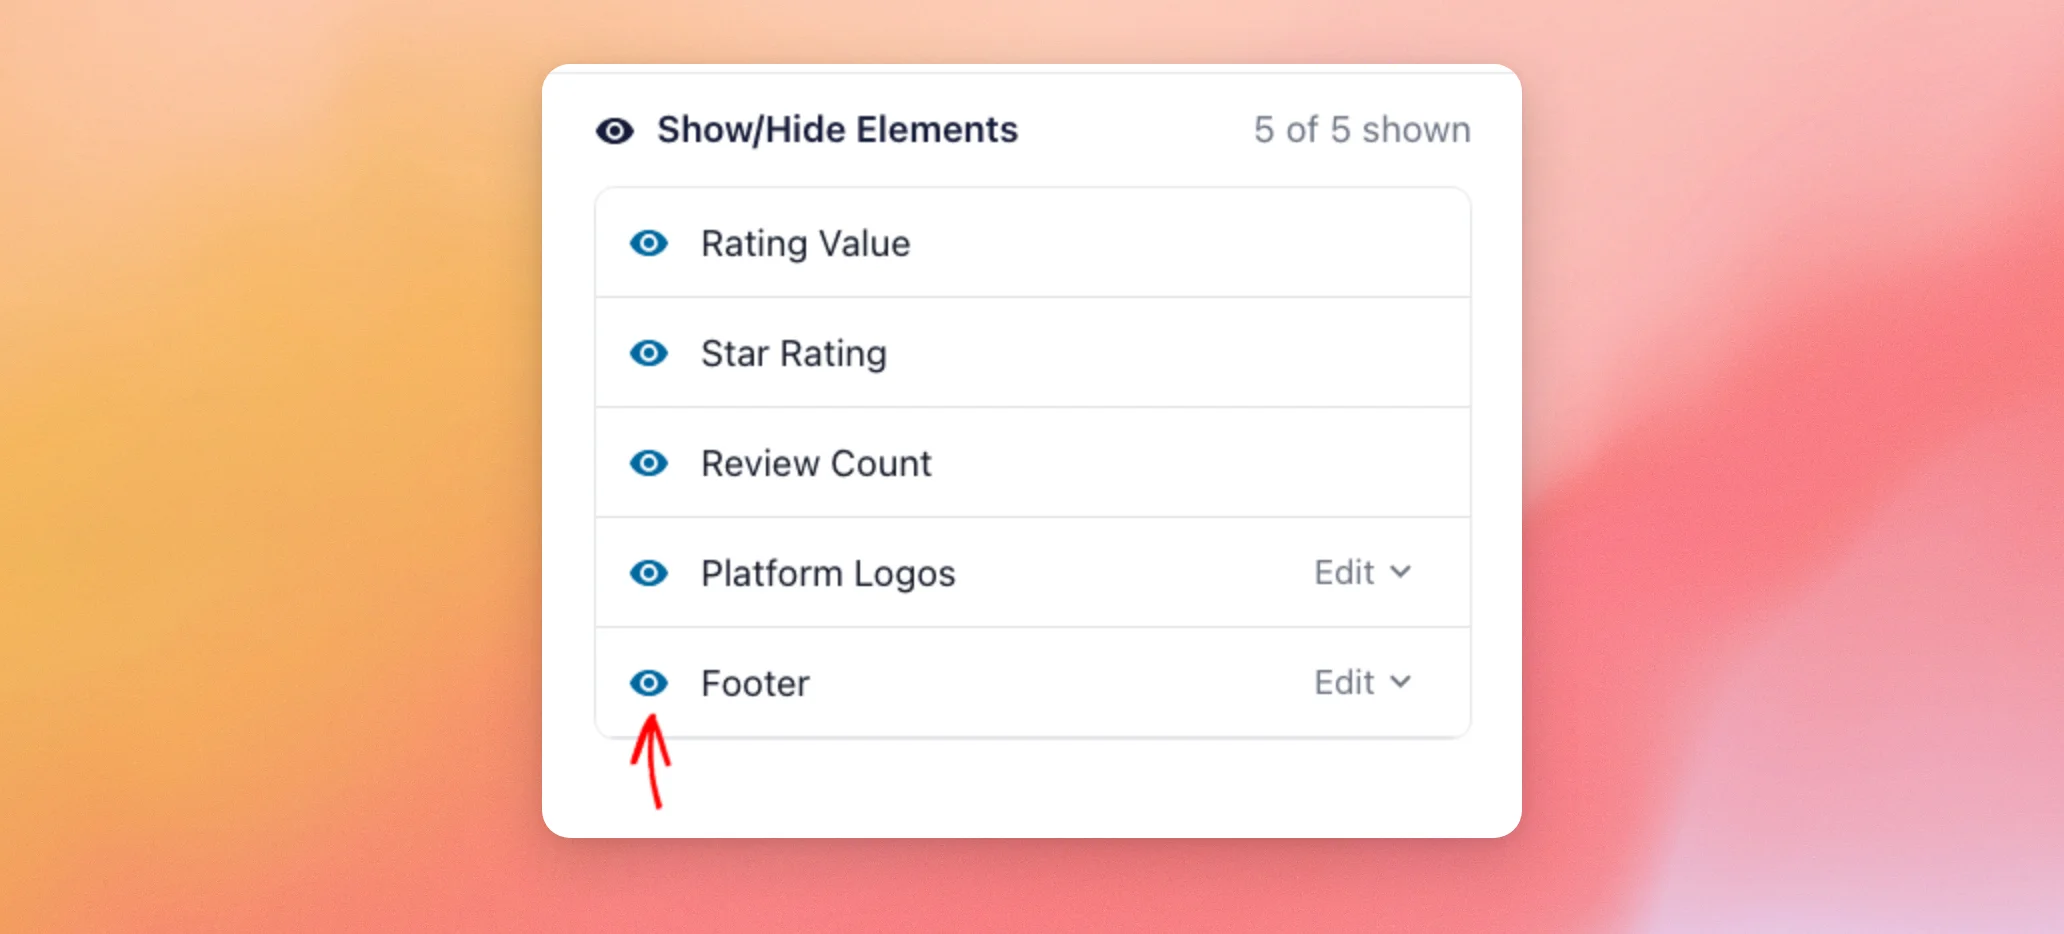
Each part has an eye icon that shows or hides it. The section’s heading shows how many parts are shown.
To change how the logos look, click Edit next to Platform Logos.
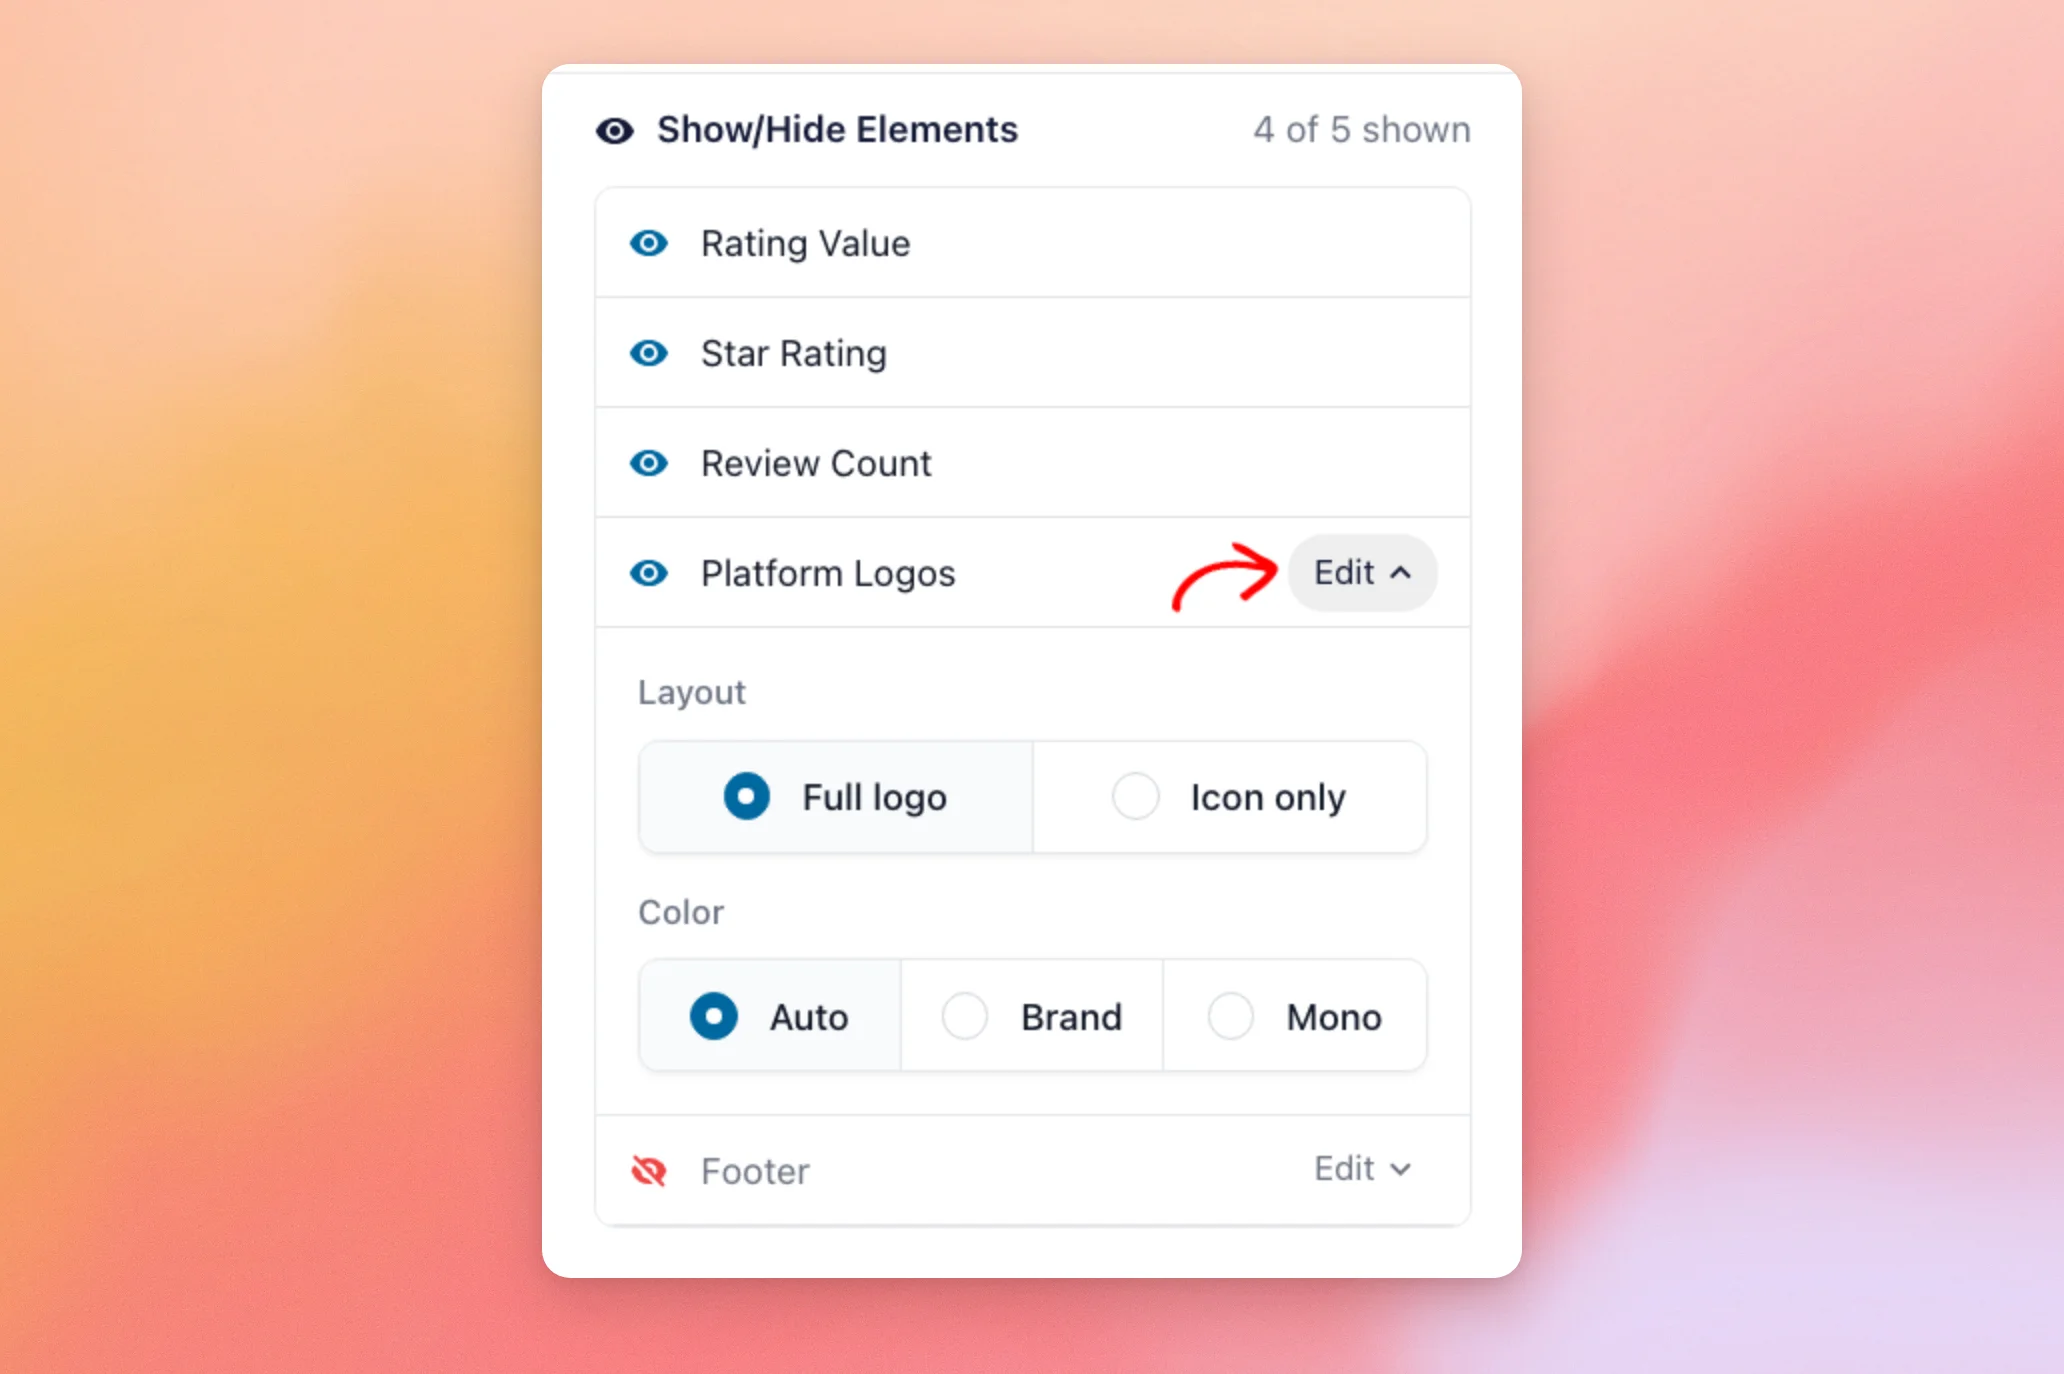
The Platform Logos options are:
- Layout: Full logo shows the platform’s full logo. Icon only shows a smaller icon.
- Color: Auto, the default, follows your theme. It uses each platform’s brand colors on the Light theme and a single color on the Dark theme. Brand always uses each platform’s own colors. Mono always uses a single color.
Next, we’ll add a footer to your badge.
Adding a Footer
The footer is a good place for a link to all of your reviews.
To show it, click the eye icon next to Footer.
Next, click Edit next to Footer. Then, type the text you’d like to show in the Footer text field.
To make the footer a link, paste the page’s address in the Footer link field.
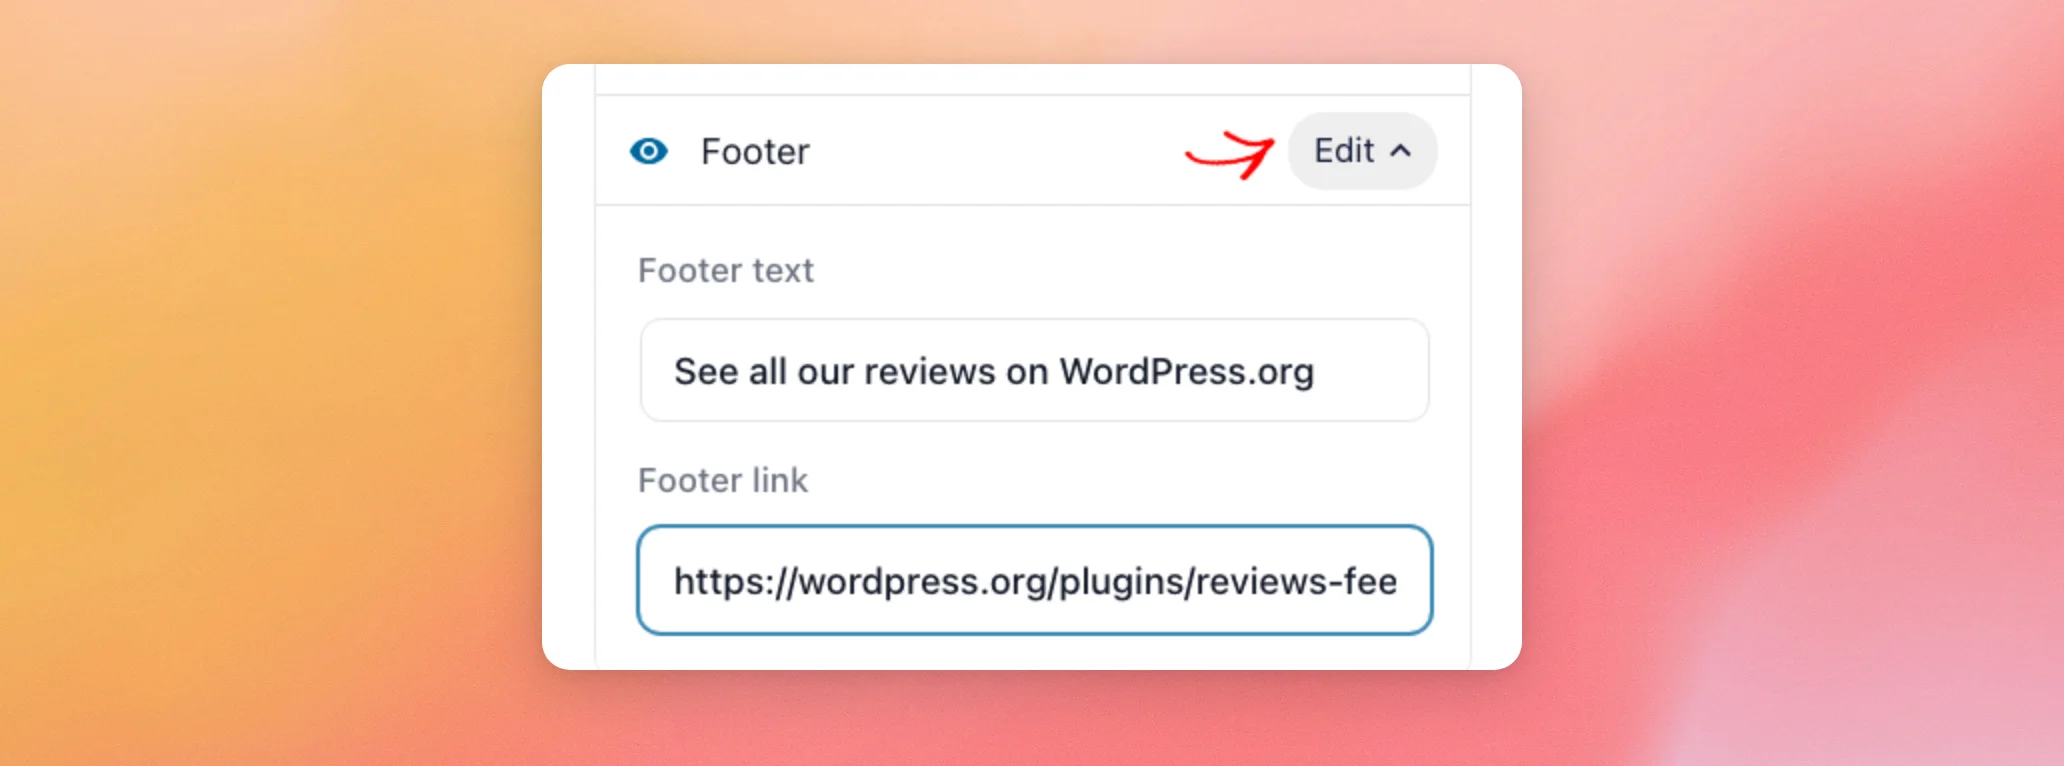
The footer’s default text is Powered by Smash Balloon. You can keep it or replace it with your own.
That covers everything on the Customize tab. Your badge’s design is now set.
Choosing Your Badge’s Sources
Next, we’ll check the sources your badge’s rating comes from.
At the top of the sidebar, click the Settings tab. The Sources section lists the sources you chose when you created your badge.
Each source has a trash icon that removes it from your badge. To include more sources in your badge’s rating, click Add another Source.
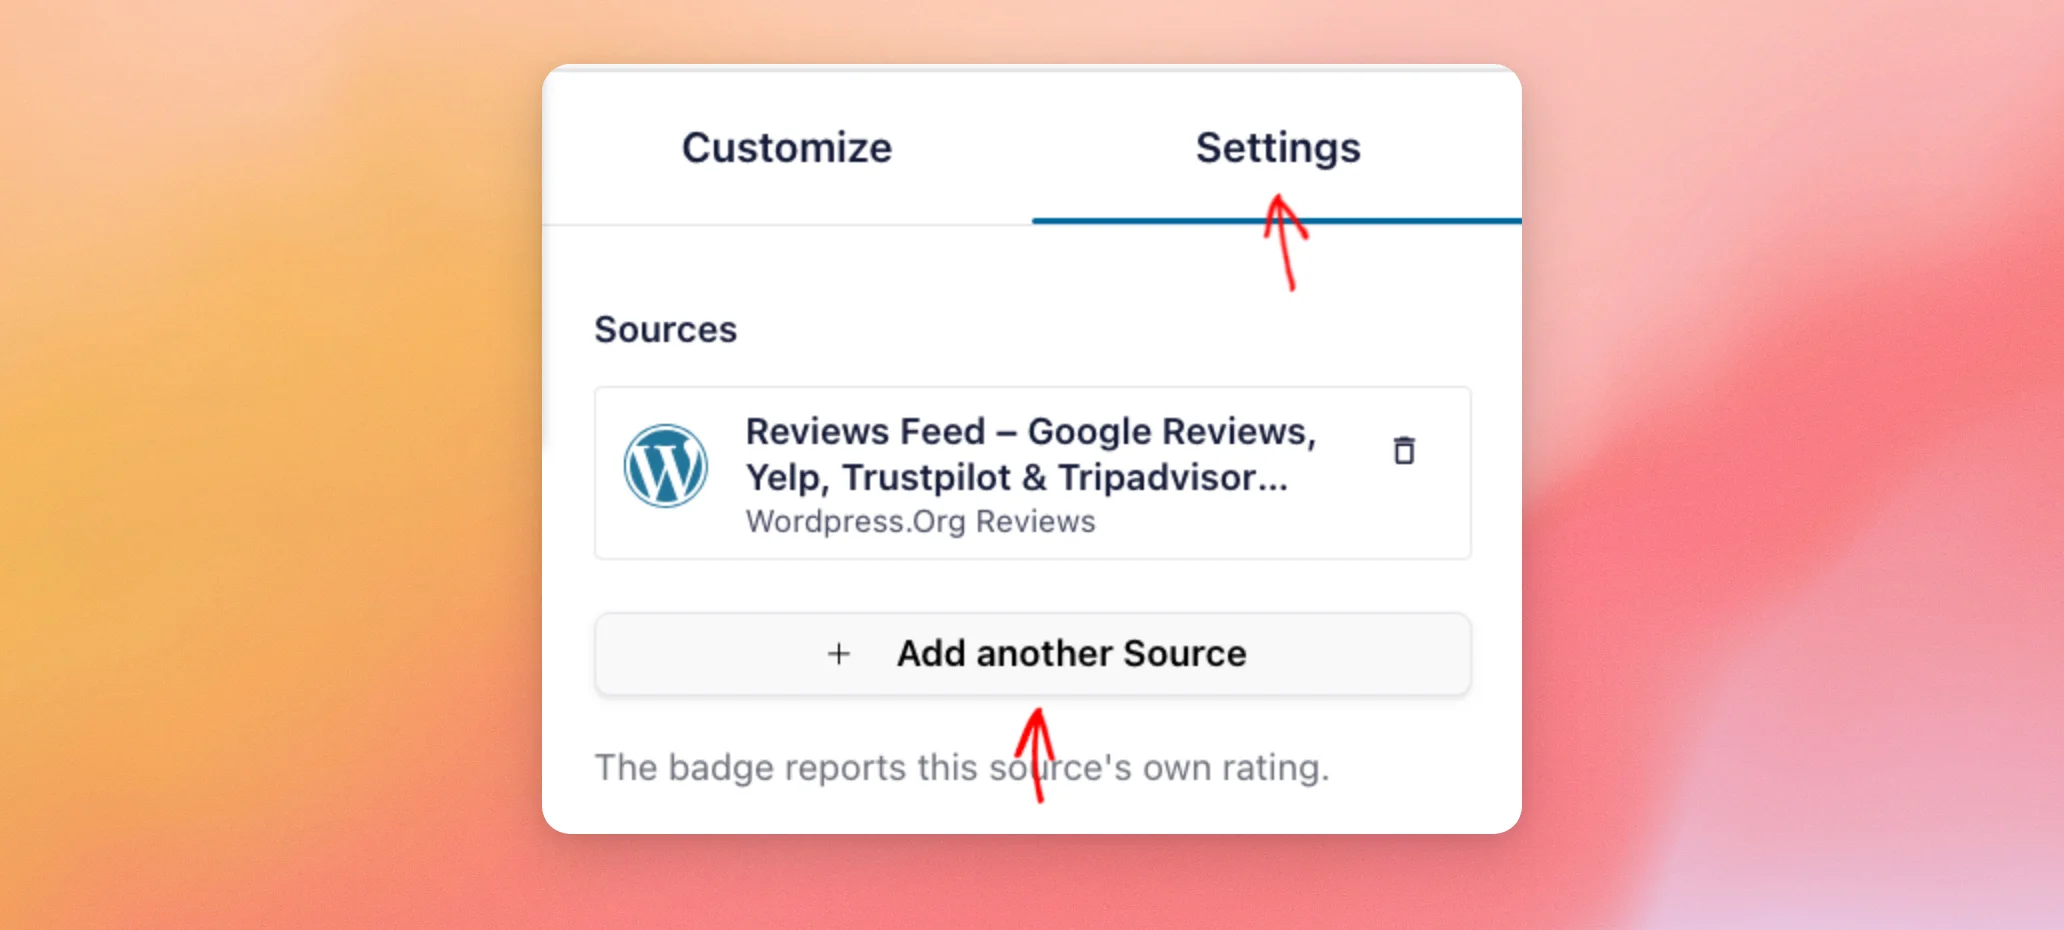
With one source, your badge shows that source’s own rating. With two or more, it shows one combined rating for all of them. Sources with more reviews count for more in that combined rating.
Once your design and sources are set, we’ll save your badge.
Saving Your Badge
When you’re happy with your badge, click Save at the top of the editor.
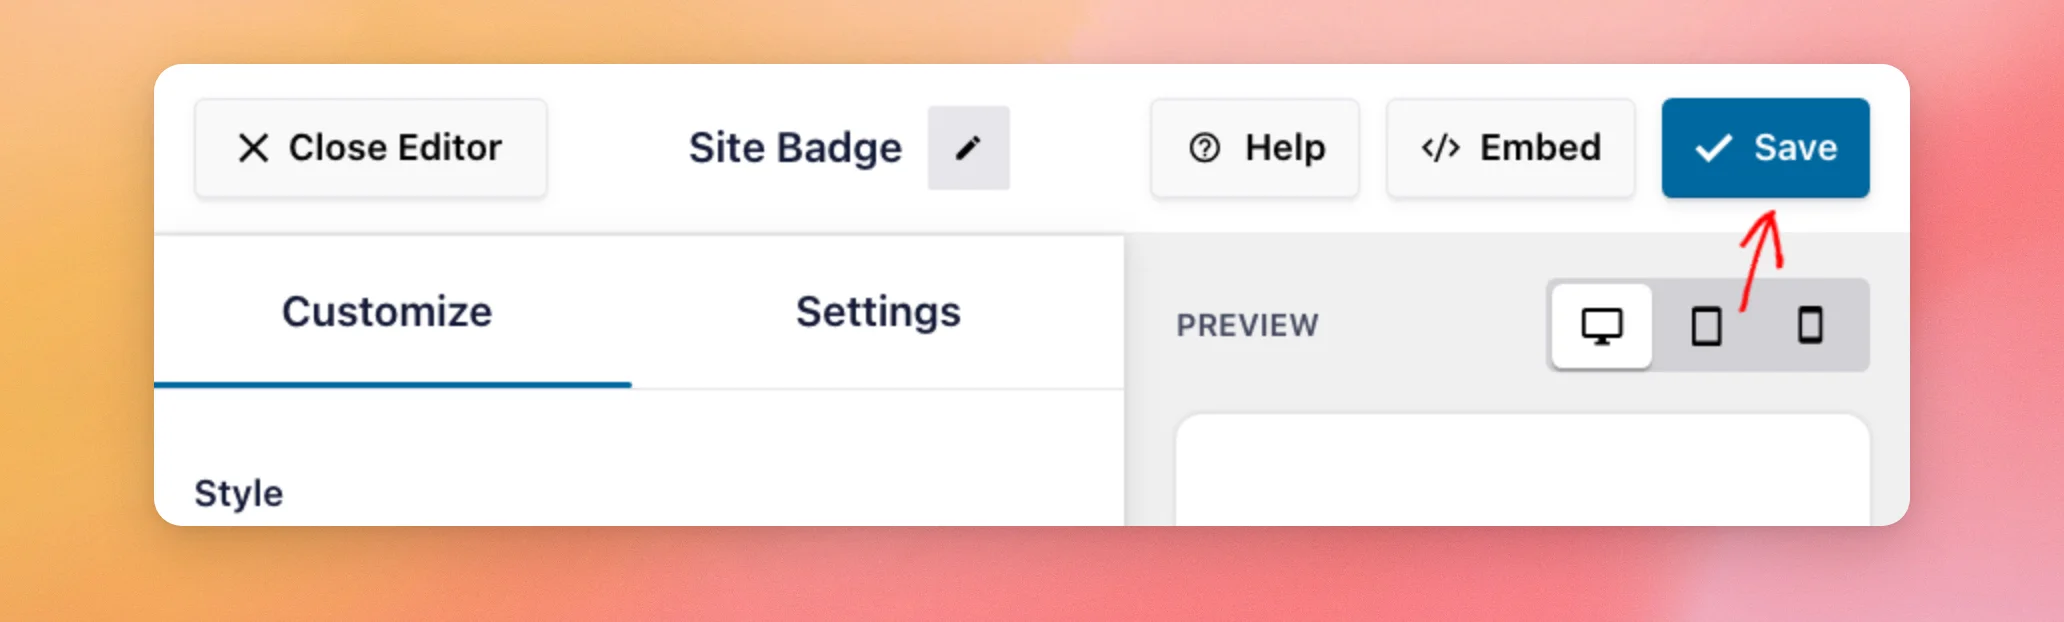
Your badge is saved and ready to add to your site.
Adding Your Badge to a Page
Next, we’ll put the badge on a page of your site.
At the top of the editor, click Embed.
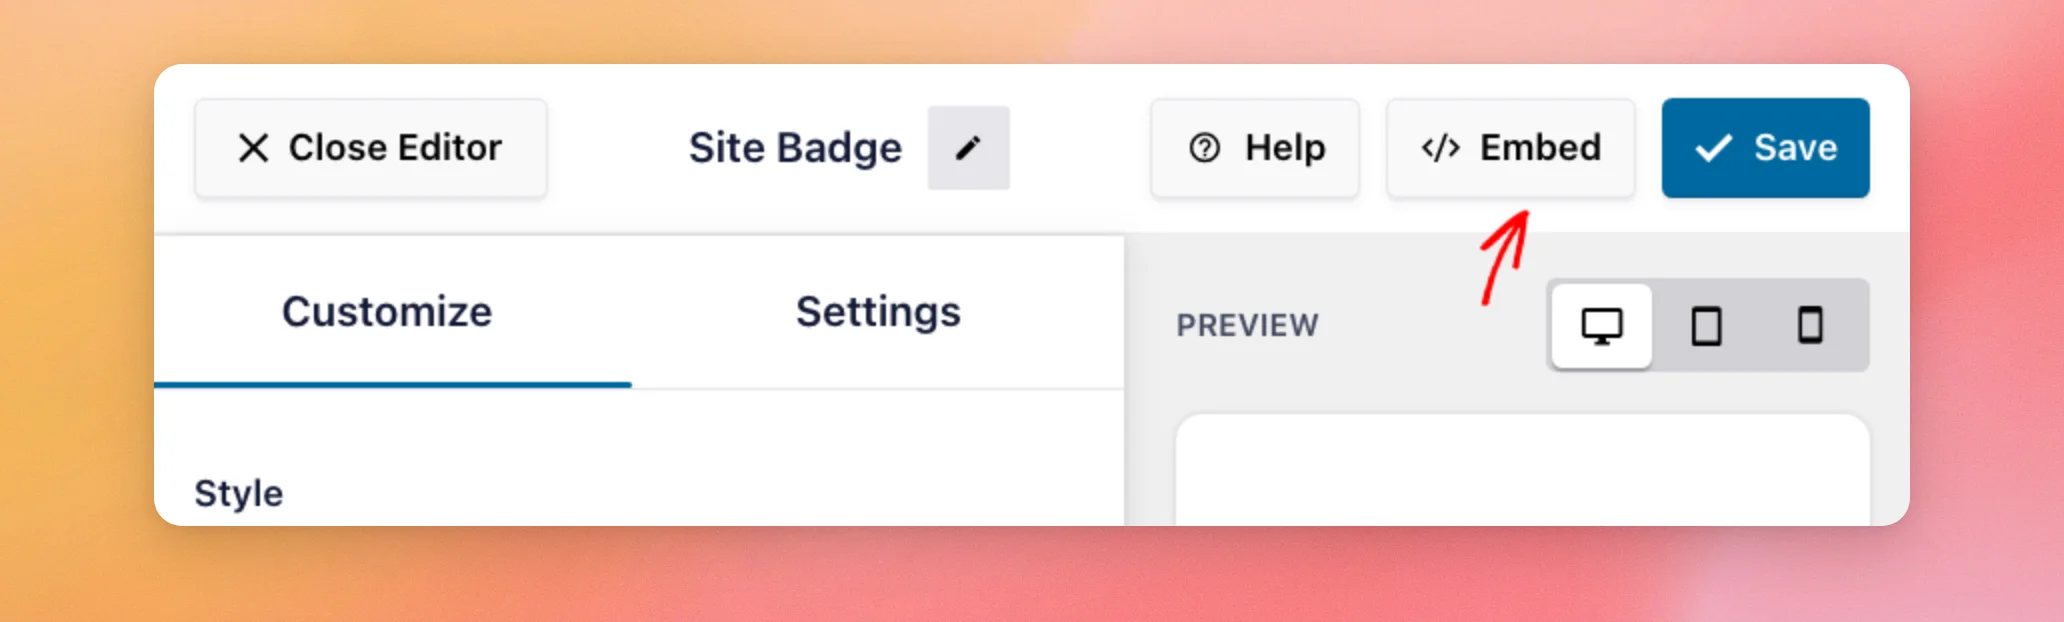
The Embed Badge window opens. It has a row for each way to show your badge: a post or page, every page, an email, and a shortcode.
Under Post or a Page, the search field finds the pages and posts you already have. When you choose one of them, the Add and Go to Page button adds the badge to it.
In this example, we’ll create a new page for the badge instead. In the search field, type a title for the new page, such as Our Plugins.
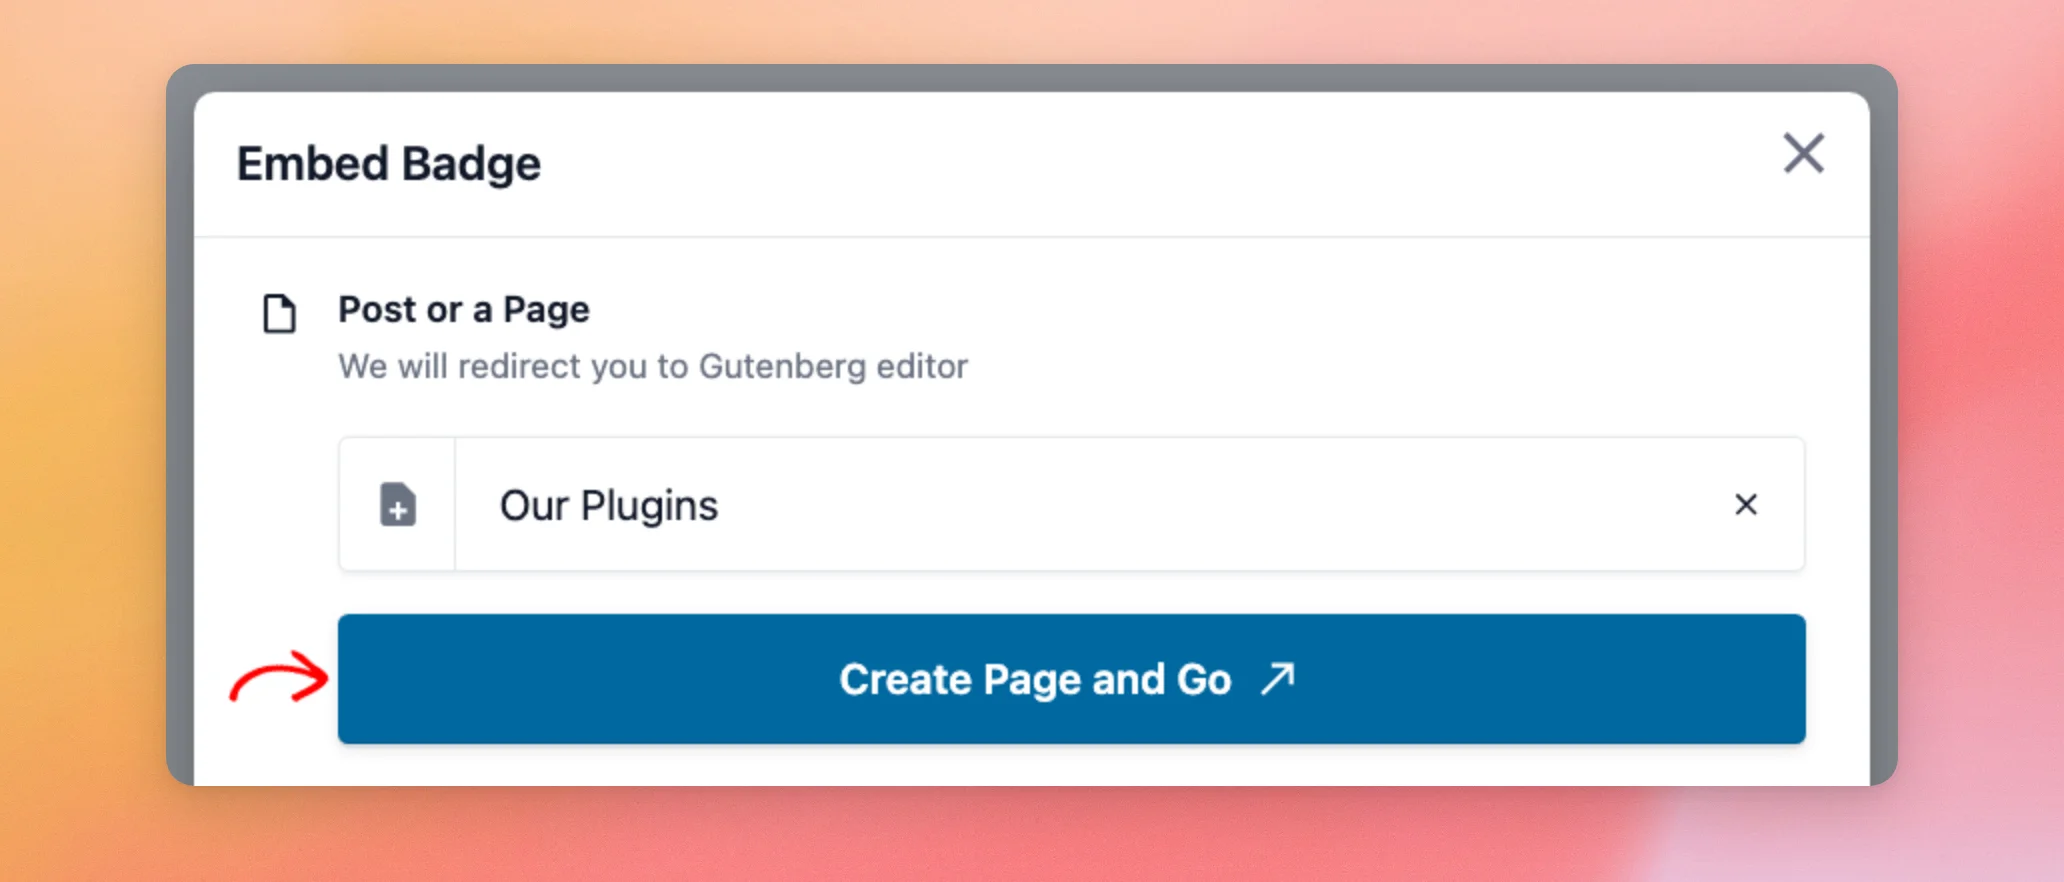
Since no page has that title yet, the list offers to create one. To use it, click the Create page option.
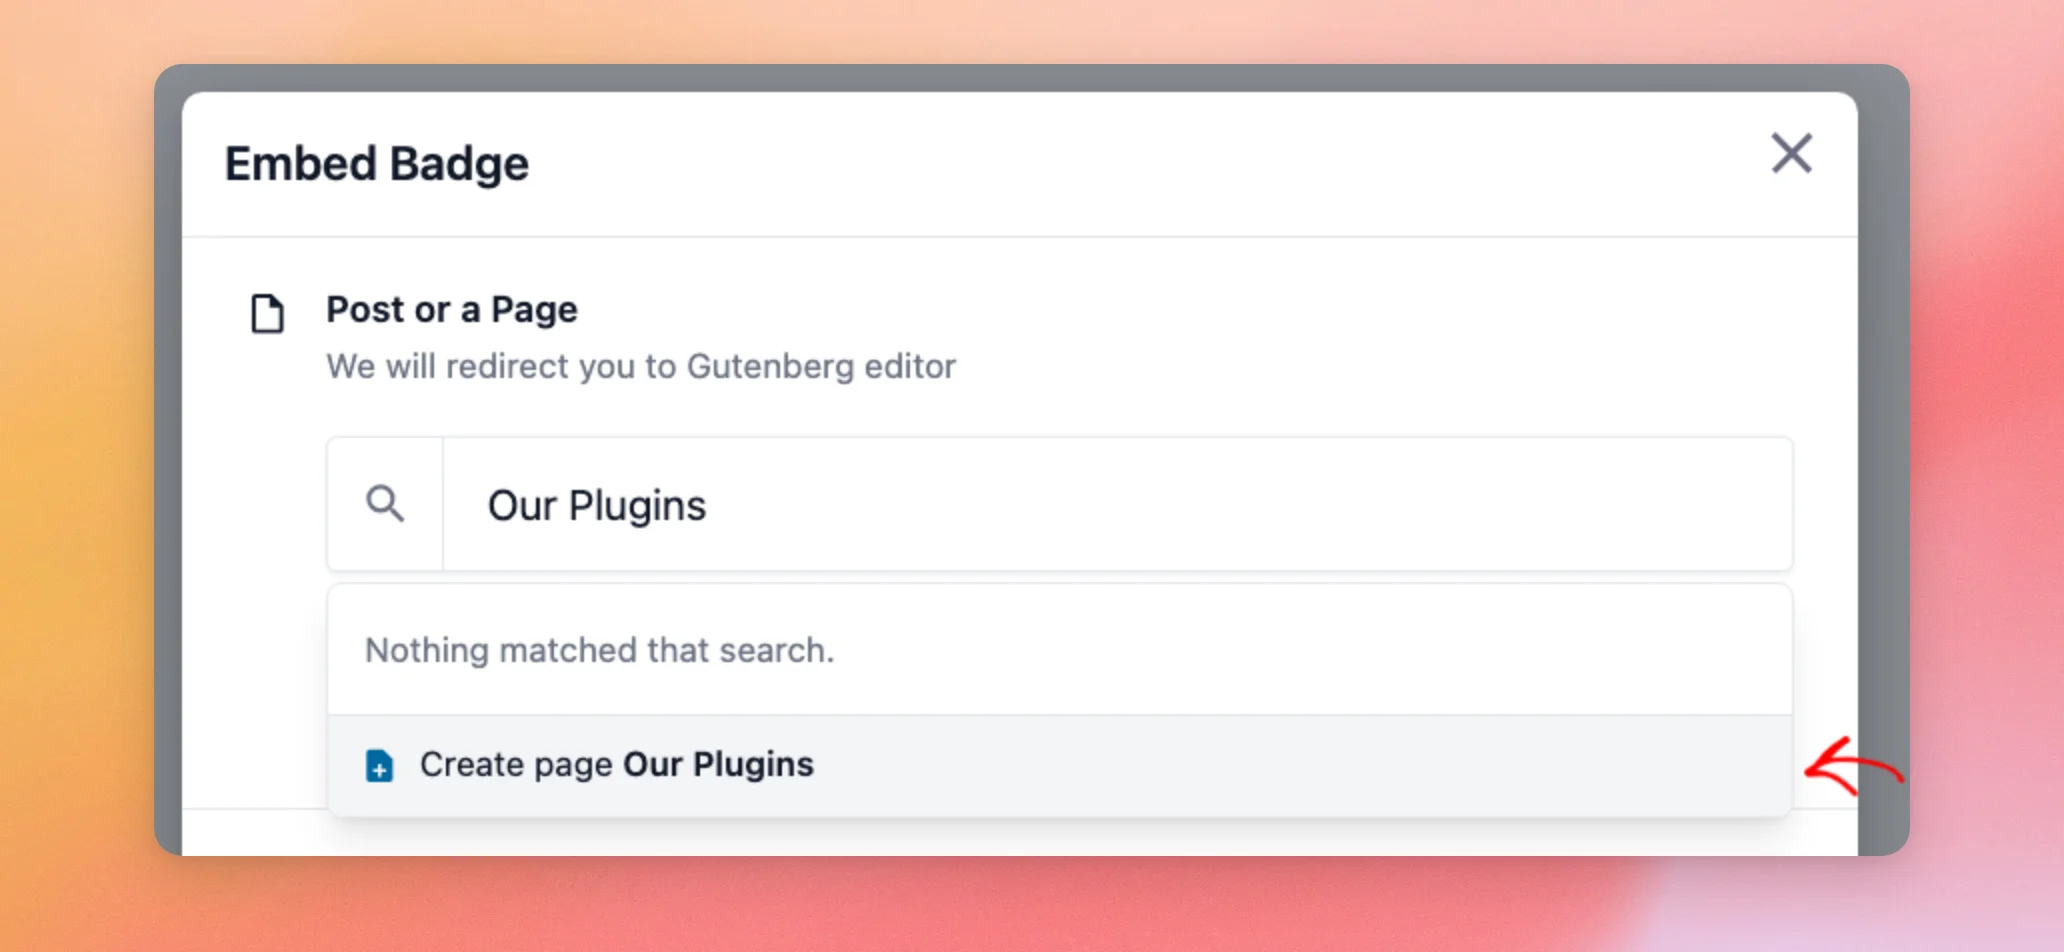
Next, click Create Page and Go.
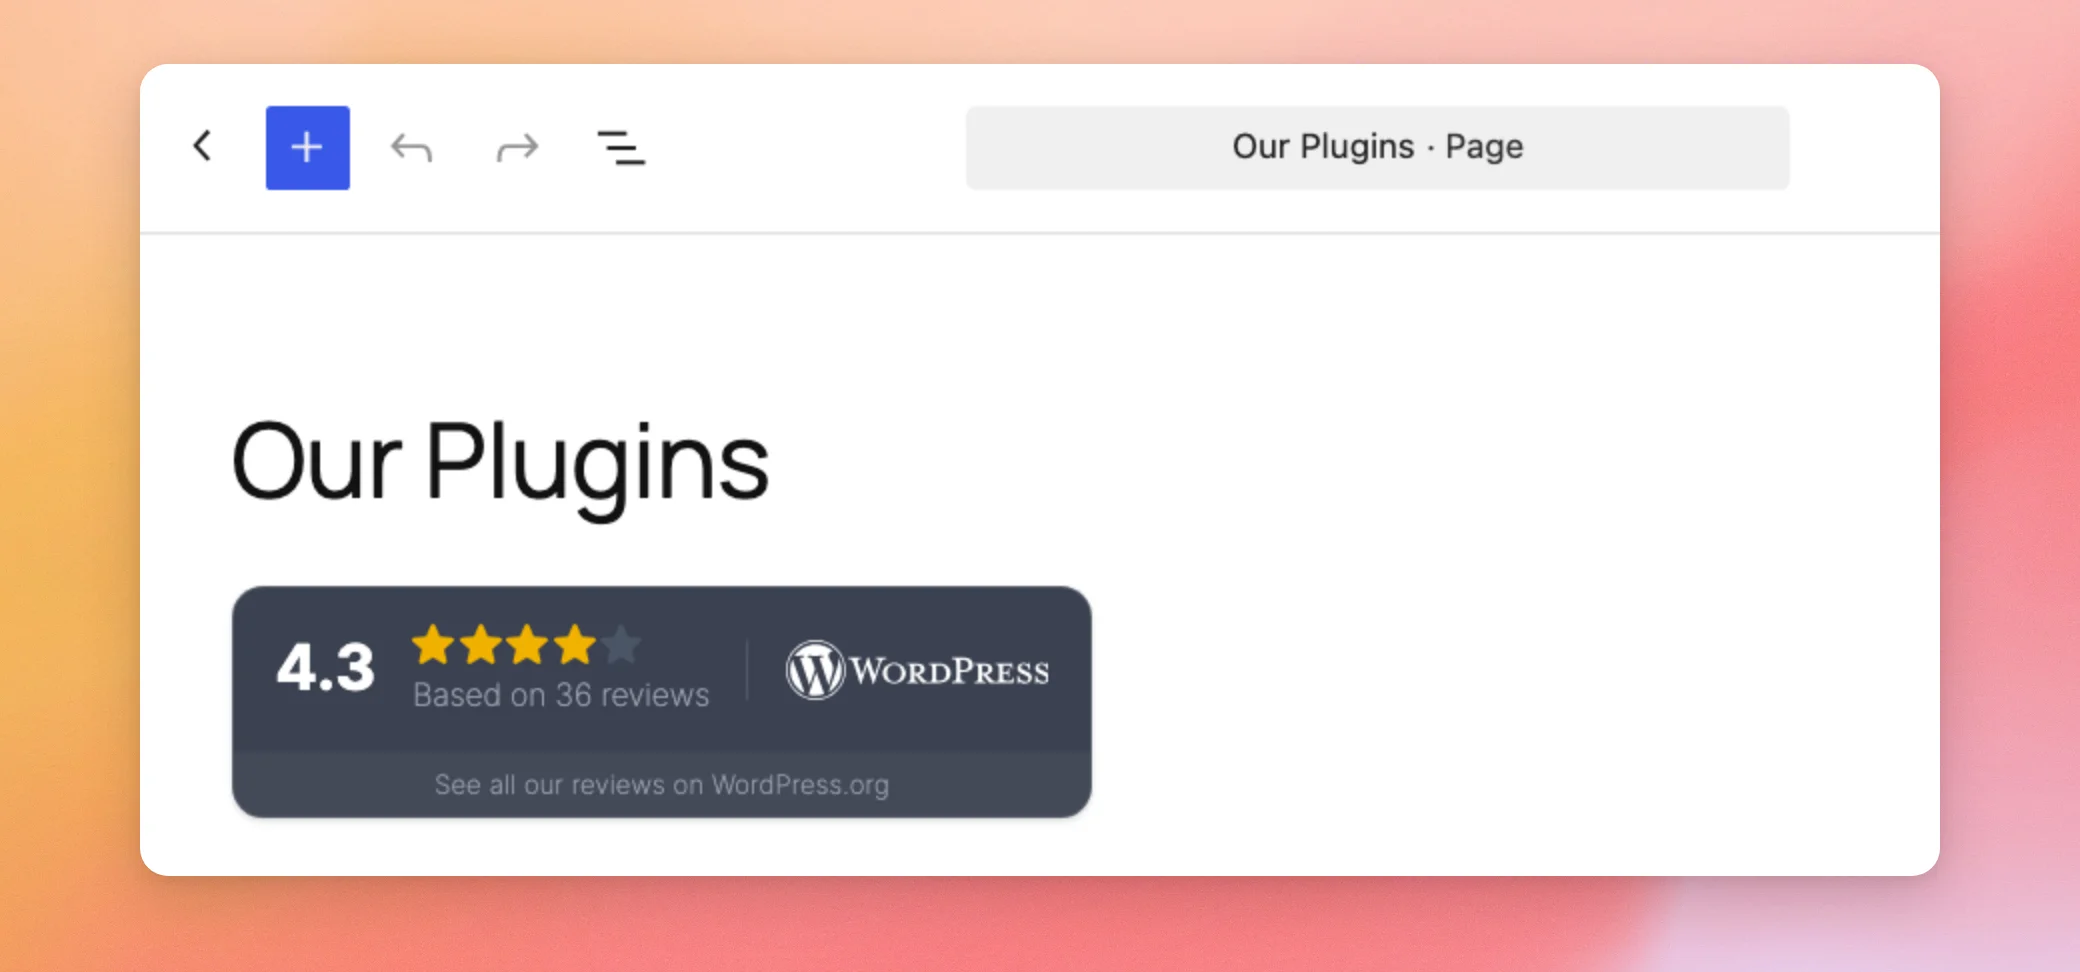
The new page opens in the block editor in a new tab. It already has a Trust Badge block with your badge in it.
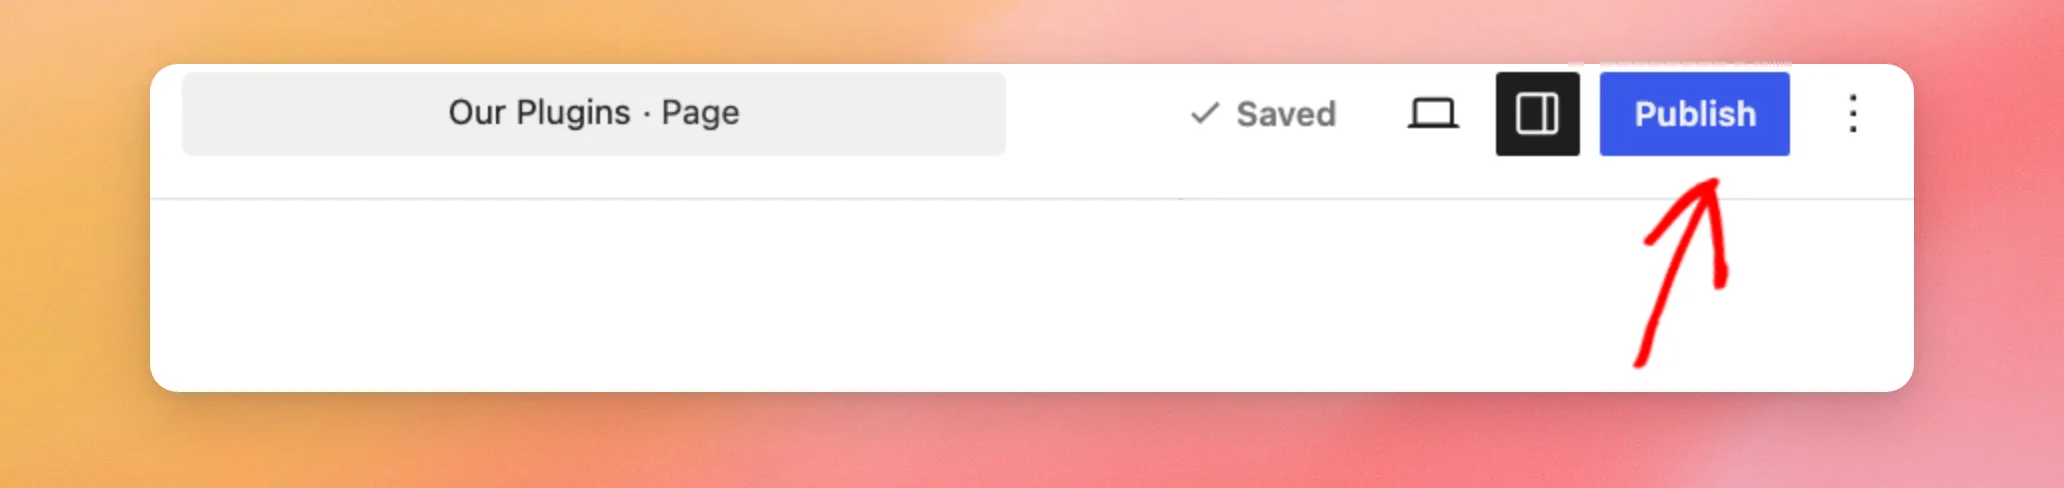
If you’d like, add other content to the page. Then, click Publish.
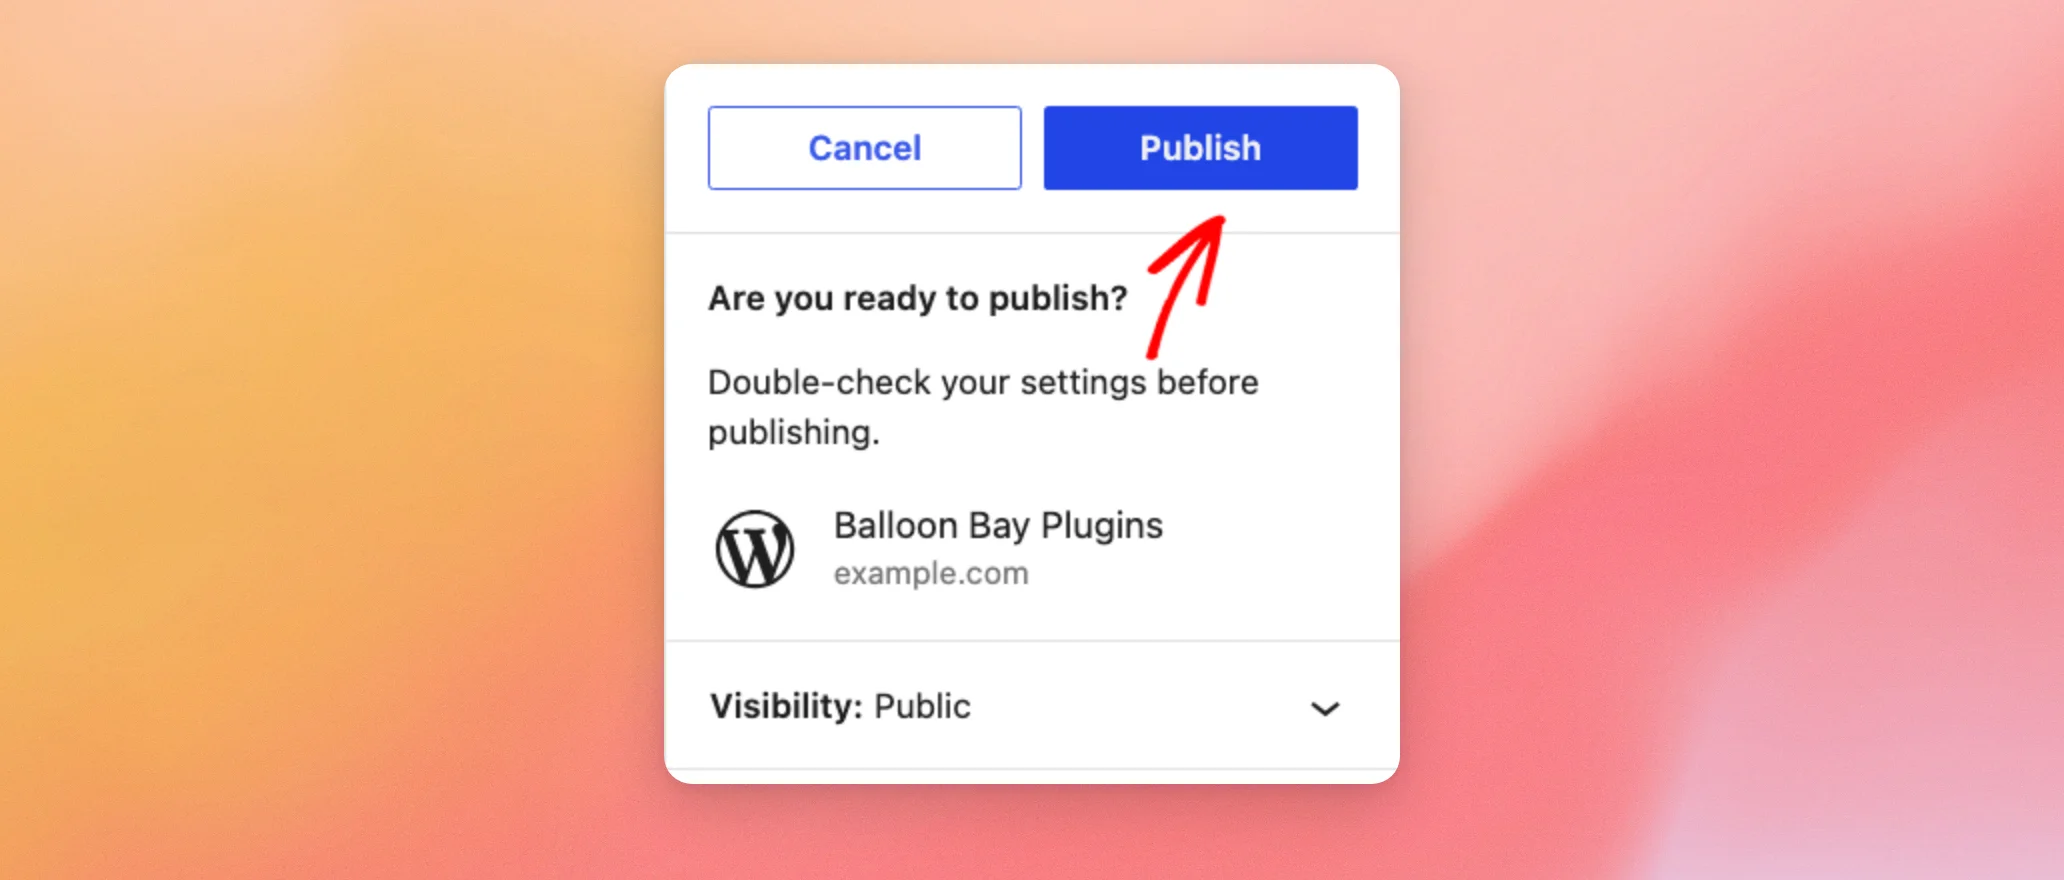
To confirm, click Publish again.
Now, visit the page on your site to see your badge.
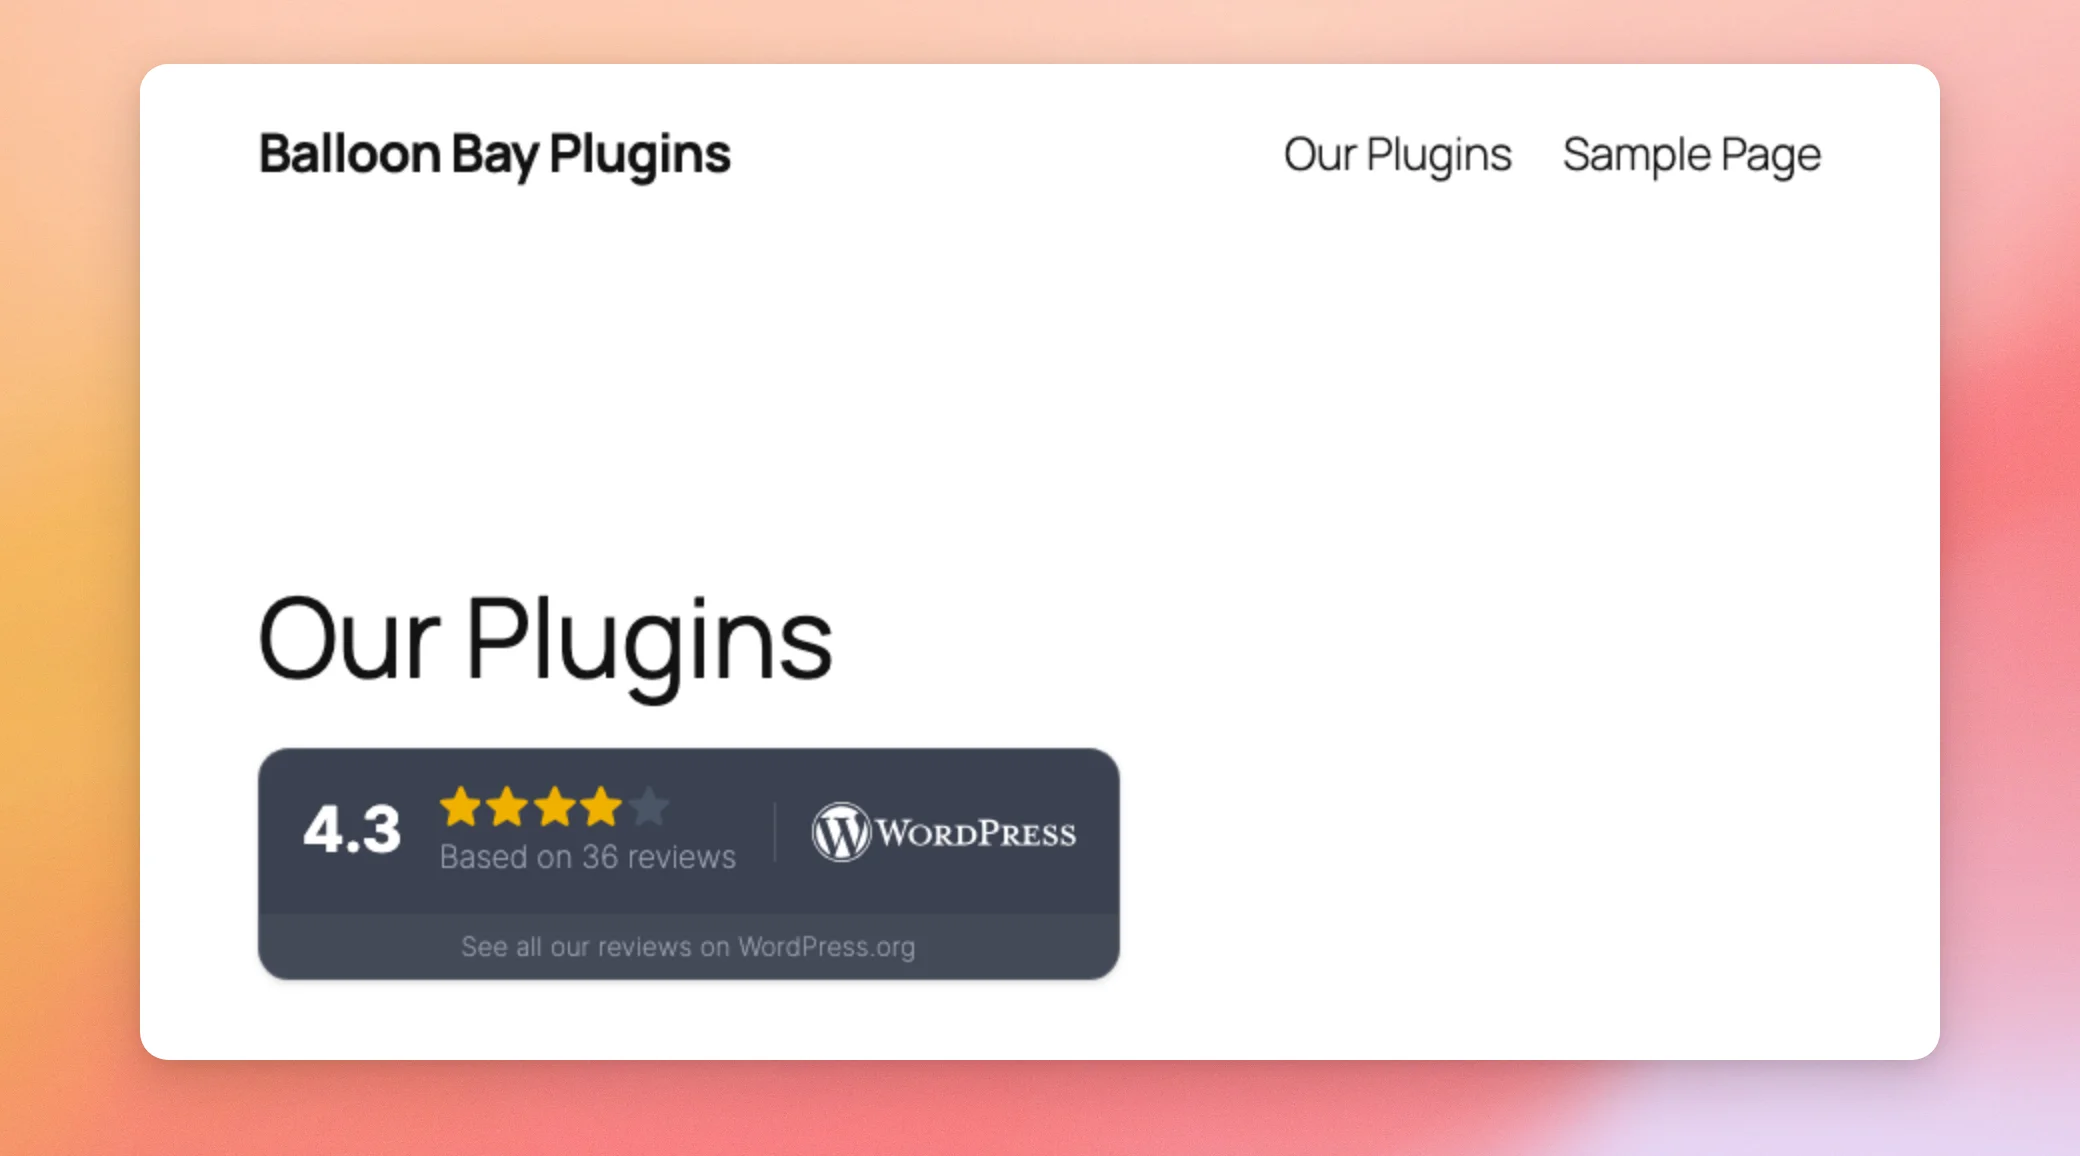
You can also add the badge to any page or post yourself with the Trust Badge block. After you add the block, choose your badge from its list.
To learn how to add a block, see our guide on adding a Reviews Feed block. As you follow it, search for Trust Badge instead of Reviews Feed.
The Trust Badge block can be aligned left, center, or right from its toolbar, like other blocks.
Once your badge is on a page, we’ll add it to every page at once.
Showing Your Badge on Every Page
To show your badge on every page, such as in your site’s footer, add it to your theme instead of a single page. How you do this depends on your theme.
If your site uses a block theme, such as Twenty Twenty-Five, open the Embed Badge window from the badge editor. Then, click Open Site Editor next to Show this on every page.
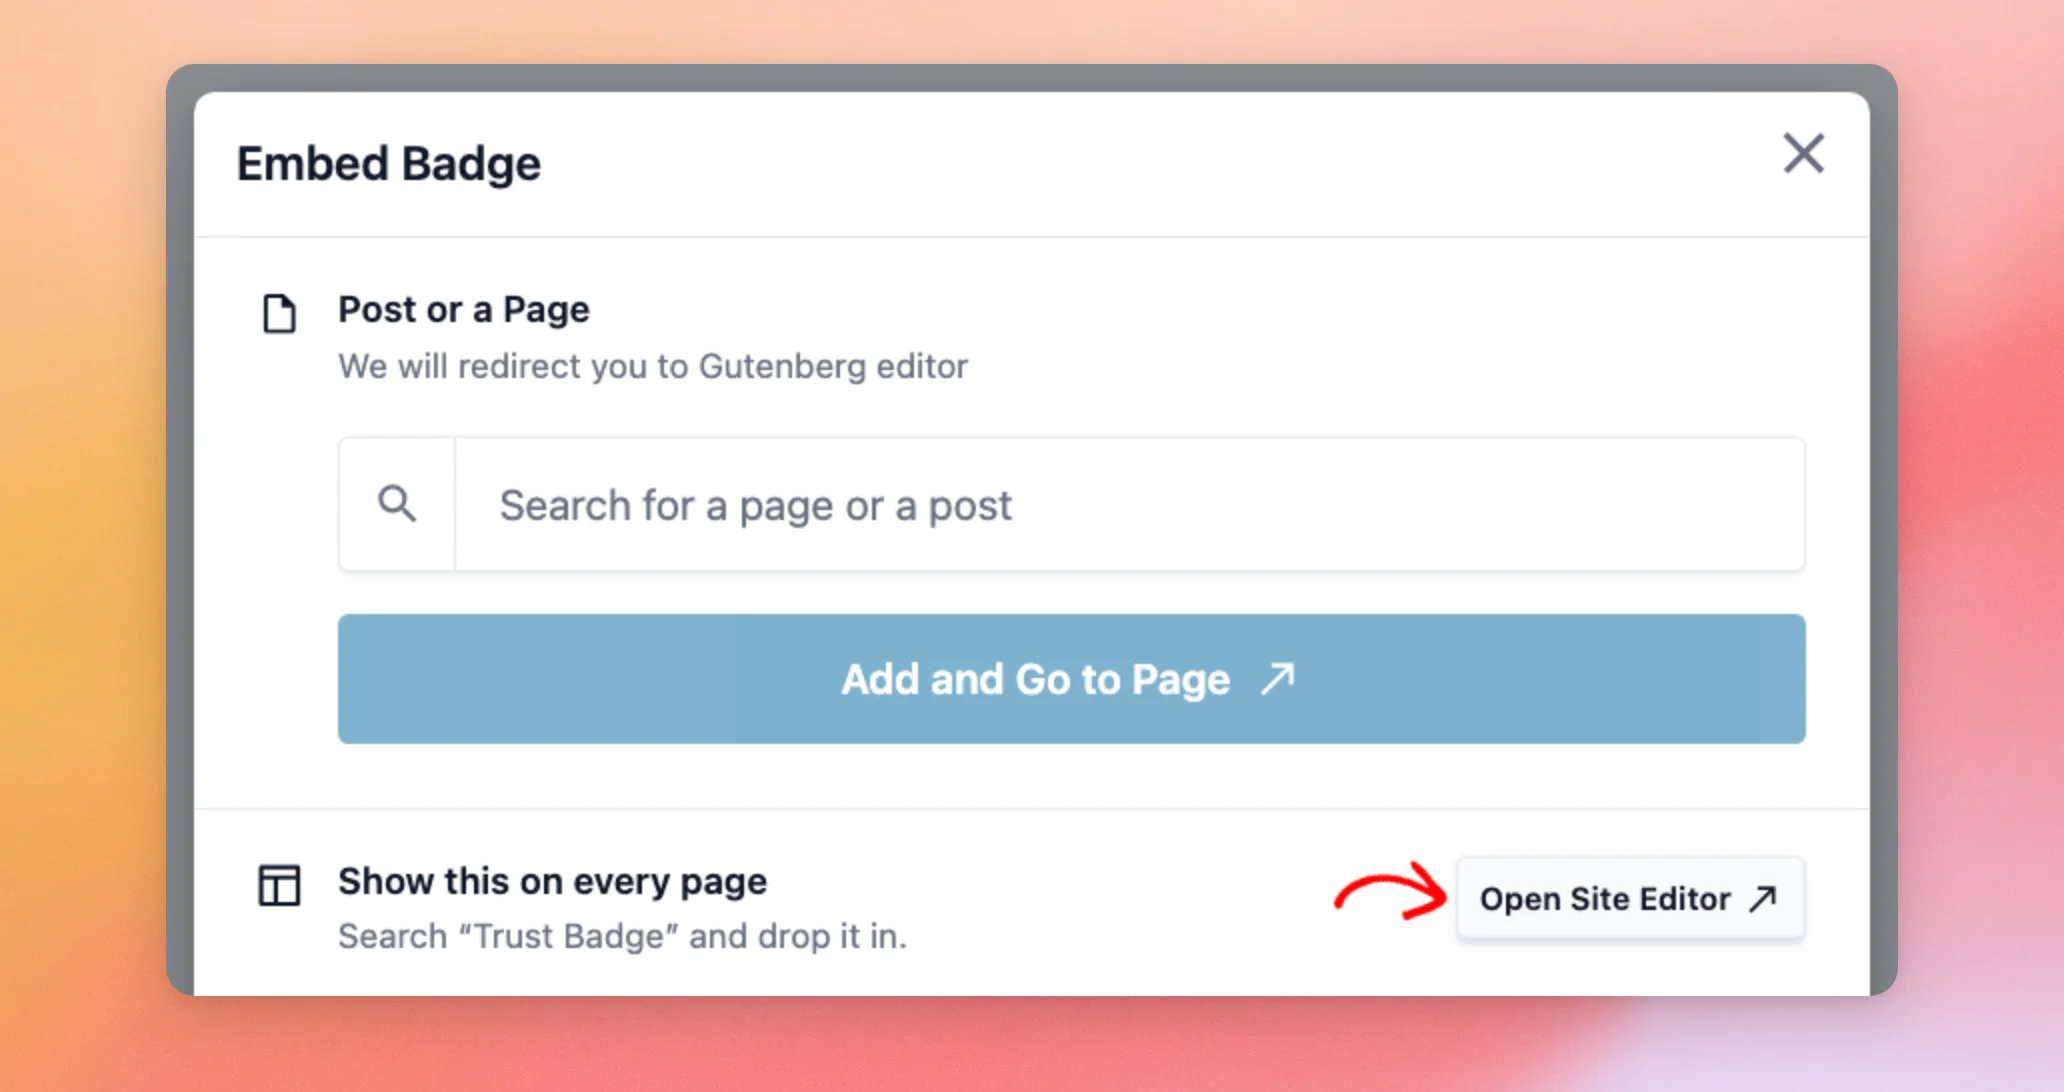
The Site Editor opens in a new tab. There, add the Trust Badge block to a template part, such as your footer. Then, choose your badge in the block and save your changes.
For each step in the Site Editor, see using a block theme in our guide on displaying your feed. That guide uses the Reviews Feed block. For your badge, search for Trust Badge instead.
If your site uses a classic theme with widget areas, the Embed Badge window shows an Add to a Widget option instead. Its Open Widgets button opens your Widgets screen in a new tab. There, you can add the Trust Badge block to a sidebar or footer area.
For help with widget areas, see WPBeginner’s How to Add and Use Widgets in WordPress.
Next, we’ll look at your badge’s shortcode.
Using Your Badge’s Shortcode
You can also show your badge anywhere your site accepts shortcodes.
In the Embed Badge window, click Copy next to Use a shortcode.
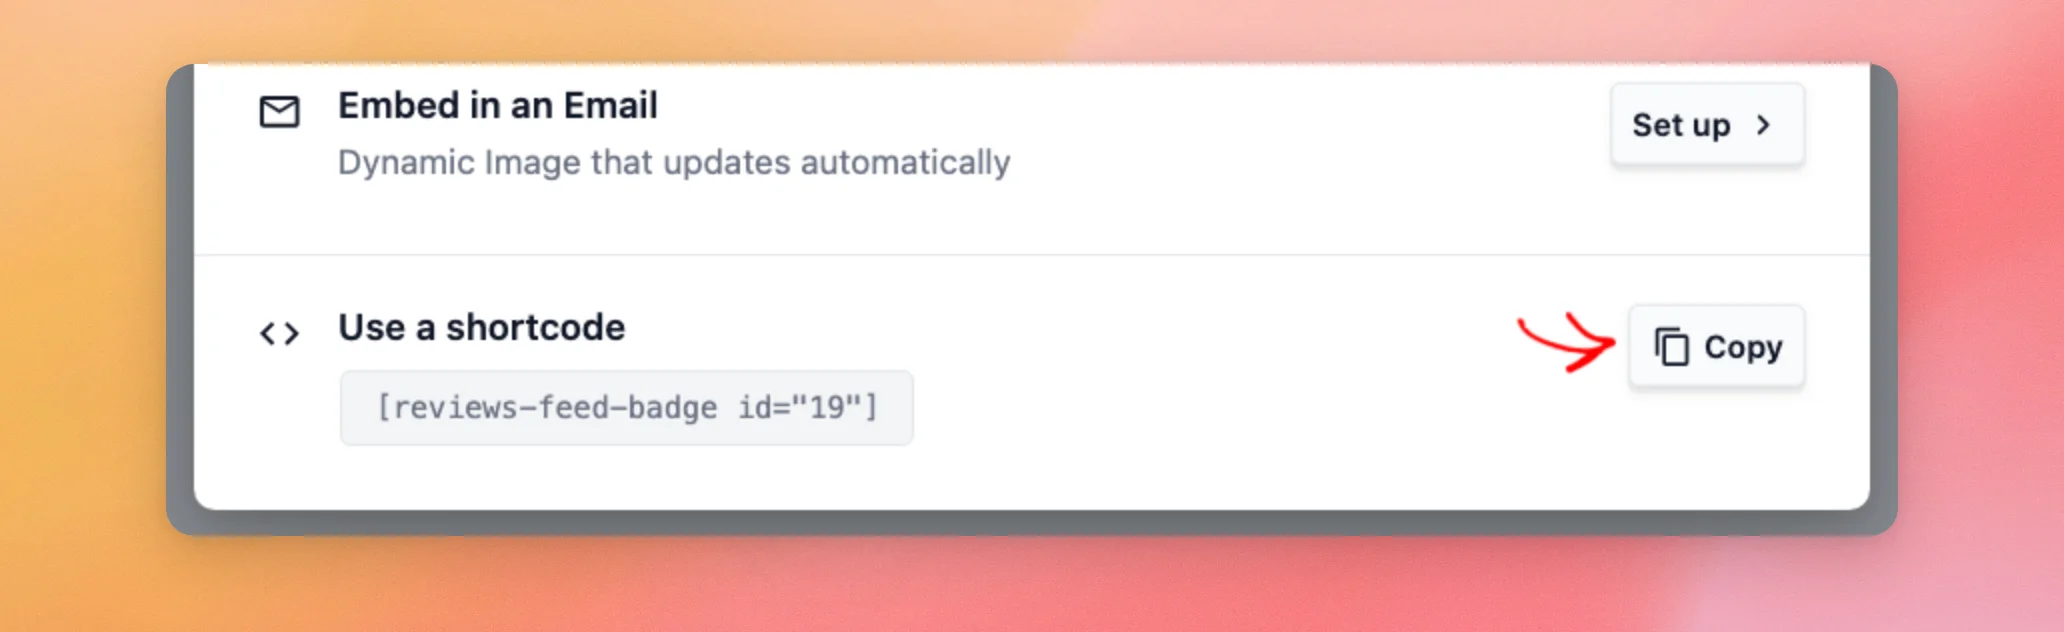
Your badge’s shortcode looks like this, with your badge’s own ID in place of 19:
[reviews-feed-badge id="19"]
You can paste it into a Shortcode block or anywhere else your theme or page builder accepts shortcodes.
For a step-by-step guide to adding shortcodes, see WPBeginner’s How to Add a Shortcode in WordPress.
After that, we’ll add your badge to your emails.
Adding Your Badge to Your Email Signature
Your badge can also go in your email signature. Every email you send then shows your rating.
In the Embed Badge window, click Set up next to Embed in an Email.
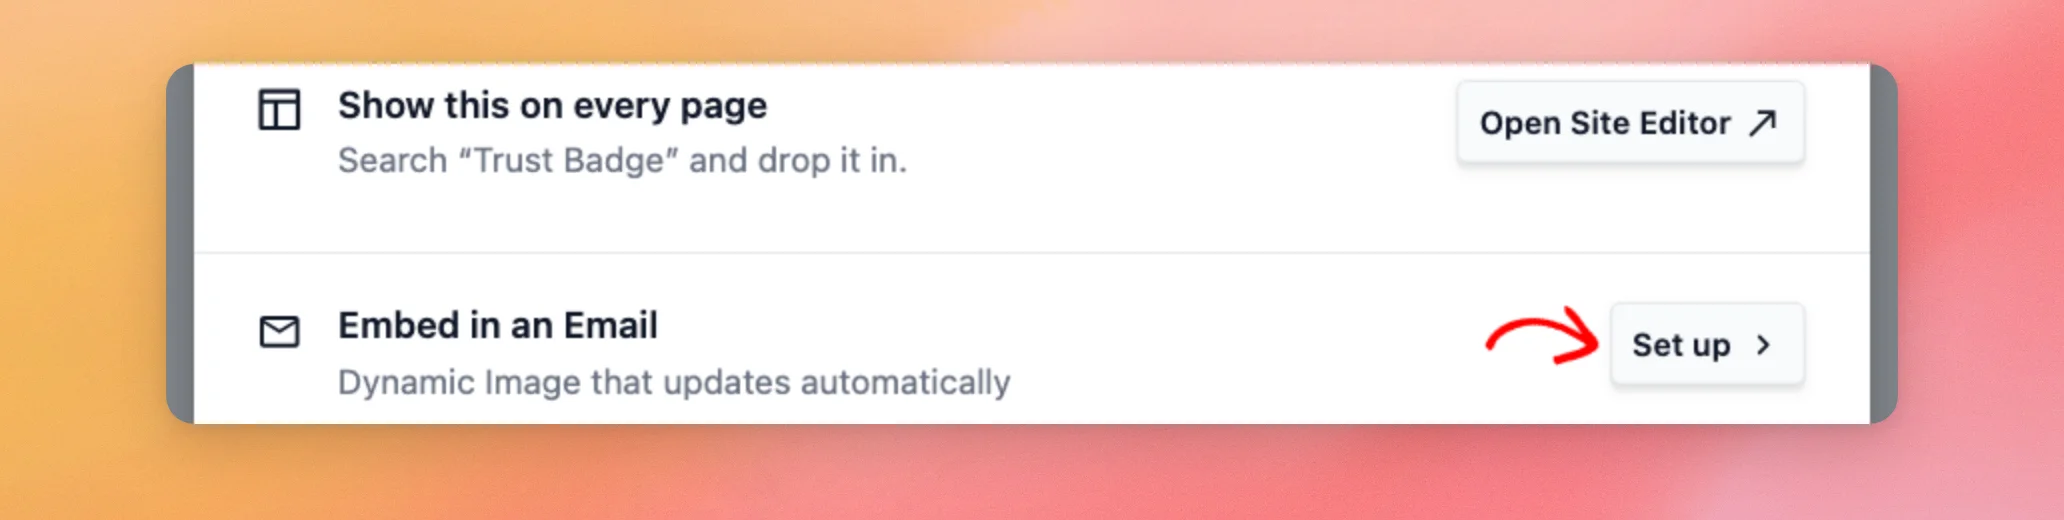
The window shows a preview of your badge. Next, click Copy badge for your signature.
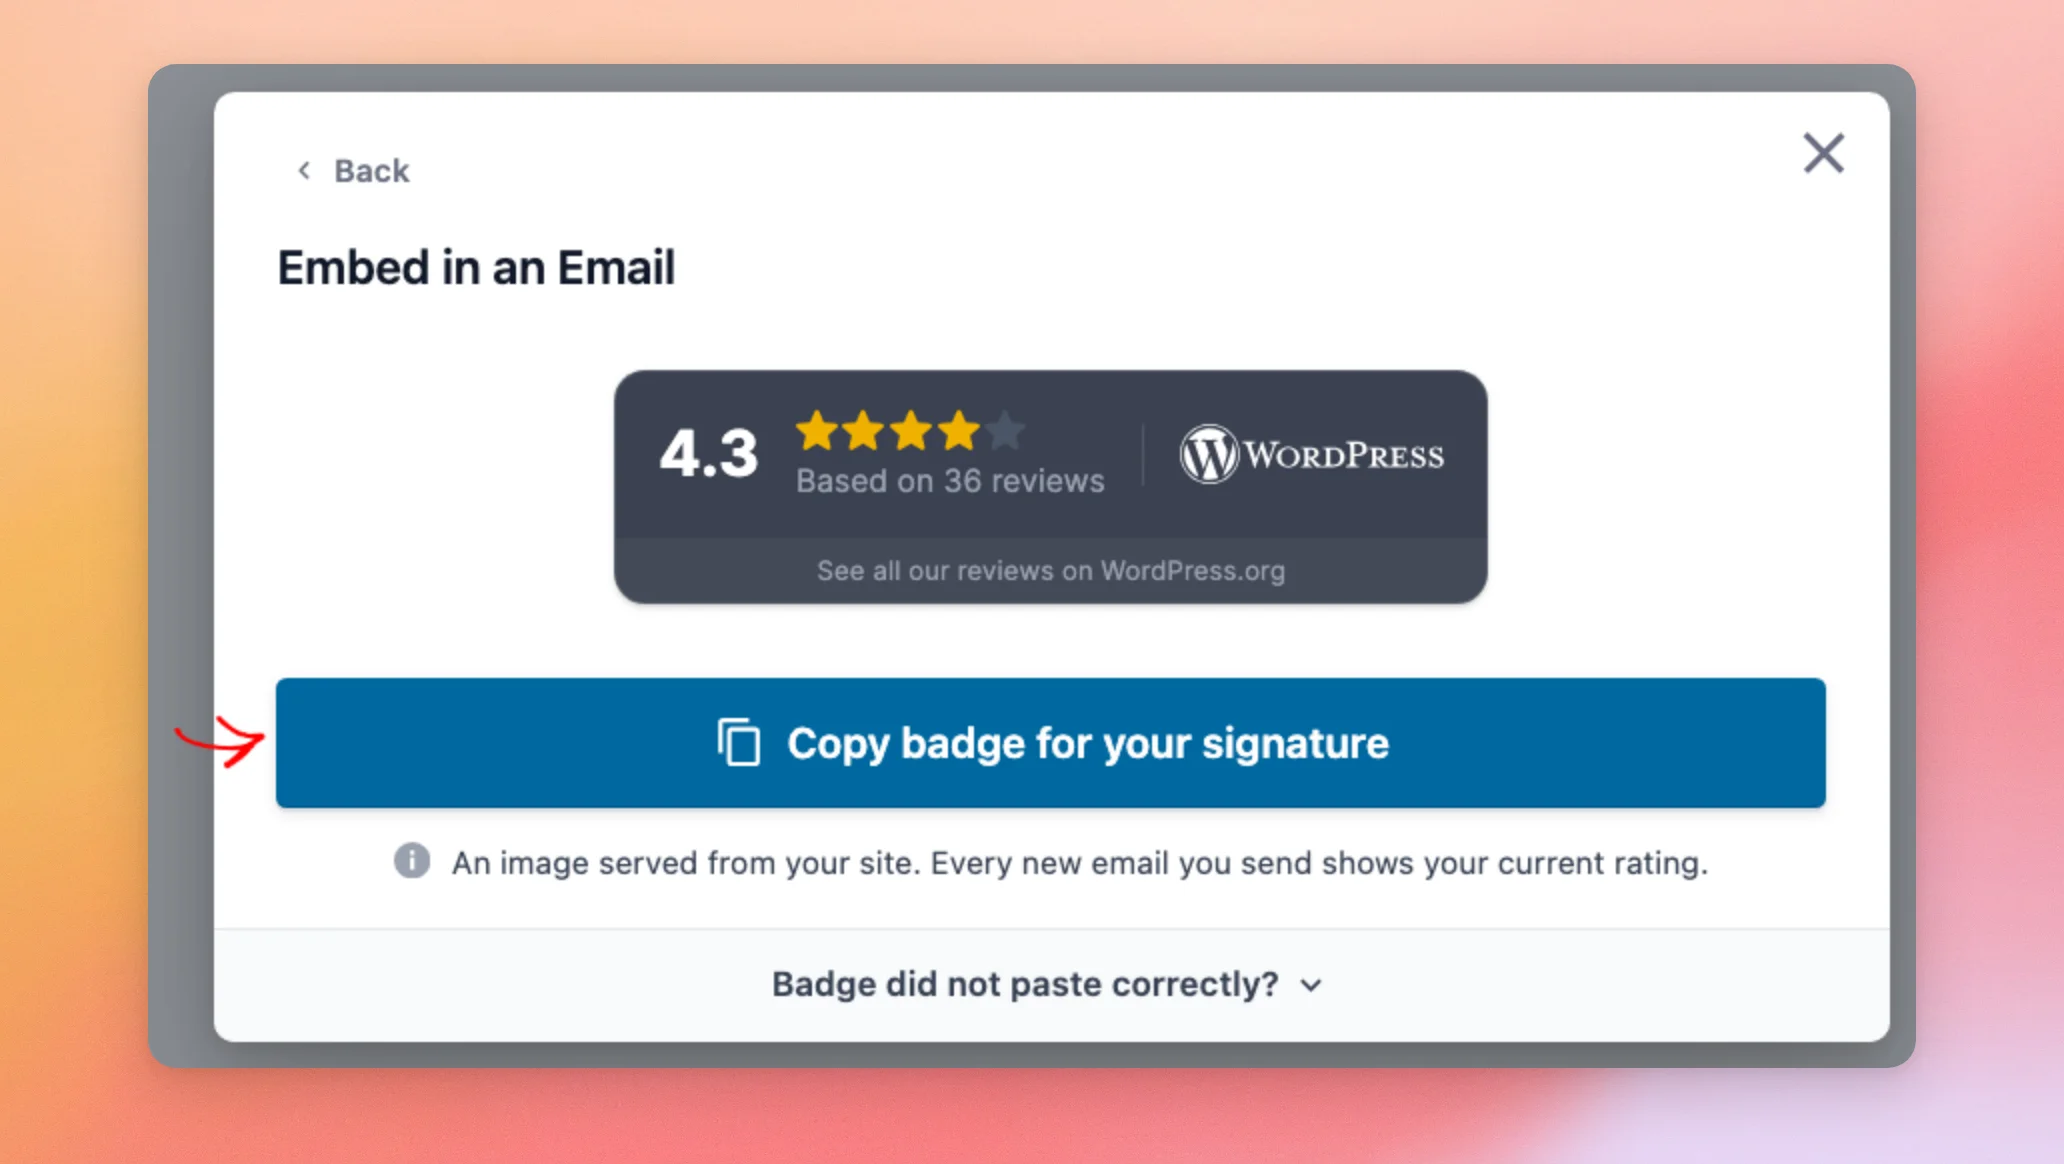
Then, open the signature settings of your email app. Next, paste the badge there.
The badge is an image served from your site. This means every new email you send shows your current rating.
If the badge pastes in as code instead of an image, click Badge did not paste correctly? at the bottom of the window.
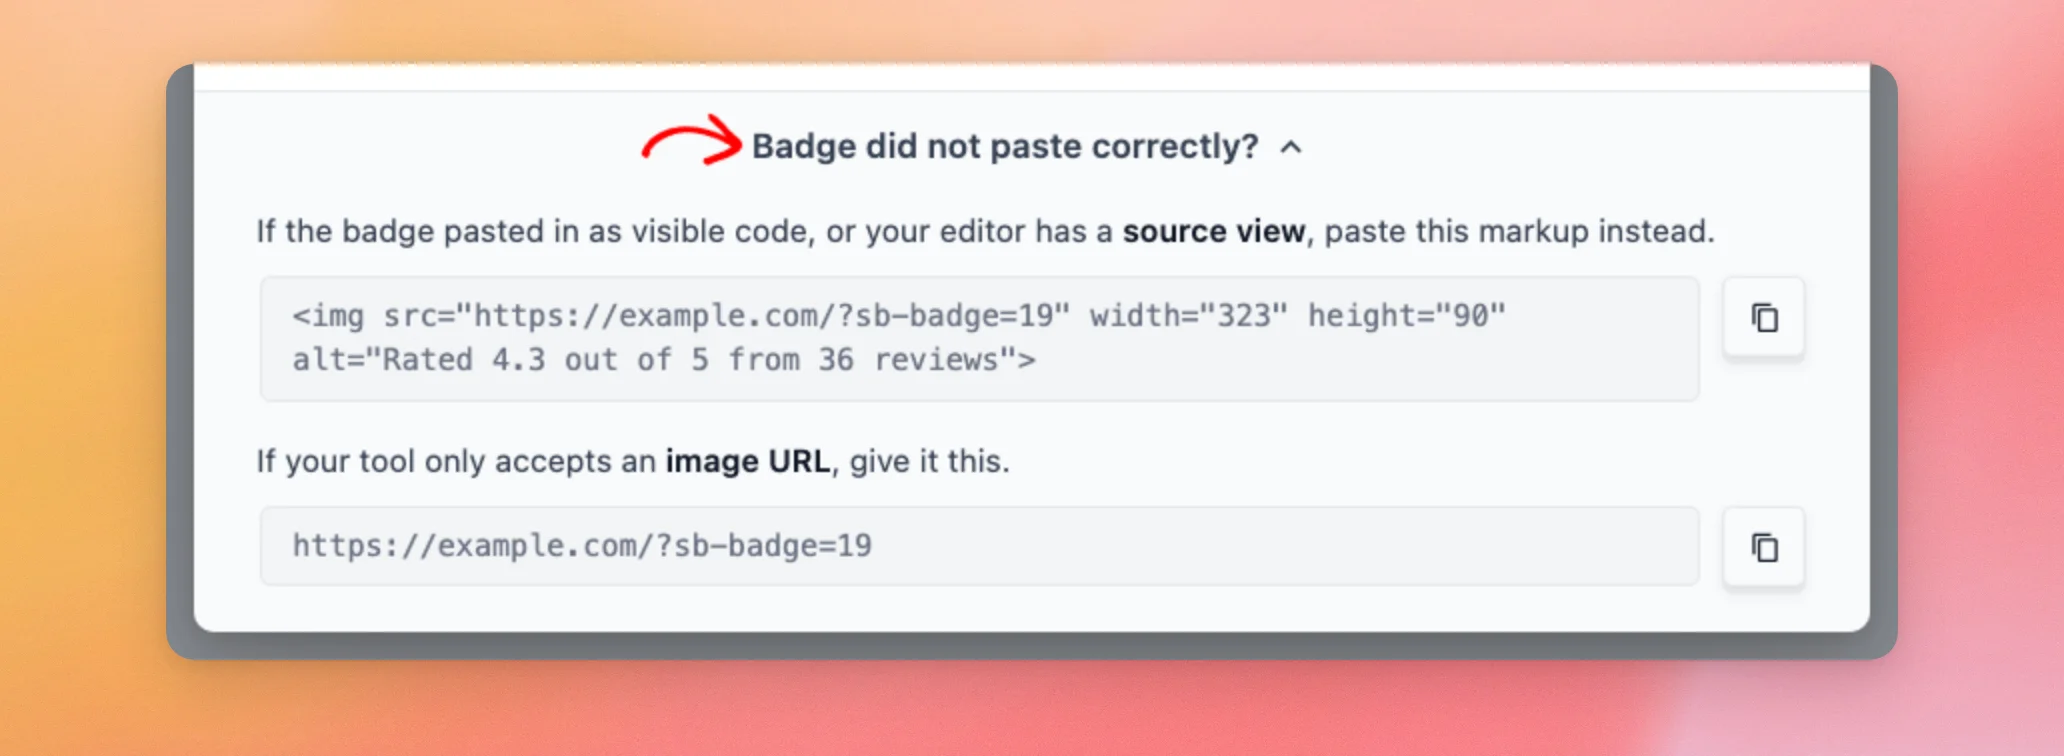
This section has two other ways to add the badge:
- HTML snippet: Paste this markup into your email app’s source or HTML view.
- Image URL: Use this address when your email app only accepts a link to an image.
Each one has its own copy button.
Finally, we’ll look at where all of your badges are listed.
Managing Your Trust Badges
All of your badges are listed on the Reviews Feed » Trust Badges page, the same page where you started in Creating a Trust Badge.
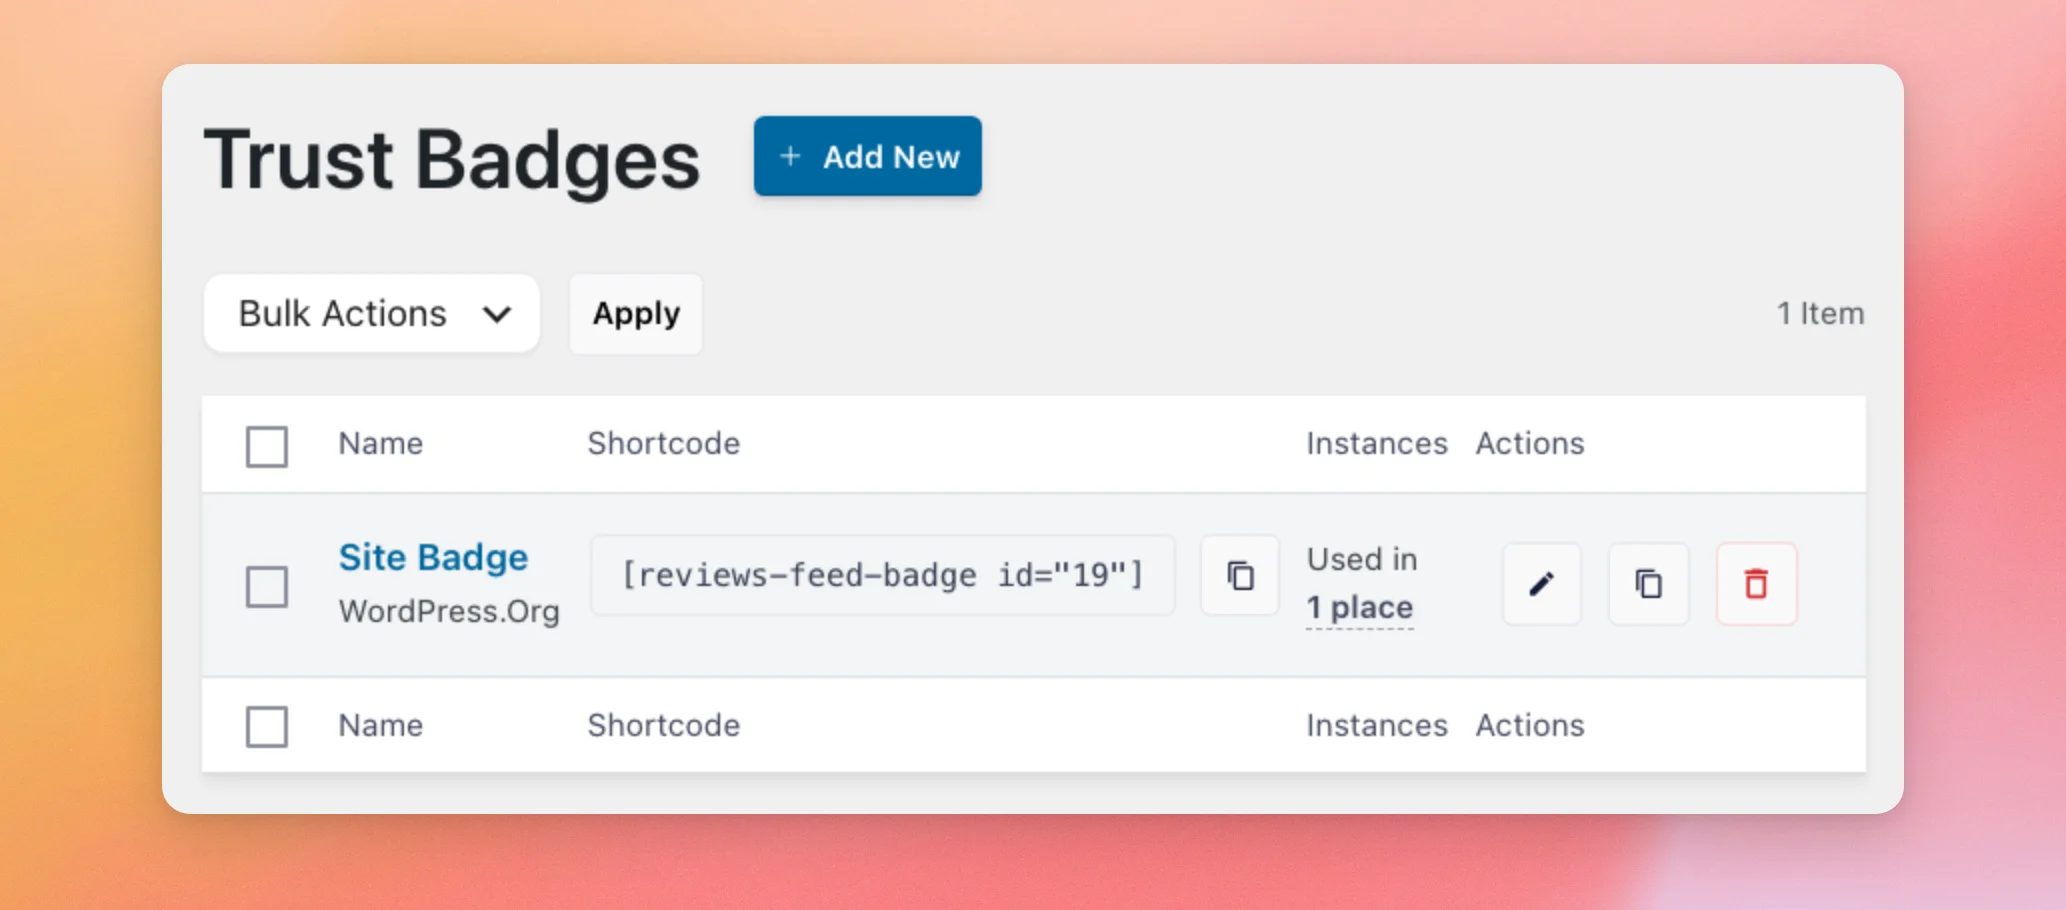
For each badge, the list shows:
- Name: The badge’s name and the platform of its sources.
- Shortcode: The badge’s shortcode, with a copy button.
- Instances: How many places on your site show the badge.
- Actions: Icon buttons to edit, duplicate, or delete the badge, in that order.
To create another badge, such as one for a different set of sources, follow the same steps as in Creating a Trust Badge.
That’s it! You now know how to create a Trust Badge and show your rating on your site and in your emails.
Next, to show your reviews in a popup as visitors browse your site, see our guide on Review Alerts.
Frequently Asked Questions
Below, we’ve answered some of the most common questions about Trust Badges.
Which license level do I need for Trust Badges?
Trust Badges are available on the Plus license level and higher. To compare license levels, see our guide on Reviews Feed licenses.
Can I combine reviews from more than one platform in one badge?
Yes. To do this, add each source in the Settings tab of the badge editor. Your badge then shows one combined rating and the total number of reviews from all of its sources.
Sources with more reviews count for more in the combined rating.
Does my badge update when I get new reviews?
Yes. Your badge’s rating comes from the reviews Reviews Feed has saved for its sources. When Reviews Feed checks those sources for new reviews, your badge updates too.
The badge in your email signature is an image served from your site. This means every new email you send shows your current rating.
Can I remove the Powered by Smash Balloon text?
Yes. The Powered by Smash Balloon text is the footer’s default text. The footer is hidden on a new badge. If you show the footer, you can replace that text with your own in the Footer text field.
To learn more, see Adding a Footer above.
Can I show different badges in different places?
Yes. Each badge has its own sources, design, and shortcode. To do this, create one badge for each look or set of sources you need. Then, add each one with its own block or shortcode.
On the Trust Badges page, the middle one of a badge’s three Actions icons duplicates it. This lets you start from a badge you’ve already set up.
What happens when I delete a badge?
Every place you’ve added that badge stops showing it. Before you delete a badge, check its Instances column on the Trust Badges page to see how many places use it.
Why can’t I copy the badge for my email signature?
The email badge is an image your server creates. If your server can’t create it, the Copy badge for your signature button is unavailable and a message below it explains why.
In that case, ask your web host to enable an image library for PHP, such as ImageMagick or GD. The badge on your site’s pages isn’t an image. It still shows as usual.
Why isn’t my badge showing on my site?
First, open the badge in the editor and click the Settings tab. If one of its sources is no longer available, a message says so. The badge stays hidden until you remove that source or reconnect it.
A badge also needs at least one source with reviews before it has a rating to show.