Social Wall
 Feed Analytics


Would you like to know what each section of the TikTok Feeds feed editor does before you change it?
This guide walks through the feed editor one tab at a time. It covers what each section does, its default, and the license level it needs.
Before you get started, make sure you’ve created a feed. That guide also covers connecting an account and adding the feed to a page.
Note: The defaults listed are the values a feed starts with on the Default template. Other templates set some of them differently. Most features marked with a license level show an upgrade prompt on lower levels.
Opening the Feed Editor
From your WordPress admin sidebar, go to TikTok Feeds » All Feeds. Then click the name of a feed, or its edit link, to open the editor.
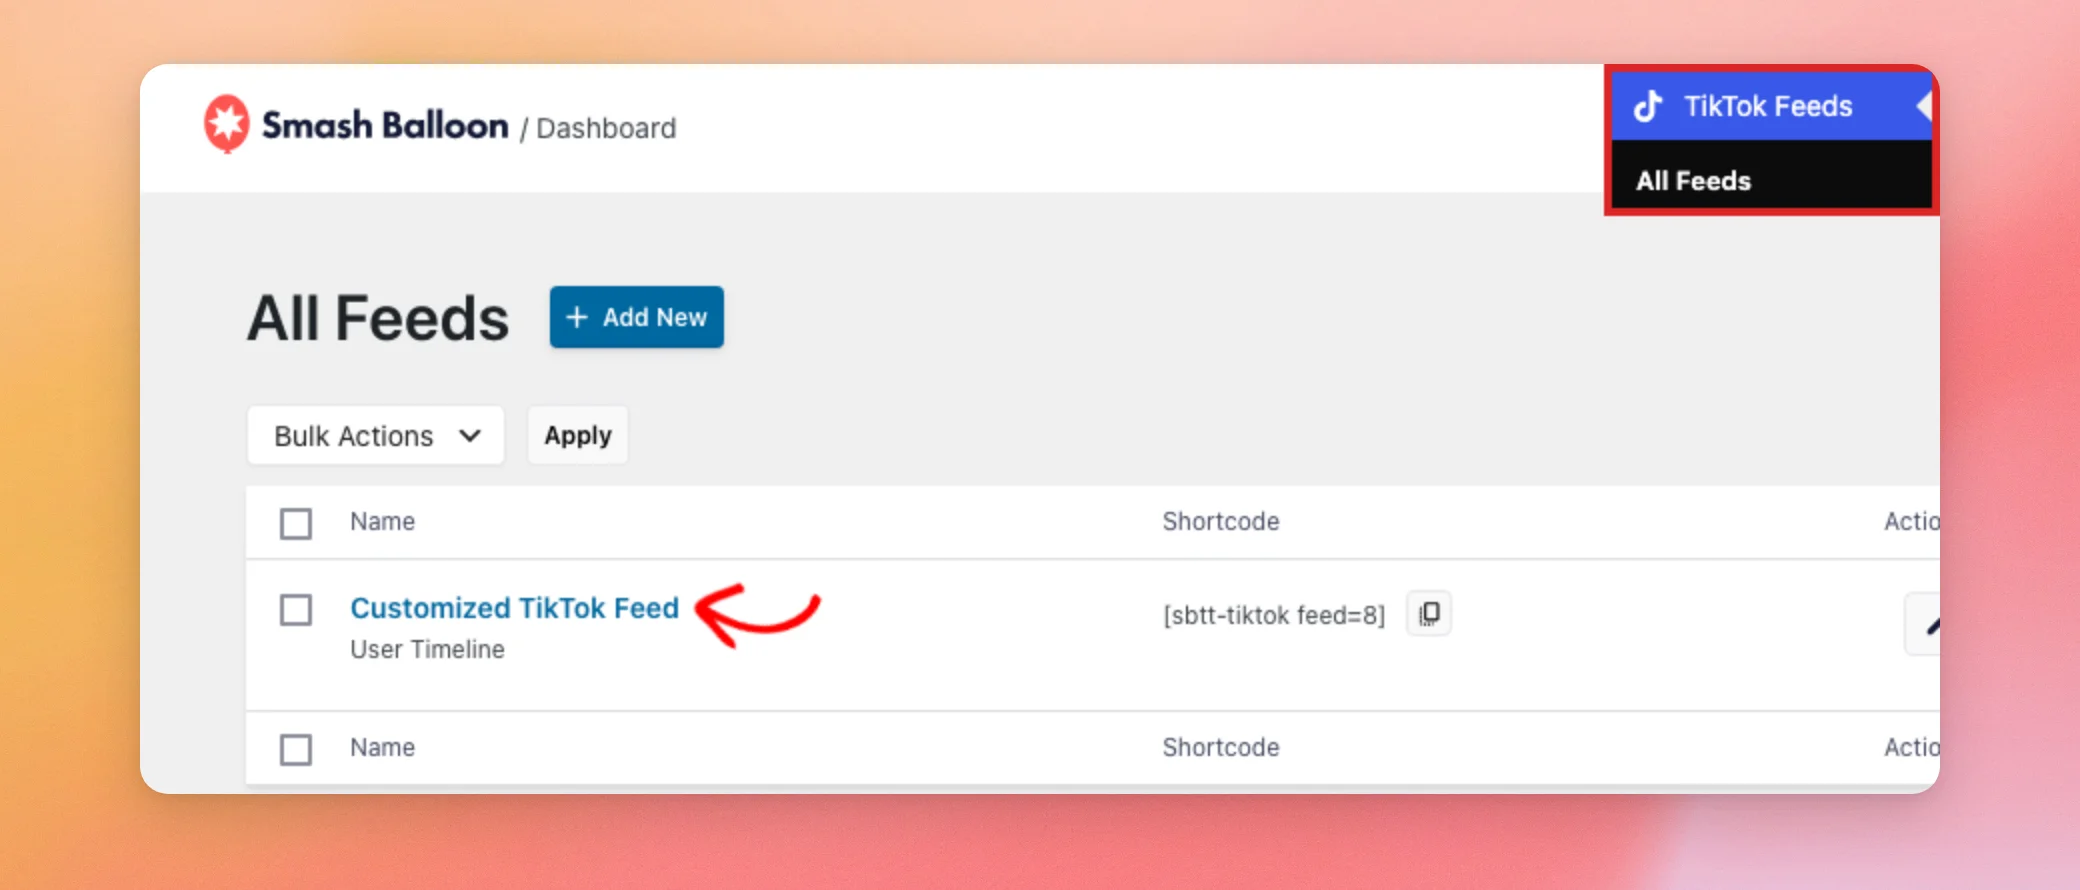
The top bar holds the Close Editor button, the feed name, and the Help, Embed, and Save buttons. You can edit the feed name here. Below the bar, a live preview of your feed sits next to the editor panel. The panel has 2 tabs, Customize and Settings.
The Save button stores your changes. They show on your site once saved.
Using the Customize Tab
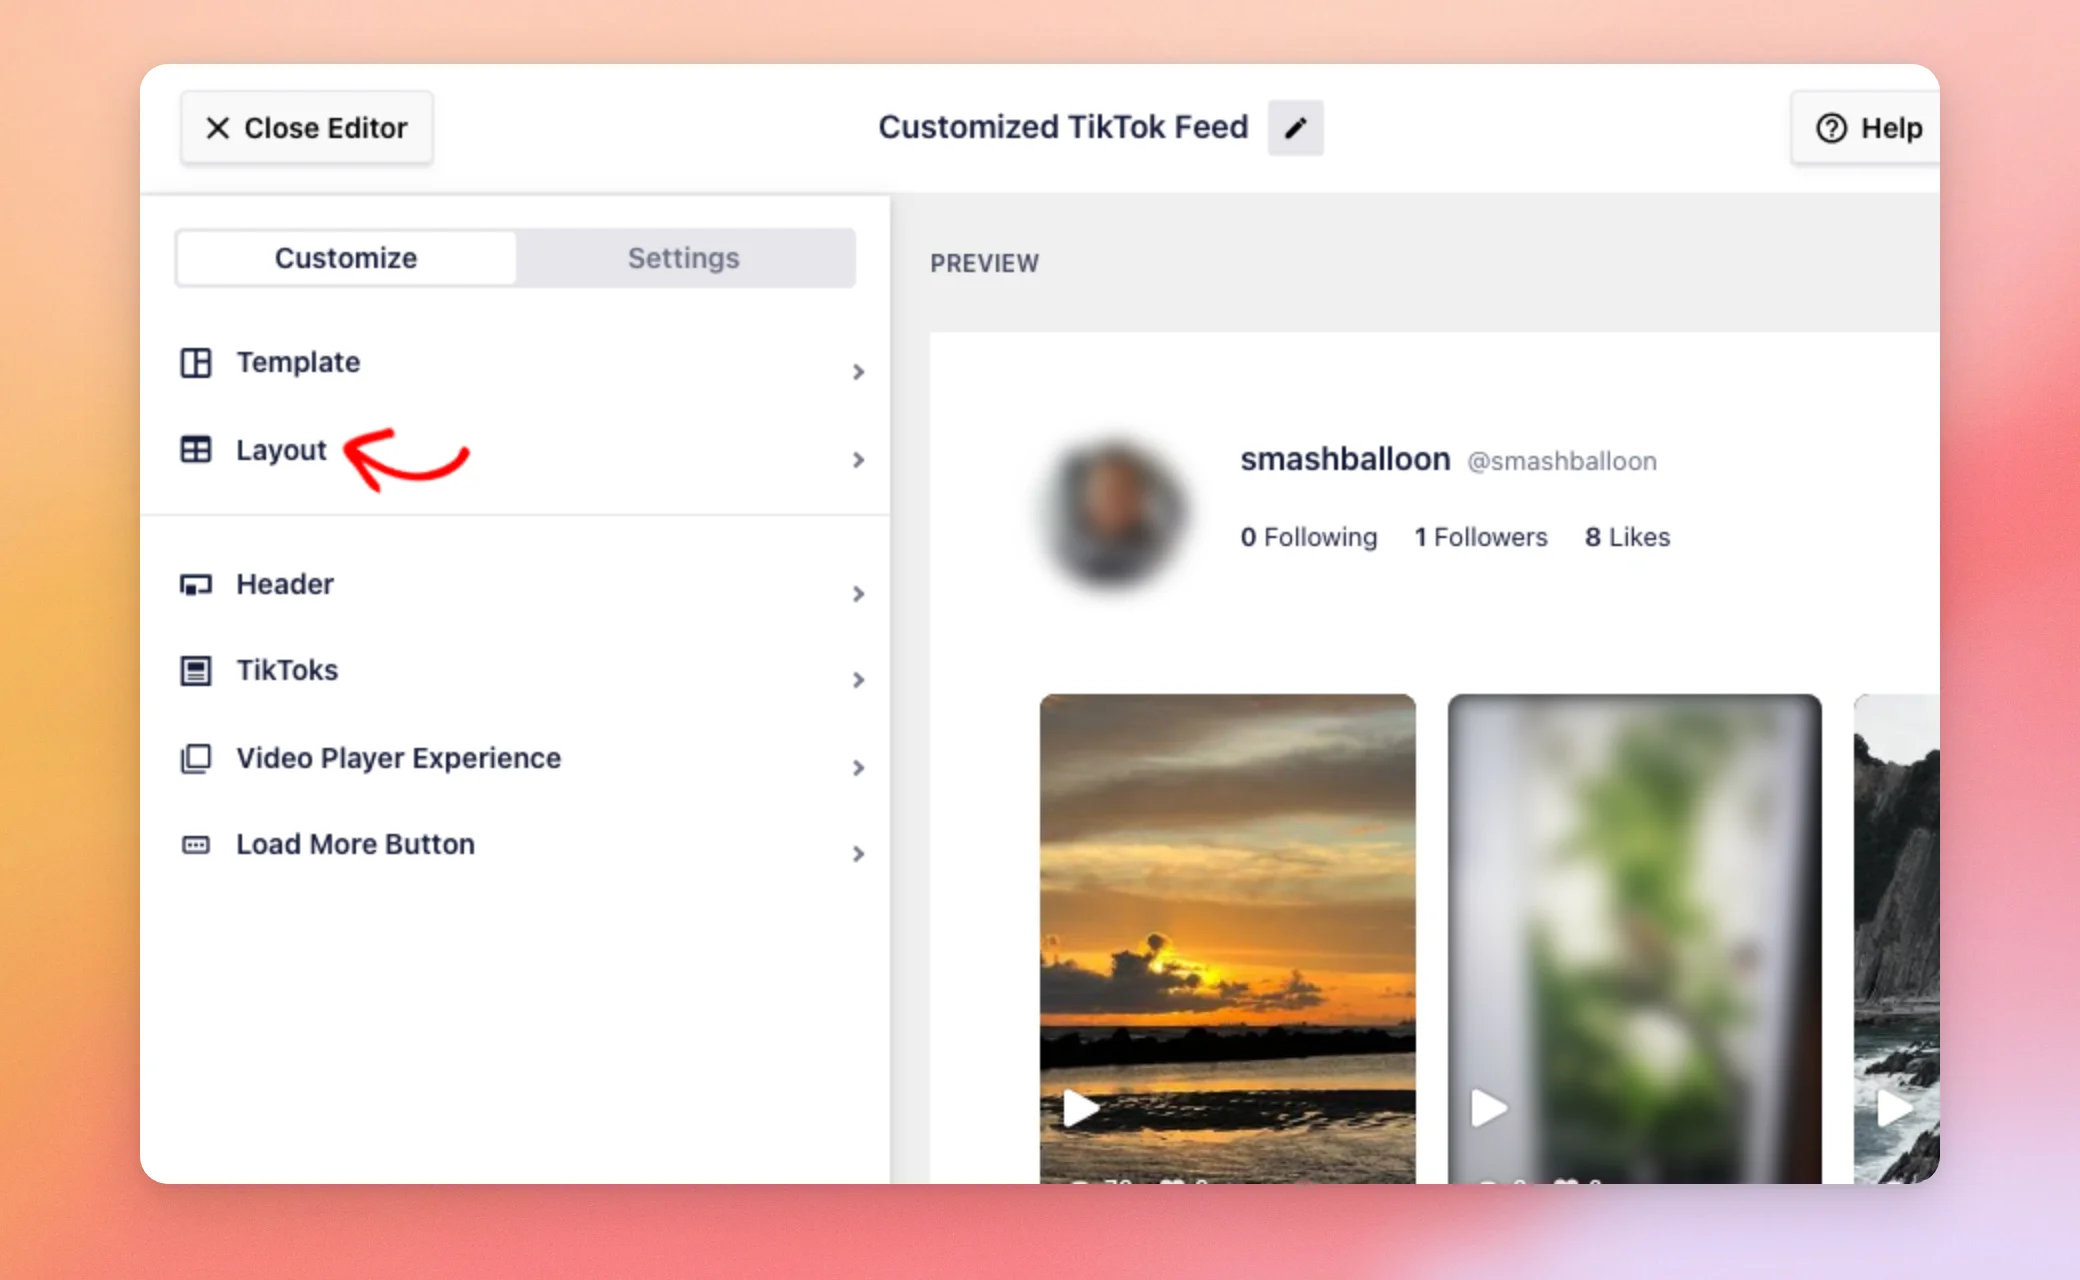
The Customize tab controls how your feed looks. It opens first, with 6 sections, which are Template, Layout, Header, TikToks, Video Player Experience, and Load More Button. Next, click a section to open it. The Customize link at the top of an open section takes you back to the list.
Template
The Template section shows the template your feed uses now. To pick another one, click Change.
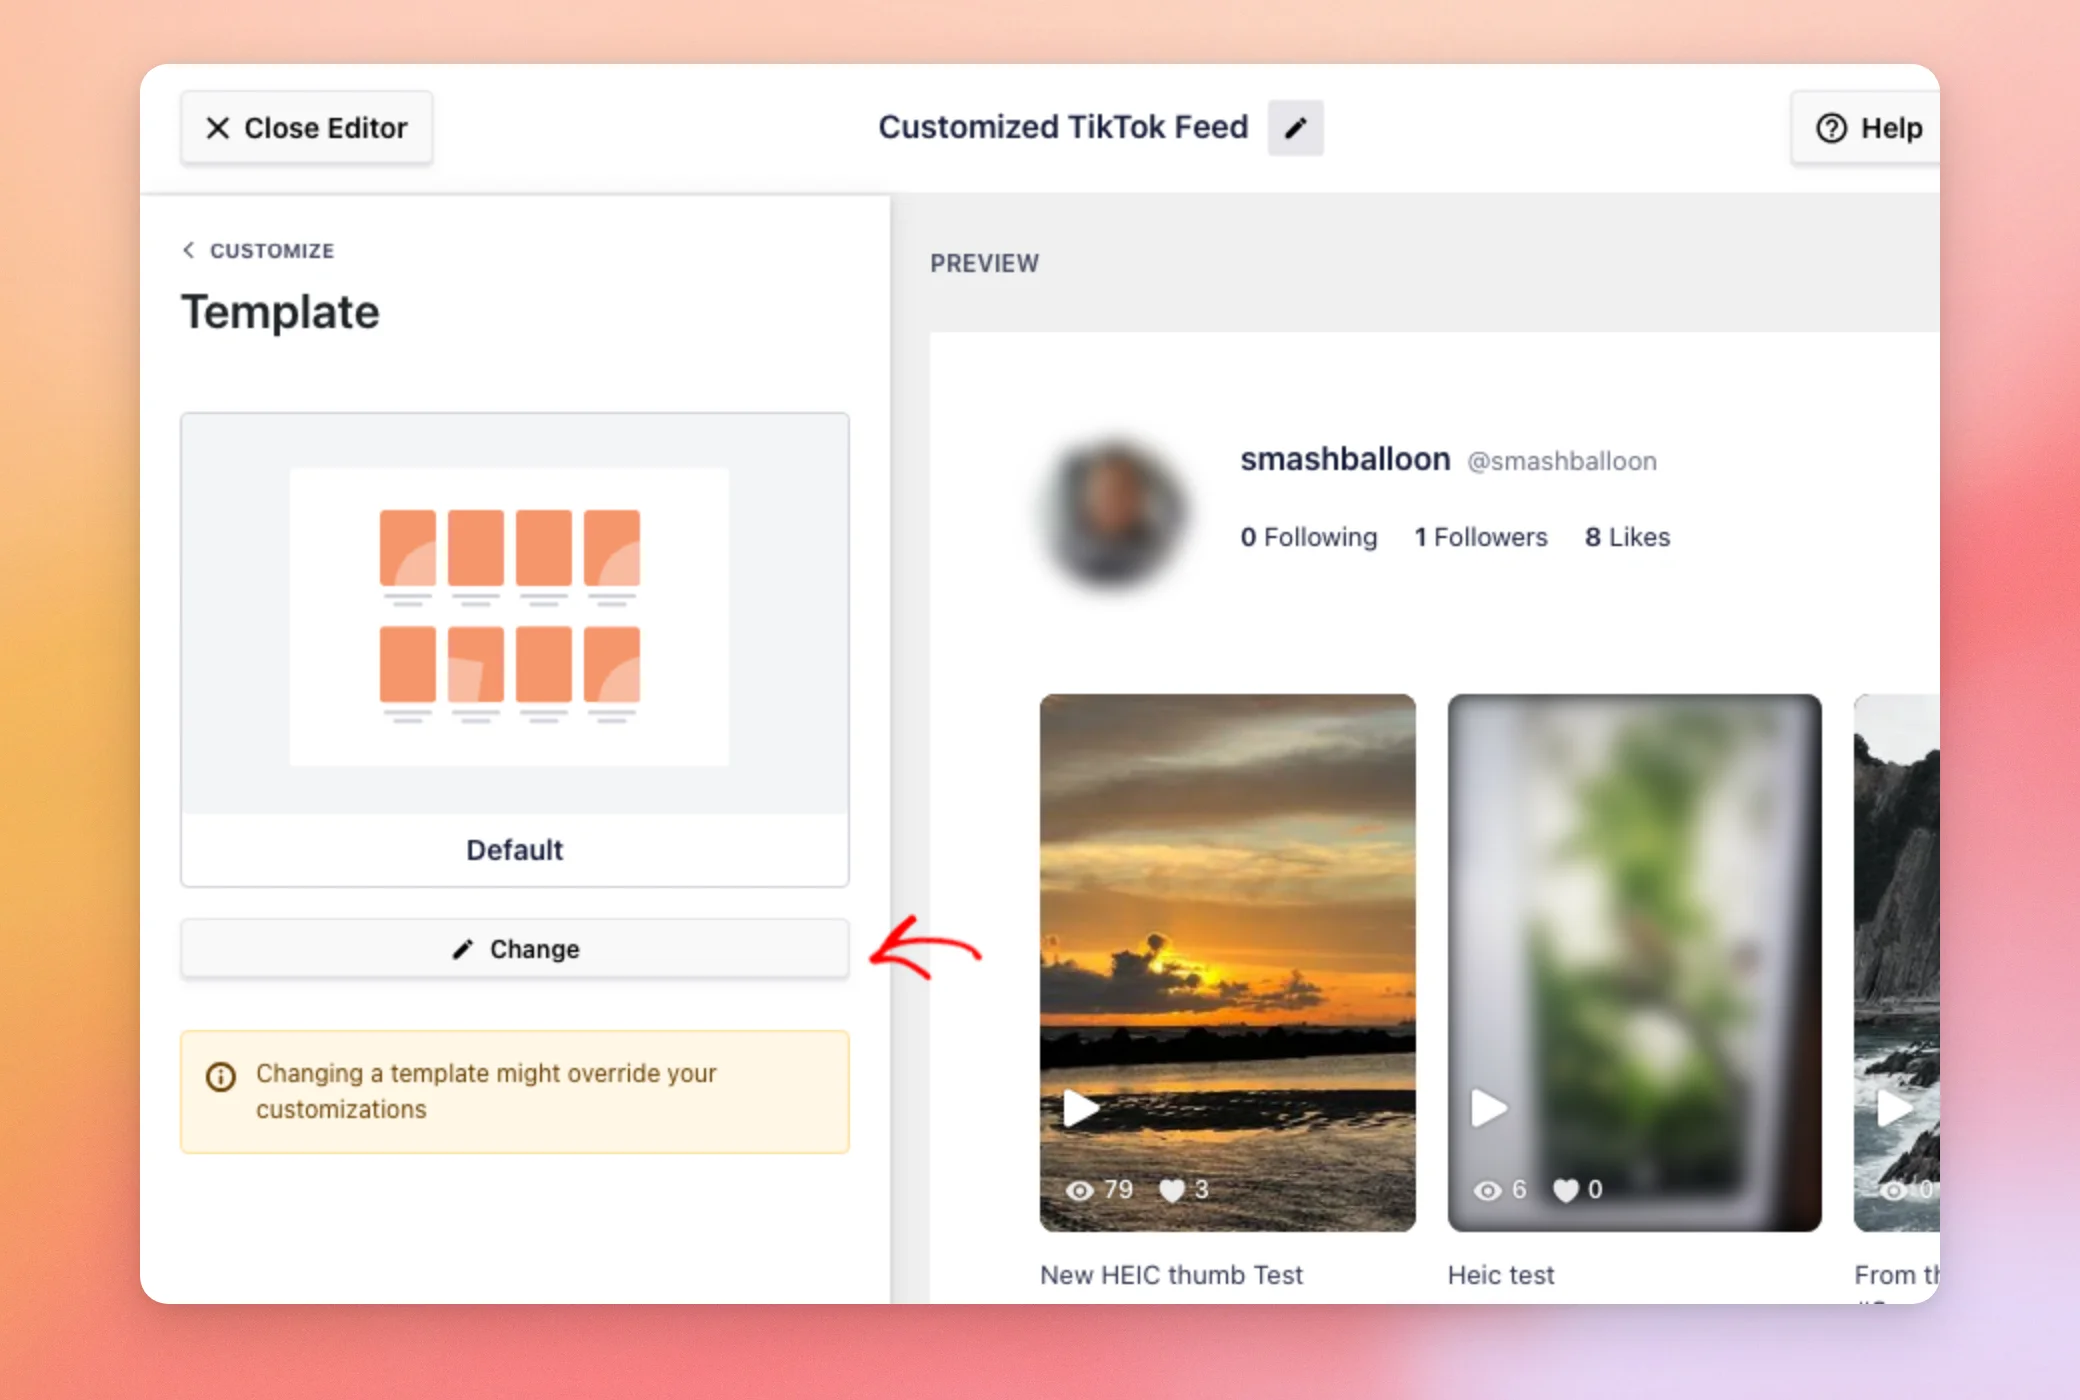
A template is a ready-made set of settings. Changing it overrides your layout, header, and button settings. For that reason, choose a template first and customize afterward.
The window that opens lists all 8 templates. Update applies the one you pick to the preview, and Cancel closes the window without a change.
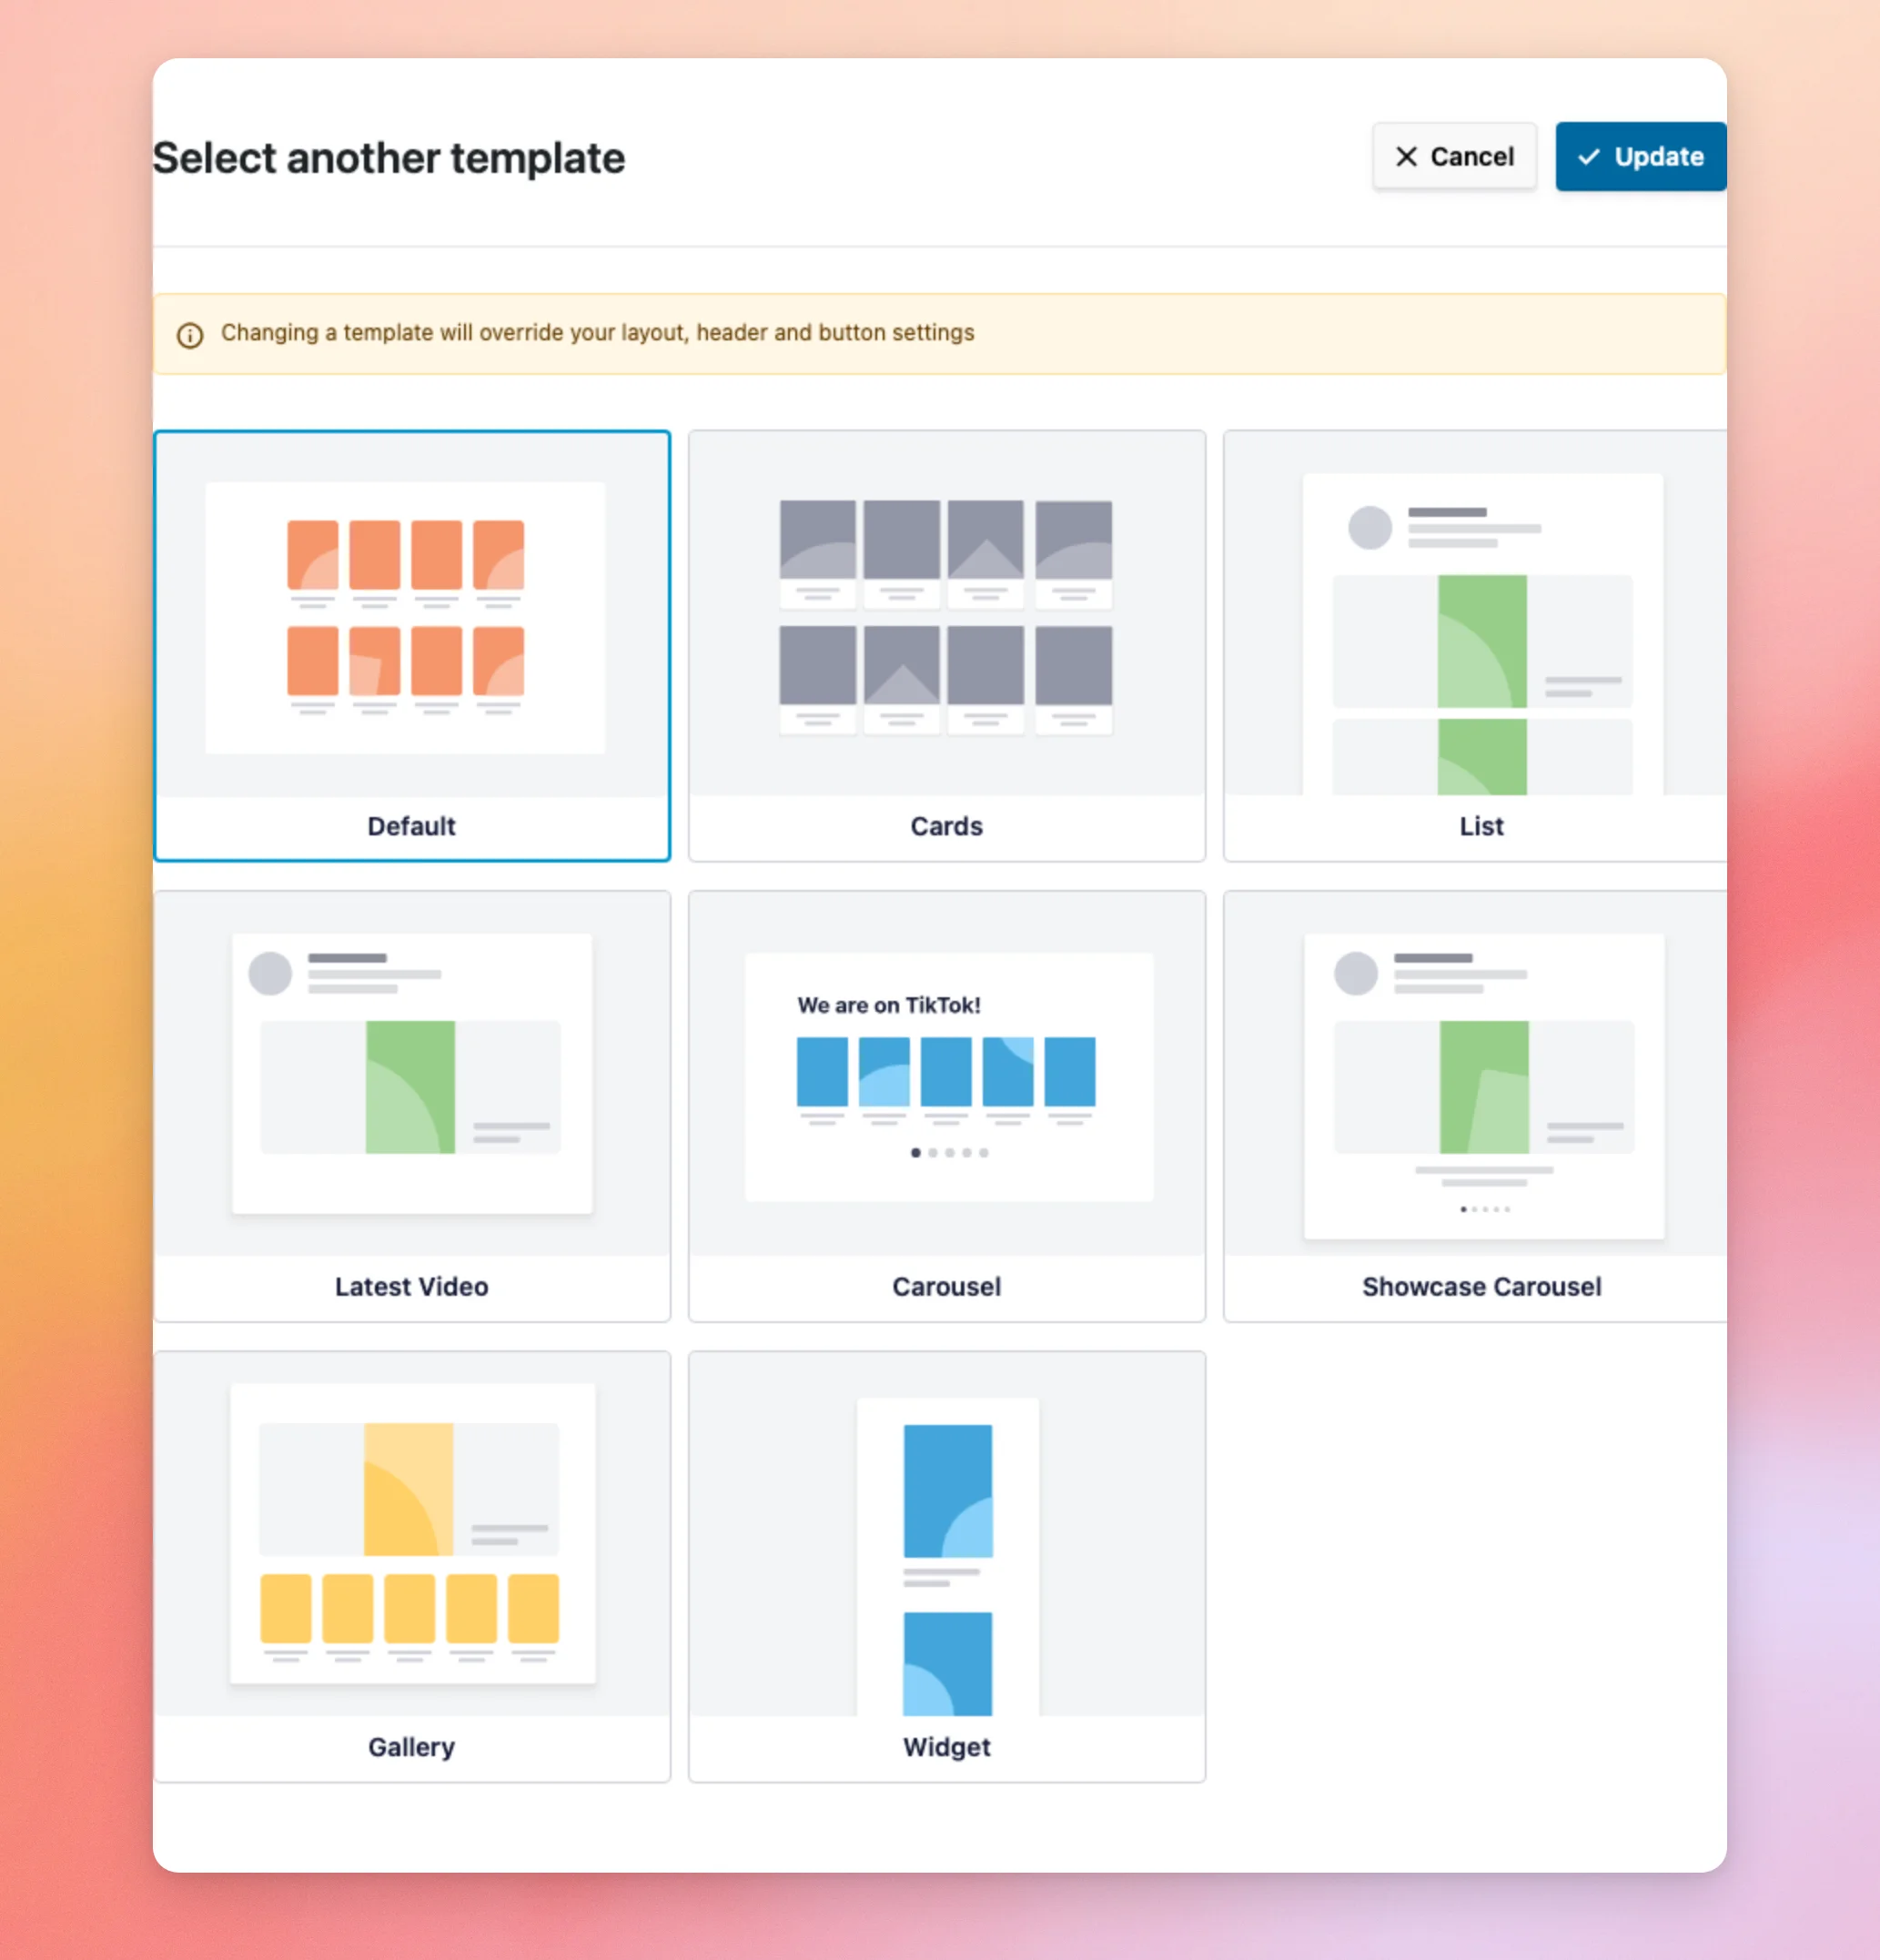
| Template | Layout it sets | License level |
|---|---|---|
| Default | Grid | Any |
| Cards | Grid with boxed posts | Basic or higher |
| List | List | Basic or higher |
| Latest Video | List with a single video | Basic or higher |
| Carousel | Carousel | Plus or higher |
| Showcase Carousel | Carousel, 1 video at a time | Plus or higher |
| Gallery | Gallery | Plus or higher |
| Widget | Grid in 1 column, with the header off | Plus or higher |
When you create a feed, the Default template is selected first. It’s a grid that works on every license level.
Layout
The Layout section sets how your videos are arranged and how many show at once.
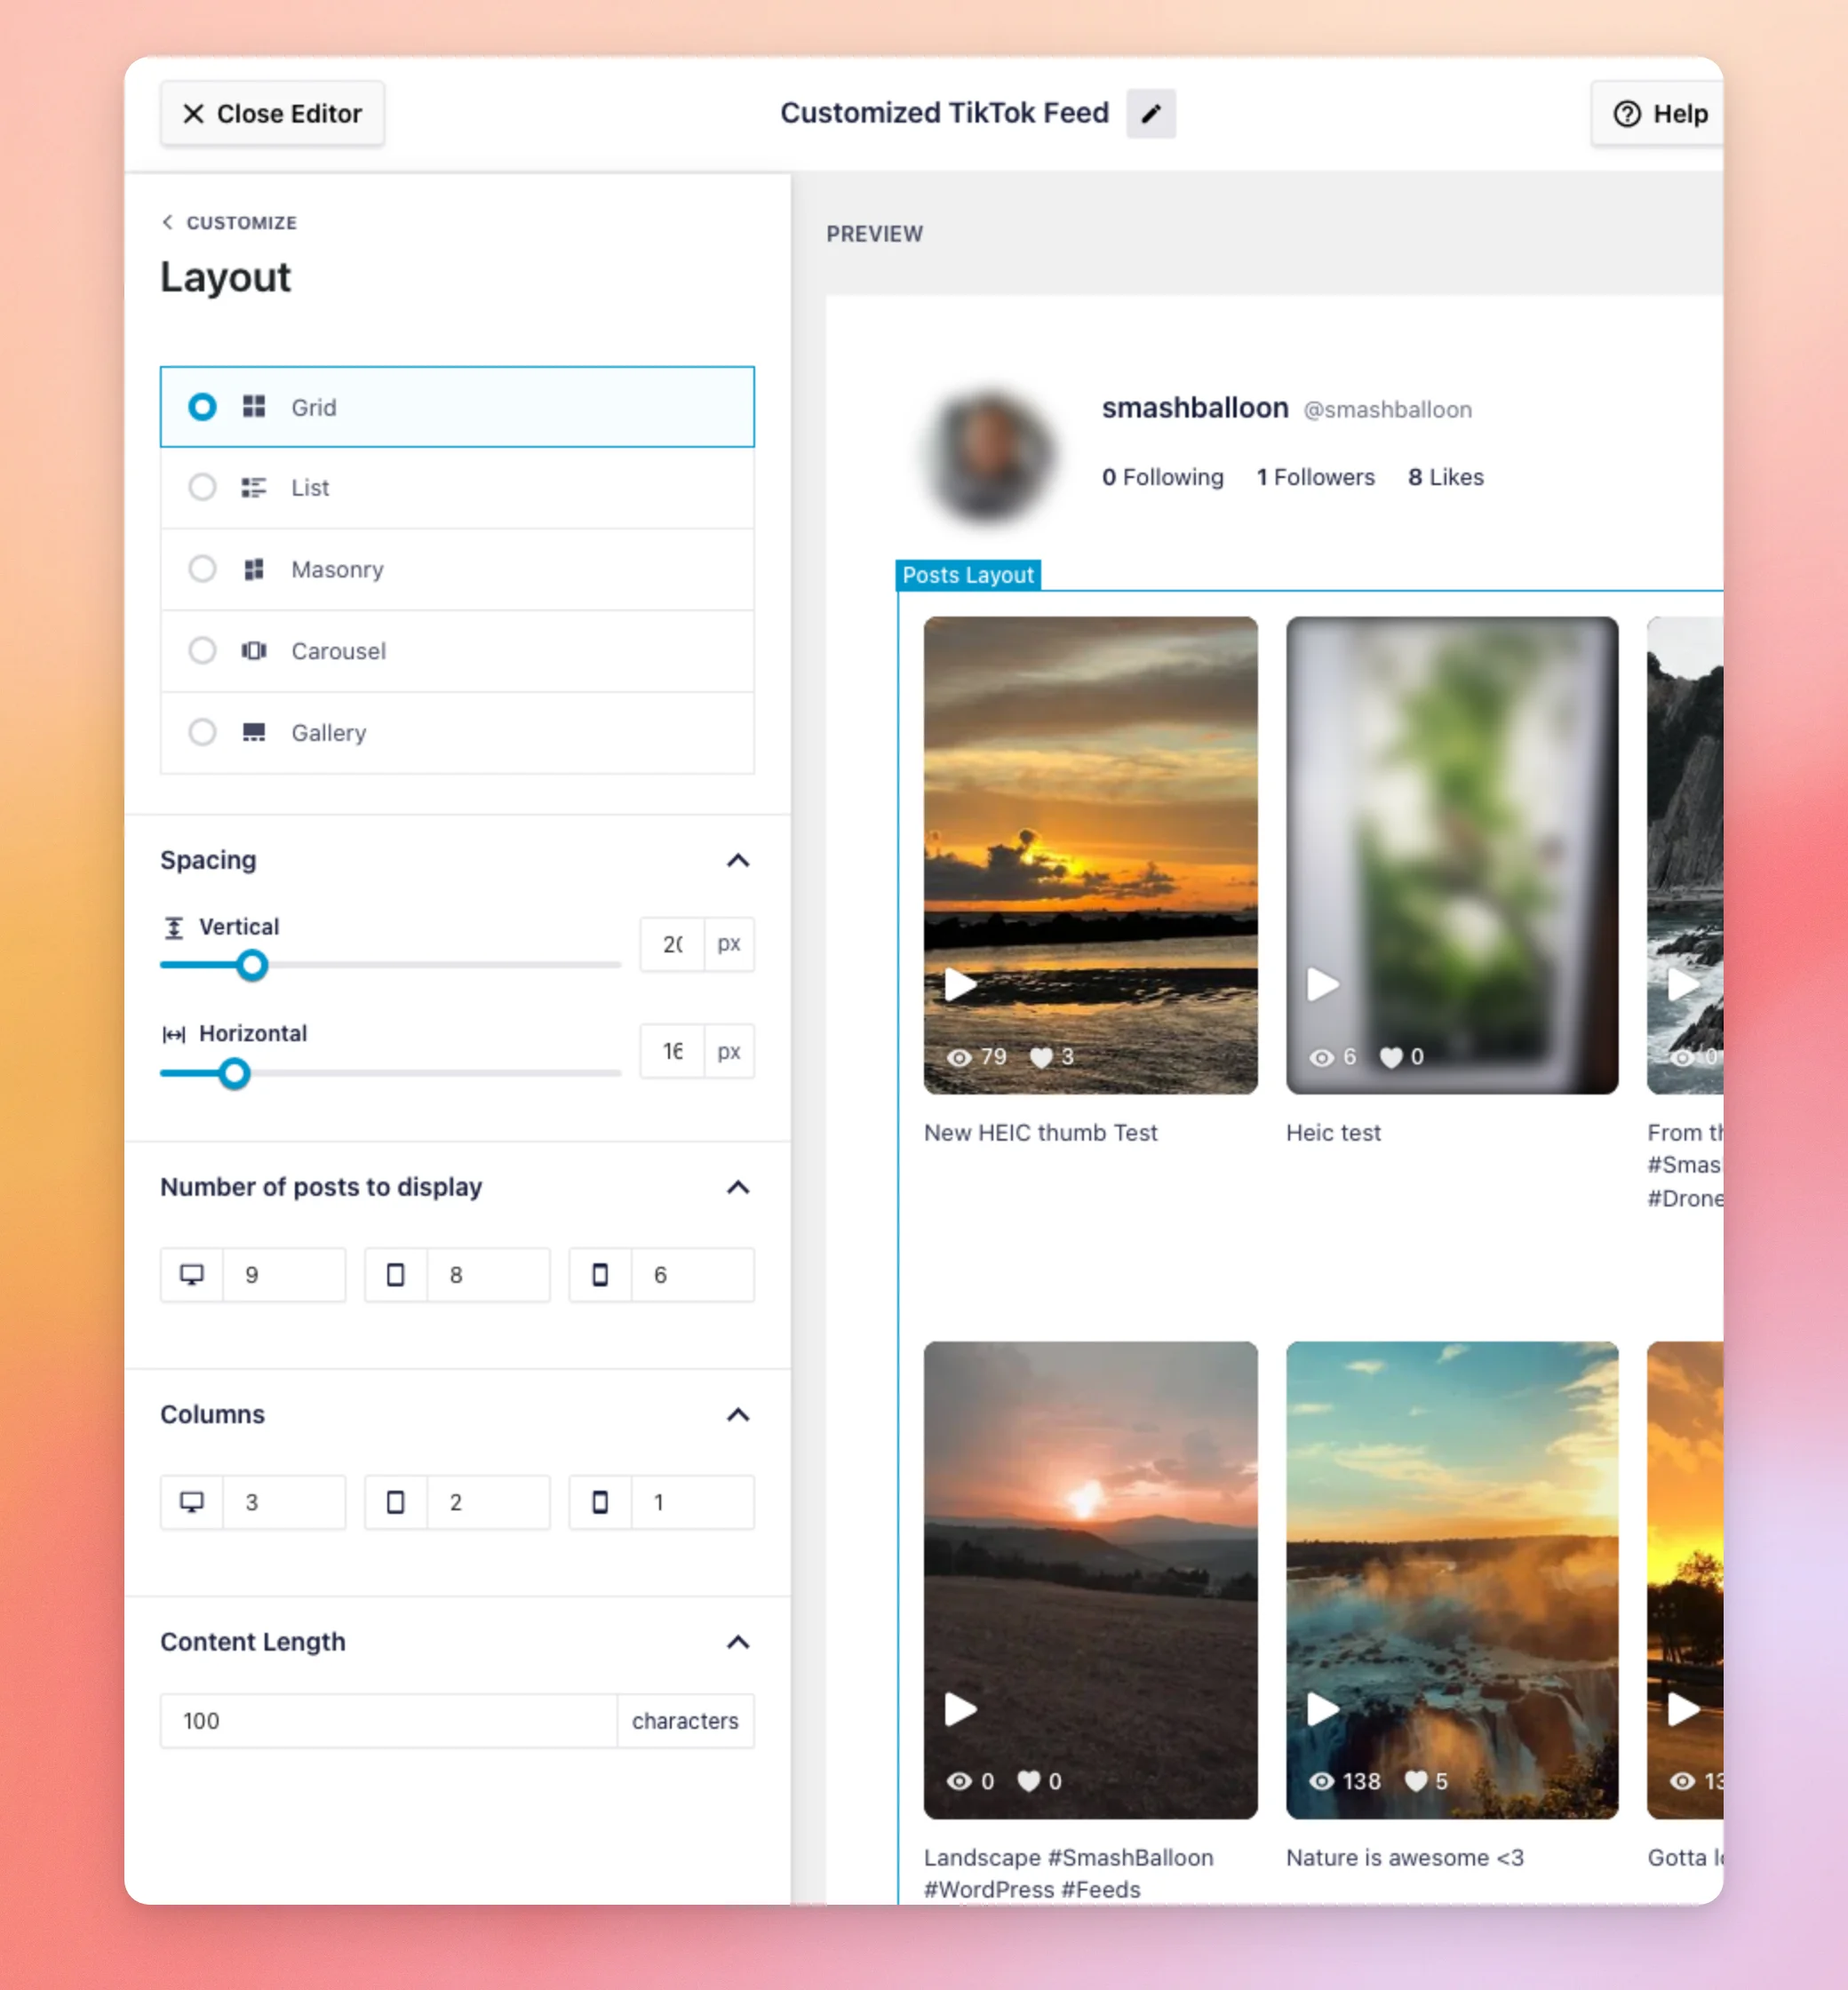
| Setting | What it does | Default |
|---|---|---|
| Layout | You can choose Grid, List, Masonry, Carousel, or Gallery. Grid works on every license level. List needs the basic license level or higher. Masonry, Carousel, and Gallery need the plus license level or higher. | Grid |
| Spacing | Sets the vertical space between videos. Grid, Masonry, and Carousel also show a horizontal space. | 20px vertical, 16px horizontal |
| Number of posts | How many videos show on desktop, tablet, and mobile. | 9, 8, and 6 |
| Columns | How many columns the feed has on desktop, tablet, and mobile. Each layout has its own value. | 3, 2, and 1 |
| Content Length | The number of characters of each video’s description to show. | 100 characters |
The Carousel layout adds its own controls. These are Loop Type (Rewind or Infinity), Interval Time (the time between slides in milliseconds), and the Show Navigation Arrows, Show Pagination, and Enable Autoplay switches.
| Carousel setting | Default |
|---|---|
| Loop Type | Infinity |
| Interval Time | 5000 ms |
| Show Navigation Arrows | Off |
| Show Pagination | On |
| Enable Autoplay | On |
Header
The Header section controls the profile area above your videos. The Enable switch shows or hides the whole header. Below it, a checkbox list sets which parts show, including Profile Picture, Name, Username, Description, Stats, and Button. They’re all checked by default.
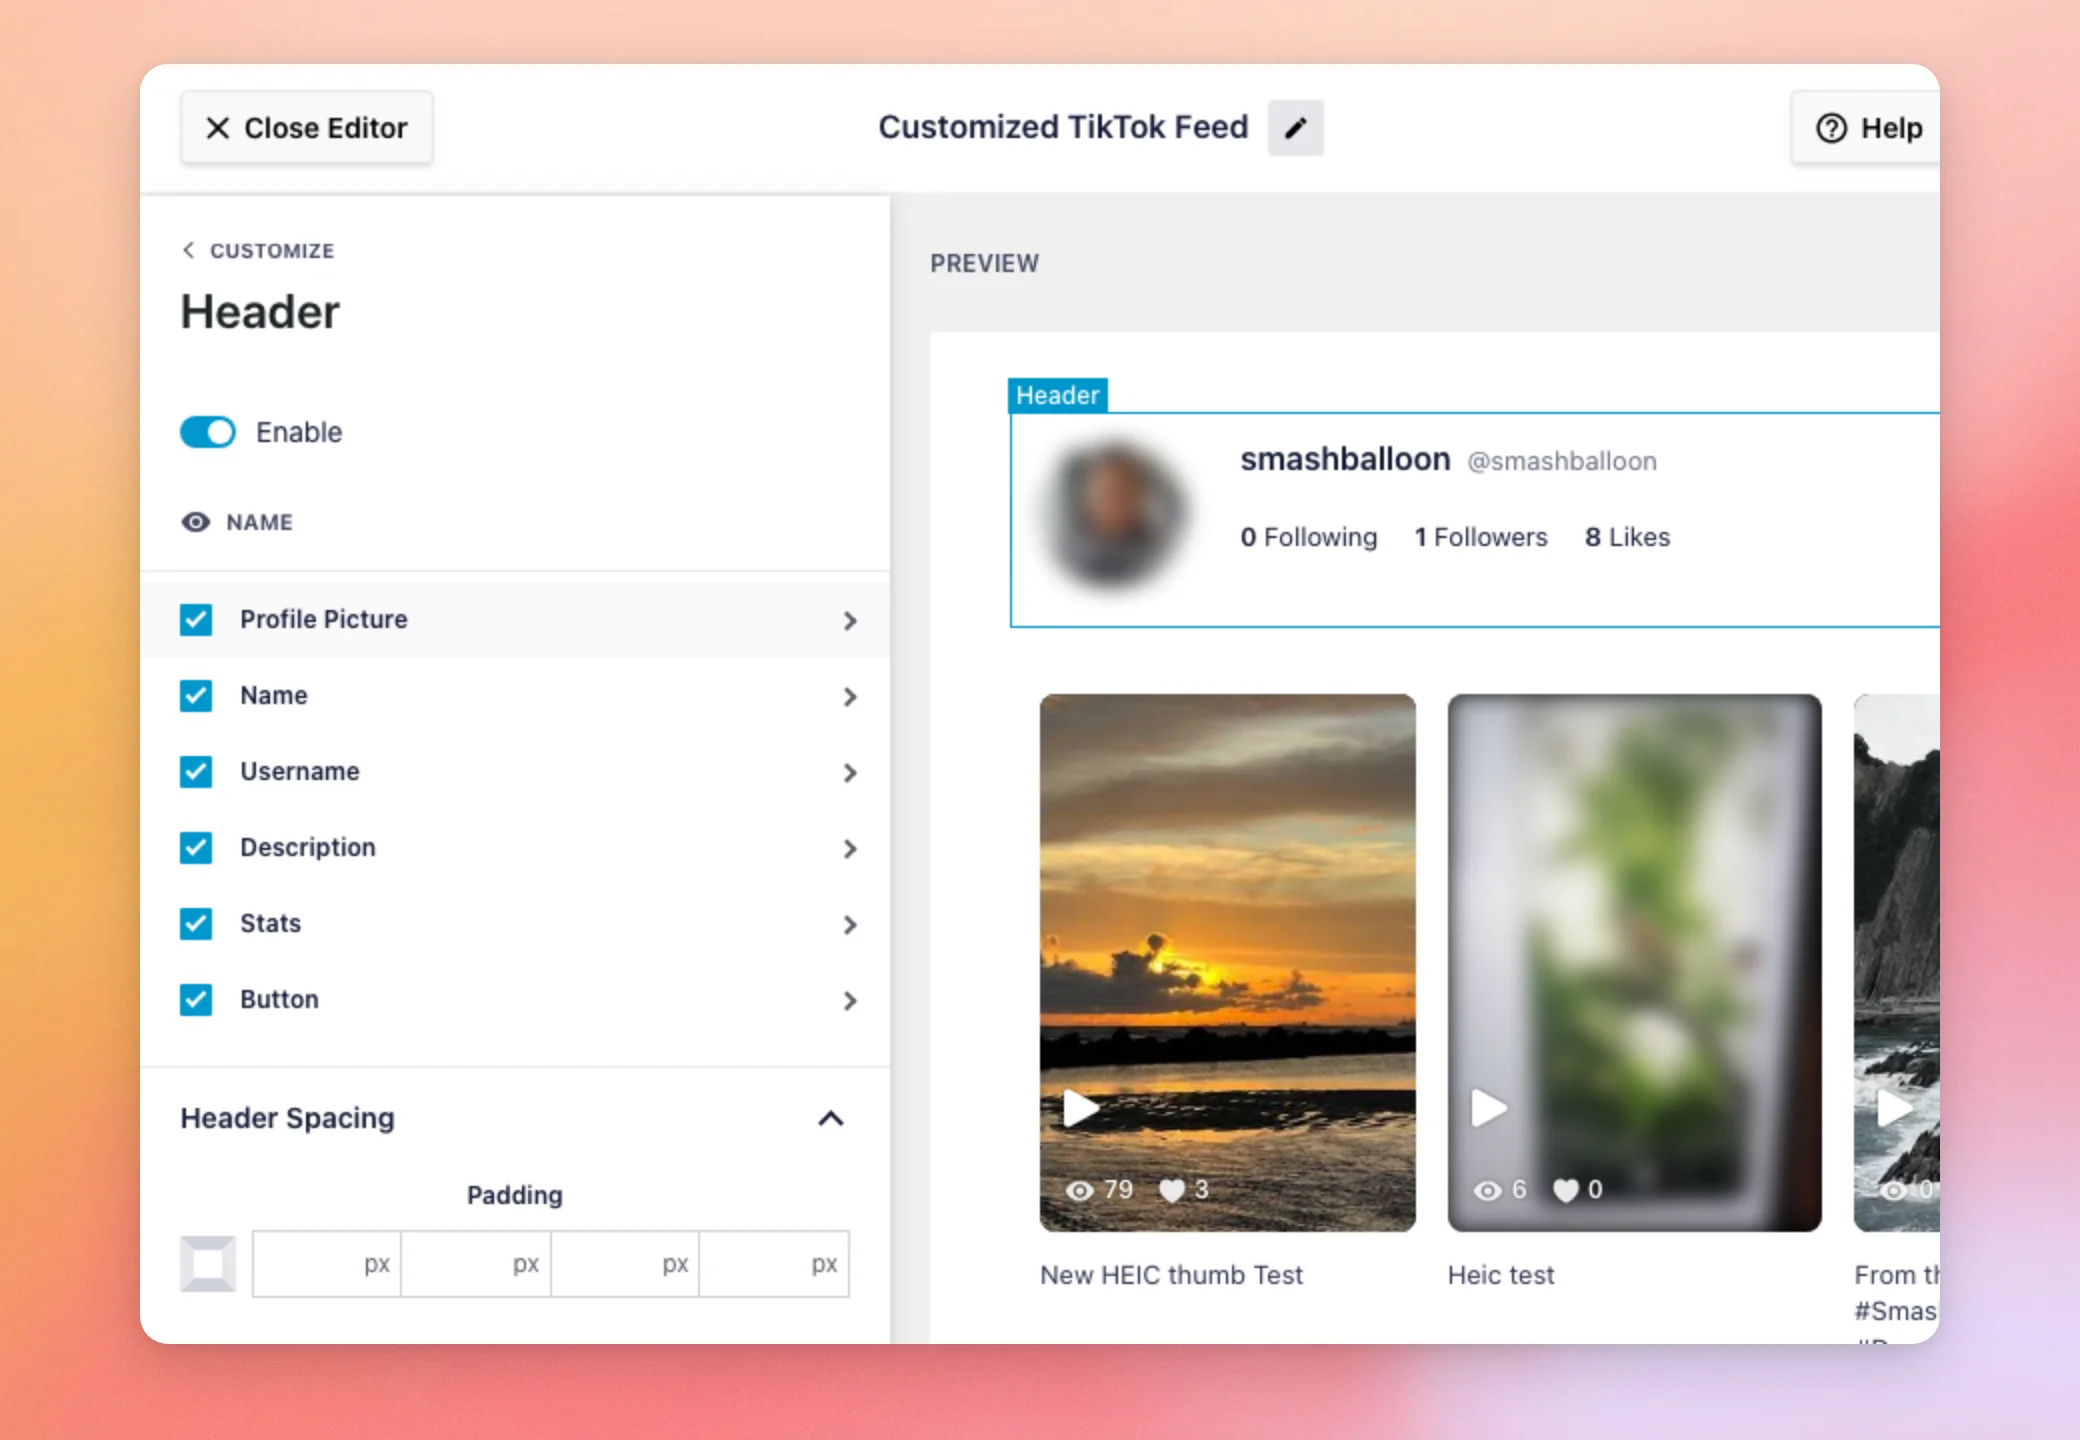
Each element’s row opens its own options, such as font, color, and spacing. For example, the Profile Picture options let you choose a size and add padding and margin.
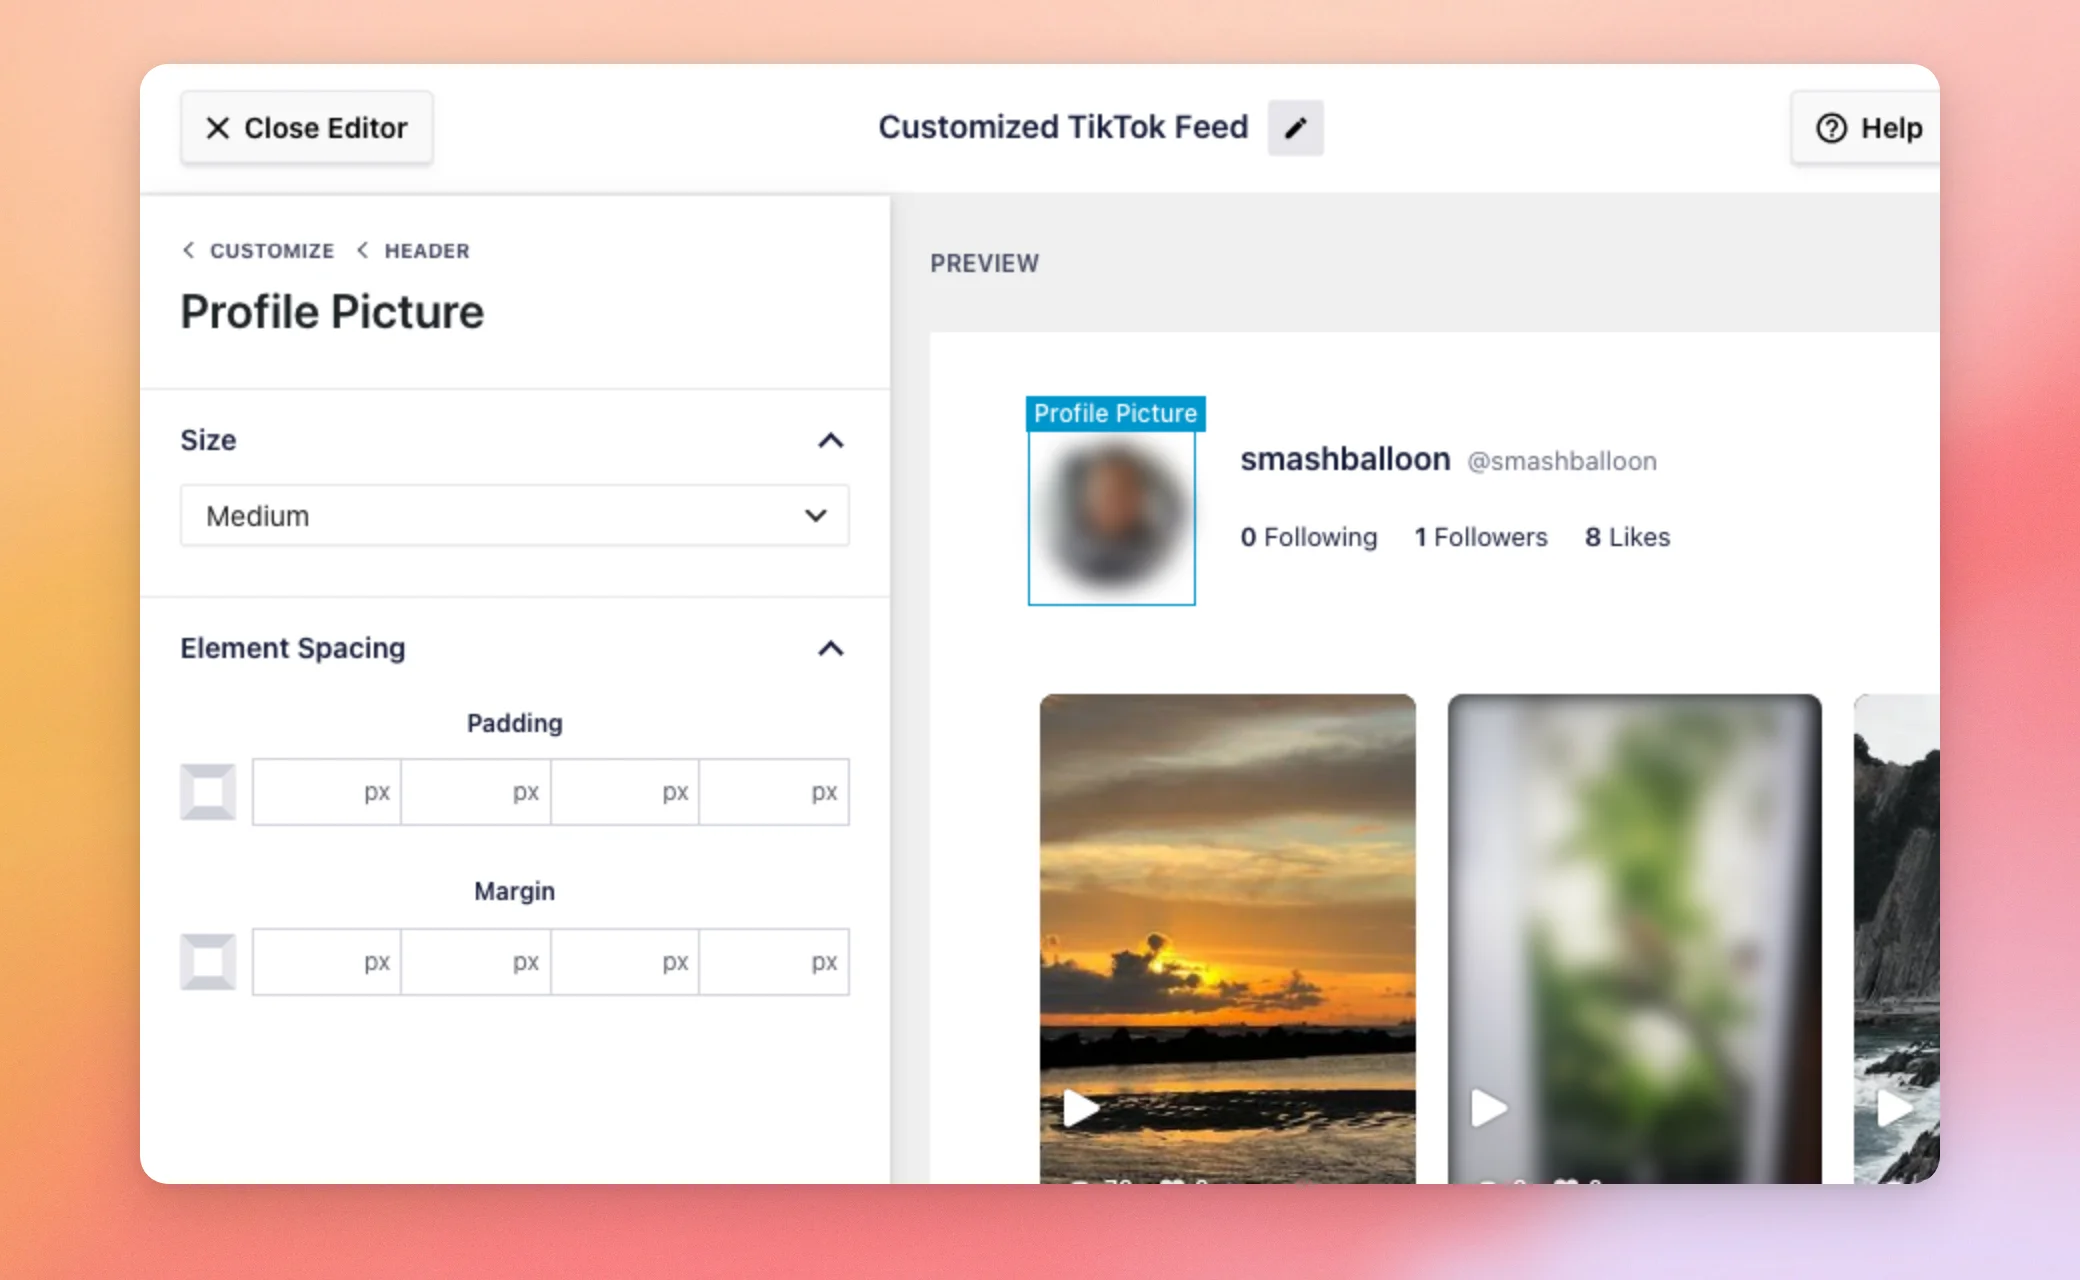
| Setting | What it does | Default |
|---|---|---|
| Enable | Shows or hides the header. | On |
| Profile Picture | Size is Small, Medium, or Large. | Medium |
| Name and Username | You can choose their font, color, and spacing. | Shown |
| Description and Stats | Show the account’s bio and its following, follower, and like counts. Needs the basic license level or higher. | Shown |
| Button | The follow button. You can change its text, colors, and spacing. | Text “Follow on TikTok”, background #FF3B5C |
| Header Spacing | Padding and margin around the header. | 50px bottom margin |
TikToks
The TikToks section has 2 parts, TikTok Style and Edit Individual Elements.
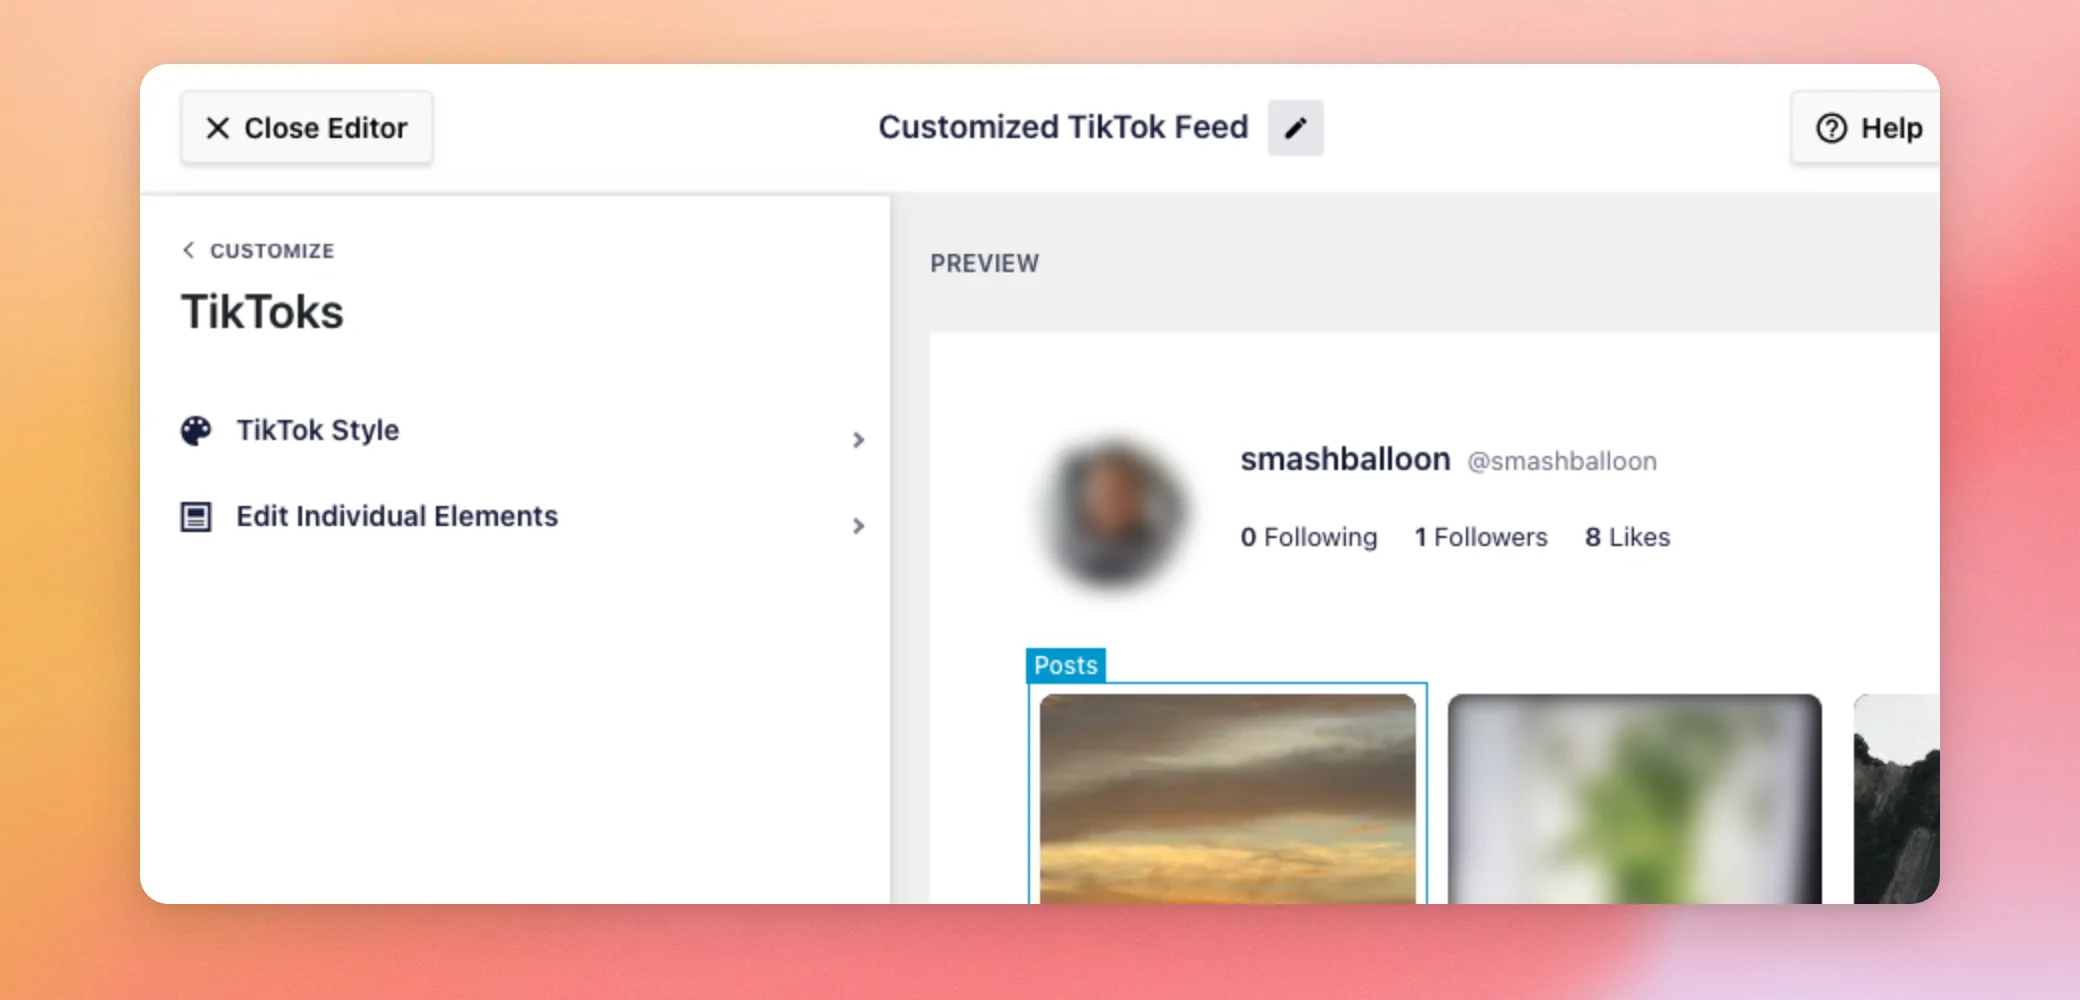
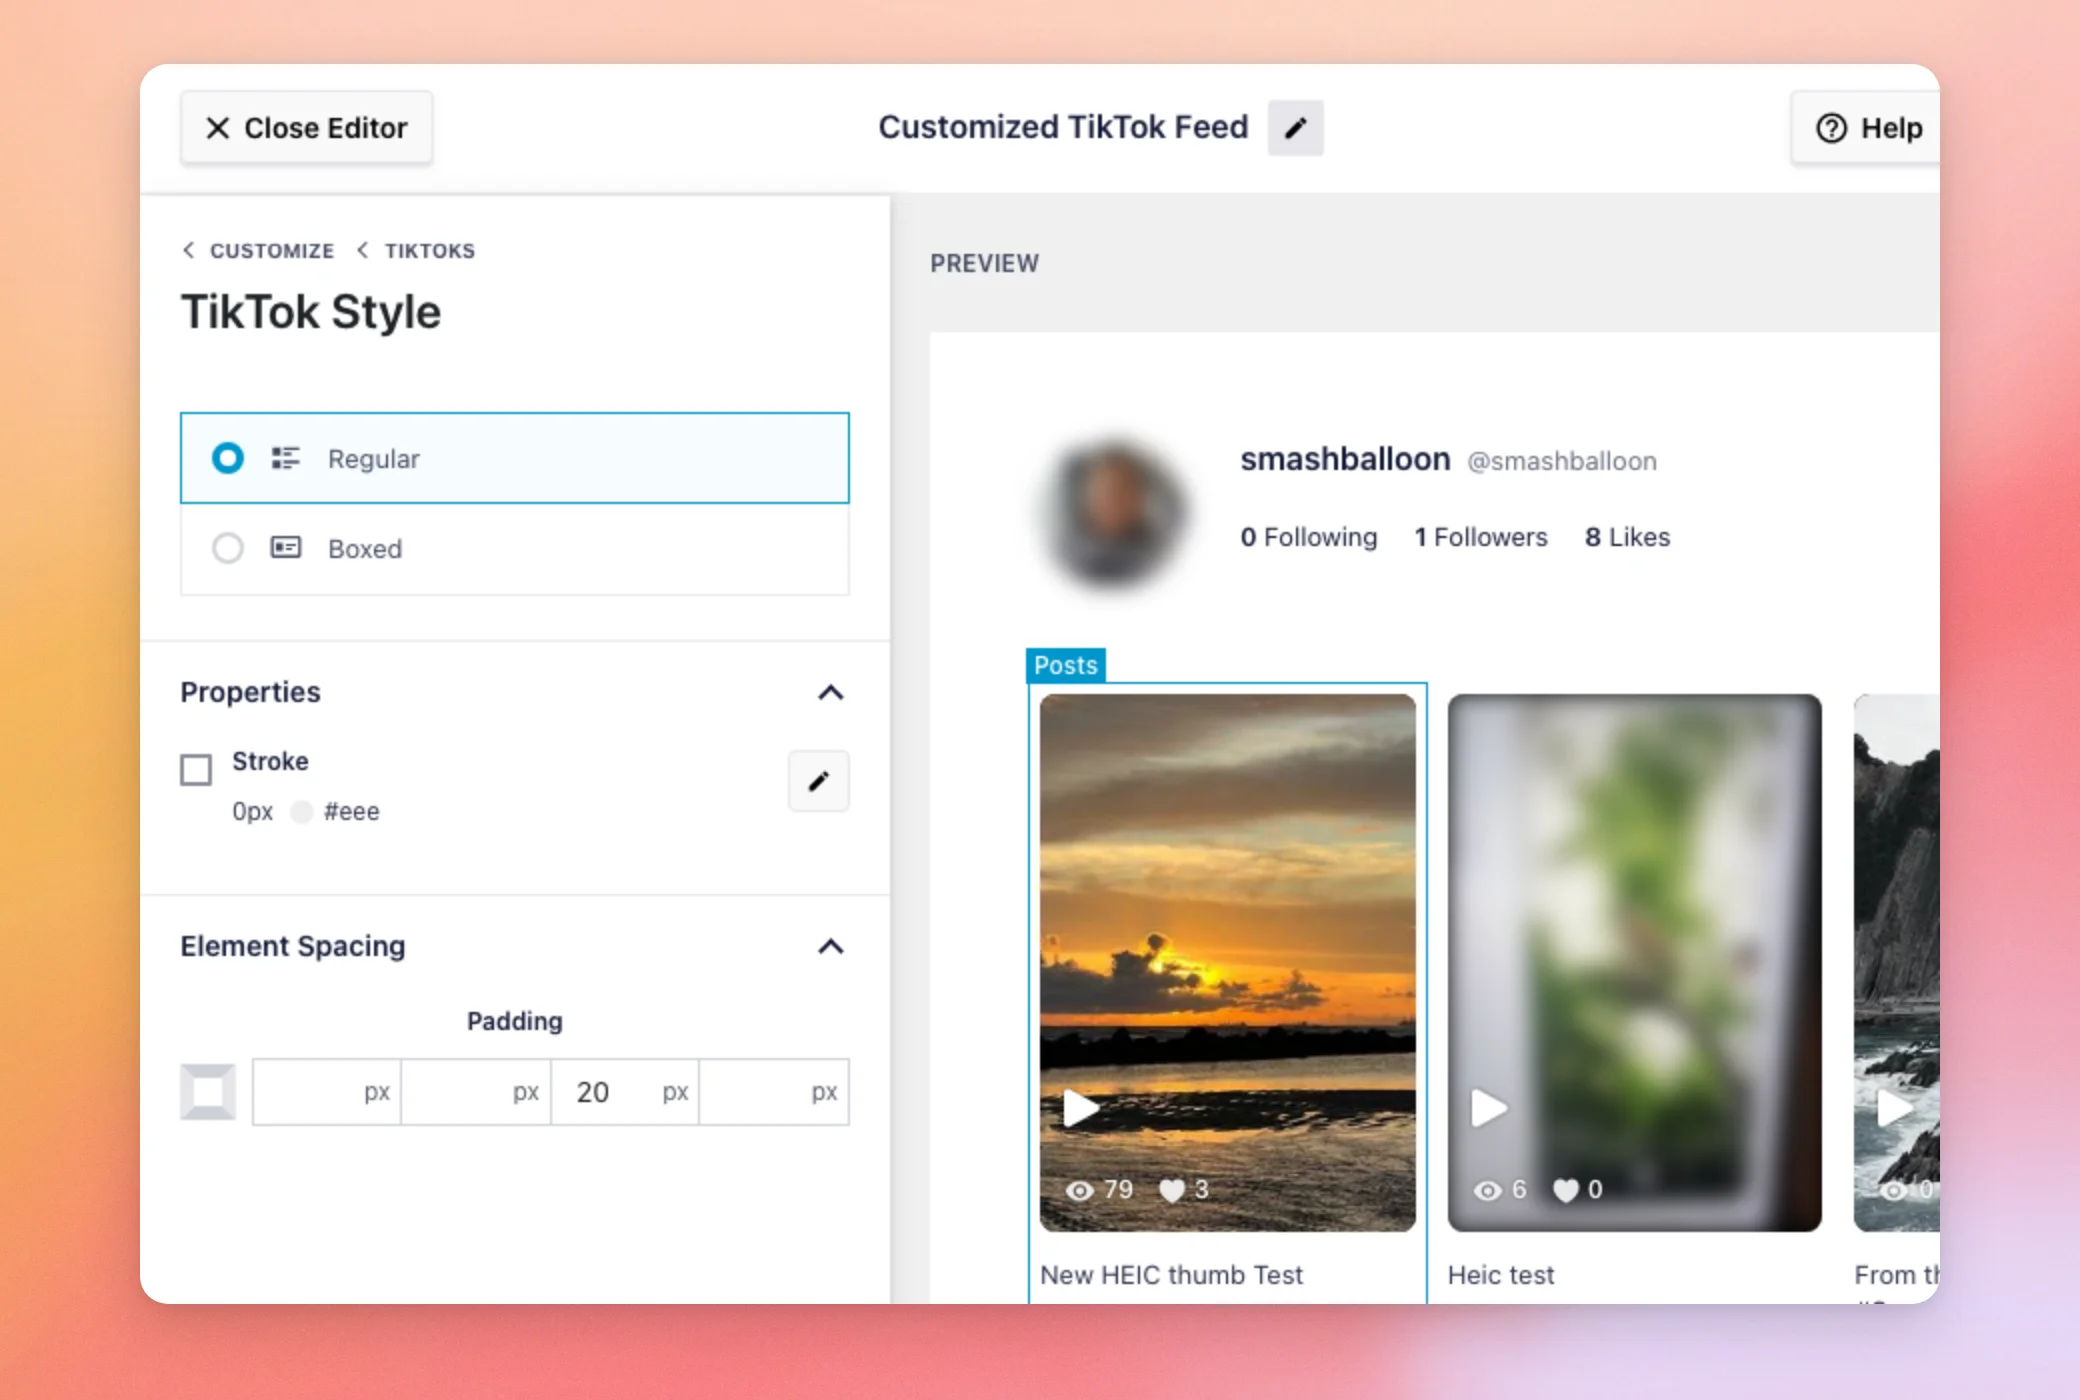
TikTok Style sets how each video looks, either Regular or Boxed. Boxed needs the basic license level or higher and adds a background color, box shadow, and corner radius. Both styles have the Stroke and Padding options.
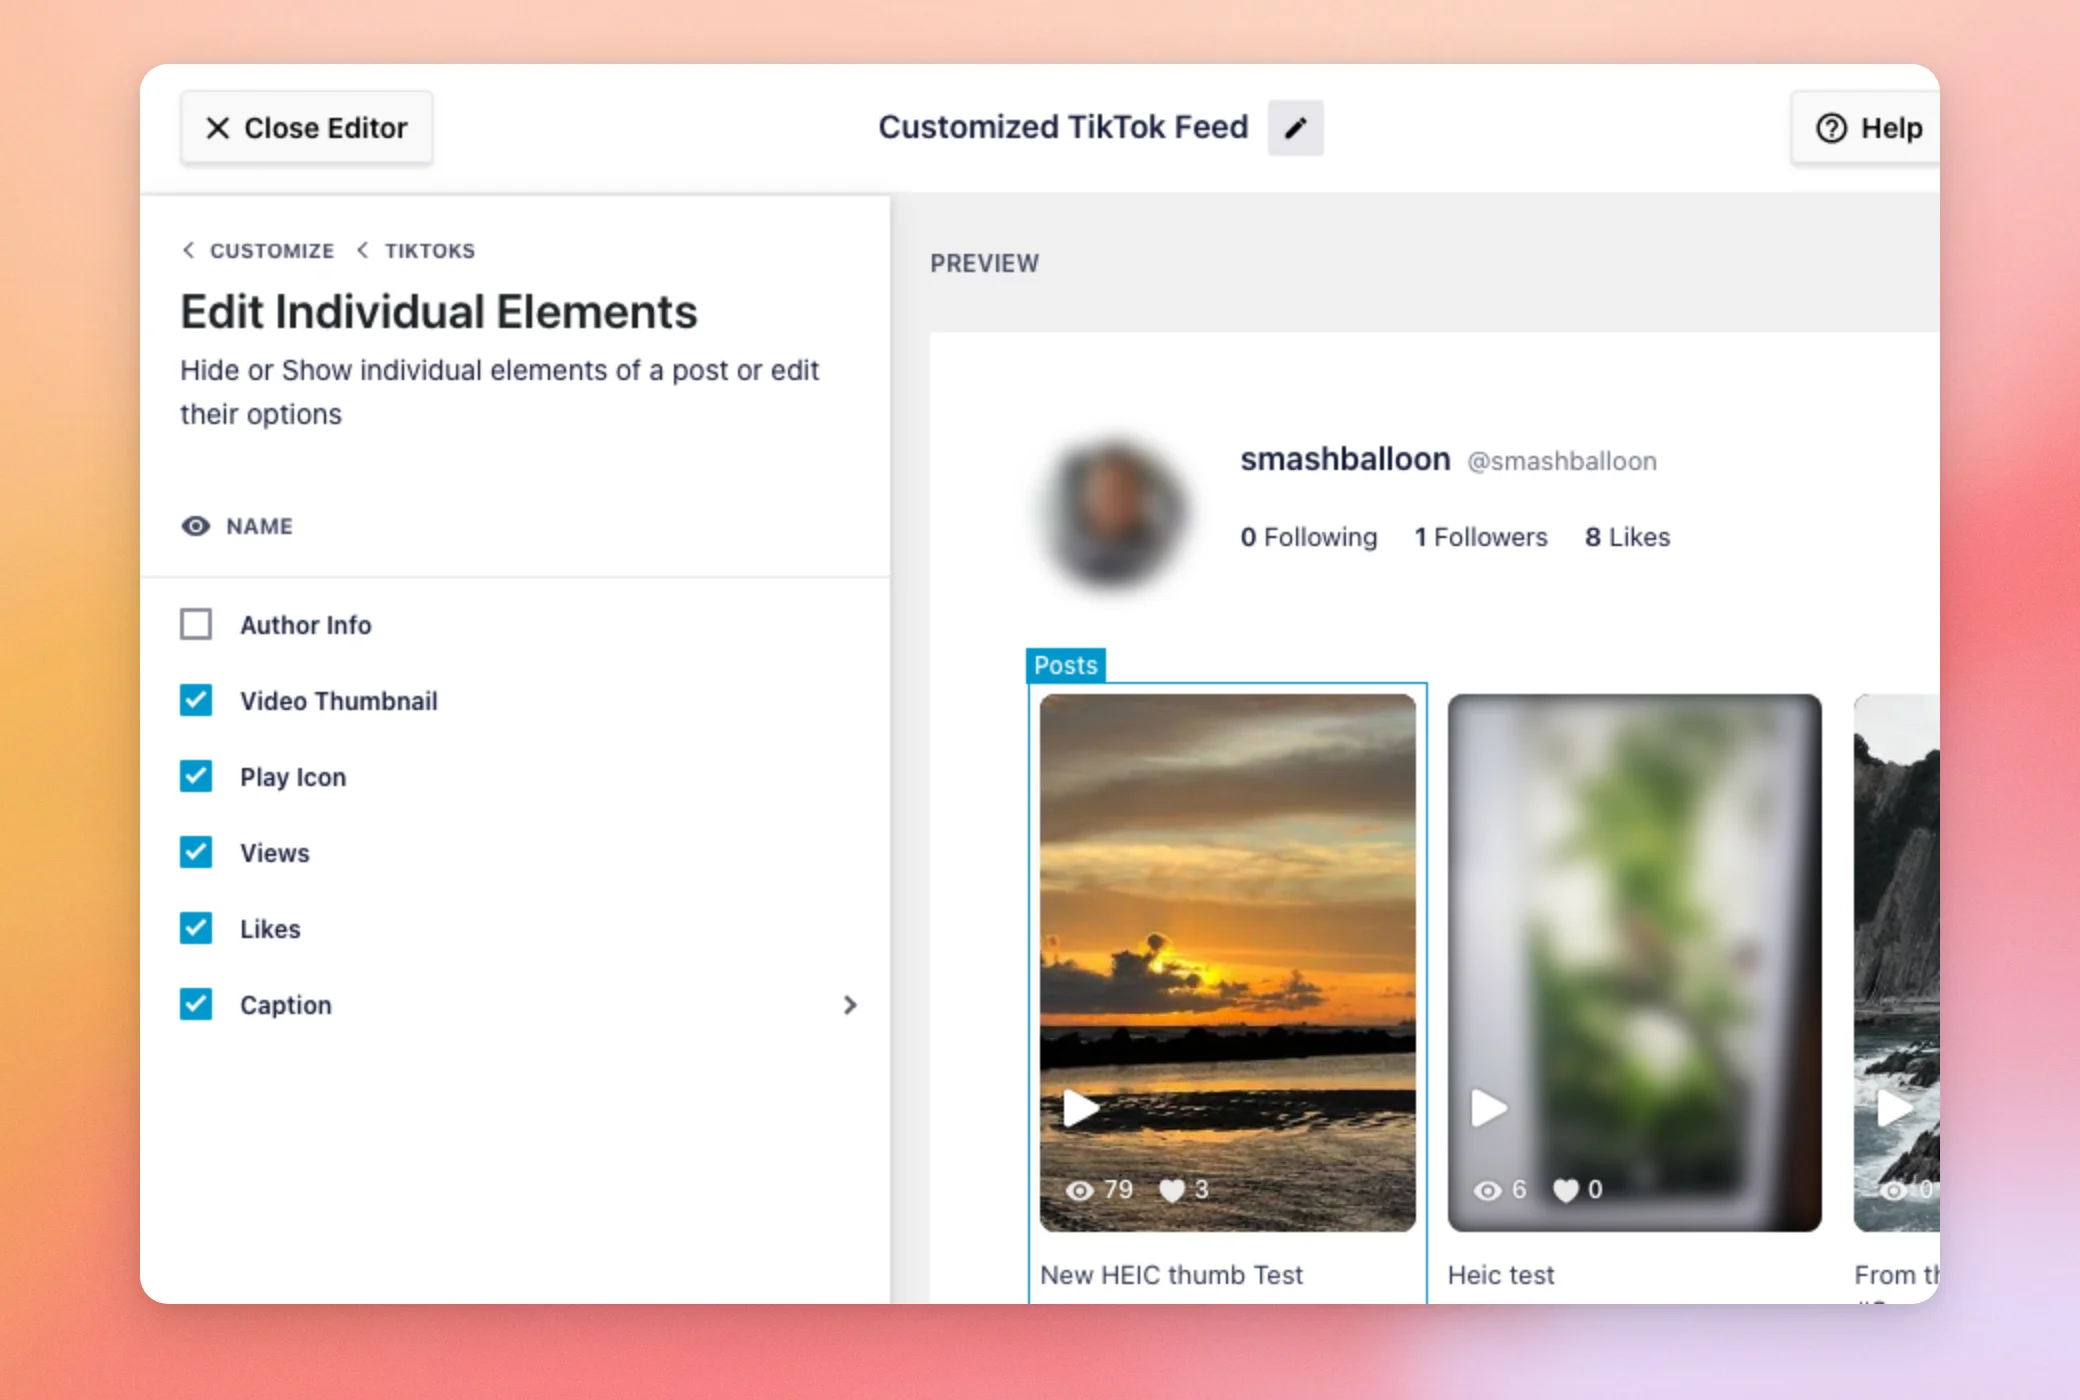
Edit Individual Elements lets you show or hide each part of a video. These parts are Author Info, Video Thumbnail, Play Icon, Views, Likes, and Caption. Caption also has font, color, and spacing options.
| Setting | What it does | Default |
|---|---|---|
| TikTok Style | Regular or Boxed. | Regular |
| Boxed background color | The color behind each boxed video. | #FFFFFF |
| Author Info, Views, Likes, and Caption | Show or hide each part of a video. Needs the basic license level or higher. | Author Info off, the others on |
| Video Thumbnail and Play Icon | Show or hide the thumbnail and the play icon on top of it. | On |
| Caption size and color | The text size and color of the caption. | 13px, #2C324C |
Video Player Experience
This section sets what happens when a visitor clicks a video. The options are In a lightbox, Inline, and Swipe. By default, videos open in a lightbox, a popup that plays the video over your page. It works on every license level. Inline and Swipe need the basic license level or higher.
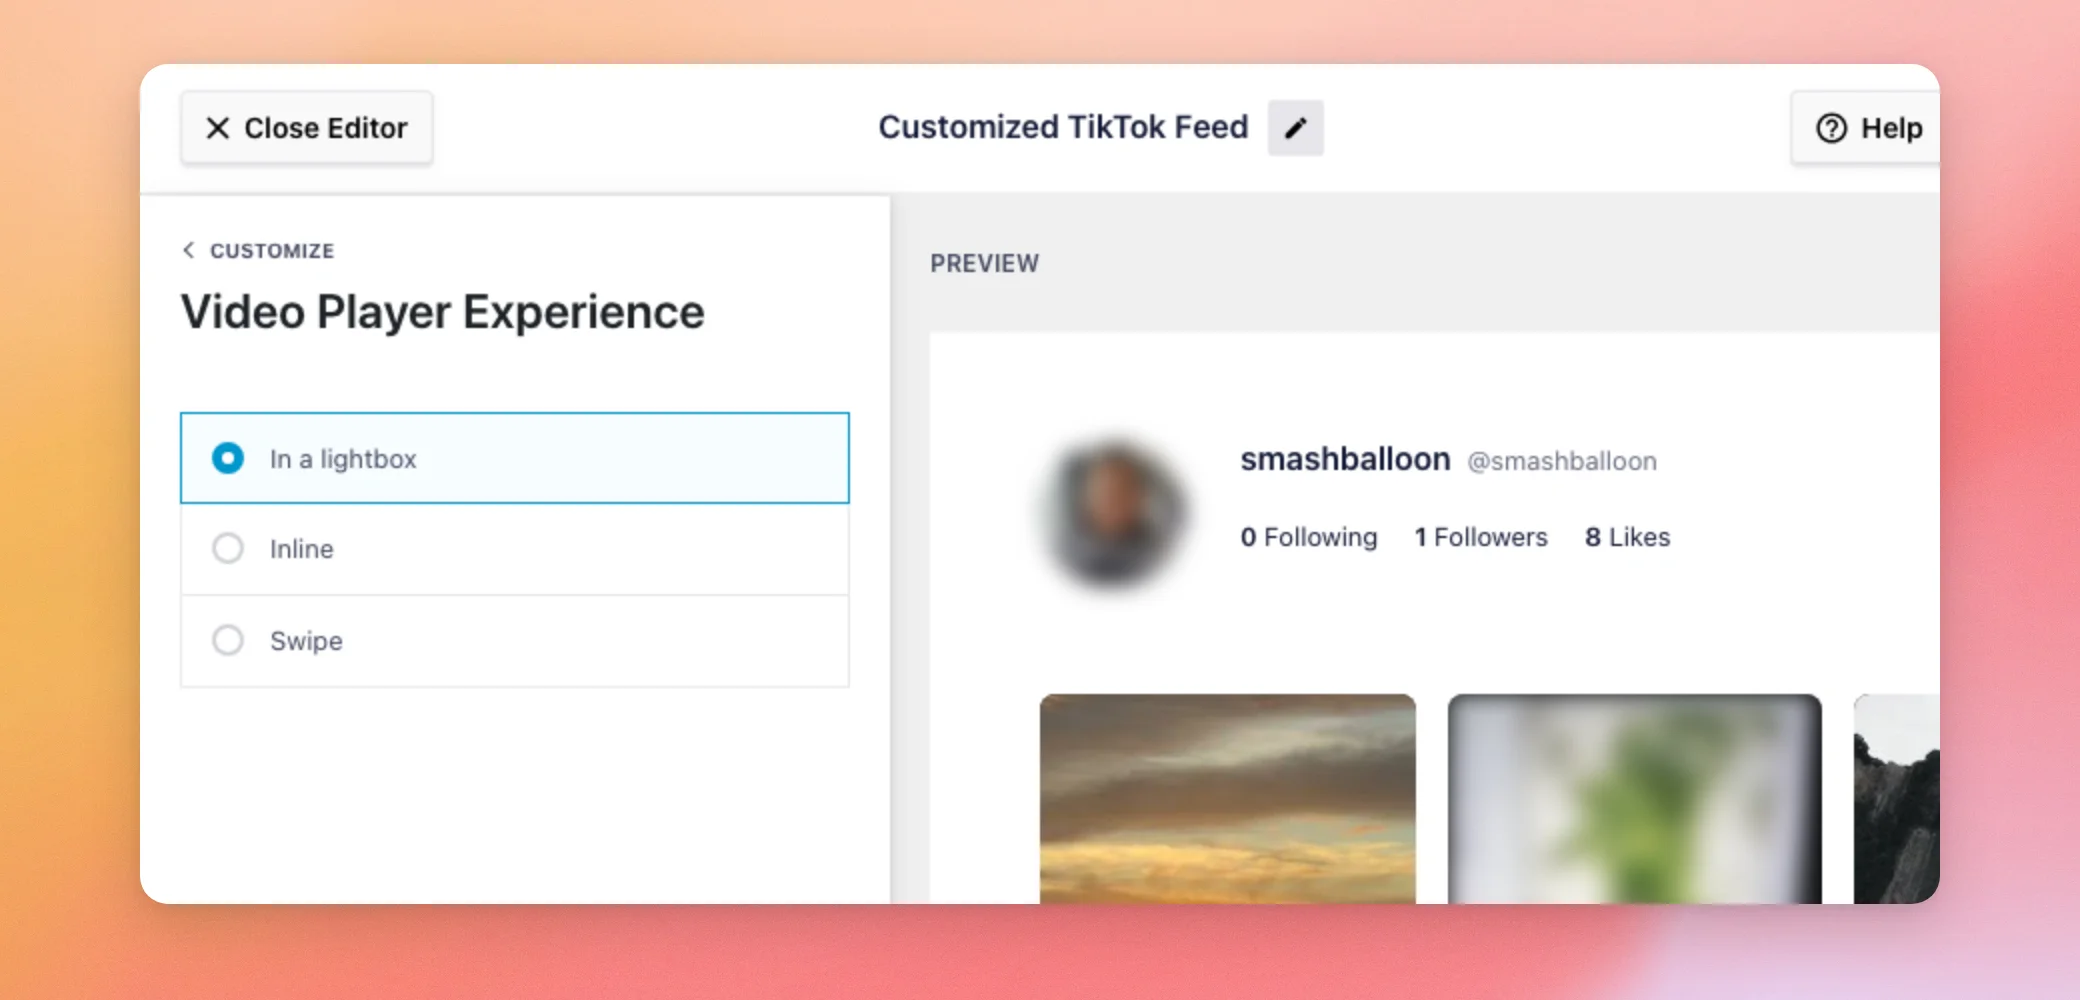
To learn what each choice does on your site, see our guide on choosing how TikTok videos open. For the Swipe option, see our guide on viewing TikTok videos in Swipe View.
Load More Button
The Load More Button section controls the button visitors click to see more videos. With it on, your feed opens with the number of posts set in the Layout section. Visitors can click to see more. With it off, they see only that first set. The button doesn’t show in the Carousel layout. This section needs the basic license level or higher.
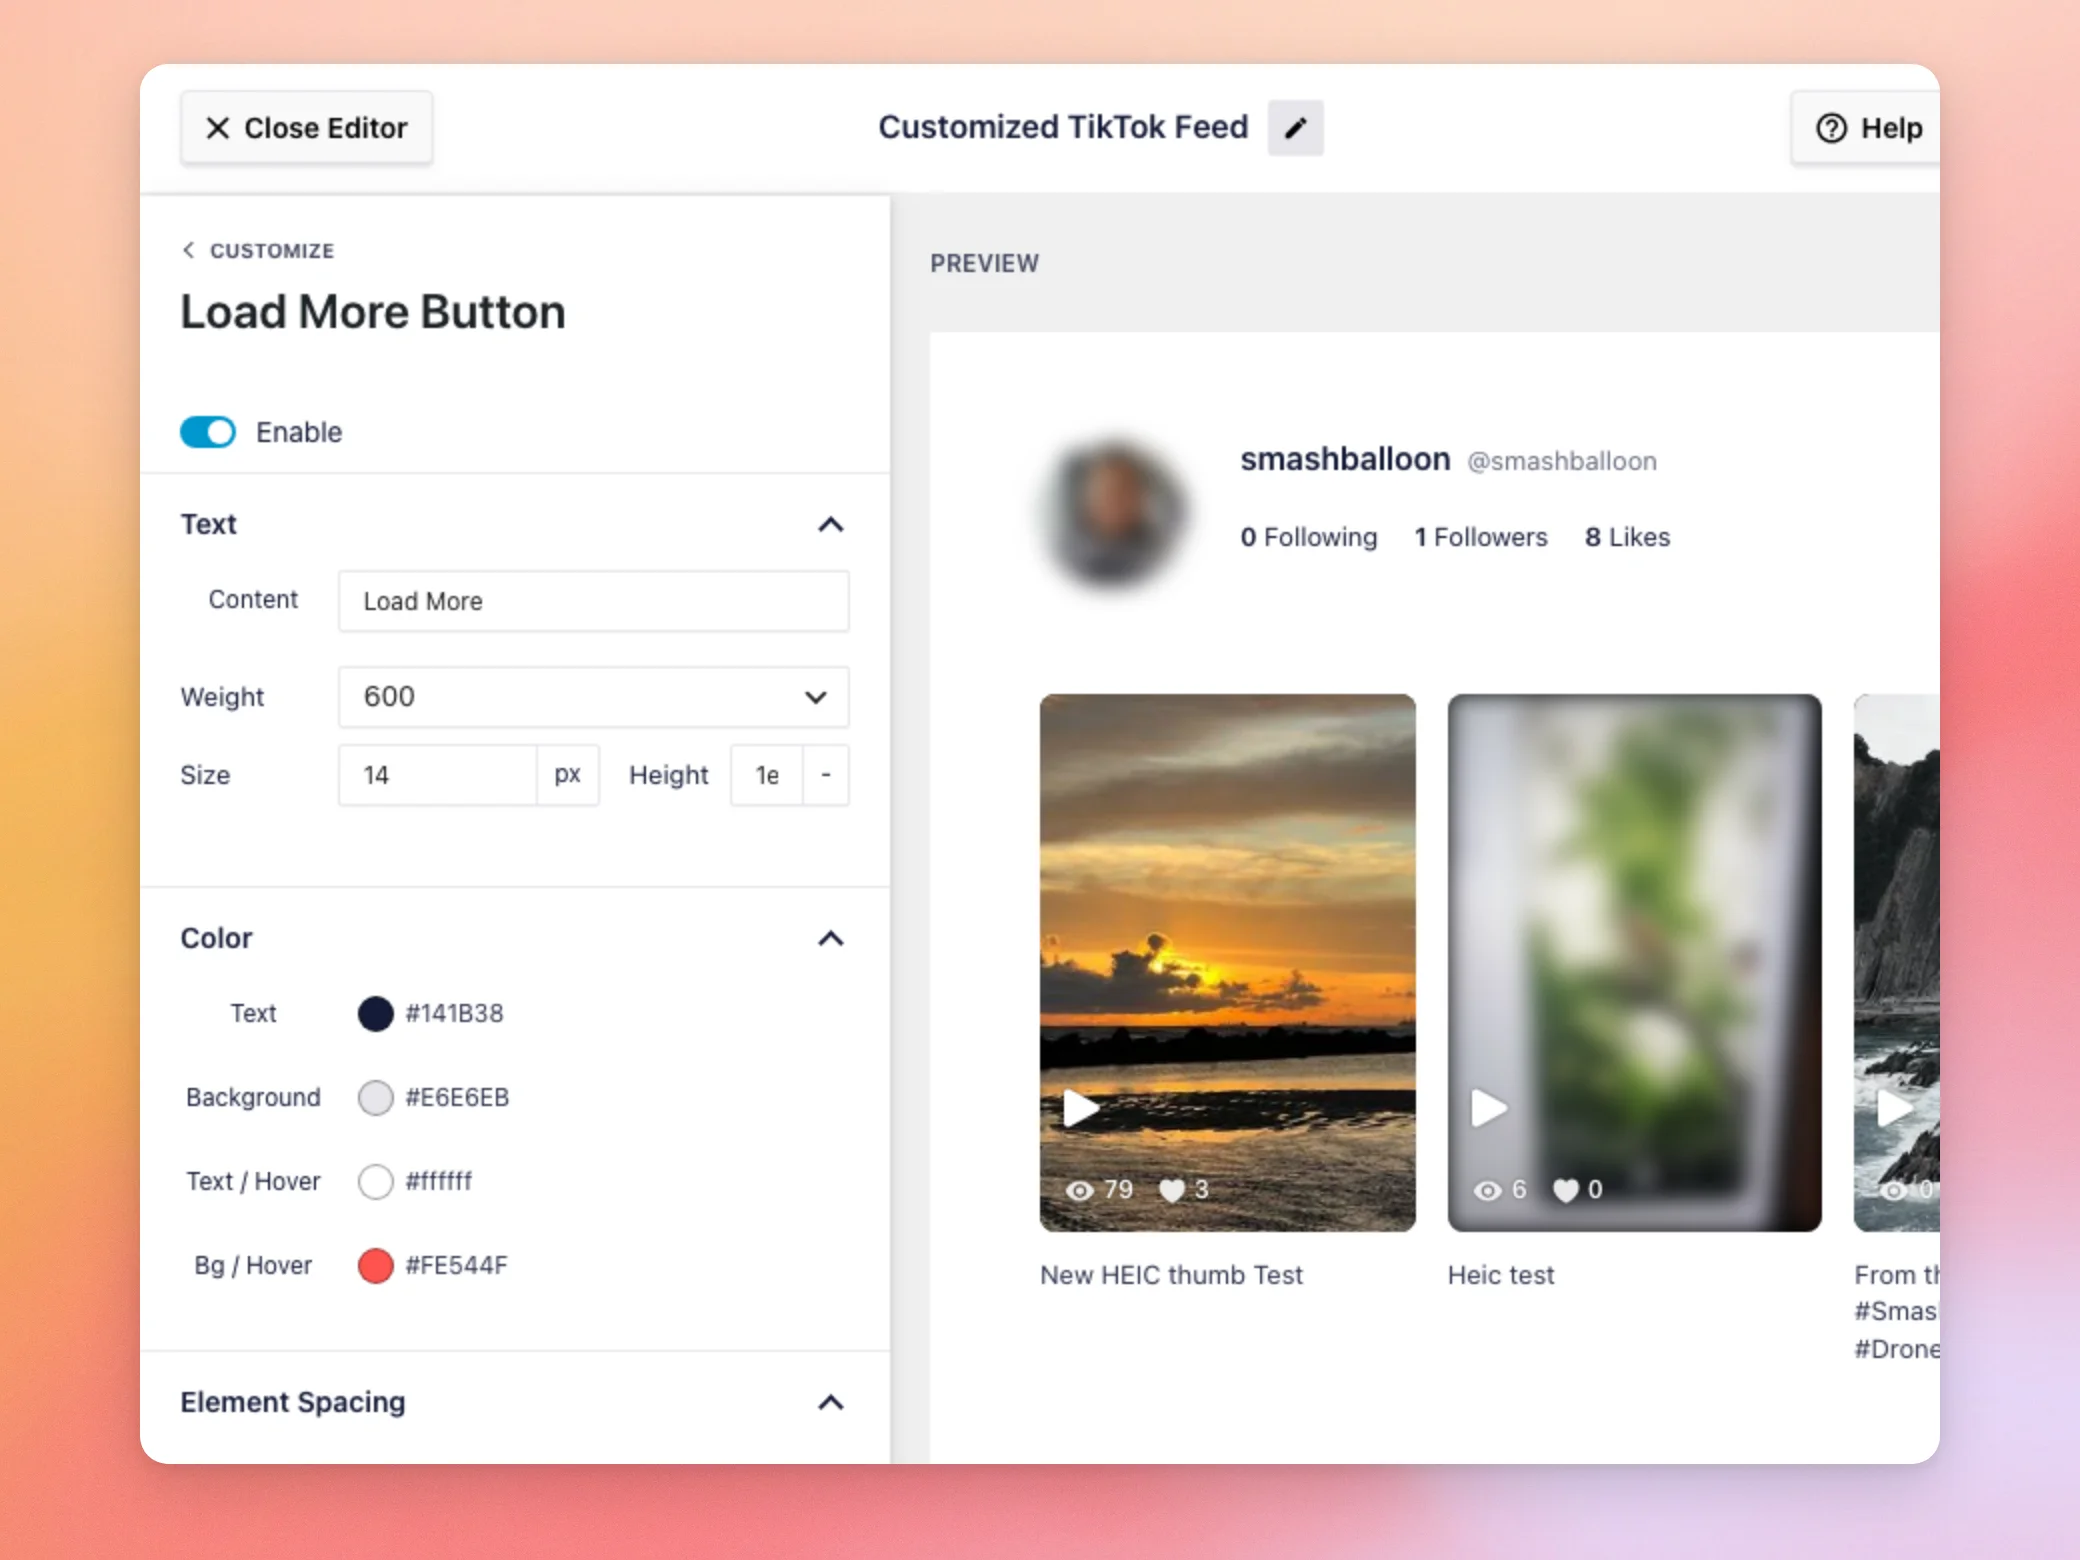
| Setting | What it does | Default |
|---|---|---|
| Enable | Shows or hides the button. | On |
| Text | The button’s wording and font. | Load More |
| Color | Text, background, text hover, and background hover colors. | Text #141B38, background #E6E6EB, hover text #FFFFFF, hover background #FE544F |
| Element Spacing | Padding and margin around the button. | 15px top and bottom padding, 20px top and bottom margin |
Using the Settings Tab
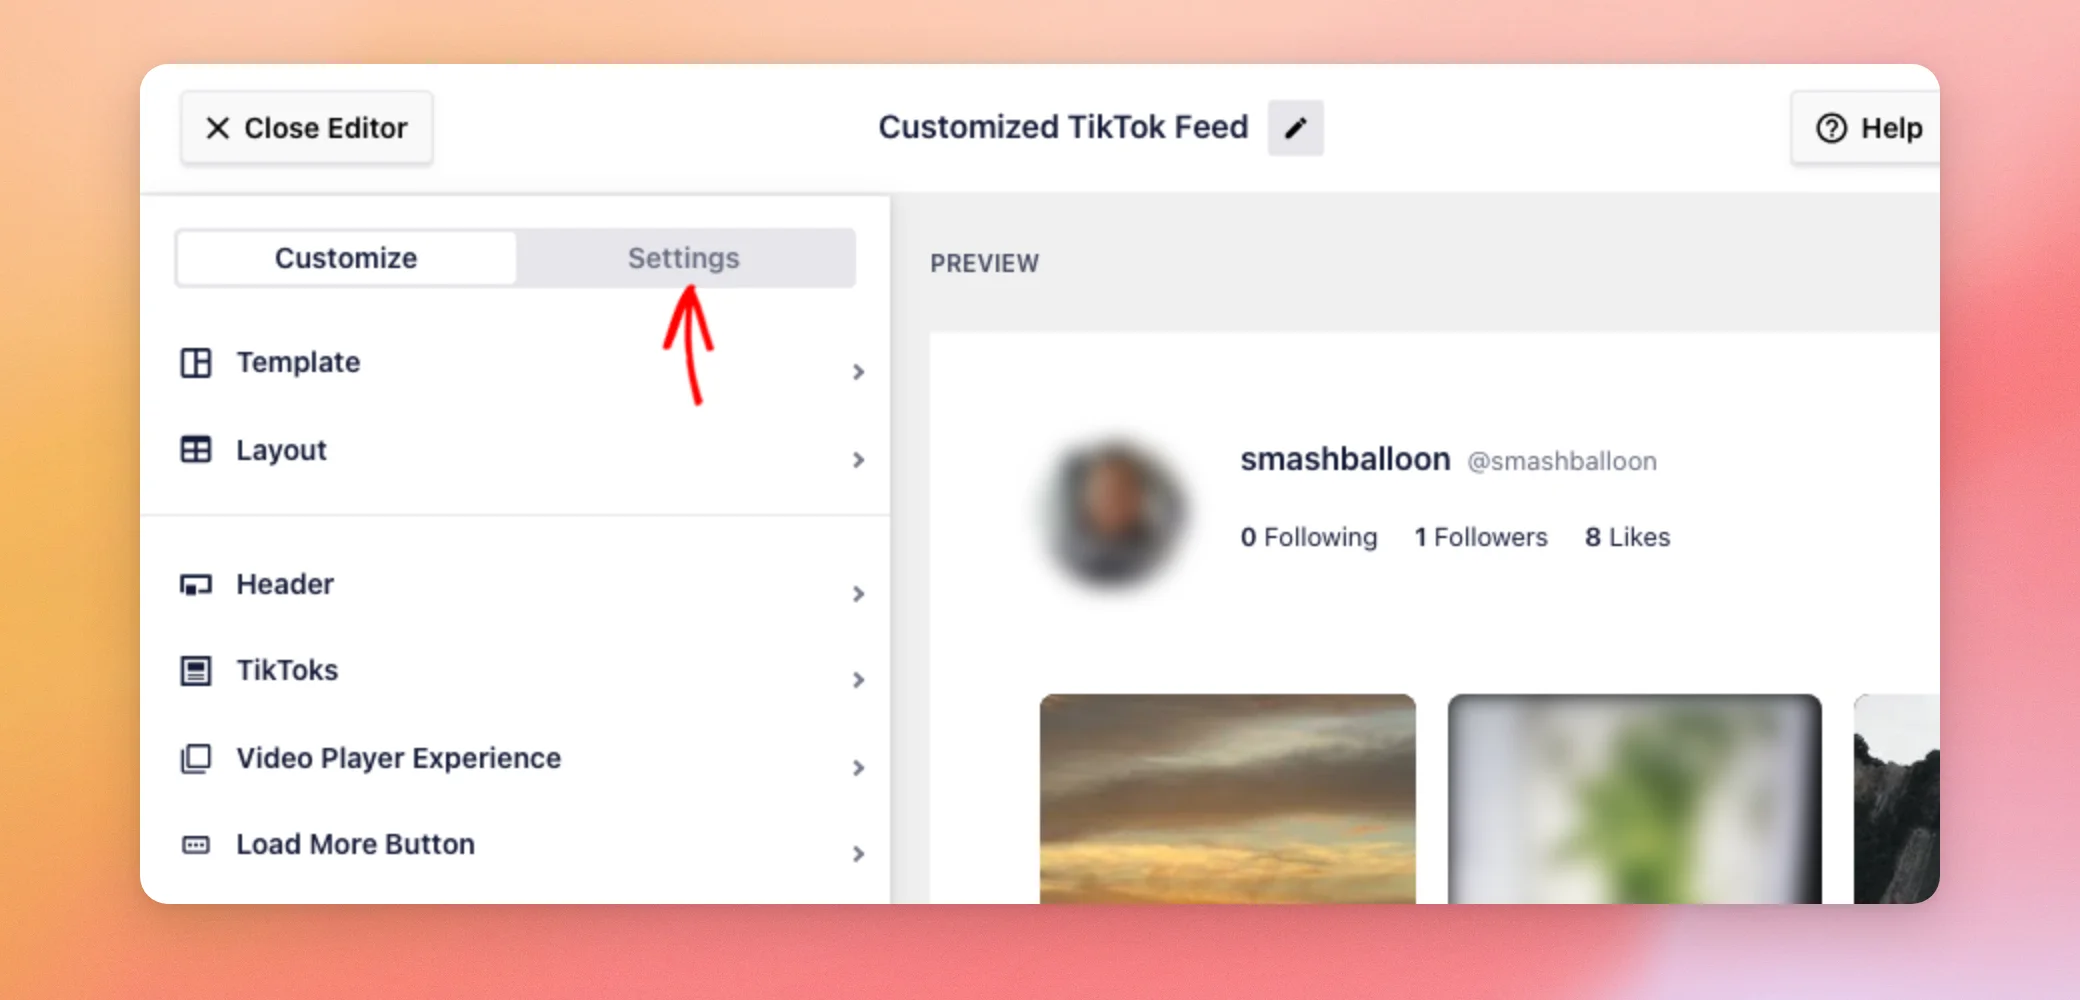
The Settings tab controls which videos your feed shows. It has 3 sections: Sources, Sort, and Filters. To open it, click the Settings tab at the top of the panel.
Sources
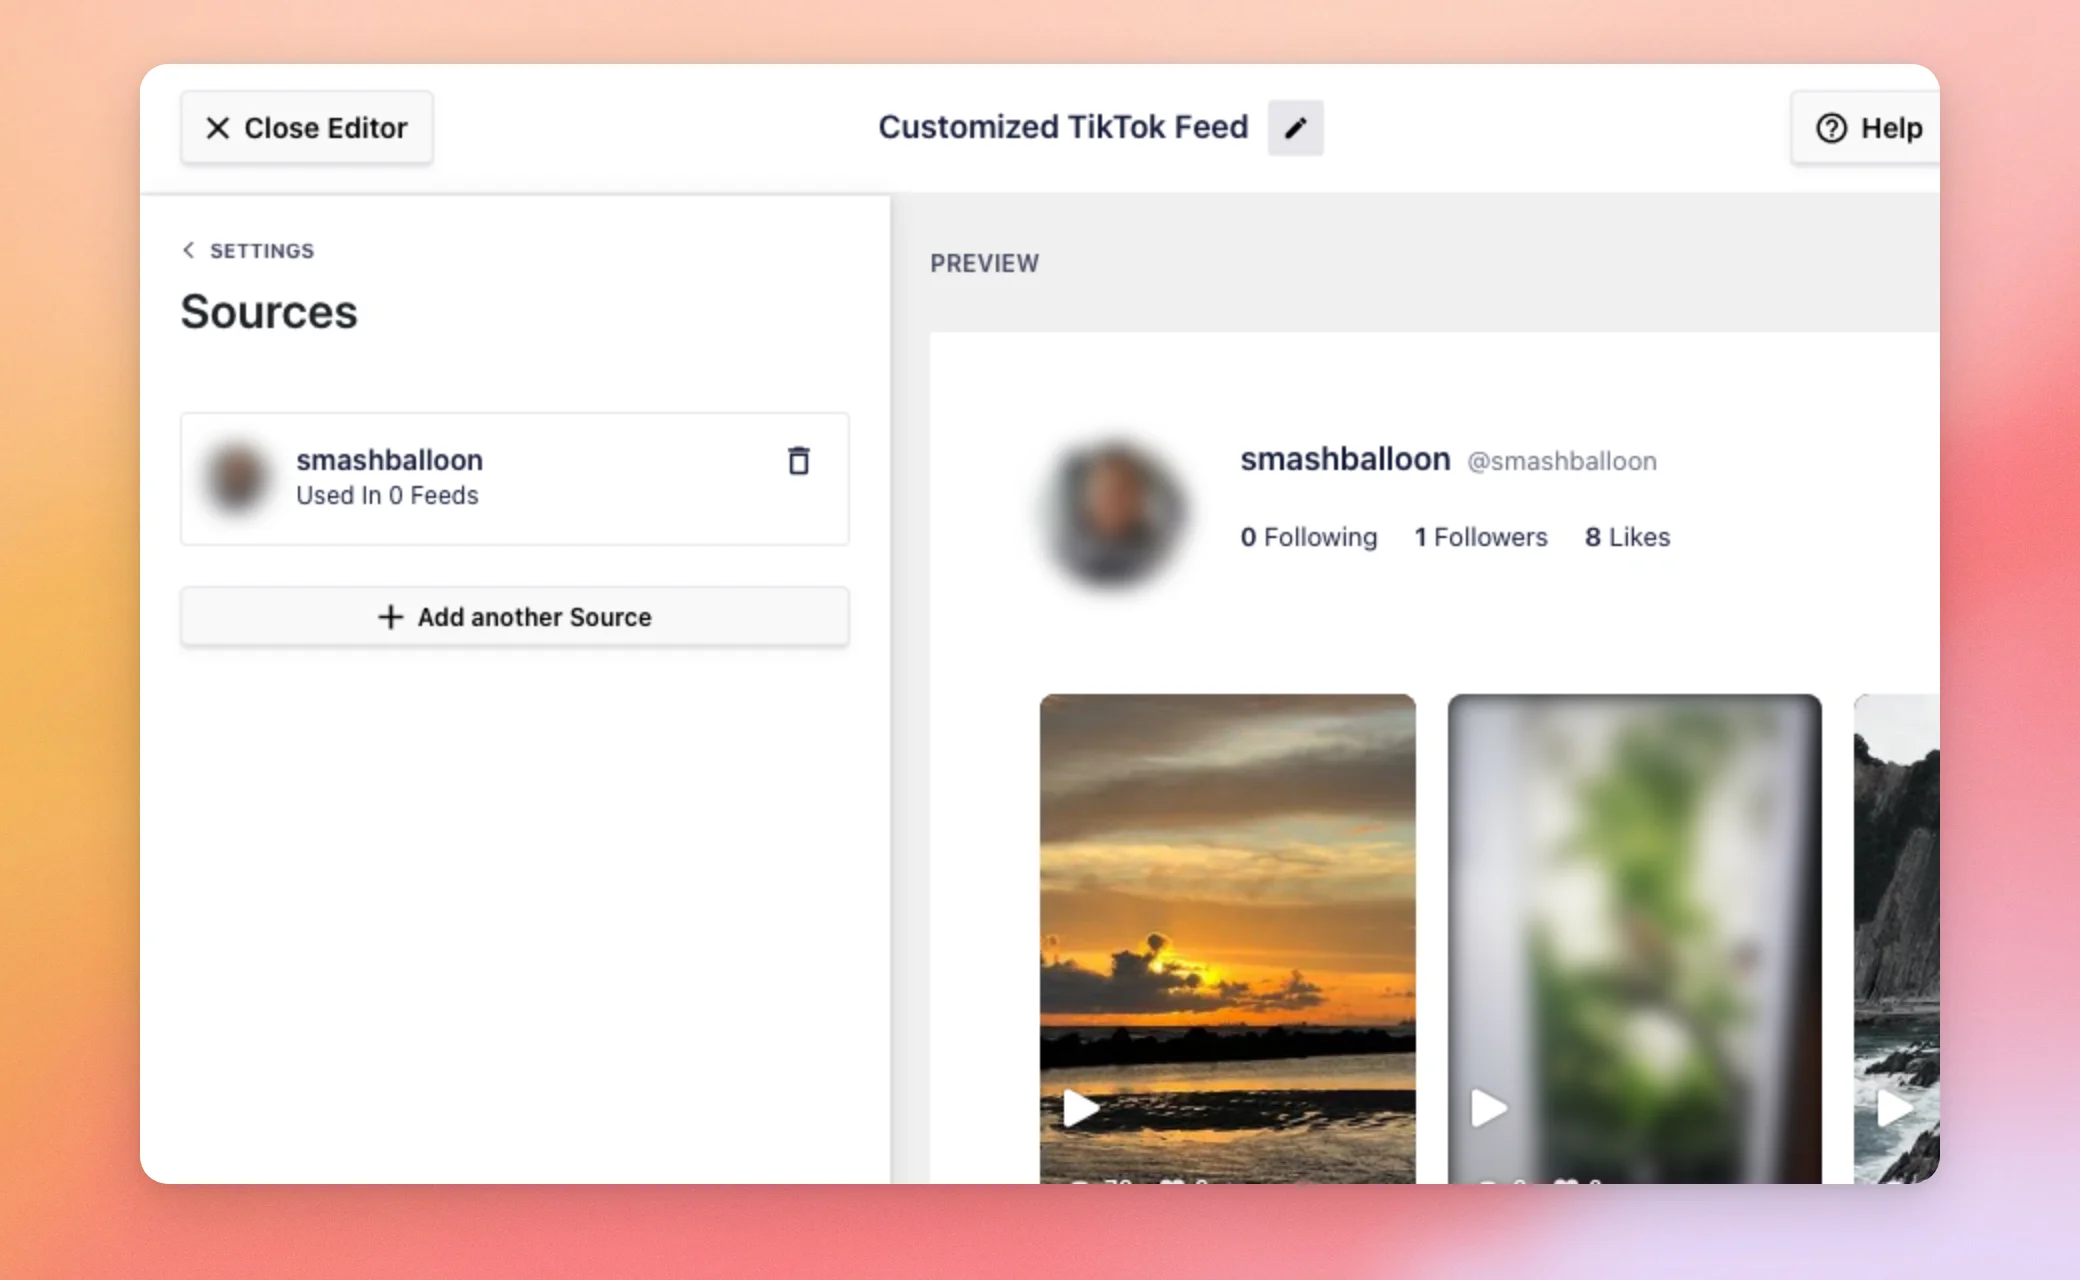
The Sources section lists the TikTok accounts your feed uses. Below the list, the Add another Source button opens a window where you pick from your connected accounts. Every feed needs at least 1. To add an account to your site, see our guide on creating a feed. The number of sources you can connect depends on your license level.
Sort
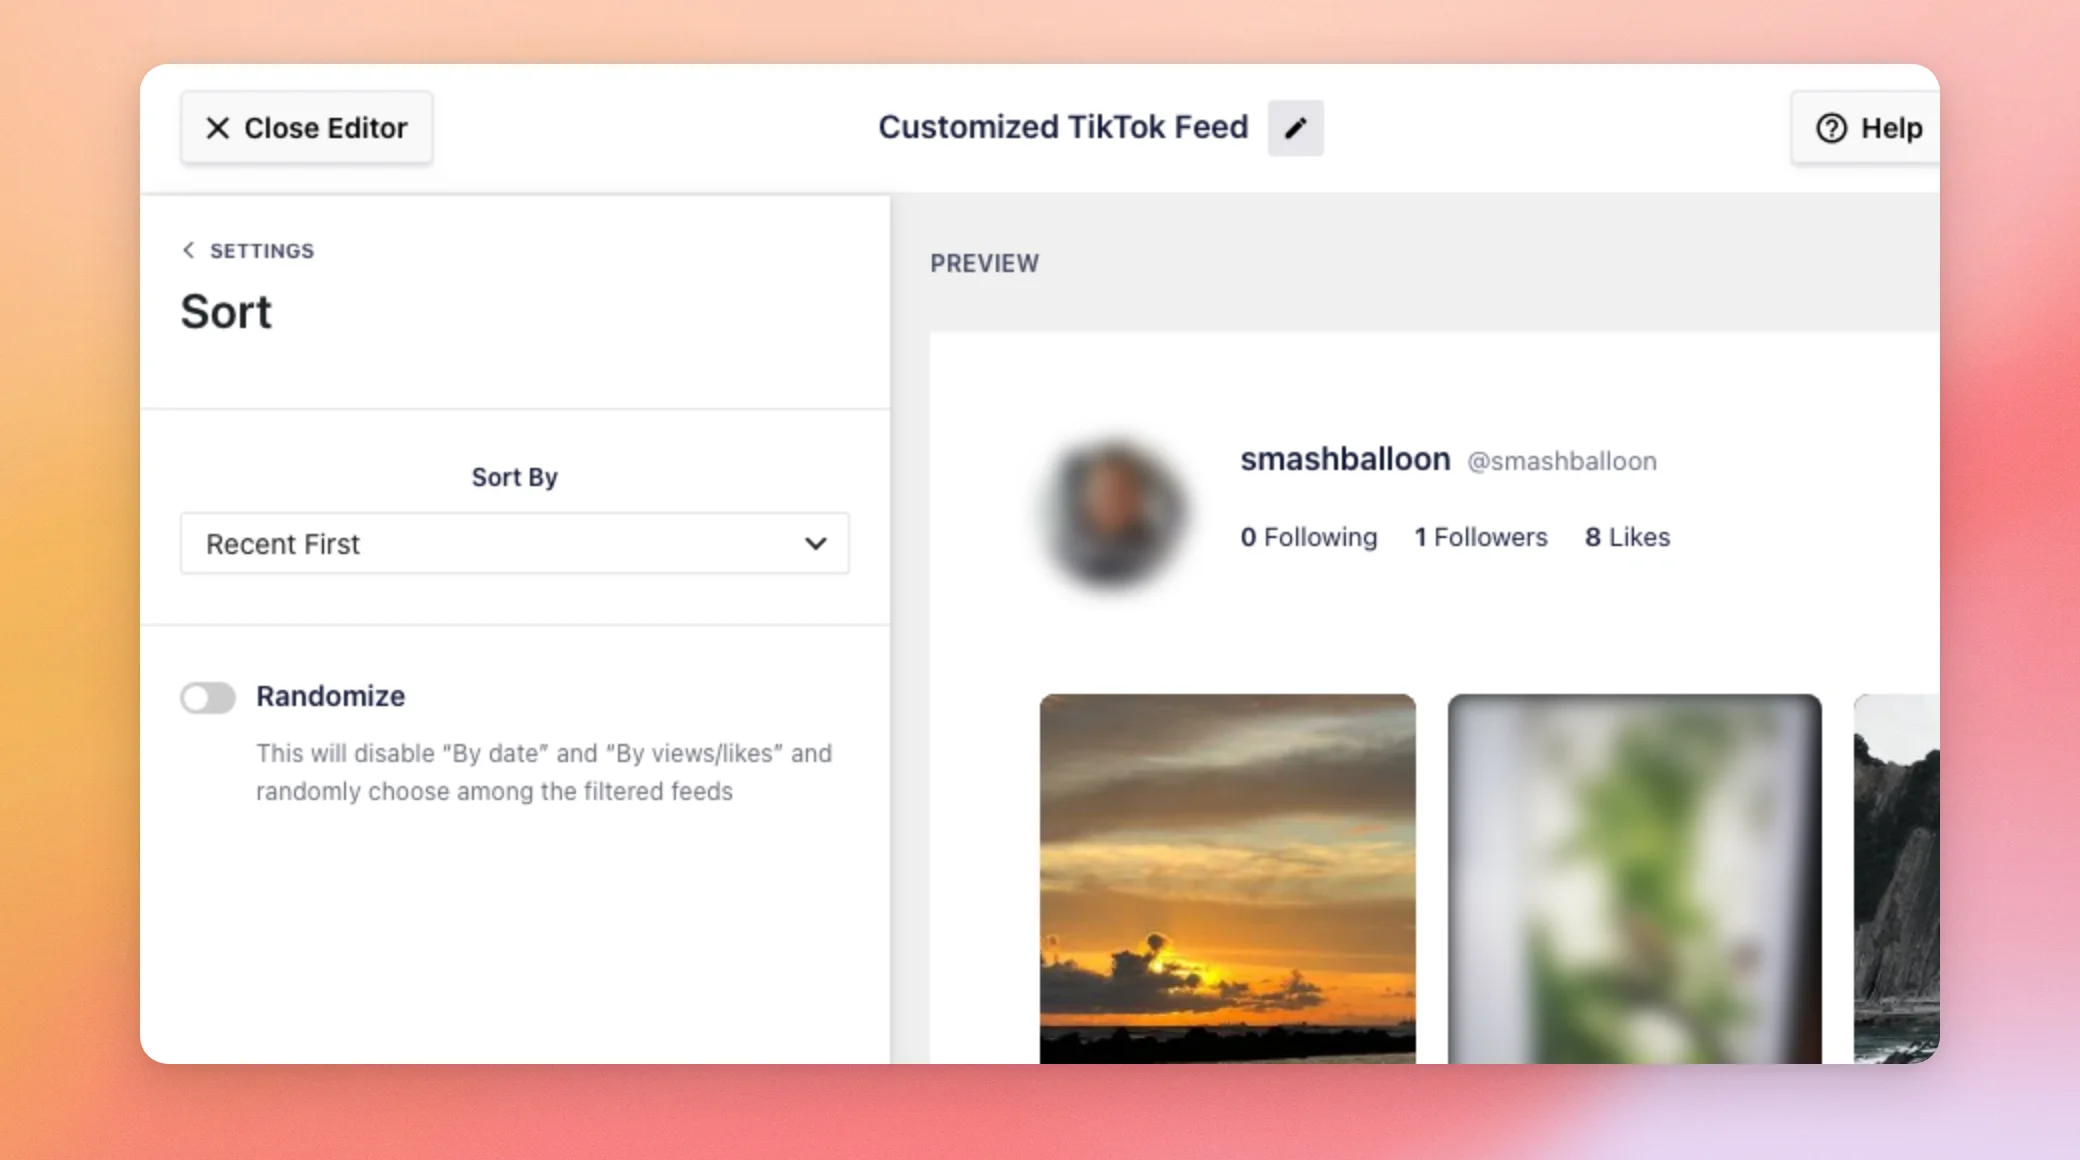
The Sort section sets the order of your videos. Sort By offers Recent First and Oldest First, with Recent First as the default. On the elite license level, it also offers Most Views First and Most Likes First. Lower levels don’t show these 2 options. The Randomize switch, off by default, shows the videos in a random order and hides Sort By.
| Setting | License level |
|---|---|
| Recent First and Oldest First | Any |
| Randomize | Plus or higher |
| Most Views First and Most Likes First | Elite |
For how each option works, and for using more than 1 source, see our guide on sorting and combining sources.
Filters
The Filters section has 2 boxes. Only show posts containing keeps just the videos whose description has your words. Do not show posts containing hides the videos whose description has them. Both are empty by default. Filters need the plus license level or higher.
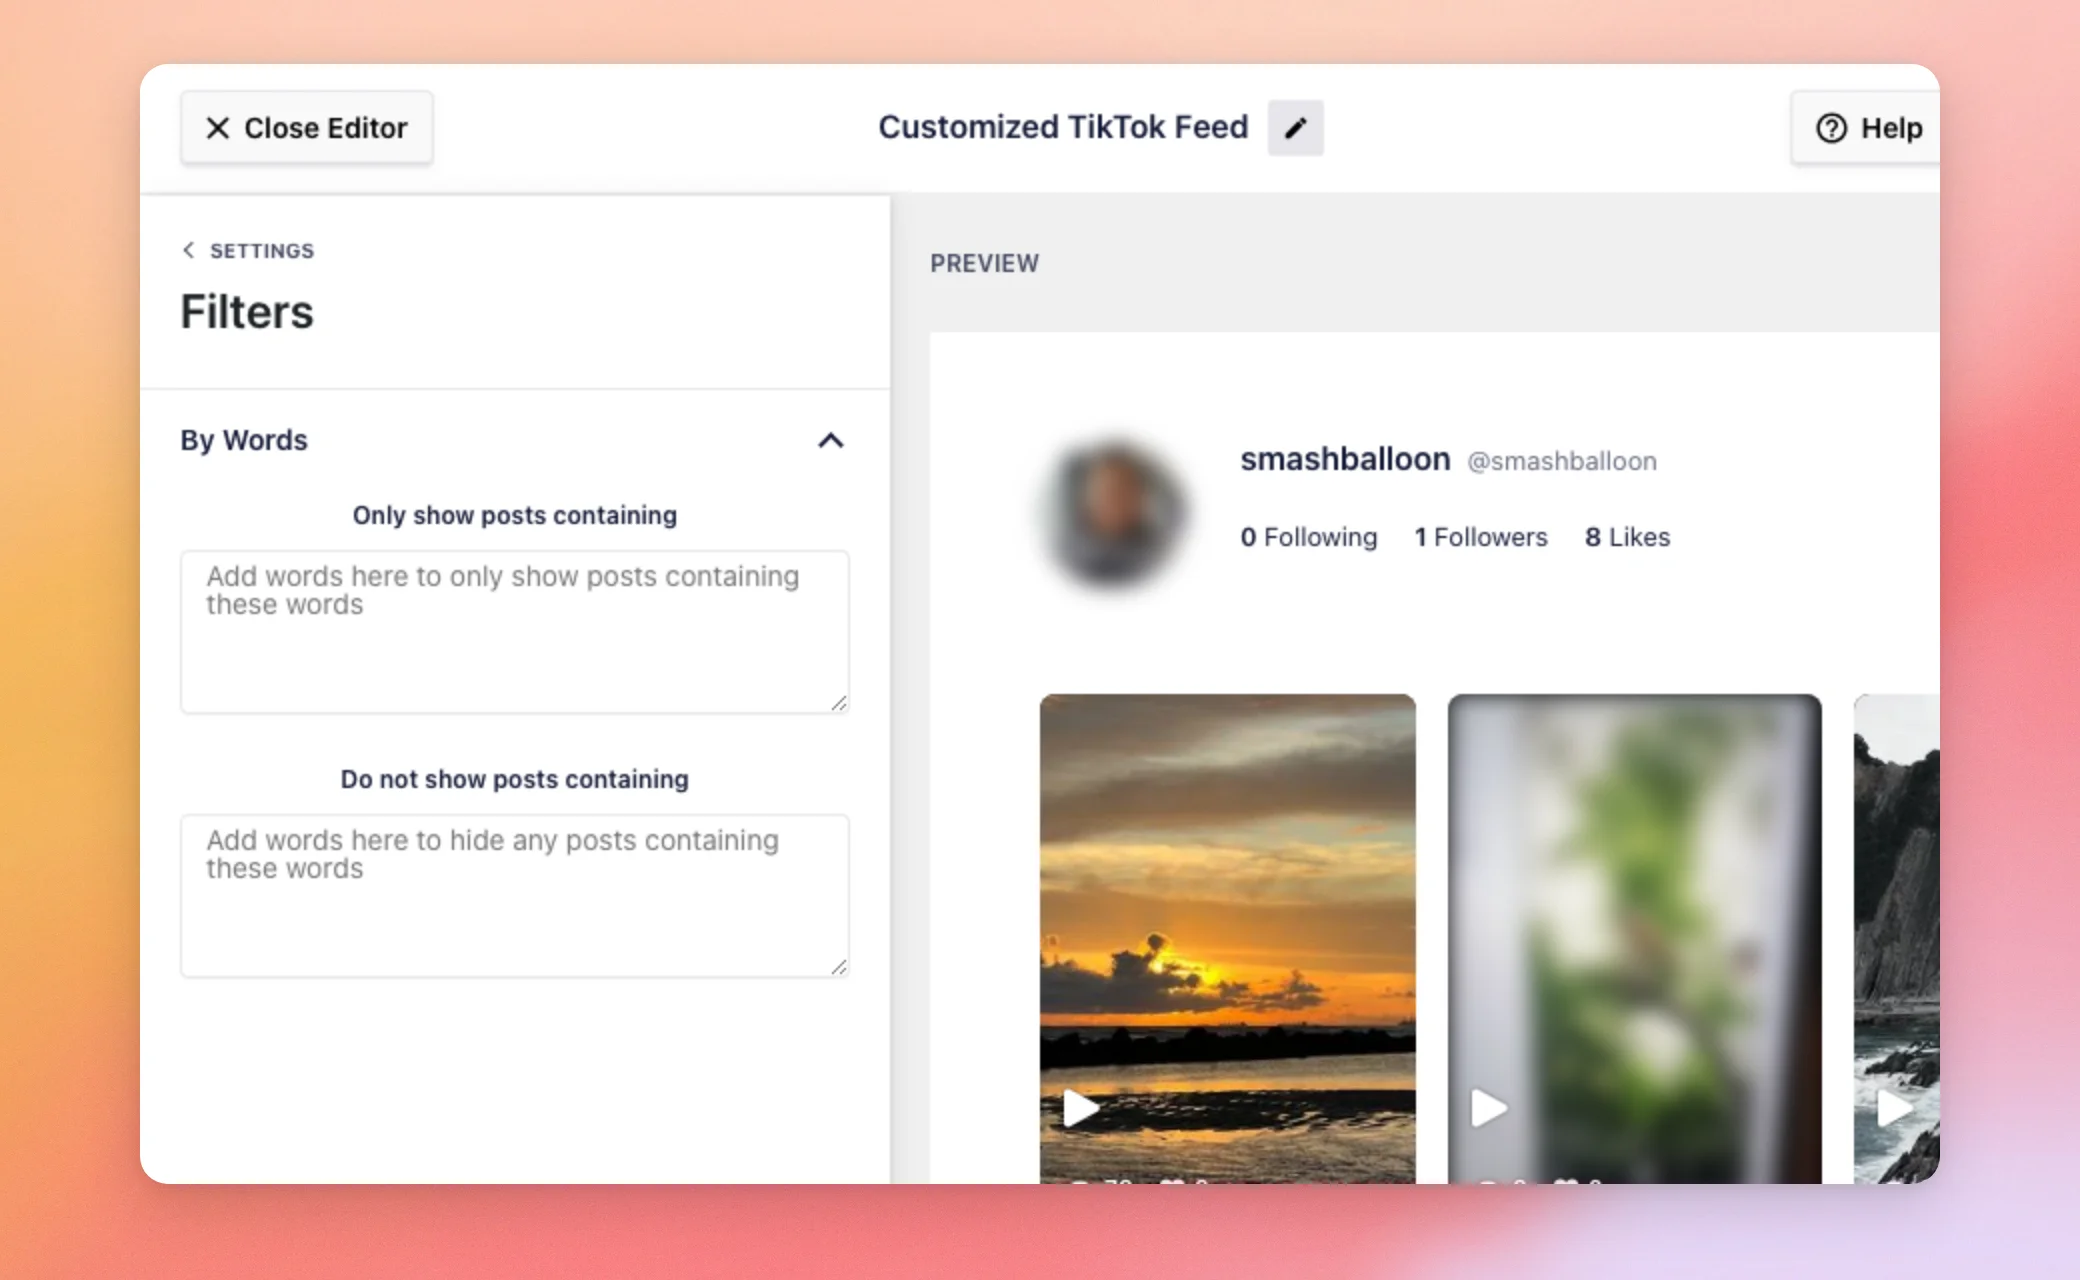
For the steps and examples, see our guide on filtering the videos in your feed.
That’s it! You now know what each section of the feed editor does and what it starts with. Next, to choose how your videos are ordered, see our guide on sorting and combining sources. To show only certain videos, see filtering the videos in your feed.
Frequently Asked Questions
Below, we’ve answered some of the most common questions about the feed editor.
Will changing the template reset my customizations?
It can. A template overrides your layout, header, and button settings. The editor warns you before you change it. See the Template section above.
How do I show the feed on a page?
First, copy the feed’s shortcode, which looks like [sbtt-tiktok feed=123]. Then paste it on a page. See our guide on adding your feed to a page.
Why do some options show an upgrade prompt?
Those options need a higher license level than yours. The sections above list the level each one needs.