Social Wall
 Feed Analytics


Would you like an AI agent such as Claude, ChatGPT, or Cursor to help you manage your TikTok feeds?
This guide shows you where the AI Agents box lives and how to turn MCP Write Access on and off.
It also covers what an AI agent can change once you allow it. All you need is access to your WordPress dashboard.
Note: The AI Agents and MCP Write Access boxes need WordPress 6.9 or later. You connect your AI agent inside WPVibe, which has its own steps.
Before you get started, make sure TikTok Feeds, free or paid, is installed and activated on your WordPress site. You can get the free version from WordPress.org. Our guide covers installing the paid version.
- The AI Agents Box
- Turning On MCP Write Access
- What Can an AI Agent Change?
- Turning Off MCP Write Access
- Frequently Asked Questions
The AI Agents Box
To get started, we’ll open the plugin settings where the AI Agents box lives.
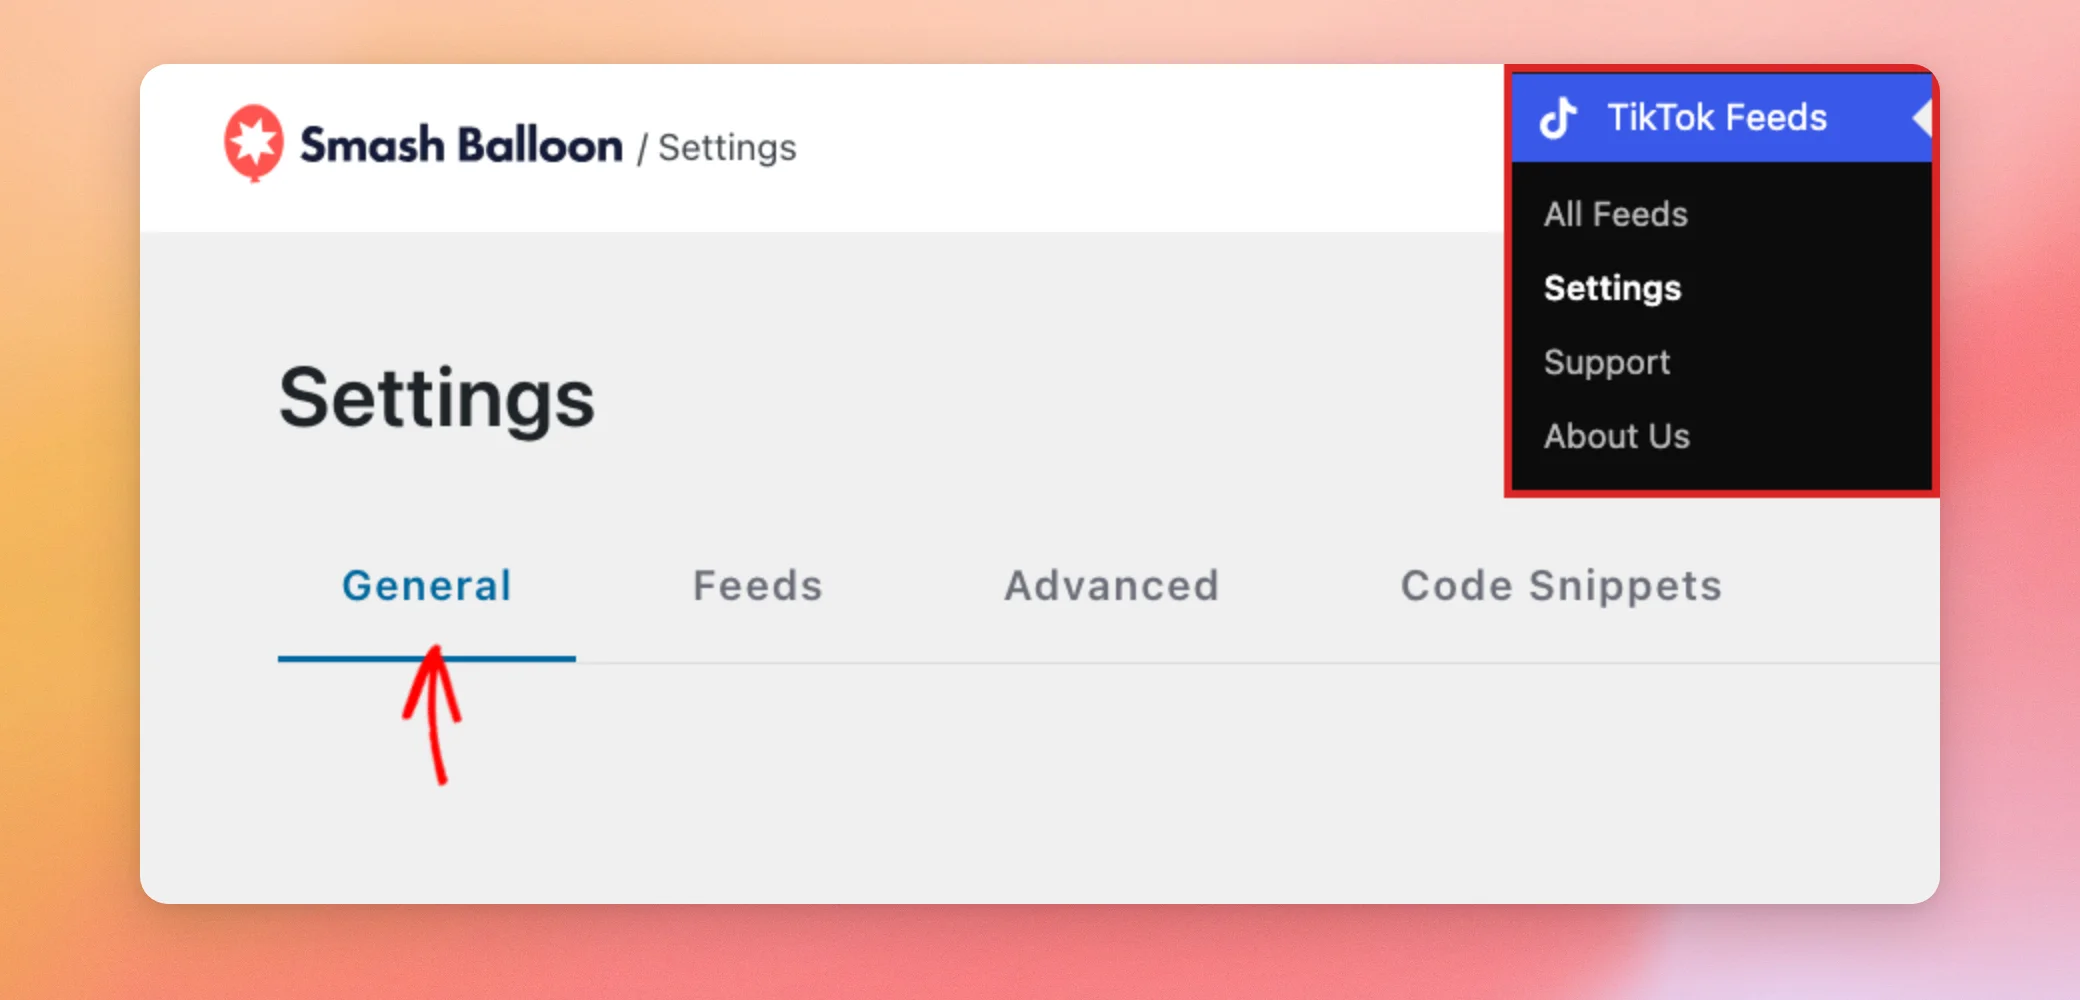
From your WordPress dashboard, go to TikTok Feeds » Settings. The General tab opens first.
Next, scroll down to the AI Agents box, right below the license key box. It says the plugin works through WPVibe, a free plugin you install once.
If WPVibe isn’t on your site yet, click the Install WPVibe for free button.
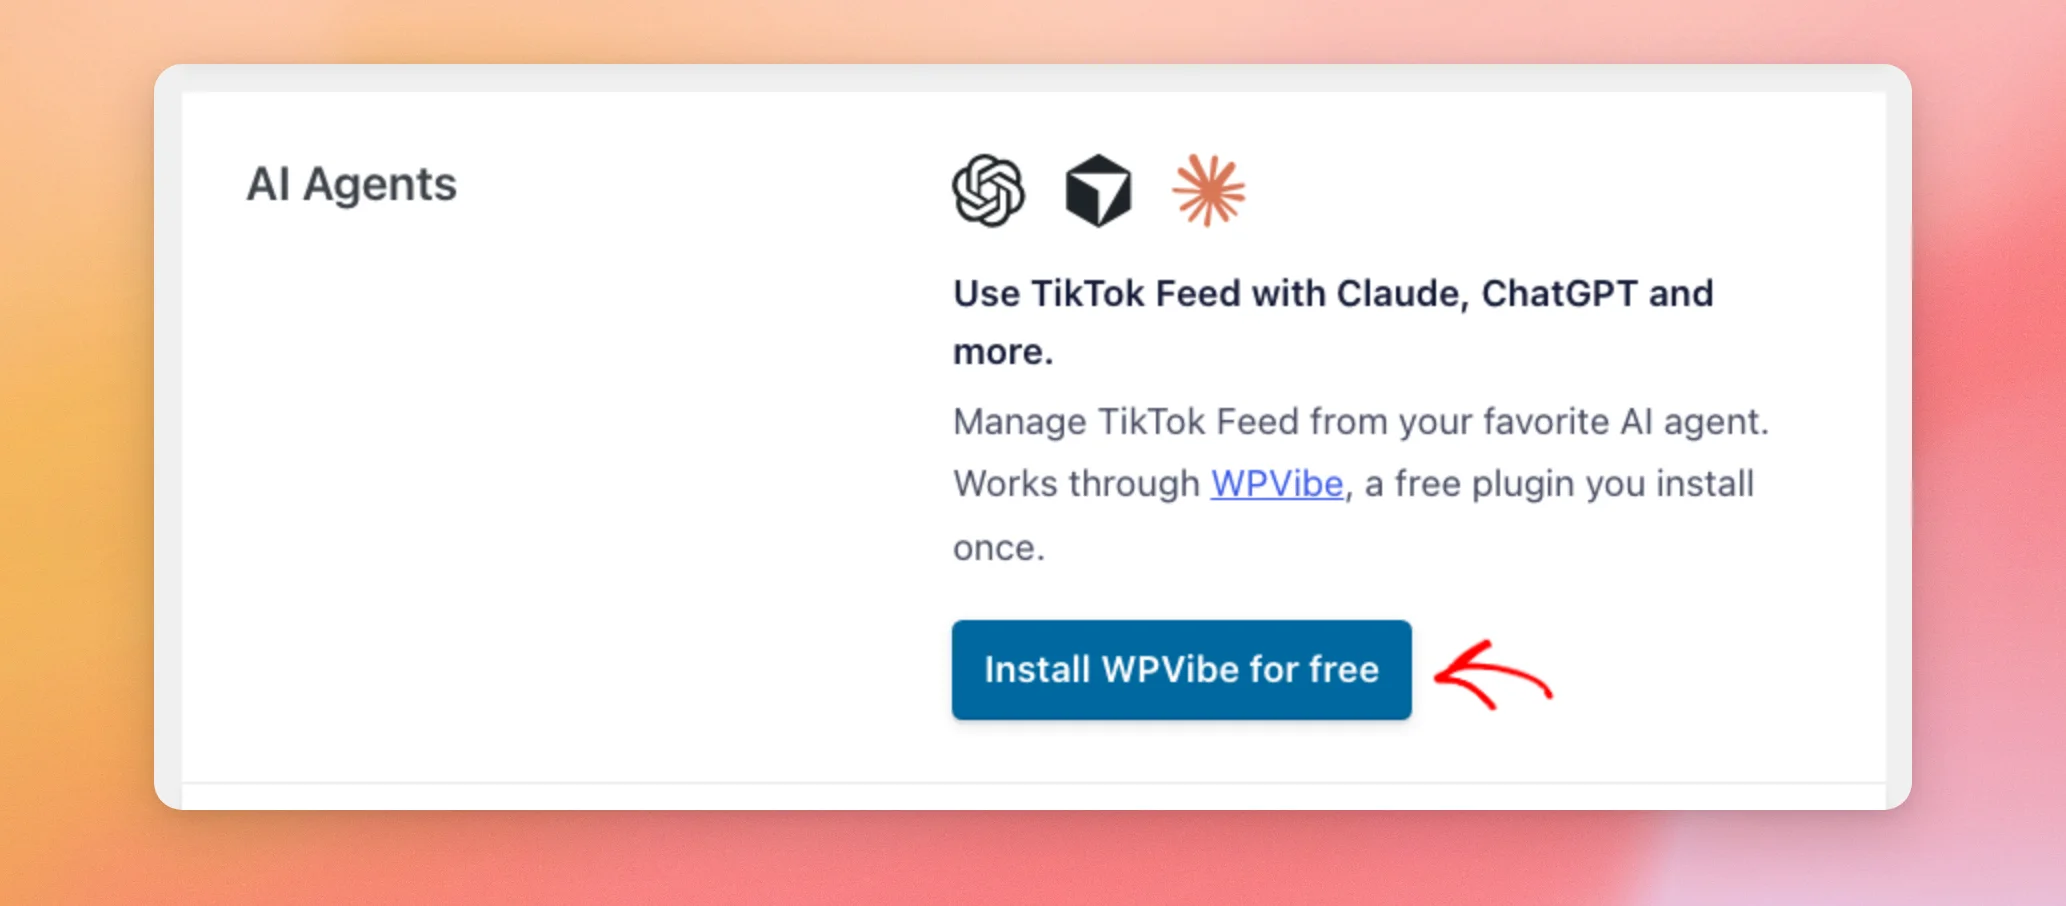
The box installs WPVibe from WordPress.org. Then it reloads the page to show the new state. If WPVibe is already installed but not active, the button reads Activate WPVibe instead.
When WPVibe is active, the box says “WPVibe is connected to TikTok Feed” and the button changes to Open WPVibe. That is the button to use when you’re ready to connect your AI agent. The steps for that are in WPVibe.
With WPVibe in place, you’re ready to decide whether your AI agent can make changes.
Turning On MCP Write Access
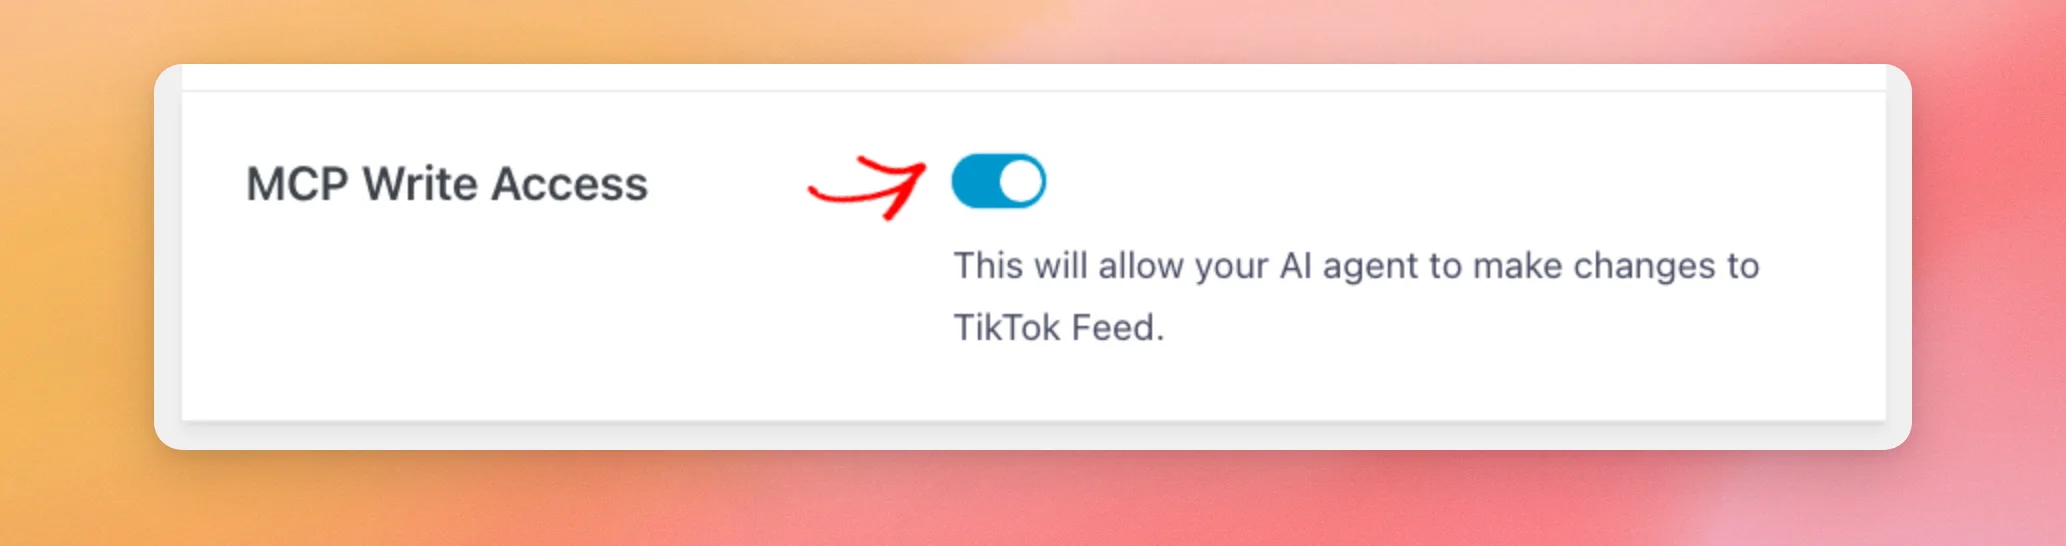
Next, scroll to MCP Write Access, right below the AI Agents box. This setting lets your AI agent make changes to TikTok Feeds.
TikTok Feeds keeps this setting off by default. That way, an AI agent can only read from the plugin until you choose to allow changes.
To allow changes, click the switch next to MCP Write Access so it turns blue.
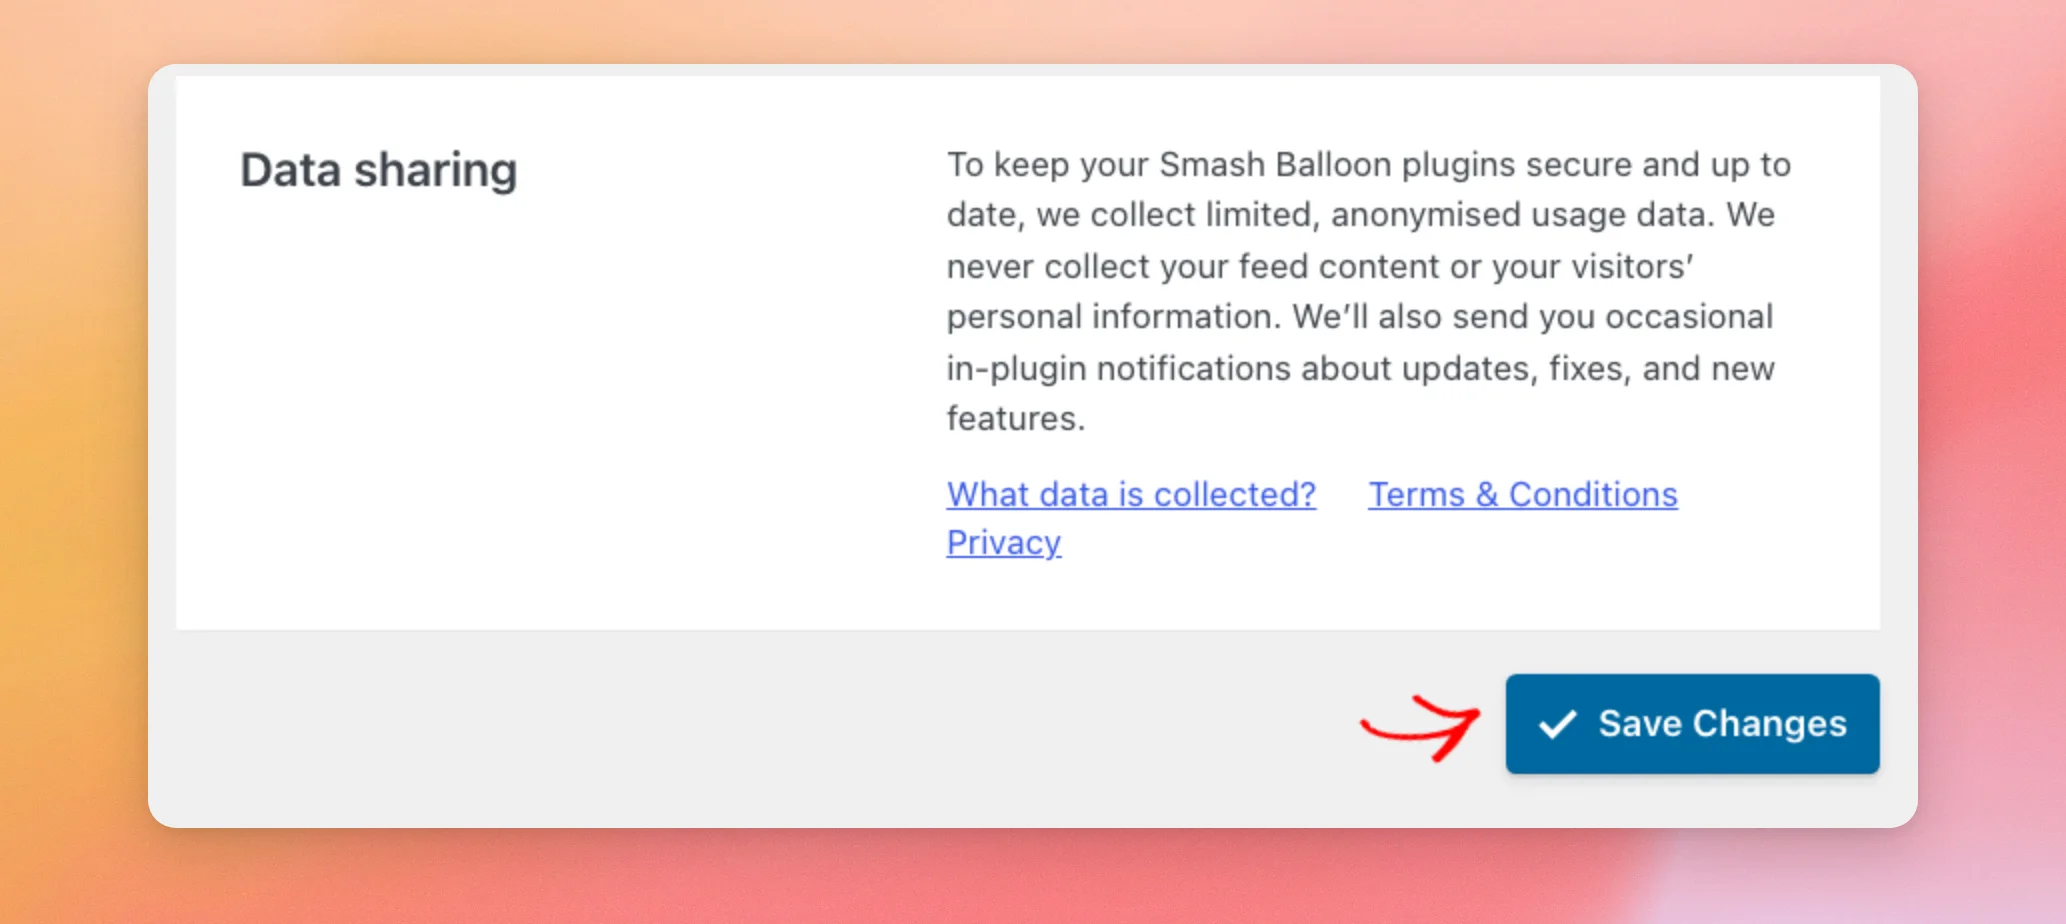
When done, click Save Changes at the bottom of the page.
With your setting saved, the next section shows what your AI agent can do with it.
What Can an AI Agent Change?
With MCP Write Access off, an AI agent can only read information from the plugin. Requests to change something are refused. The plugin’s message tells the agent to enable MCP Write Access under TikTok Feeds » Settings » General.
With MCP Write Access on, an AI agent can make changes such as these.
- Create a new feed.
- Change the feed settings your plan includes, such as layout, columns, number of videos, header, captions, buttons, colors, sorting, and filters.
- Change which connected TikTok accounts a feed shows.
- Change the plugin-wide settings for image optimization, GDPR mode, and keeping your settings if the plugin is removed.
- Request a link for connecting a TikTok account.
- Request the deletion of a single feed.
The agent can only use TikTok accounts you’ve already connected. It can’t connect an account or delete a feed by itself. Both requests only return a link. You finish the job in your browser.
For a connection, the link takes you to TikTok’s own login and authorize step. The agent never handles your TikTok credentials.
For a deletion, you open the link while signed in to your site and check the feed’s name. Then click Delete feed. The deletion removes the feed, doesn’t affect the connected account, and can’t be undone.
Each link works once and expires after 15 minutes. Asking for another deletion replaces the one that’s waiting.
Whenever you want to stop these changes, turn the setting off again.
Turning Off MCP Write Access
Turning the setting off returns your AI agent to read-only access.
From your WordPress dashboard, go back to TikTok Feeds » Settings. On this screen, stay on the General tab. Next, click the switch next to MCP Write Access so it turns gray.
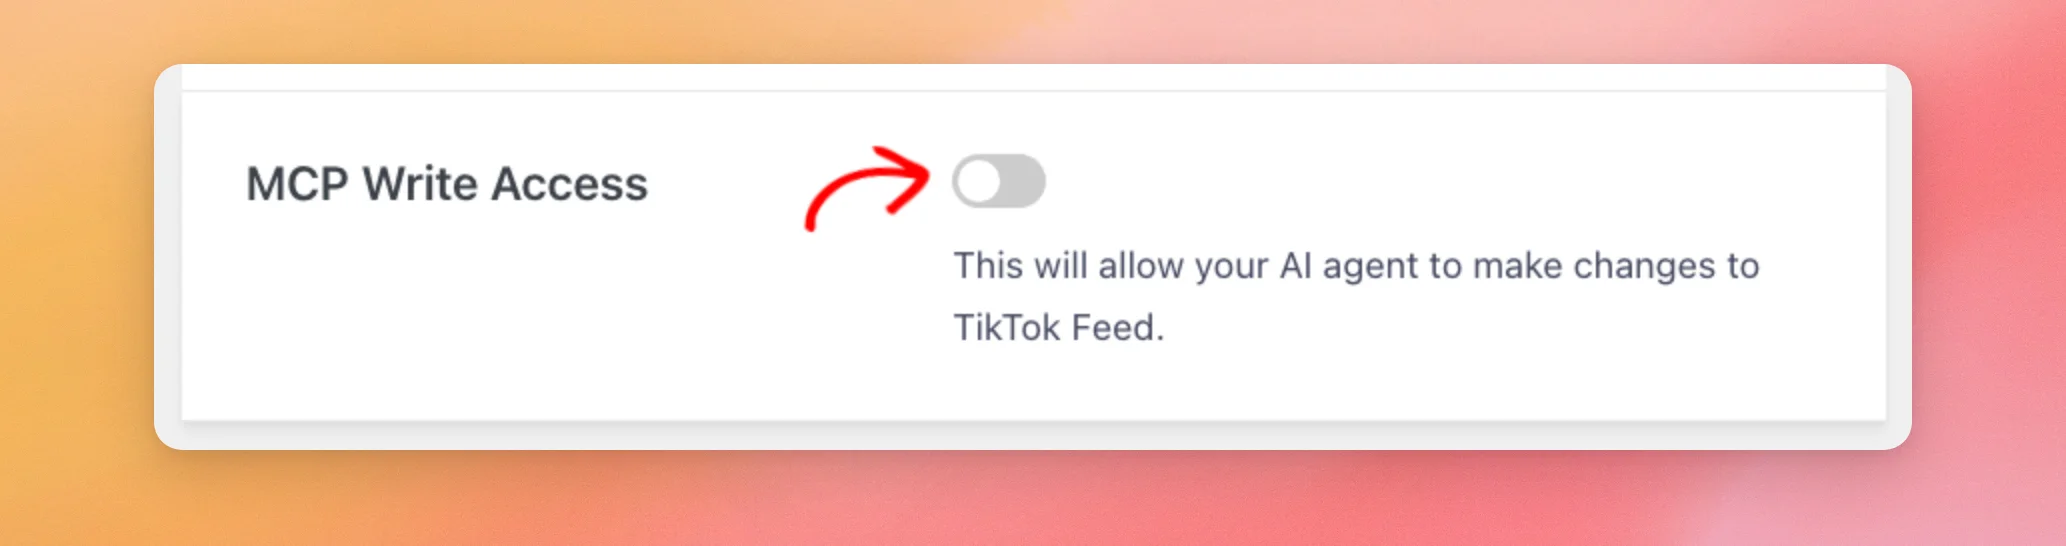
When done, click Save Changes at the bottom of the page.
Once you save with the switch off, any links the agent asked for earlier are canceled. They can’t be used later, even if you turn the setting back on.
That’s it! You now know how to turn MCP Write Access on or off and what your AI agent can change once you allow it. Next, connect your AI agent inside WPVibe, which has its own steps. To learn about GDPR mode, one of the plugin-wide settings an AI agent can change, see our GDPR compliance guide.
Frequently Asked Questions
Below, we’ve answered some of the most common questions about MCP Write Access.
Is MCP Write Access on by default?
No. The switch is off until you turn it on and save. See Turning On MCP Write Access for the steps.
Do I need WPVibe to use MCP Write Access?
The AI Agents box says the plugin works through WPVibe, a free plugin you install once. You connect your AI agent inside WPVibe. See The AI Agents Box for how to install it.
Can an AI agent delete my feeds without asking me?
No. The agent can only request a deletion. The feed is removed after you open the confirmation link and click Delete feed. See What Can an AI Agent Change? for how the confirmation link works.
Do I need to turn on MCP Write Access for an AI agent to read my feeds?
No. Reading doesn’t depend on MCP Write Access. The switch only controls whether the agent can make changes.
I don’t see the AI Agents or MCP Write Access boxes. Why?
The plugin shows both boxes only on WordPress 6.9 or later. On an older version, update WordPress and open TikTok Feeds » Settings again.