Social Wall
 Feed Analytics


How to install the Album extension and use it to show photos from one specific Facebook album in your feed.
Would you like to display the photos from one specific Facebook album in a feed on your WordPress site?
In this guide, we’ll show you how to use the Album extension to build a feed from a single album. We’ll also cover how to switch an existing feed to one album and how to find the album link.
Requirements: The Single Album feed type comes from the Album extension. The extension is a separate plugin that must be installed and activated next to Custom Facebook Feed Pro.
Before you get started, make sure Custom Facebook Feed Pro is installed and activated on your WordPress site. The Facebook Page that owns the album must also be connected as a source.
Here is what we will cover.
- Turning On the Album Extension
- Creating a Single Album Feed
- Changing an Existing Feed
- Finding the Album Link
- Frequently Asked Questions
Turning On the Album Extension
To get started, we’ll turn on the extension in your plugin.
The Album extension adds the Single Album feed type to the feed builder. Without it, choosing Single Album opens an upgrade message instead.
- Install and activate the extension plugin on your site.
- Next, from your WordPress admin sidebar, go to Facebook Feed » Extensions.
- Then find the Album card. If it says Activate, click Activate. If it says Deactivate, the extension is already active and you can move on.

If the card shows an Add link instead of Installed, the extension plugin isn’t on your site yet. In that case, click the link to open the extension page in a new tab. Once the extension plugin is on your site, return to this page and check the Album card again.
Once the extension is active, you can create a feed that uses it.
Creating a Single Album Feed
You build a Single Album feed in the feed builder, from choosing the feed type to checking the album preview.
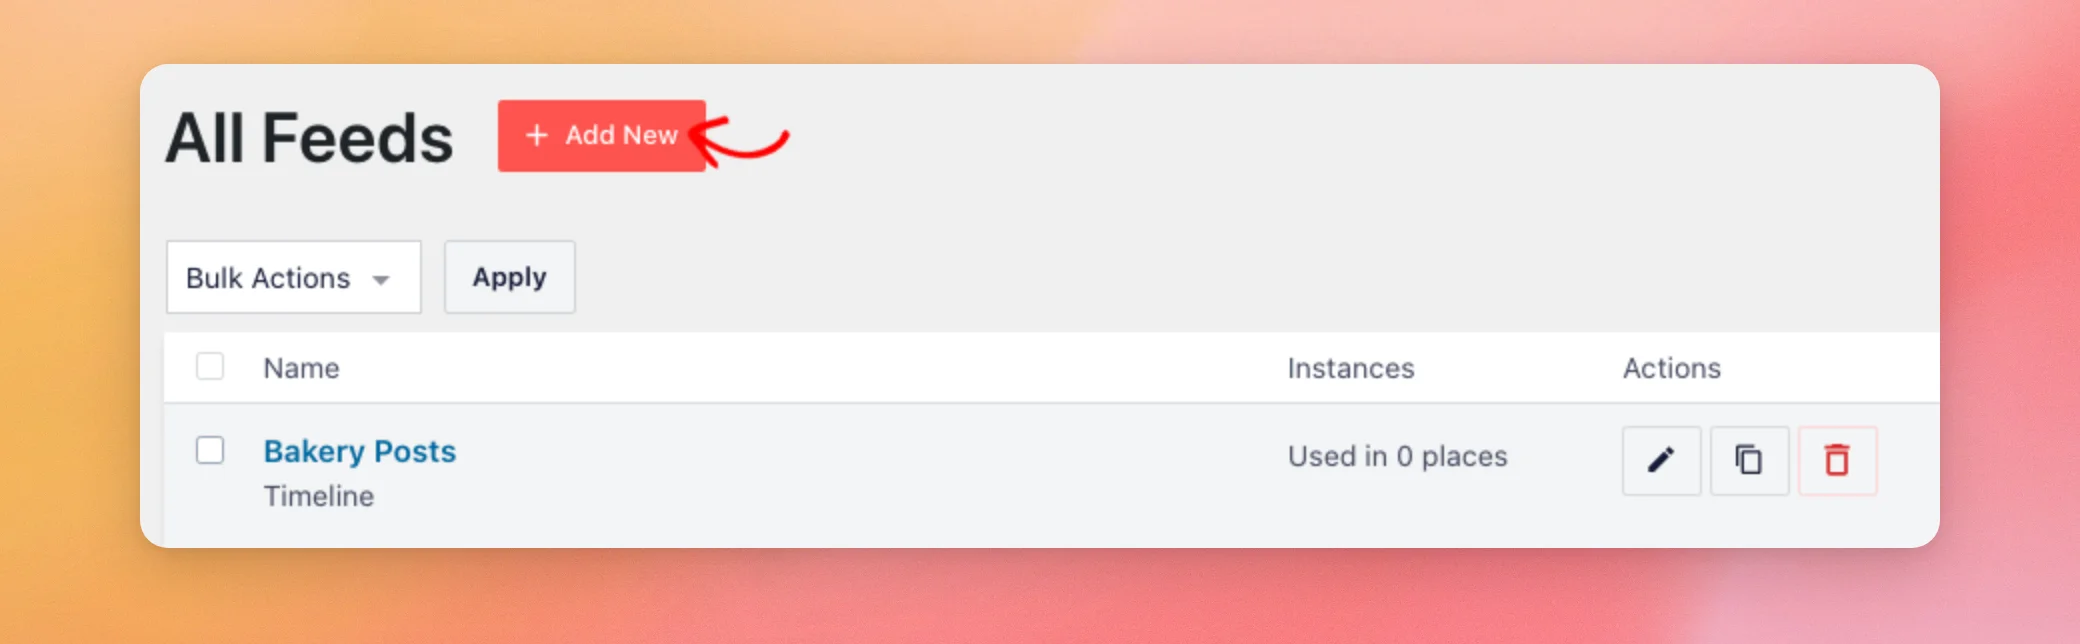
From your WordPress admin sidebar, go to Facebook Feed » All Feeds. Then click Add New.
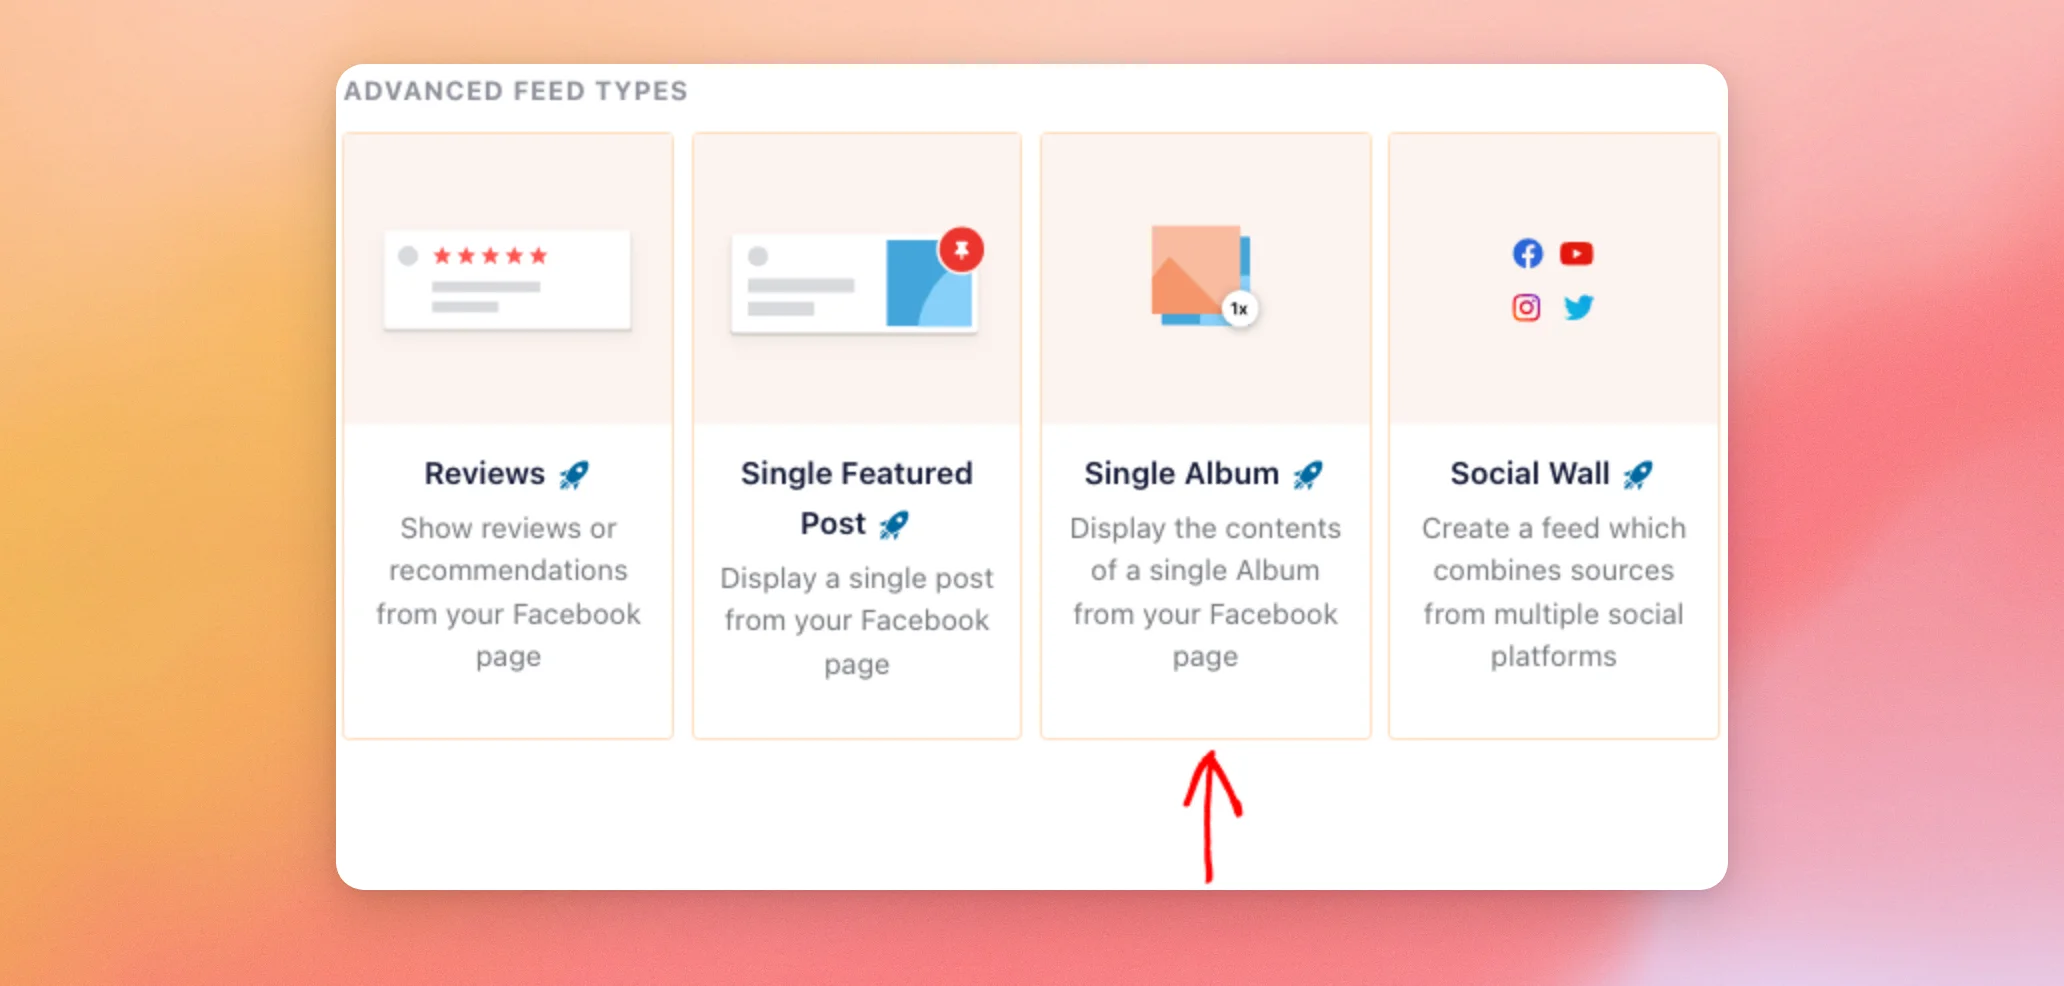
- Under Advanced Feed Types, choose Single Album. Then click Next.
- Choose the Facebook Page that owns the album as your source. Then click Next.
- If the plugin shows a theme screen, choose a theme and click Next. Then choose a template and click Next.
- On the Choose Album to Embed screen, paste the link to your album into the Album URL or ID field. Then click Next.
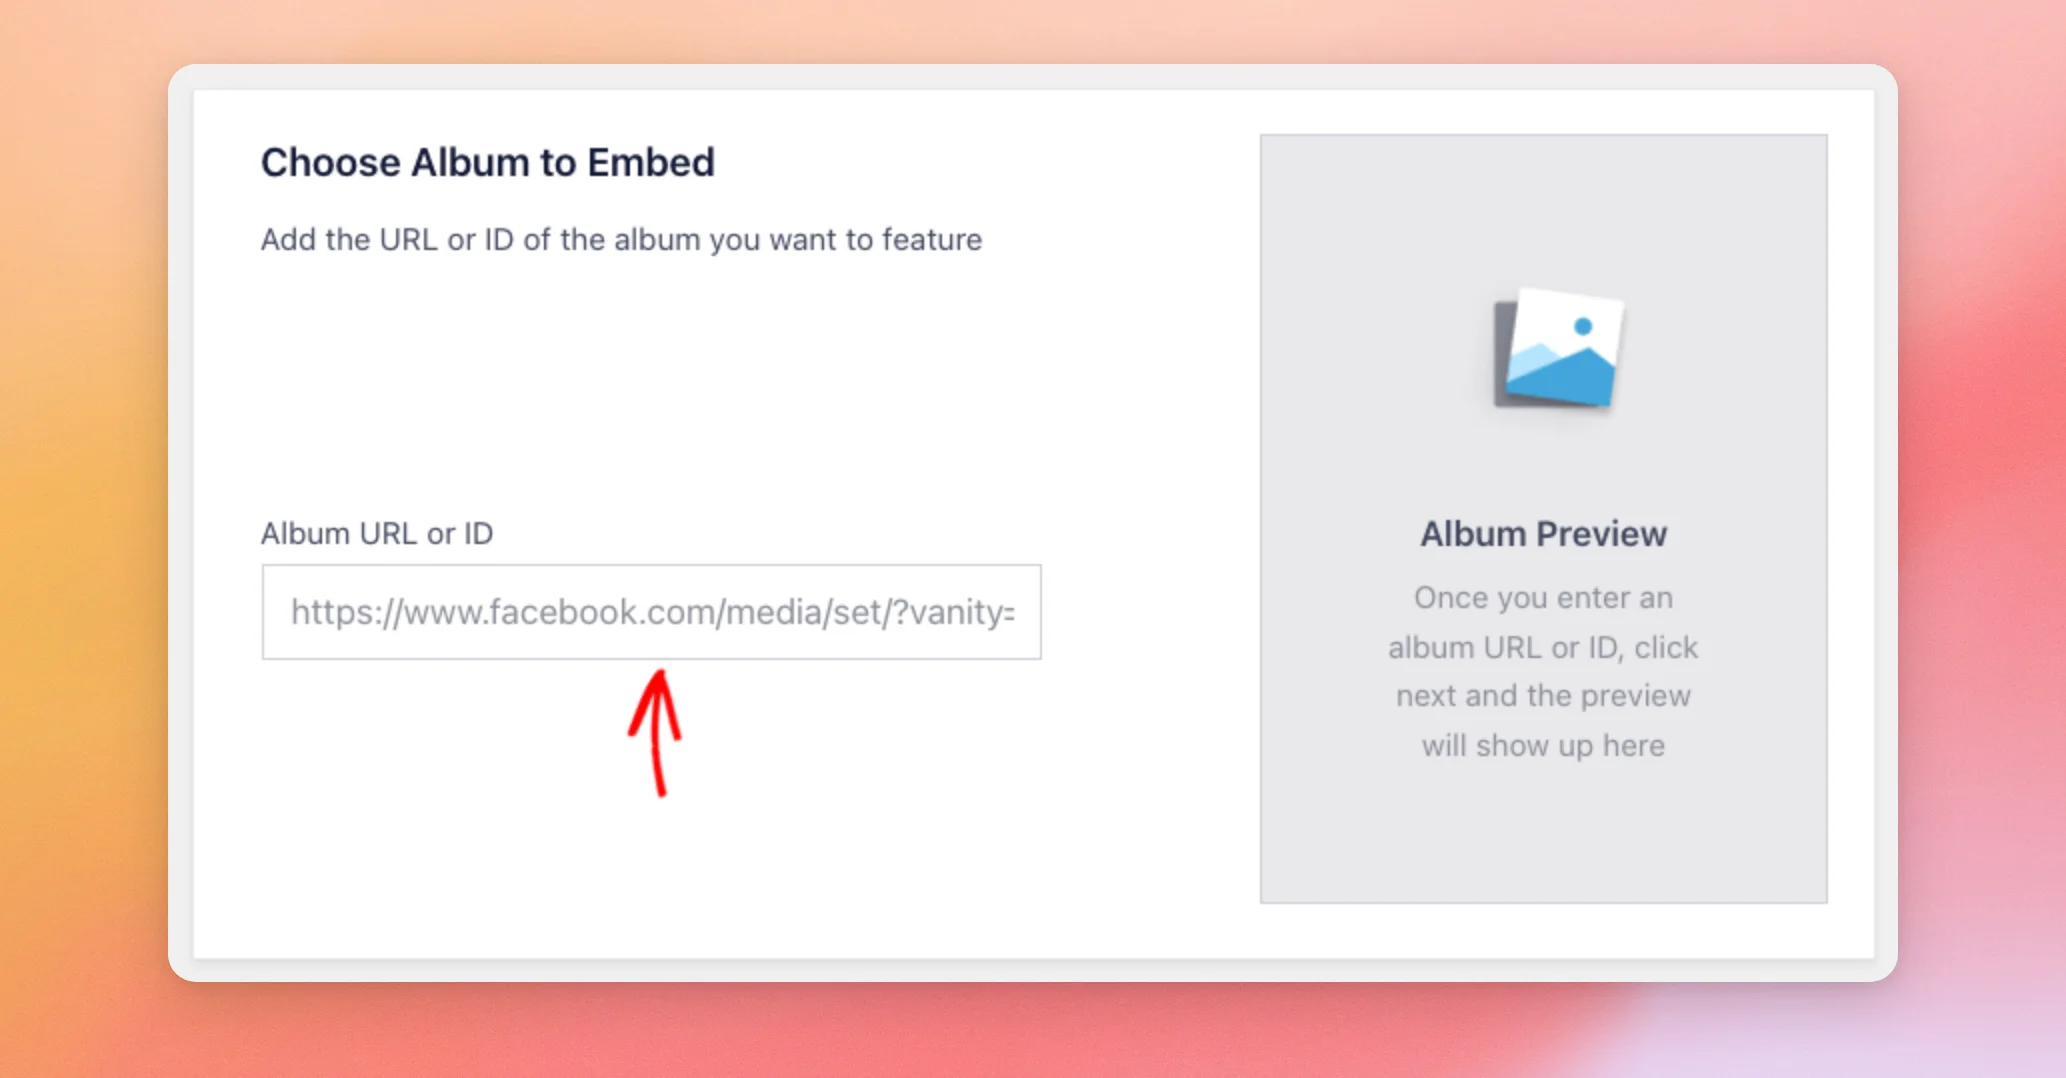
- Next, check the Album Preview. If it shows your album, click Next again to create the feed.
When the feed editor opens, the feed shows only the photos from that album. Its first layout comes from the template you chose. The Default template uses the Grid layout. Then use the Customize tab to change the layout and style, as you would for any other feed.
Note: If you don’t have the album link yet, see Finding the Album Link. The same section helps if the plugin shows “Unable to retrieve album”.
If you already have a feed, you can switch it to one album instead.
Changing an Existing Feed
You make this change from the Customize tab of the feed.
From your WordPress admin sidebar, go to Facebook Feed » All Feeds. Then open the feed and click the Customize tab. Next, click Feed Type. After that, click Change.
- In the Update Feed Type popup, under Advanced Feed Types, select Single Album. Then click Update.
- In the Feed Type section, an Album URL or ID field now shows. Next, paste the link to your album or its ID into it. Then click Update. The preview updates to show the photos from that album.
- Finally, click Save in the top right.
When the link has set=a. and one number after it, the plugin picks the album ID out of it for you. You don’t need to cut the link down first.
The next section shows where to find that link.
Finding the Album Link
First, open the album on its own page on Facebook. Then copy the address from your browser’s address bar. The link looks like this.
https://www.facebook.com/media/set/?vanity=username&set=a.1234567890123- The plugin reads the album ID from the part of the link that follows set=a. and stops at the next ampersand. In the example, the ID is 1234567890123.
- Also, choose the Page that owns the album as your source. The plugin looks up the album with that source.
- If your link has no set=a. part and ends with a slash, remove the slash before you paste it. The plugin reads the last part of the link as the ID. A trailing slash leaves that ID empty.
- Some links have several numbers separated by periods after set=a., such as set=a.1234567890123.54321.9876543210. In that case, the plugin keeps the whole string, periods included, as the ID. Try pasting only the first number instead.
Once you have the link, paste it into the Album URL or ID field, as the steps above show.
That’s it! You now know how to show the photos from one specific Facebook album in your feed. To learn how to place the feed on your site, read our guide on displaying your Facebook feed on a page, post or widget.
Frequently Asked Questions
Below, we’ve answered some of the most common questions about showing a single Facebook album.
Why does it say “Unable to retrieve album”?
The plugin shows this message when it can’t fetch the album from the link you pasted. First, check that you copied the full link to the album. Also, choose the Page that owns the album as your source. If your link ends with a slash and has no set=a. part, remove the slash.
Do I need to remove the extra text from the album link?
Not when the link has set=a. and one number after it. The plugin picks the album ID out of it for you. You can also paste the ID on its own. If the link has several numbers separated by periods, or it ends with a slash, see the Finding the Album Link section above.
Does this work with the free plugin?
No. In the free plugin, Single Album shows as an upgrade prompt. Custom Facebook Feed Pro adds the feed type through the Album extension.
Can I show every album from my Page instead of one?
Yes. The Albums feed type shows all the albums from your Facebook Photos page. It is separate from the Album extension.