Social Wall
 Feed Analytics


How to download, install and set up the Custom X (formerly Twitter) Feeds Pro WordPress plugin, and find your licence key.
Would you like to show posts from an X (formerly Twitter) account on your WordPress site with the paid version of Custom Twitter Feeds?
In this guide, we’ll walk you through installing the plugin, activating your license key, creating your feed, and adding it to your site. All you need is your Custom Twitter Feeds purchase and access to your WordPress dashboard.
Note: Using the free version of Custom Twitter Feeds? See our guide on setting up the free version.
- Downloading the Plugin
- Switching From the Free Version
- Installing the Plugin
- Activating Your License Key
- Deleting the Free Version
- Creating Your Feed
- Hiding Specific Posts
- Embedding the Feed
- Using the Block
- Using the Shortcode
- Adding the Feed to a Theme Template
- Editing Your Feed
- Frequently Asked Questions
Downloading the Plugin
To get started, we’ll download the plugin file. The plugin’s menus and screens still use the name Twitter. That’s the name you’ll see in these steps.
After your purchase, log in to your Smash Balloon account and open the Downloads tab. Then, click the download link for Custom Twitter Feeds Pro to save the plugin’s .zip file to your computer.
We also email your download link and license key to the address you used at checkout.
There’s no need to unzip the file. You’ll upload the .zip file to WordPress as it is.
Note: Safari can unzip files on its own after it downloads them. In Safari’s settings, open the General tab and uncheck the option to open safe files after downloading. Then, download the plugin again.
With the .zip file saved to your computer, the next step depends on whether your site already runs the free version.
Switching From the Free Version
If you already use the free version of Custom Twitter Feeds, a few quick steps get it ready for the switch. Both versions use the same feeds and settings. The paid version picks up your feeds as they are.
New to Custom Twitter Feeds? In that case, skip ahead to Installing the Plugin.
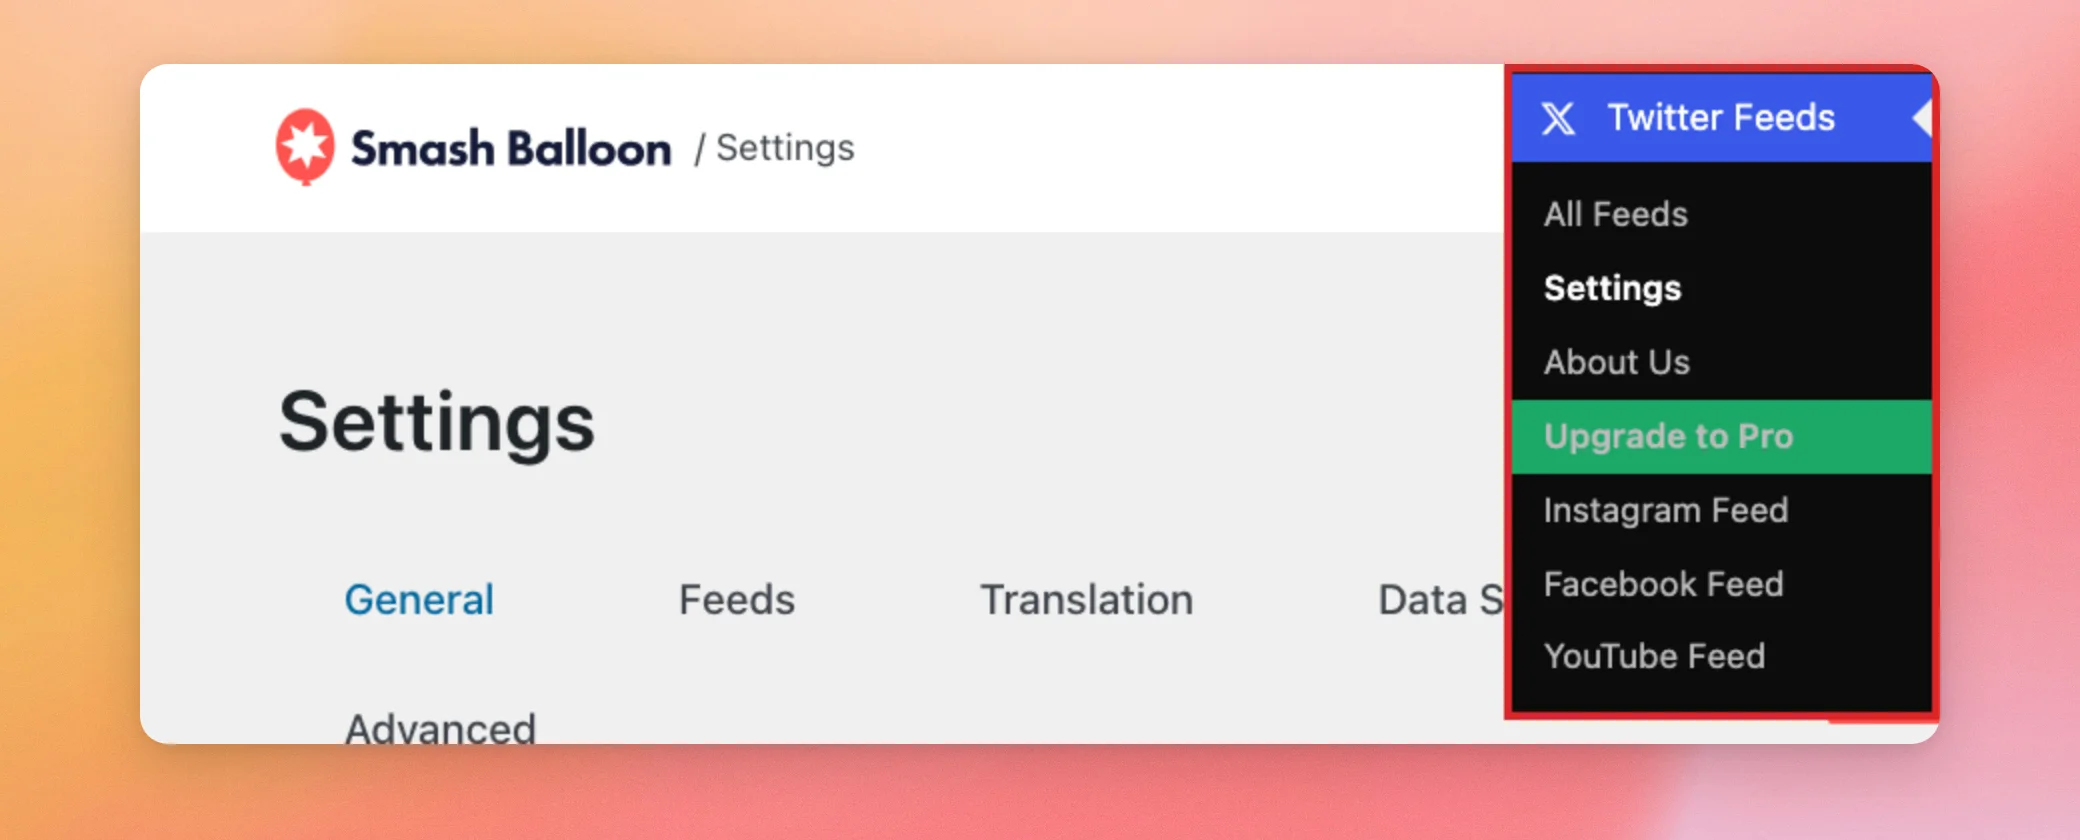
First, go to Twitter Feeds » Settings in your WordPress dashboard.
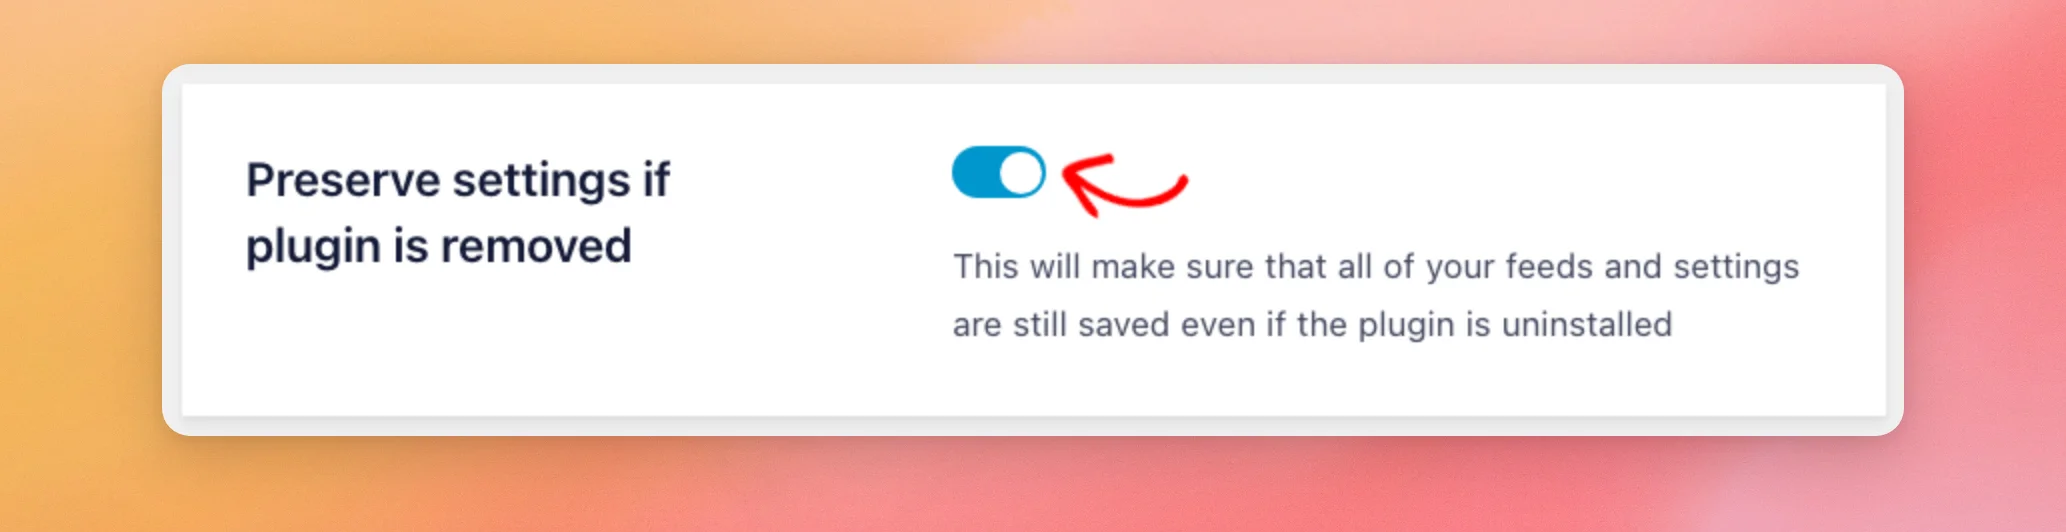
On the General tab, scroll down to Preserve settings if plugin is removed. It’s off by default, so the free version cleans up its feeds and settings when you delete it.
Since you’ll delete the free version later, click the toggle to turn it on. This keeps your feeds and settings saved for the paid version.
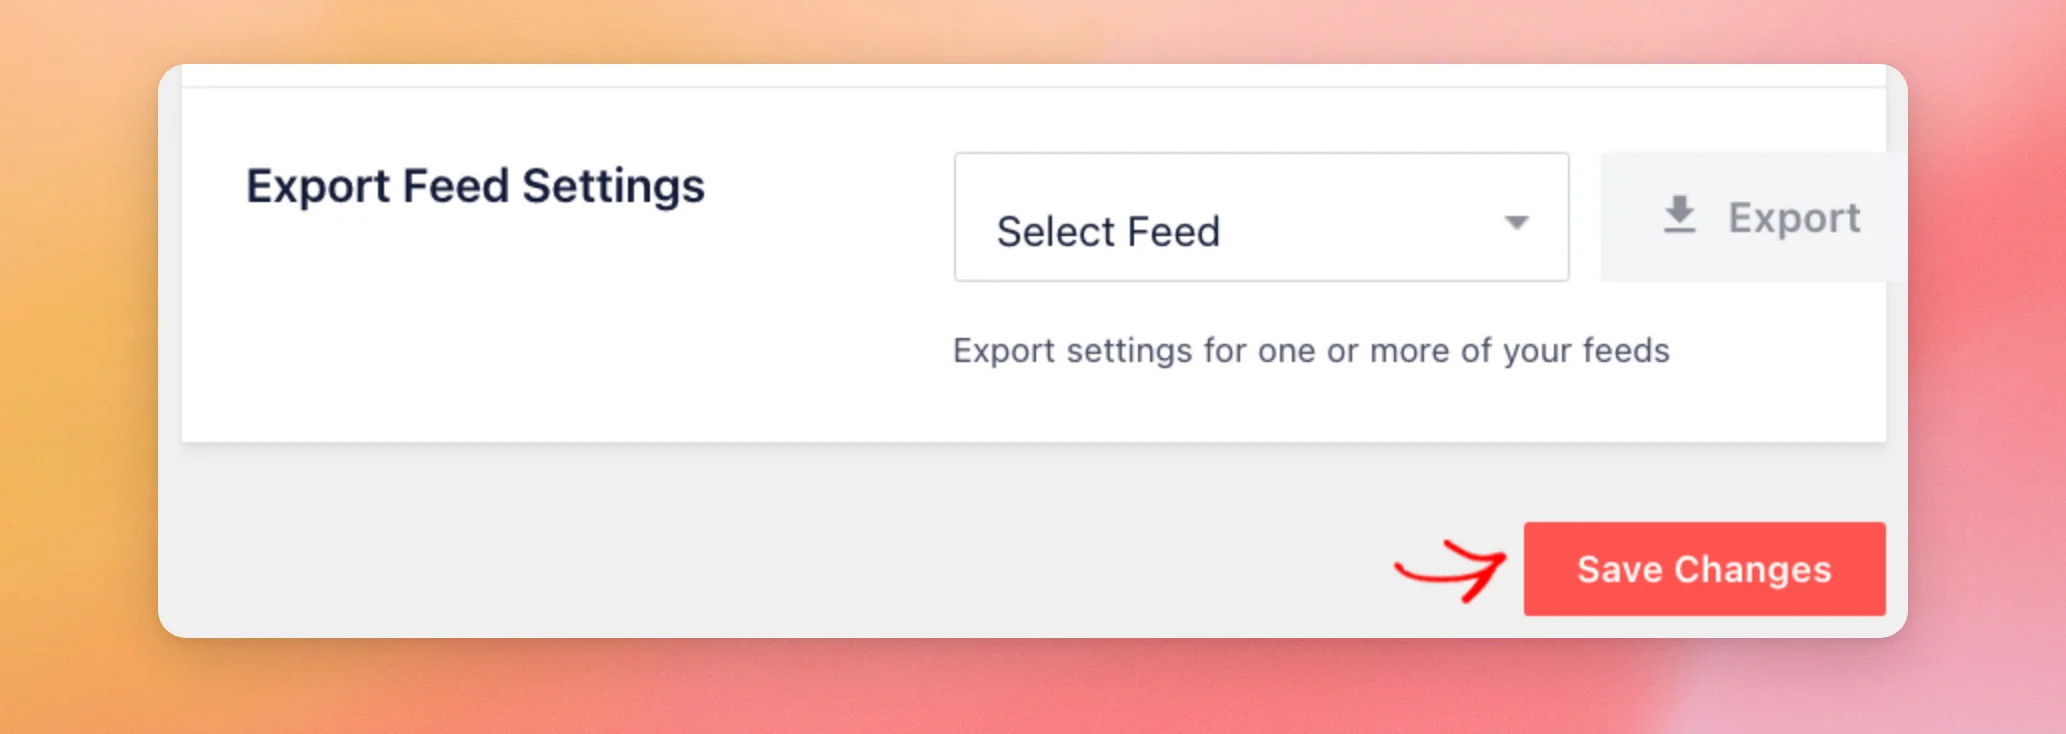
At the bottom of the page, click Save Changes.
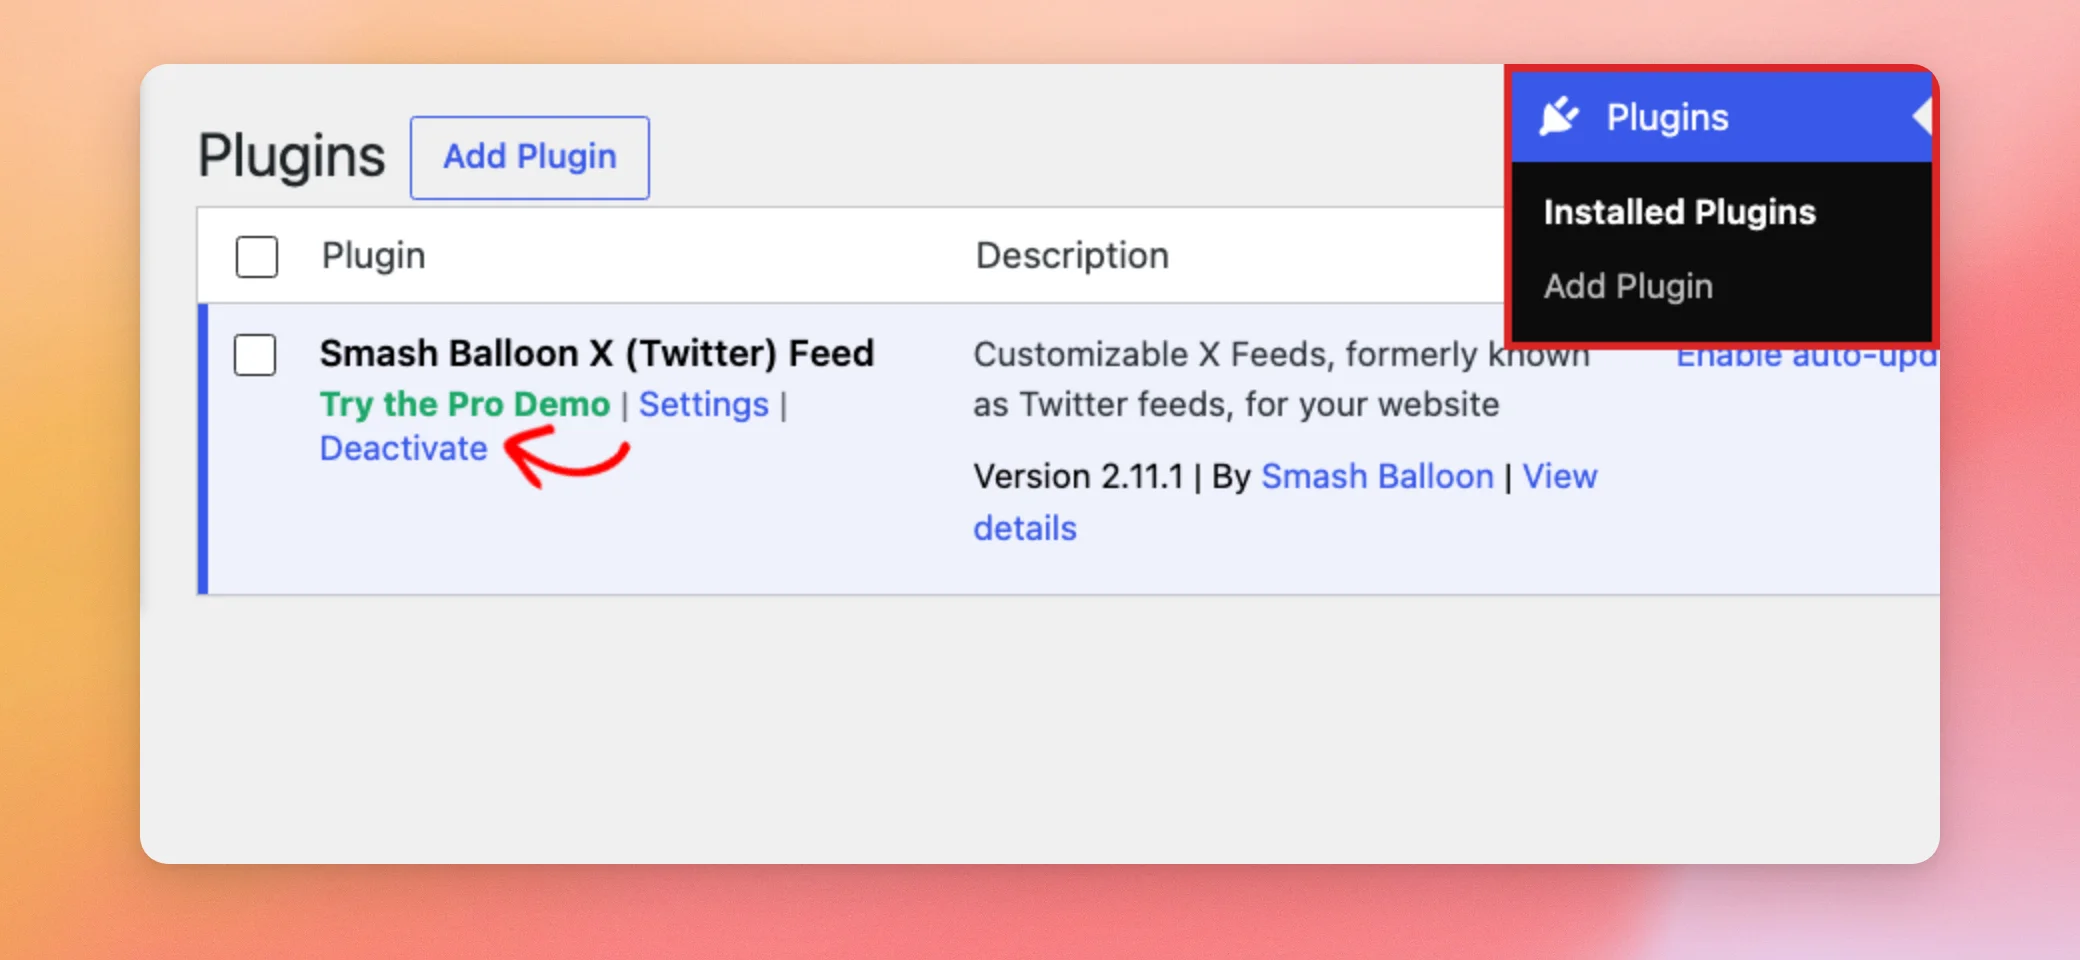
Next, go to Plugins » Installed Plugins. The paid version won’t activate while the free version is active. Under Smash Balloon X (Twitter) Feed, click Deactivate.
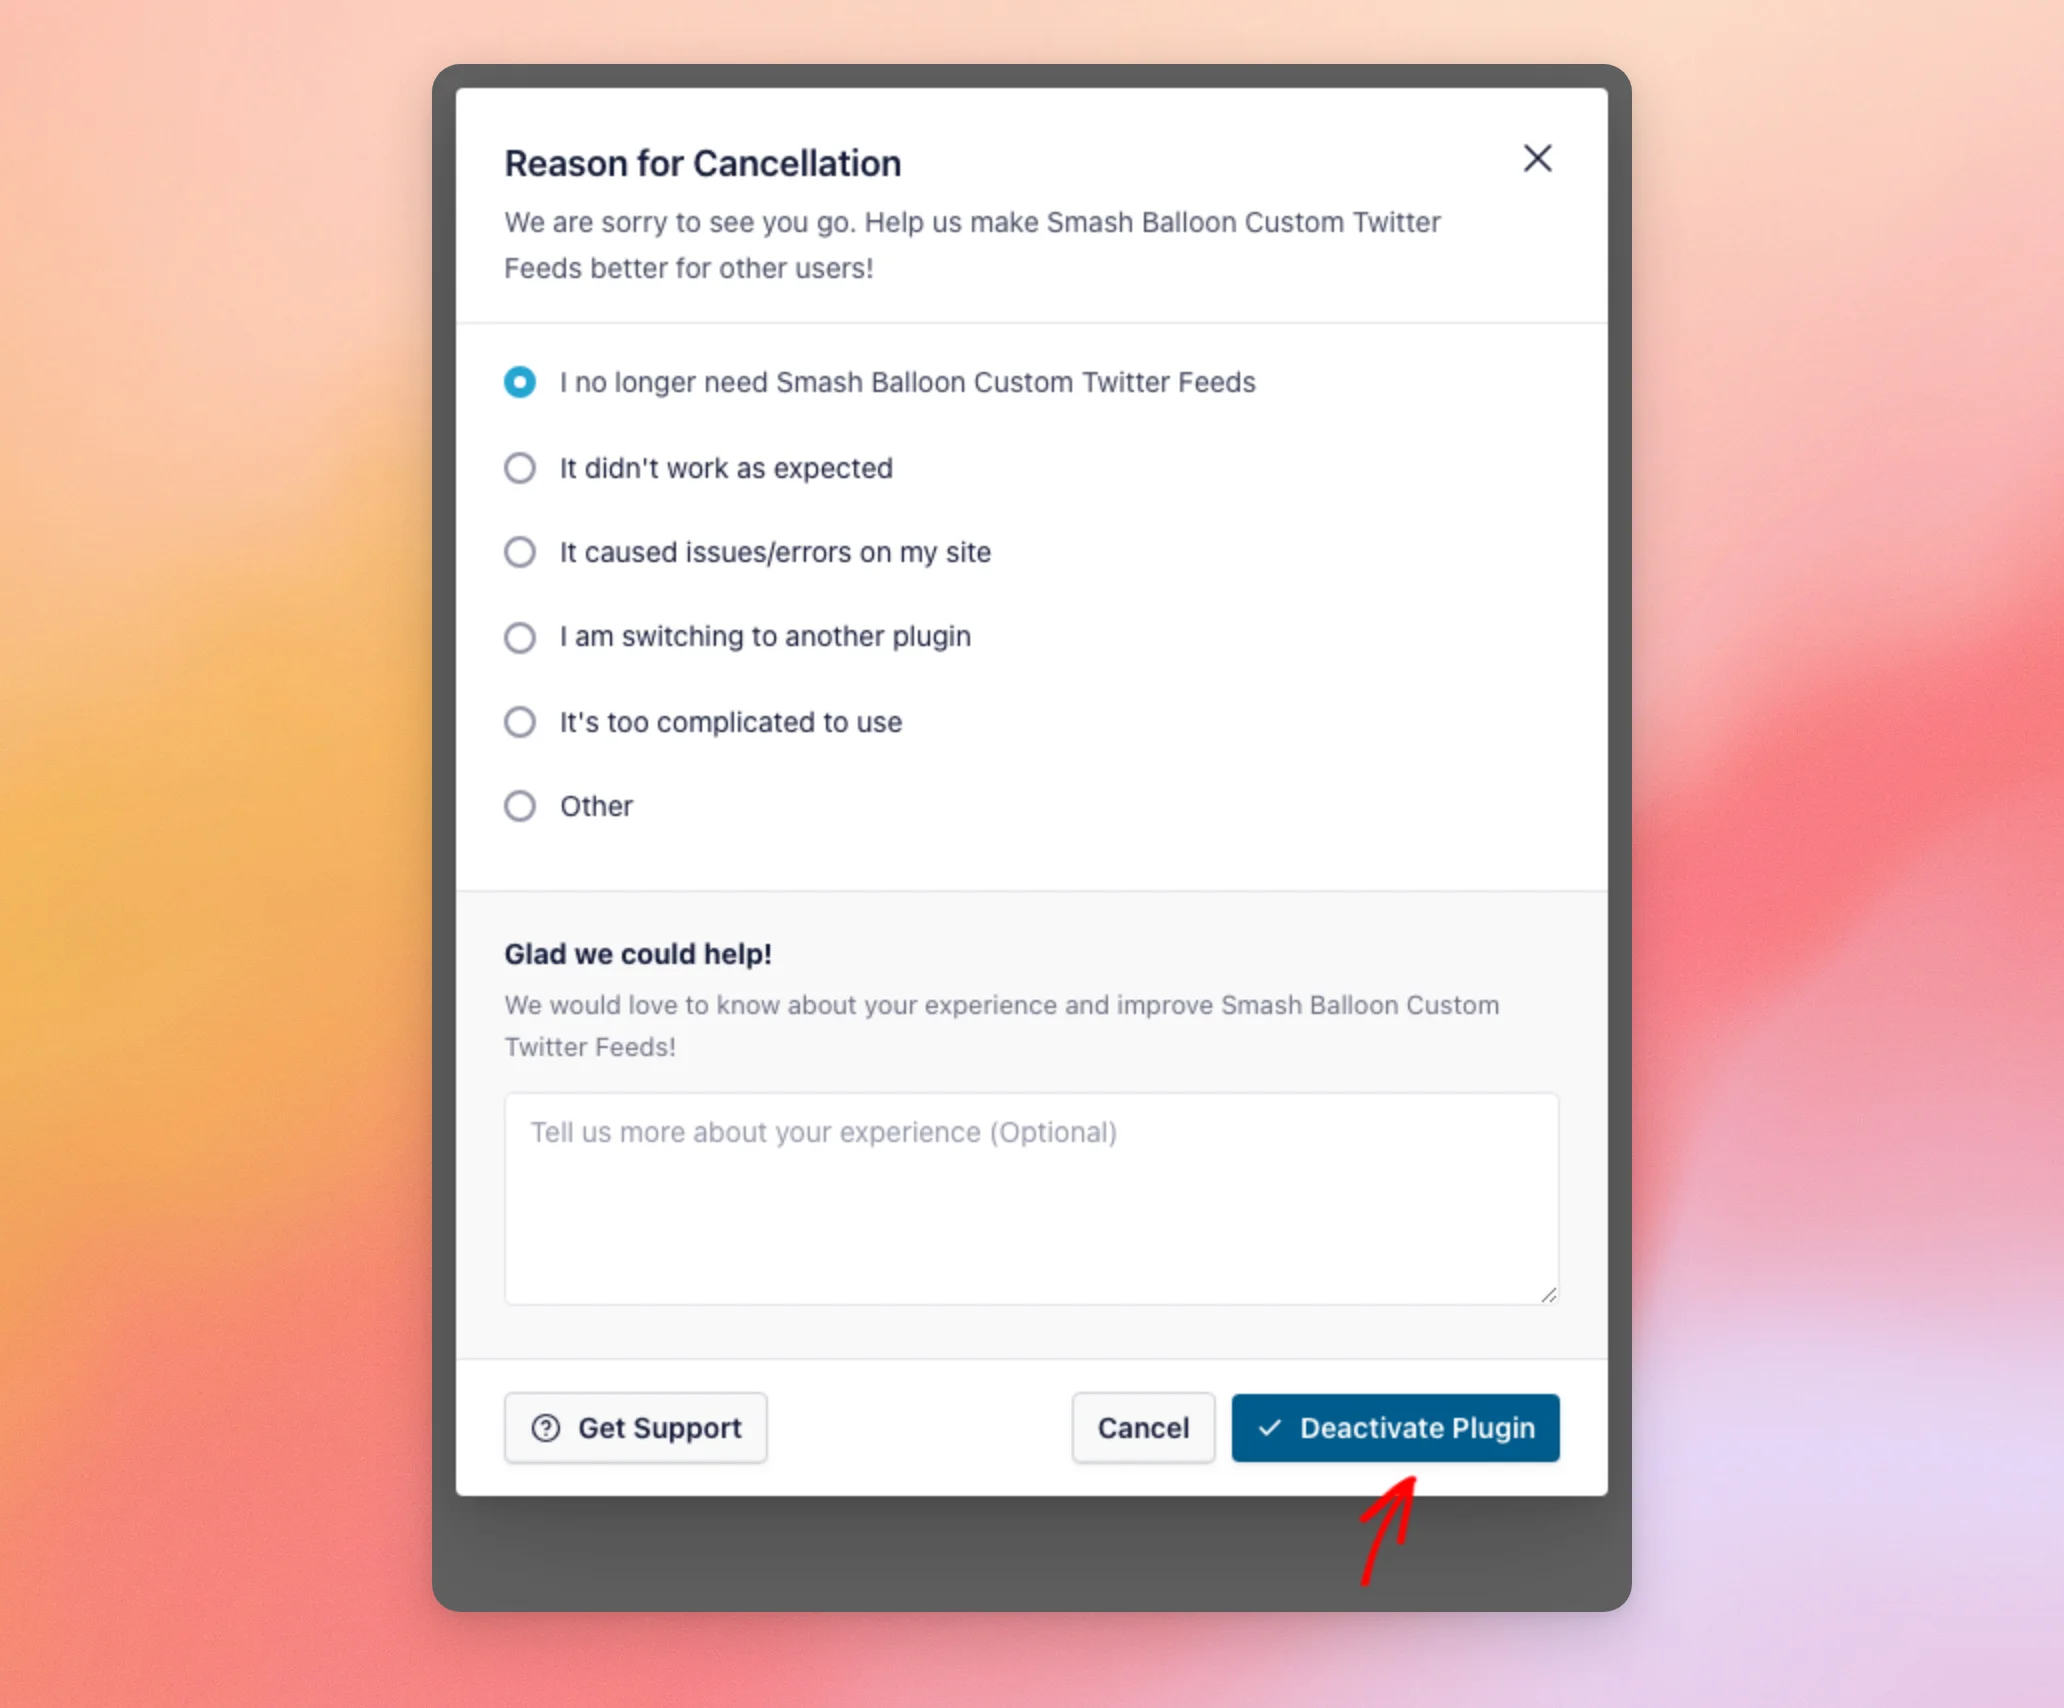
A window opens and asks why you’re deactivating the plugin. It’s a feedback survey for Smash Balloon. The plugin deactivates the same way whichever reason you pick.
In that window, pick the reason that fits best. Then, click Deactivate Plugin.
Now that the free version is deactivated, you’re ready to install the paid version.
Installing the Plugin
You’ll install the paid version by uploading the .zip file you downloaded.
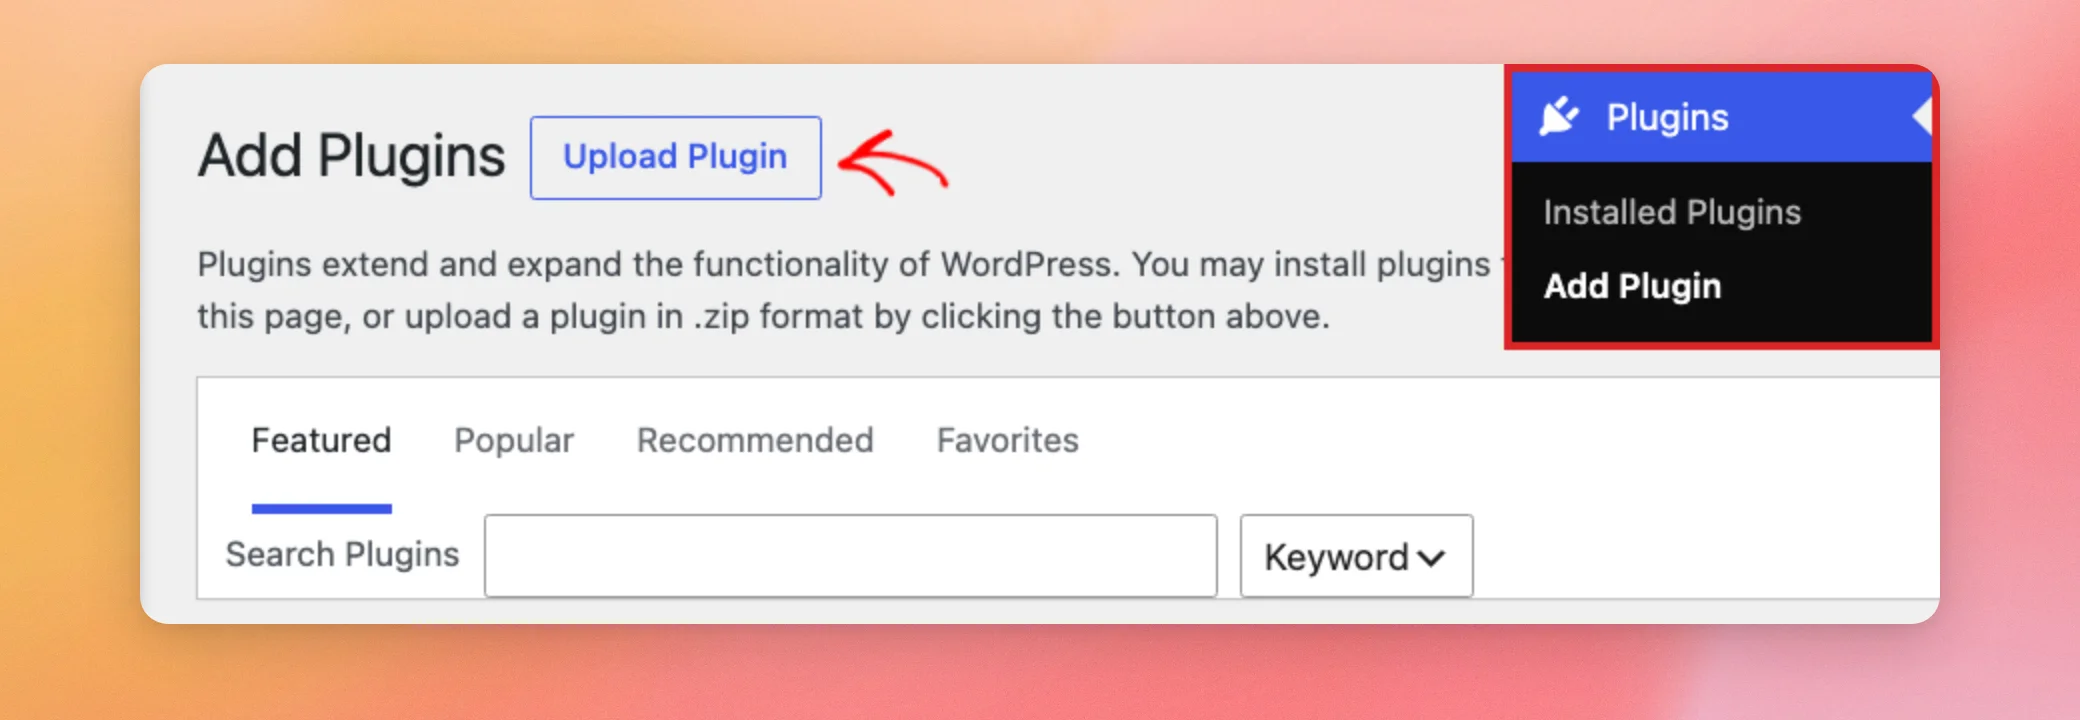
In your WordPress dashboard, go to Plugins » Add Plugin. At the top of the page, click Upload Plugin.
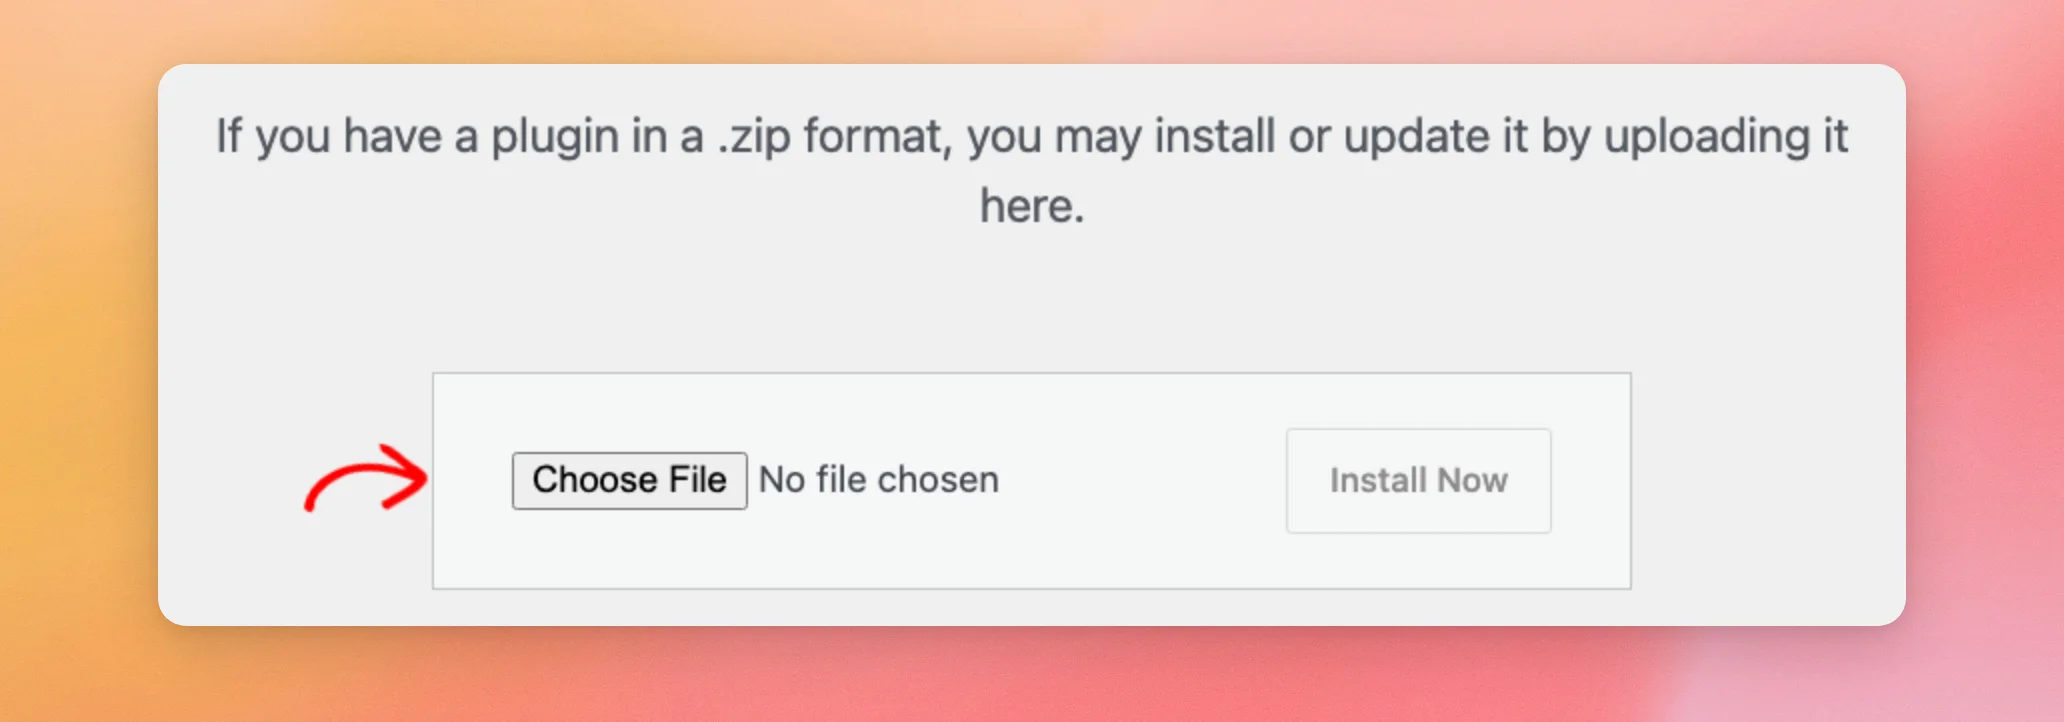
In the upload box, click Choose File and select the .zip file you downloaded.
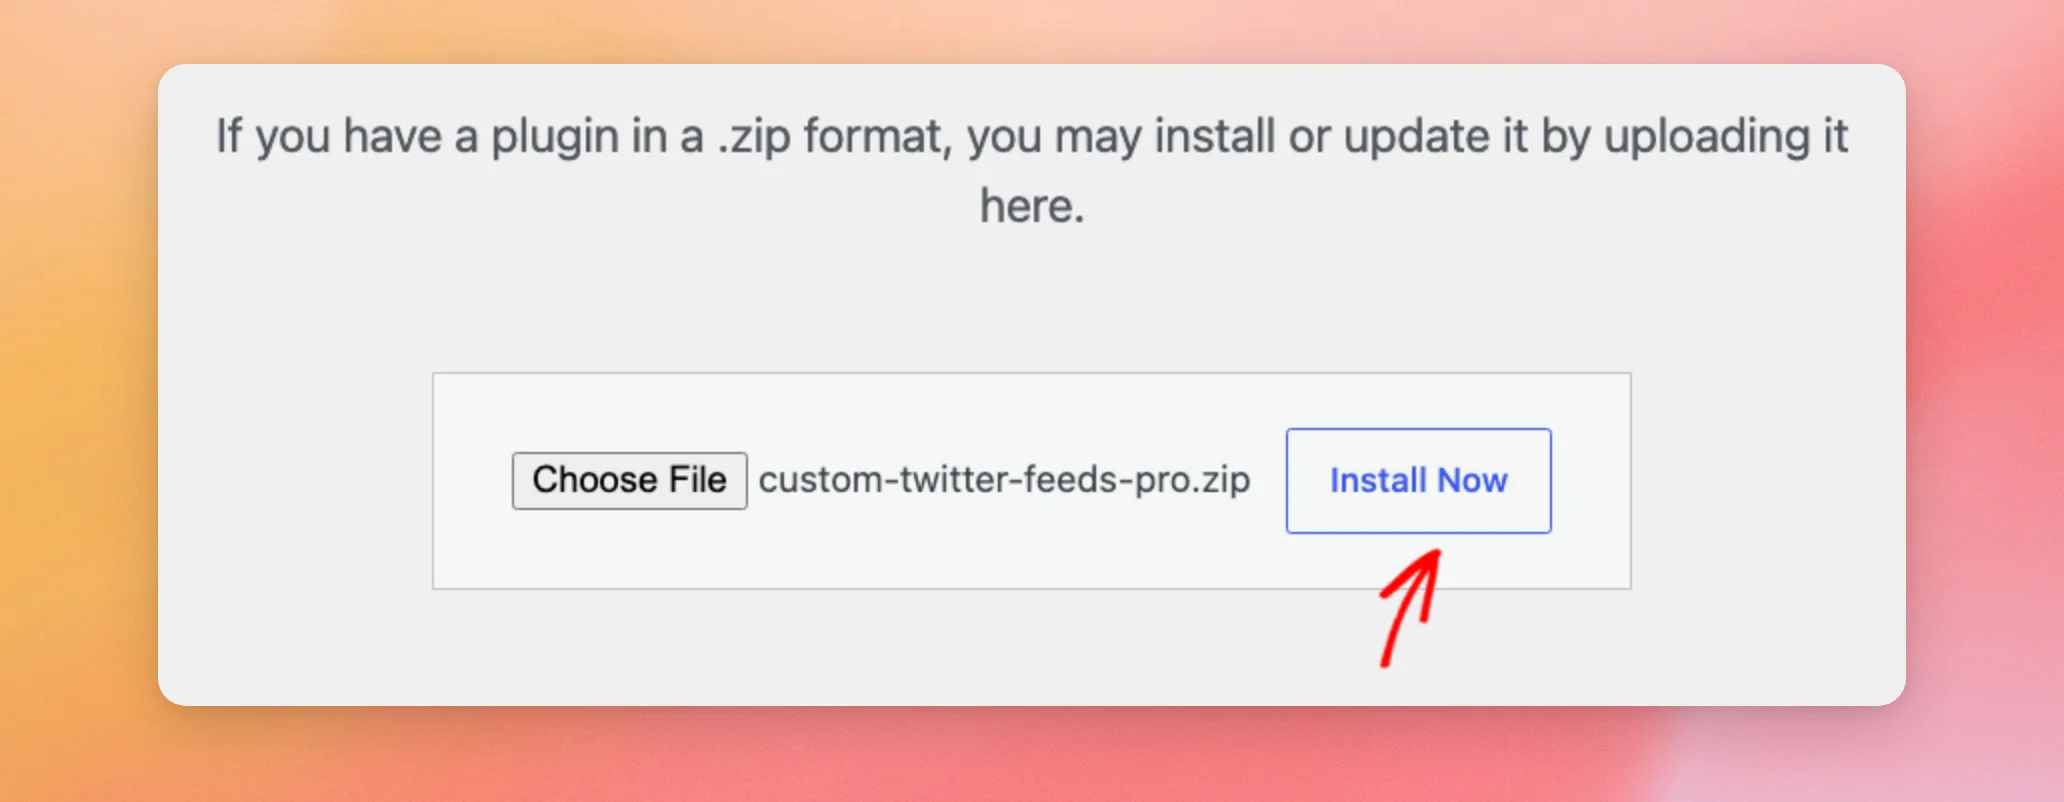
Once your file shows next to the button, click Install Now.
WordPress uploads and installs the plugin. When it’s done, click Activate Plugin.
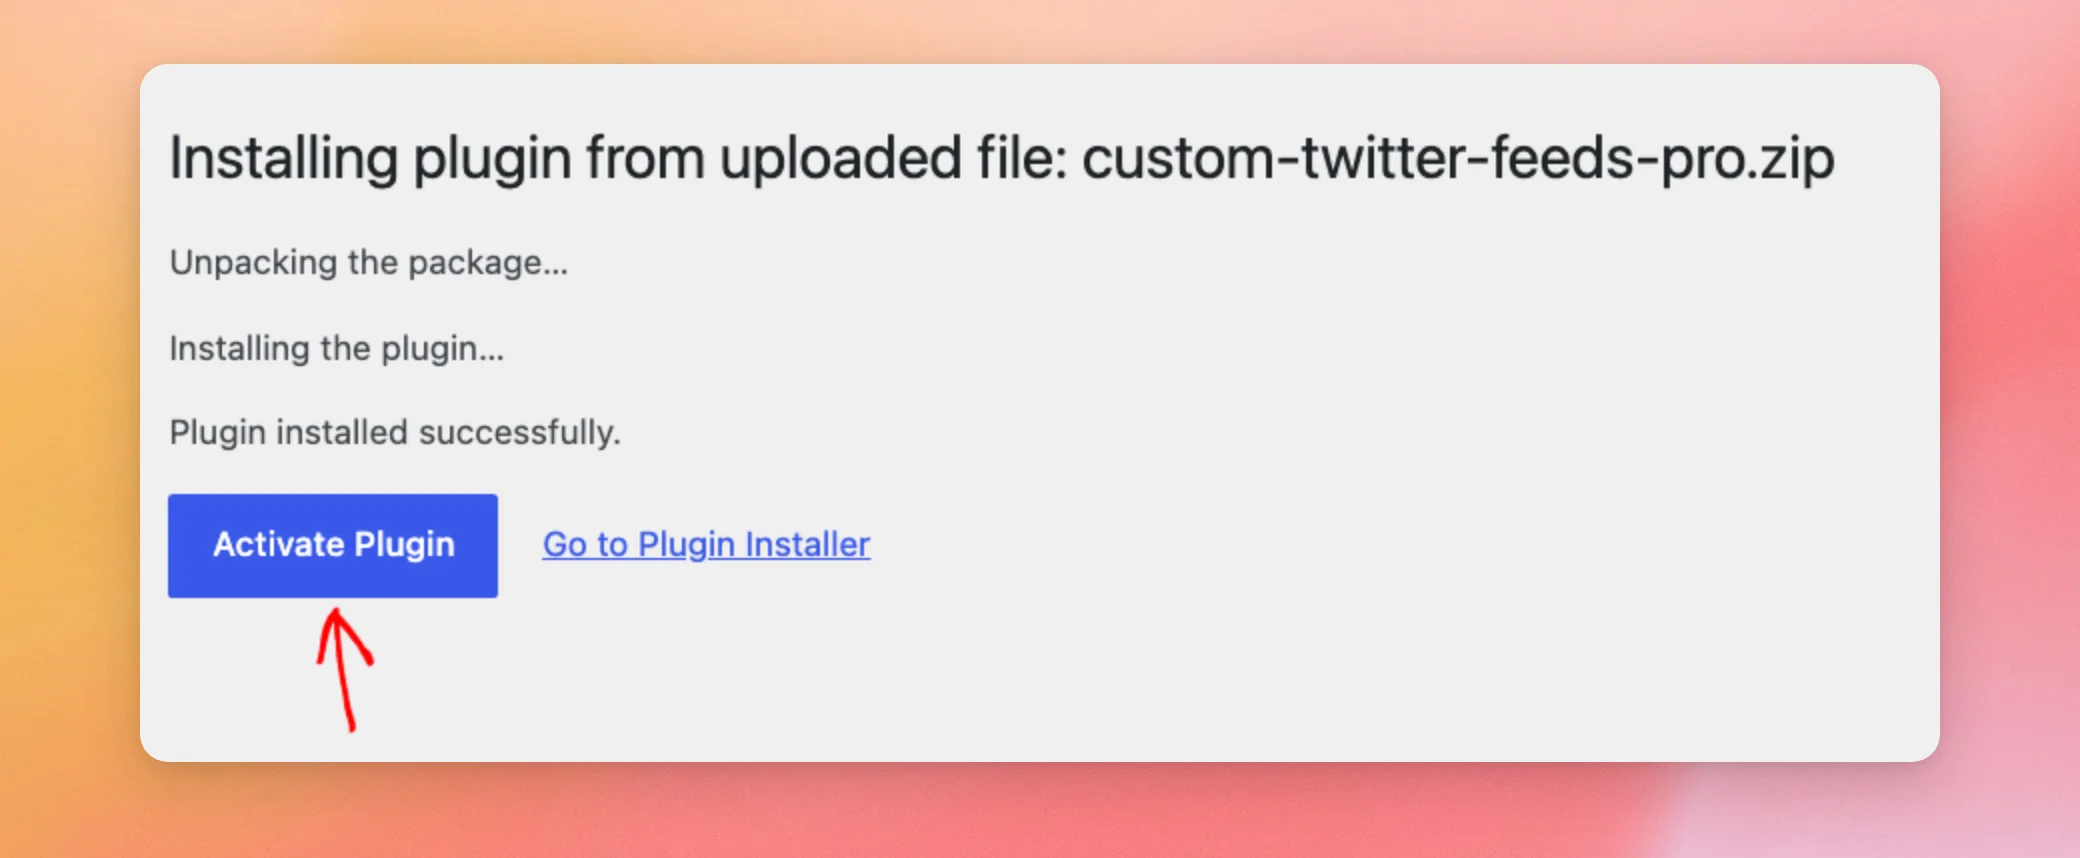
With the plugin installed and active, you’re ready to add your license key.
Activating Your License Key
Your license key gives you access to plugin updates and support.
From your WordPress dashboard, go to Twitter Feed » Settings. The paid version’s menu reads Twitter Feed. The free version’s menu reads Twitter Feeds.
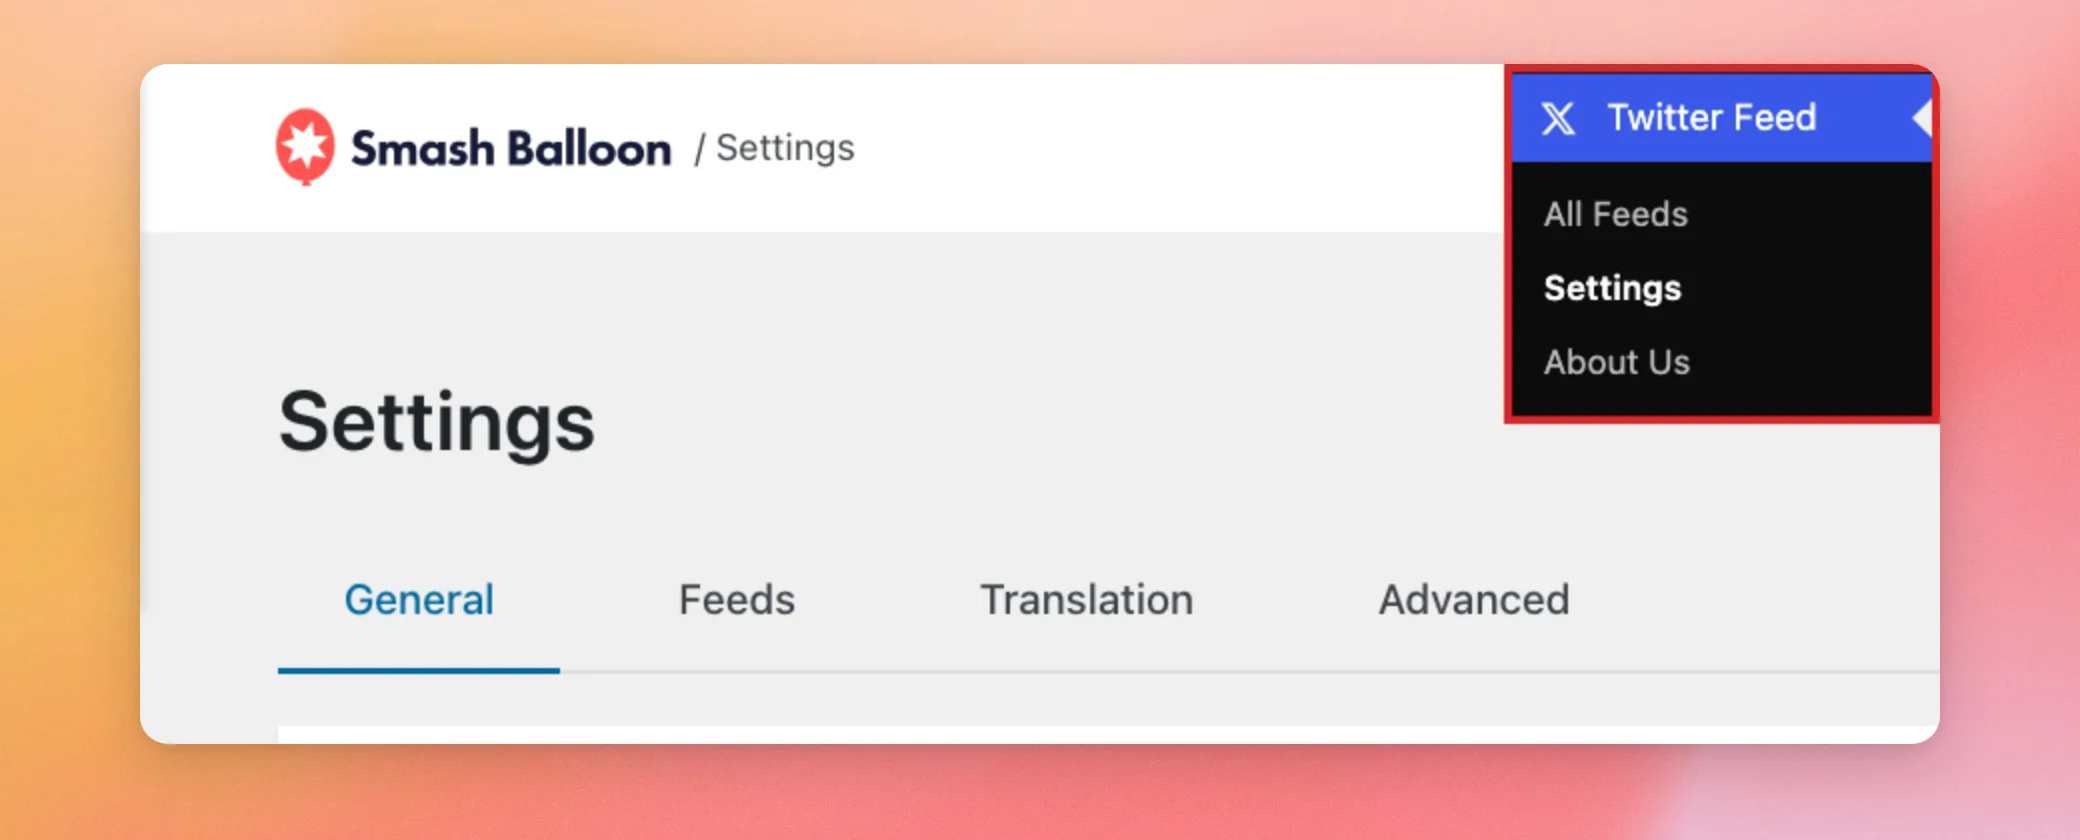
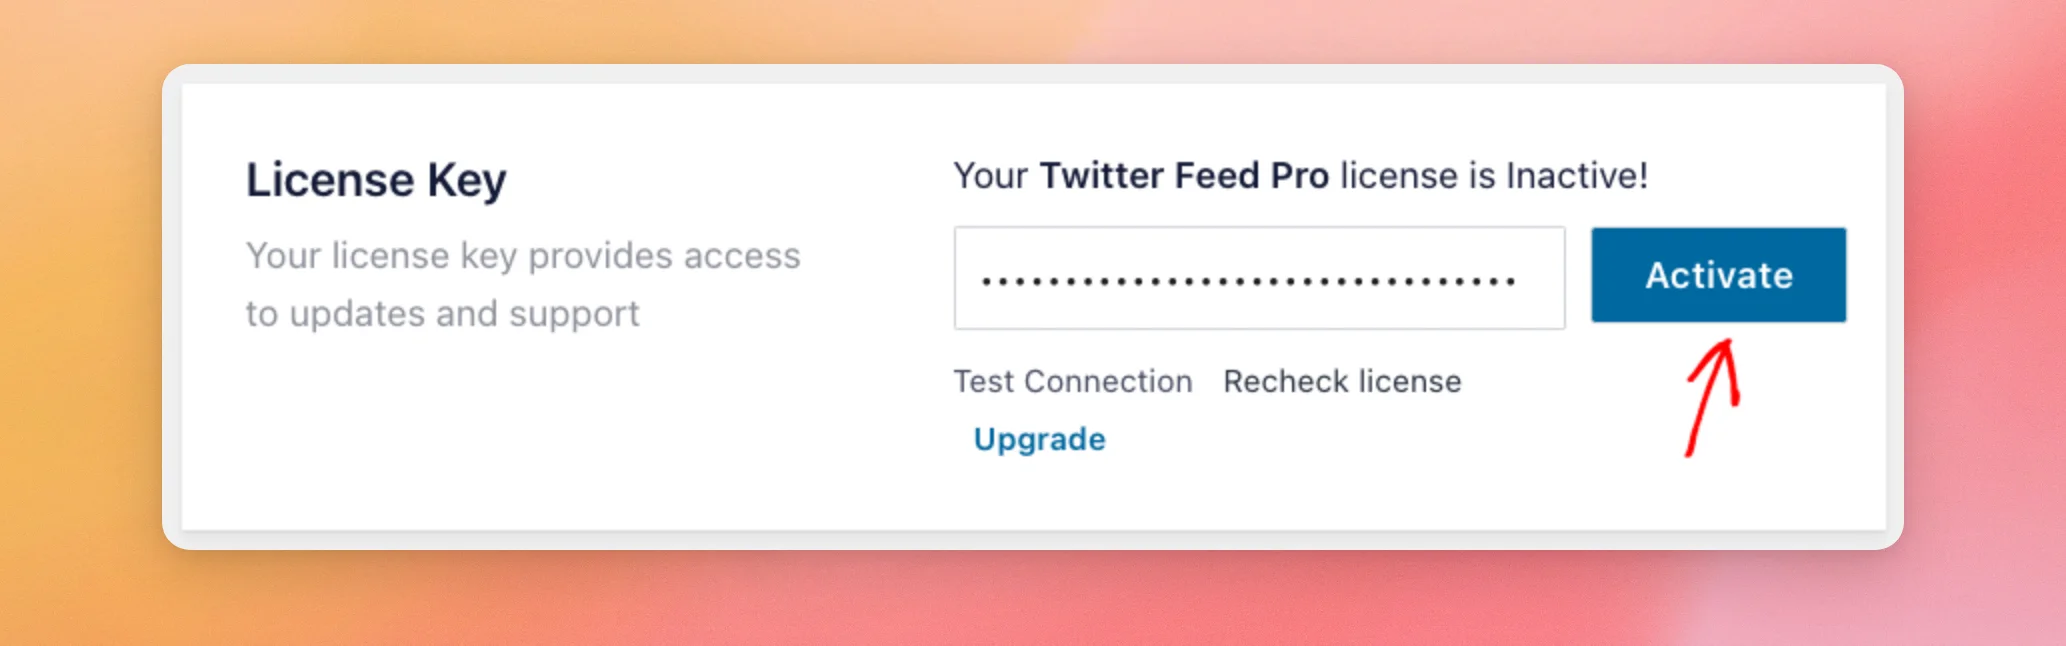
On the General tab, find the License Key box. It says that your Twitter Feed Pro license is Inactive until you activate your key. Next, paste the license key from your purchase email into the field and click Activate.
Note: Does the License Key box say “You are using the Lite version of the plugin”? In that case, your site is still running the free version. To switch, go to Plugins » Installed Plugins, deactivate Smash Balloon X (Twitter) Feed, and activate Custom Twitter Feeds Pro. If you don’t see the paid version there, follow the steps in Installing the Plugin.
Once your license is active, the License Key box says that your Twitter Feed Pro license is Active. The button next to the field now reads Deactivate.
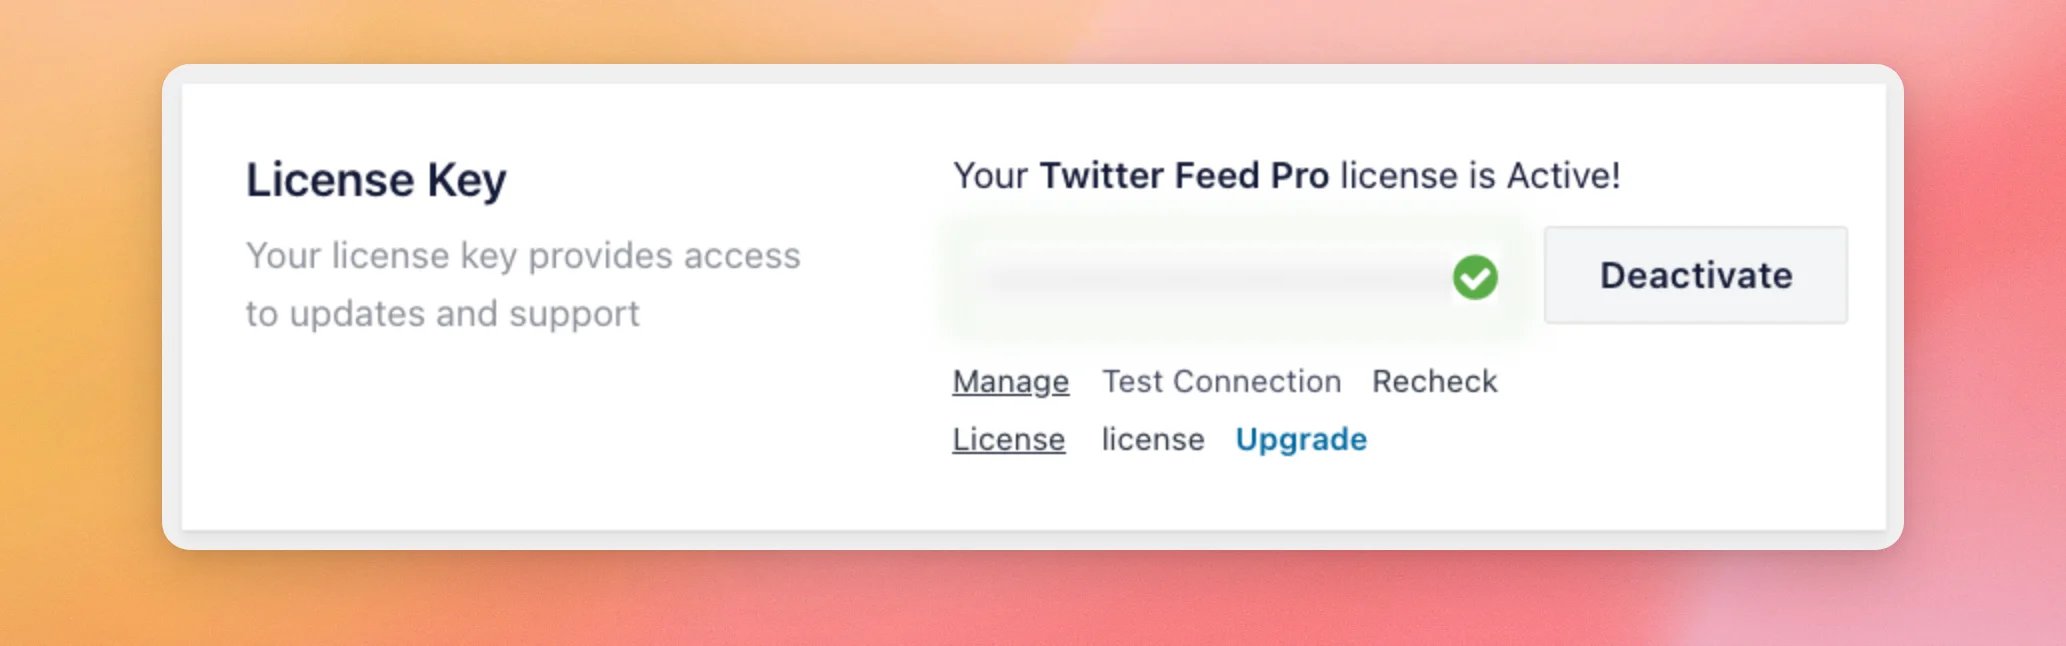
Your license is now active. If you switched from the free version, you can delete it next. If not, skip ahead to Creating Your Feed.
Deleting the Free Version
With the paid version active, you no longer need the free version. Since you turned on Preserve settings earlier, your feeds and settings stay in place when you delete it.
Note: Skipped the Preserve settings step? The paid version has the same setting on the General tab of Twitter Feed » Settings. In that case, turn it on and click Save Changes before you delete the free version.
On the Plugins page, find Smash Balloon X (Twitter) Feed and click Delete. Your browser then asks if you want to delete the plugin and its data. With Preserve settings on, your feeds and settings stay in place. To continue, click OK.
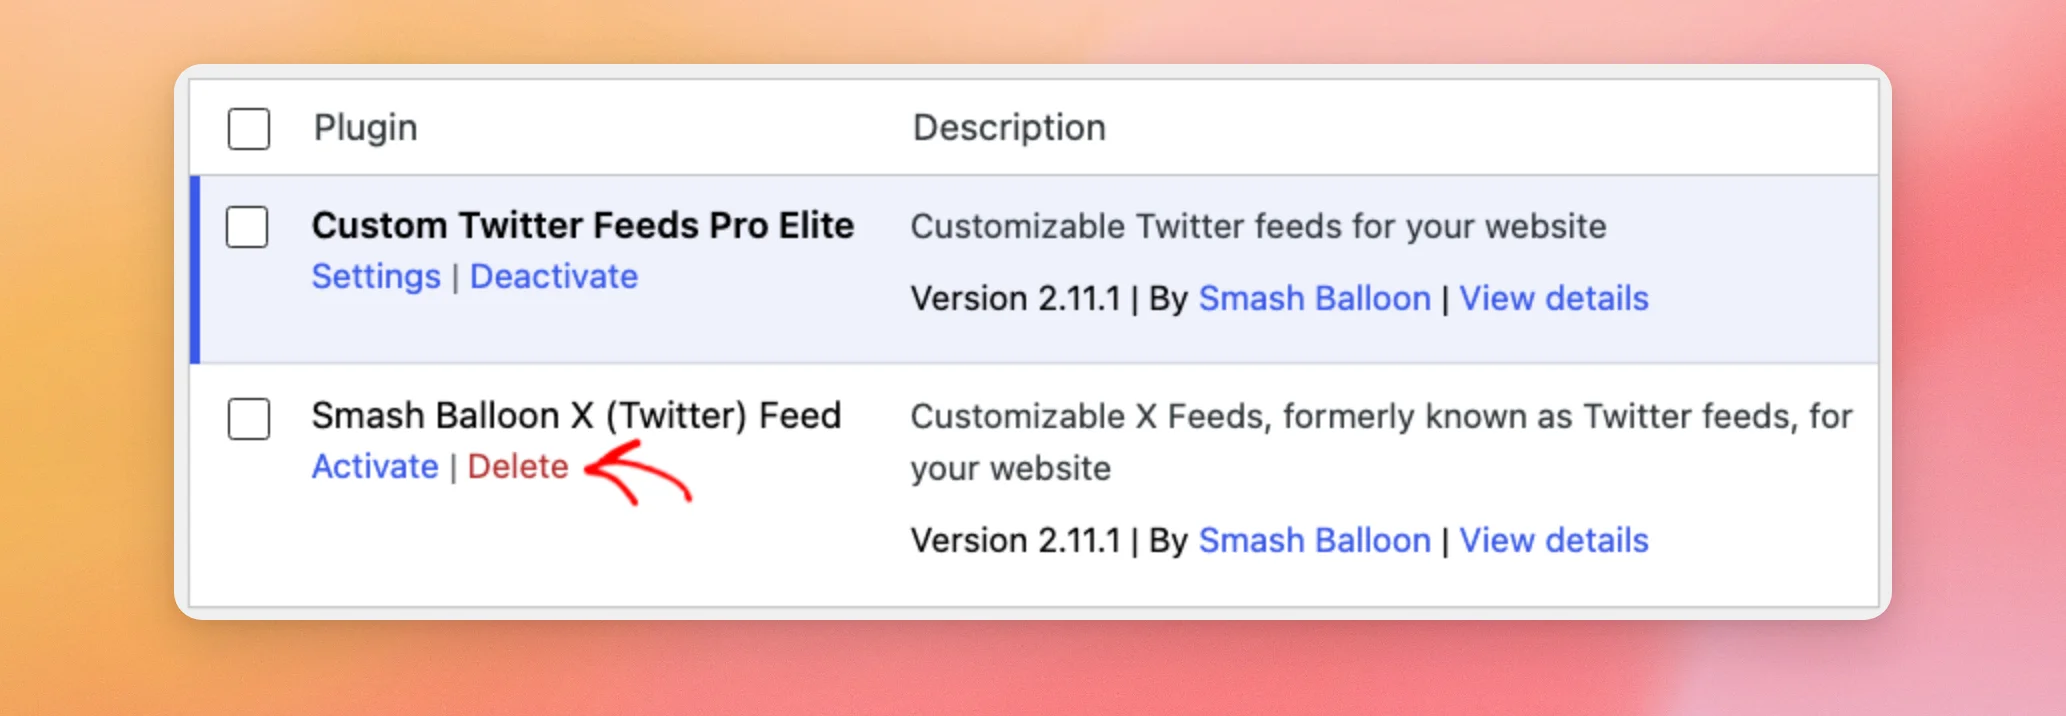
The free version is now deleted. You’re ready to create your feed.
Creating Your Feed
Your feed starts with the X account you want to show.
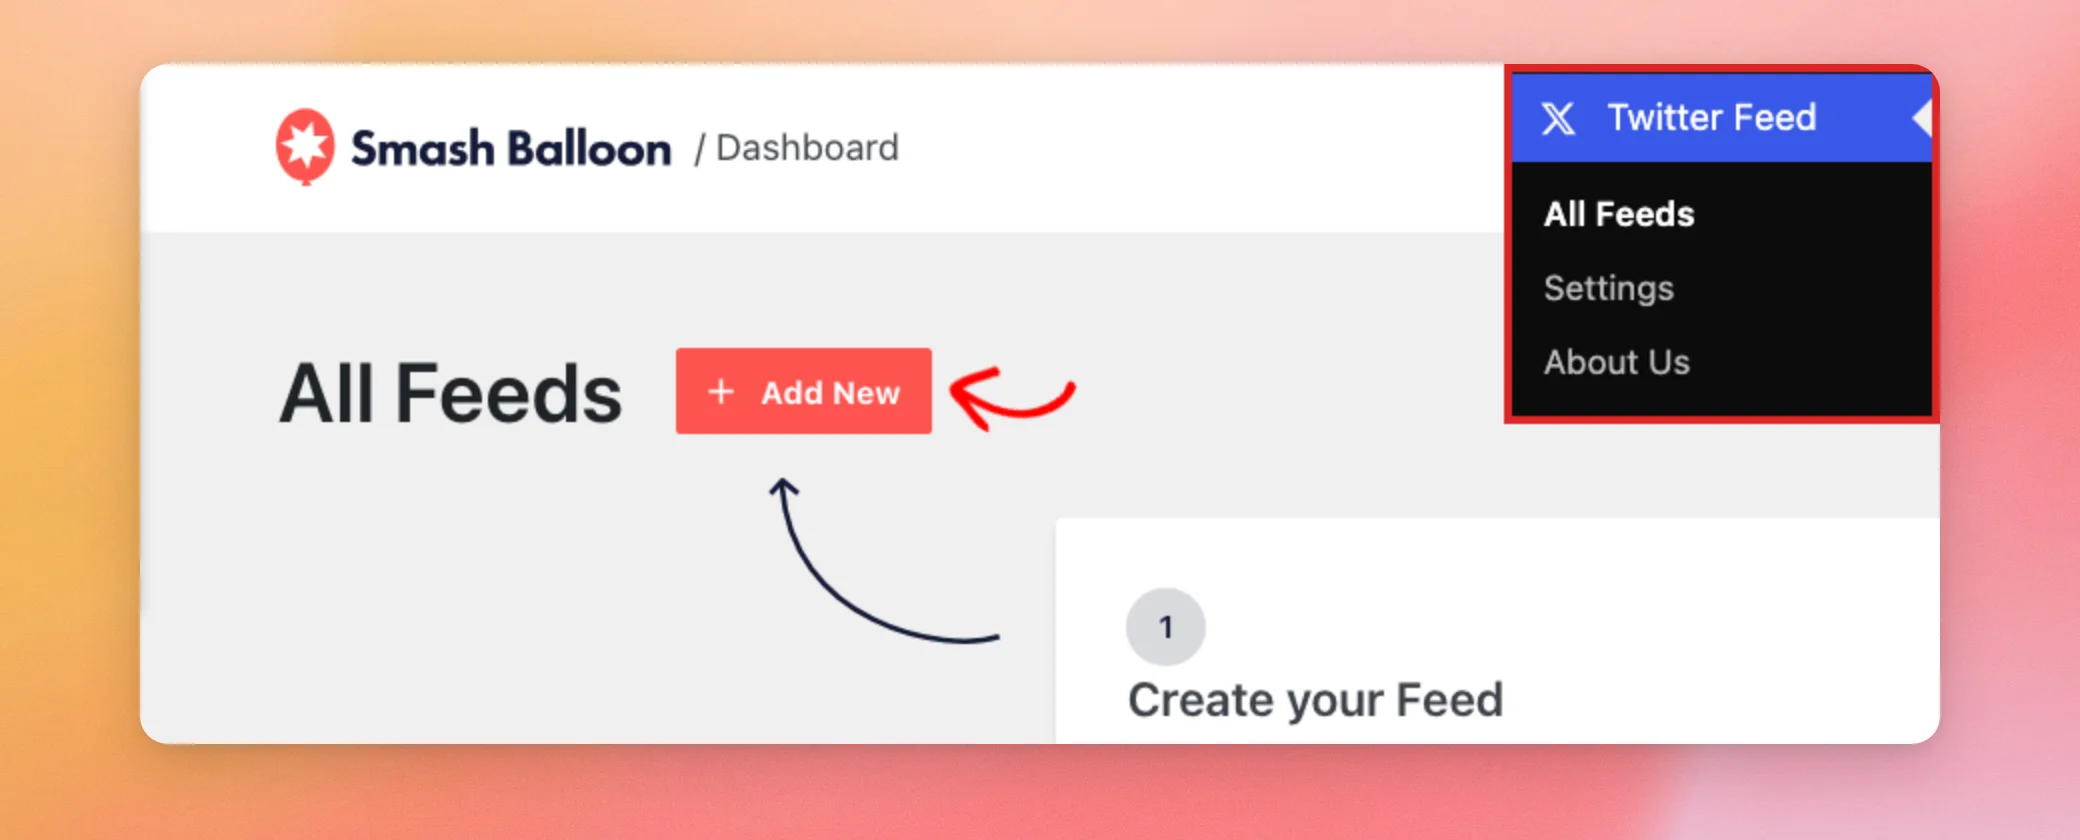
From your WordPress dashboard, go to Twitter Feed » All Feeds. Then, click Add New.
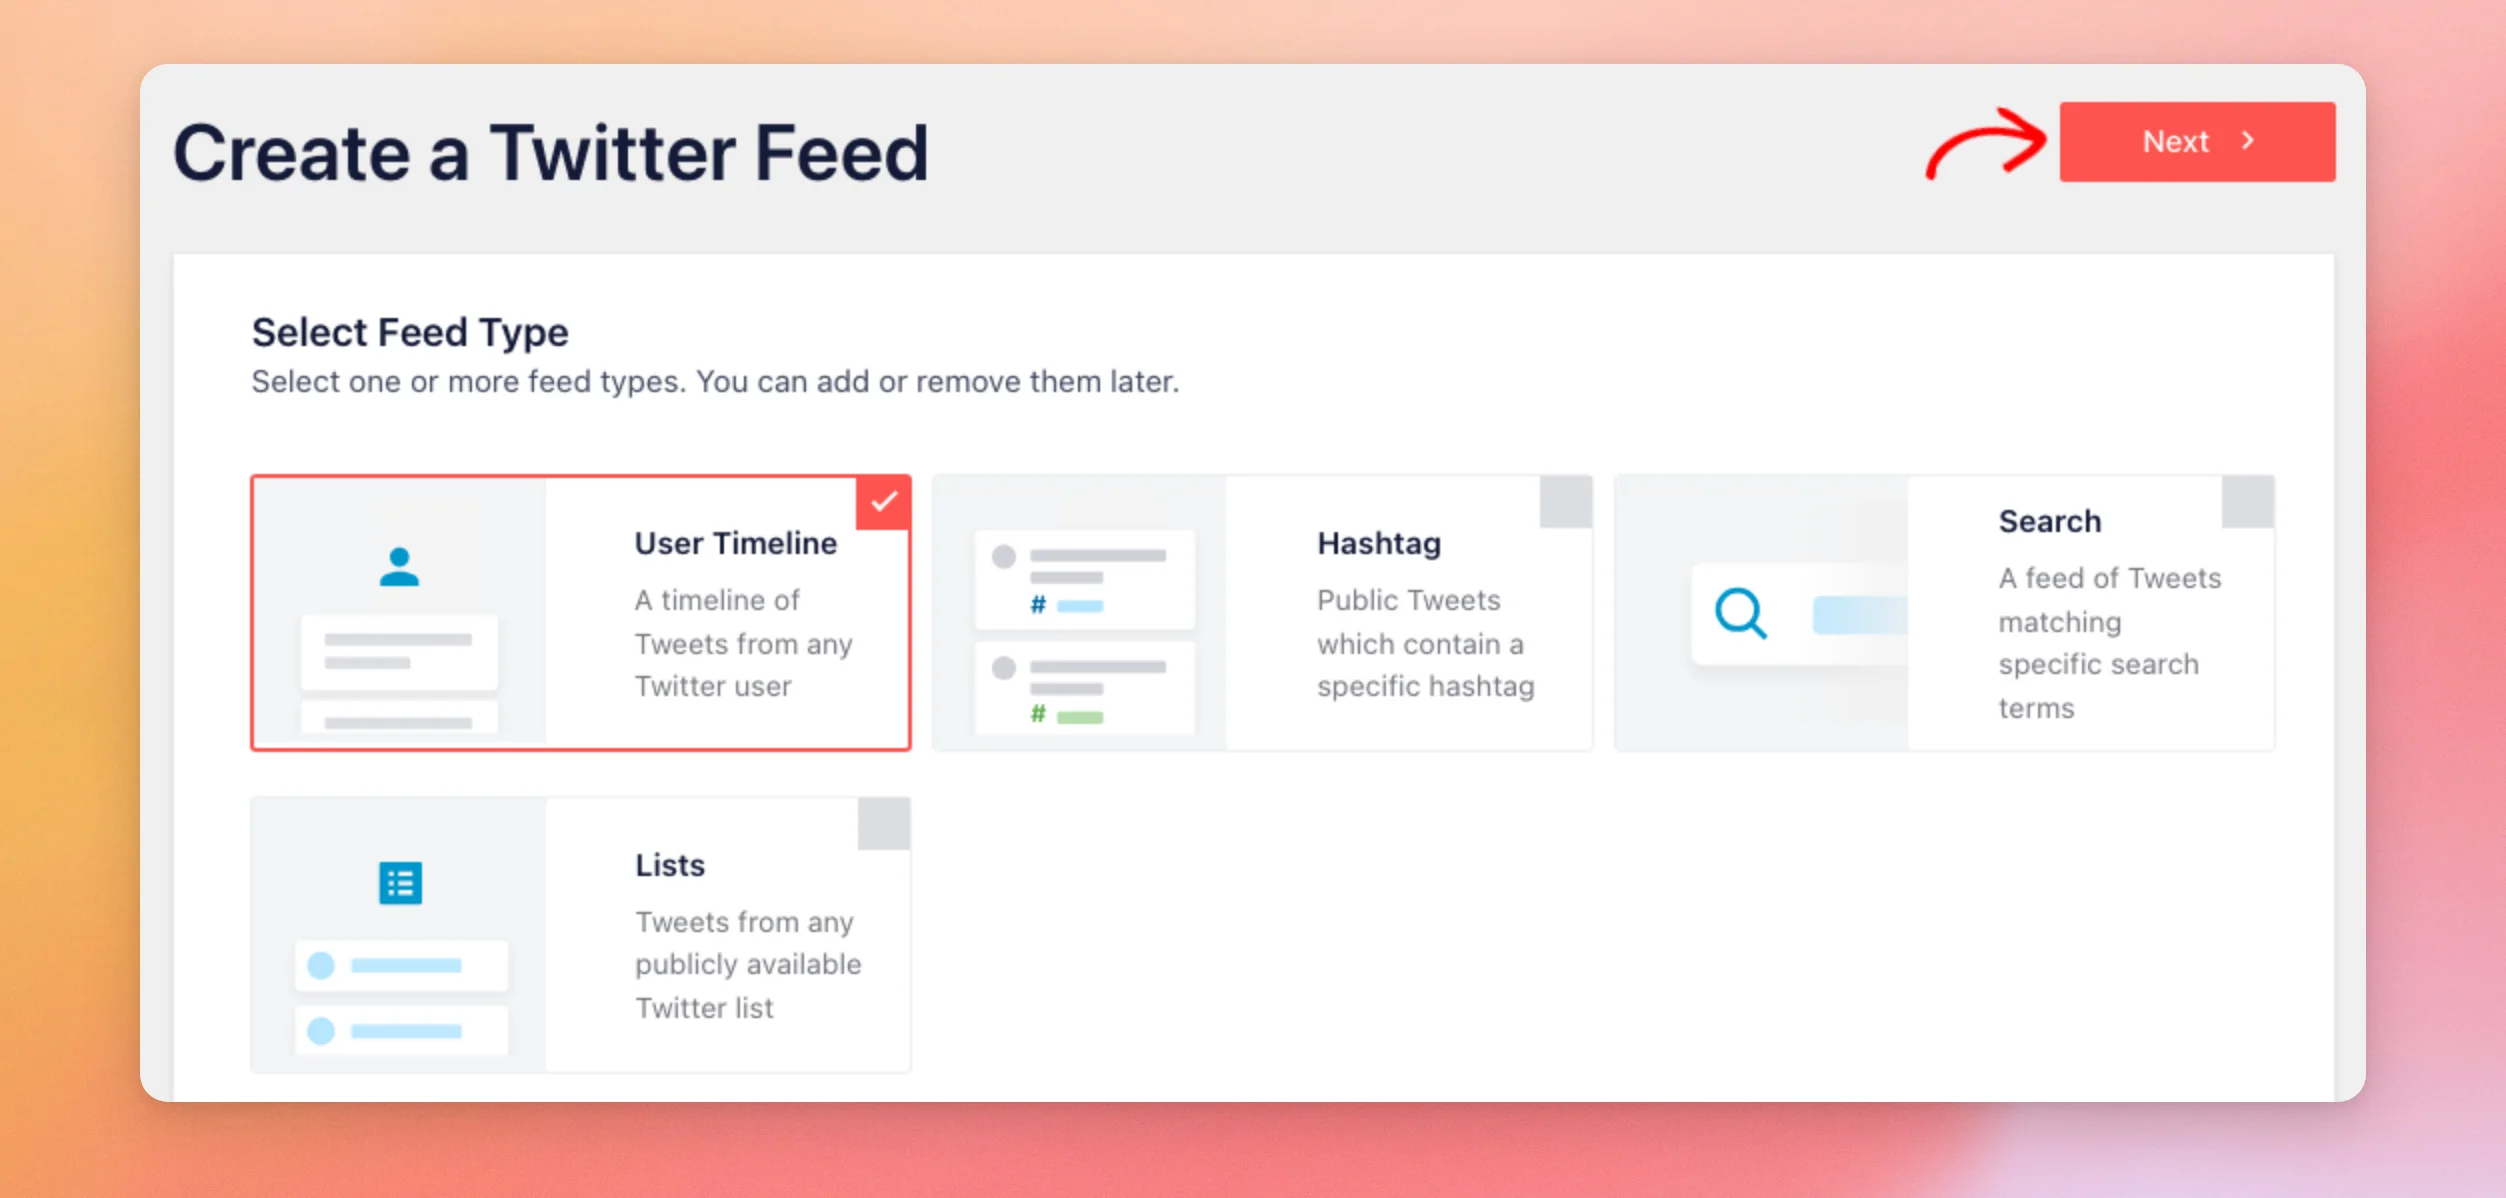
On the Select Feed Type step, we’ll keep User Timeline selected for this guide. This type shows the posts from one or more accounts. To continue, click Next.
The other feed types depend on your license level. Hashtag feeds need the plus license level or higher. Search and Lists feeds need the elite license level.
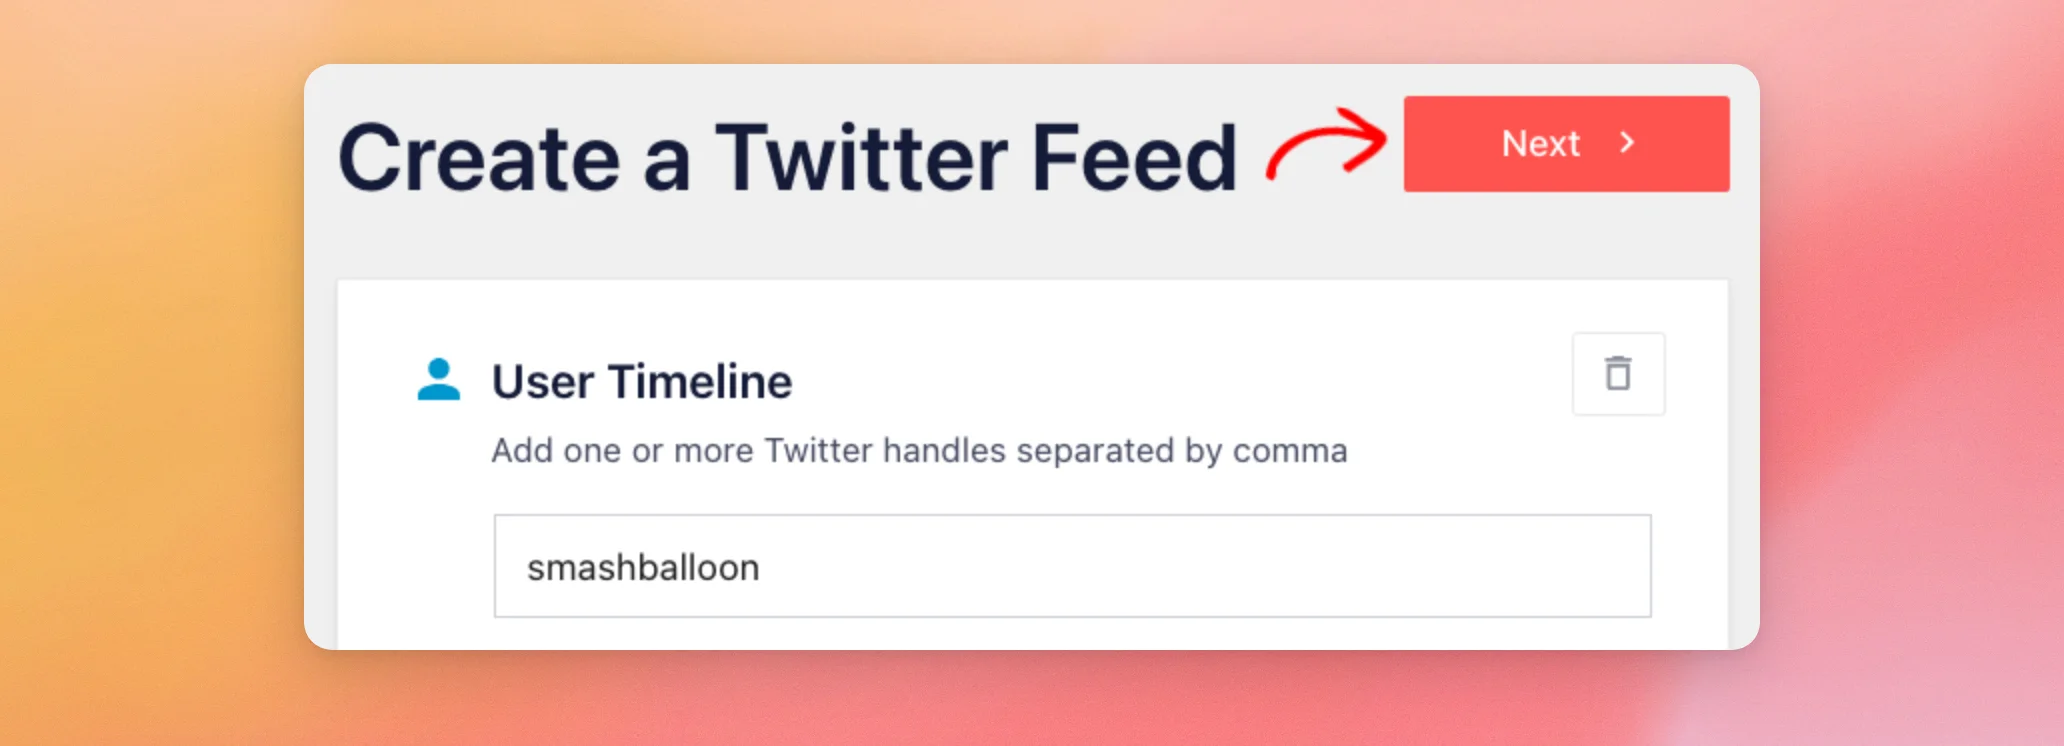
In the User Timeline box, type the handle of the X account you want to show, like @smashballoon. You can type it with or without the @. To add more than one account, separate the handles with commas. After that, click Next.
If your license level includes templates, the next step asks you to start with a template. The Default template is already selected, and you can change it later. To continue, click Next. On the basic license level, the plugin skips this step.
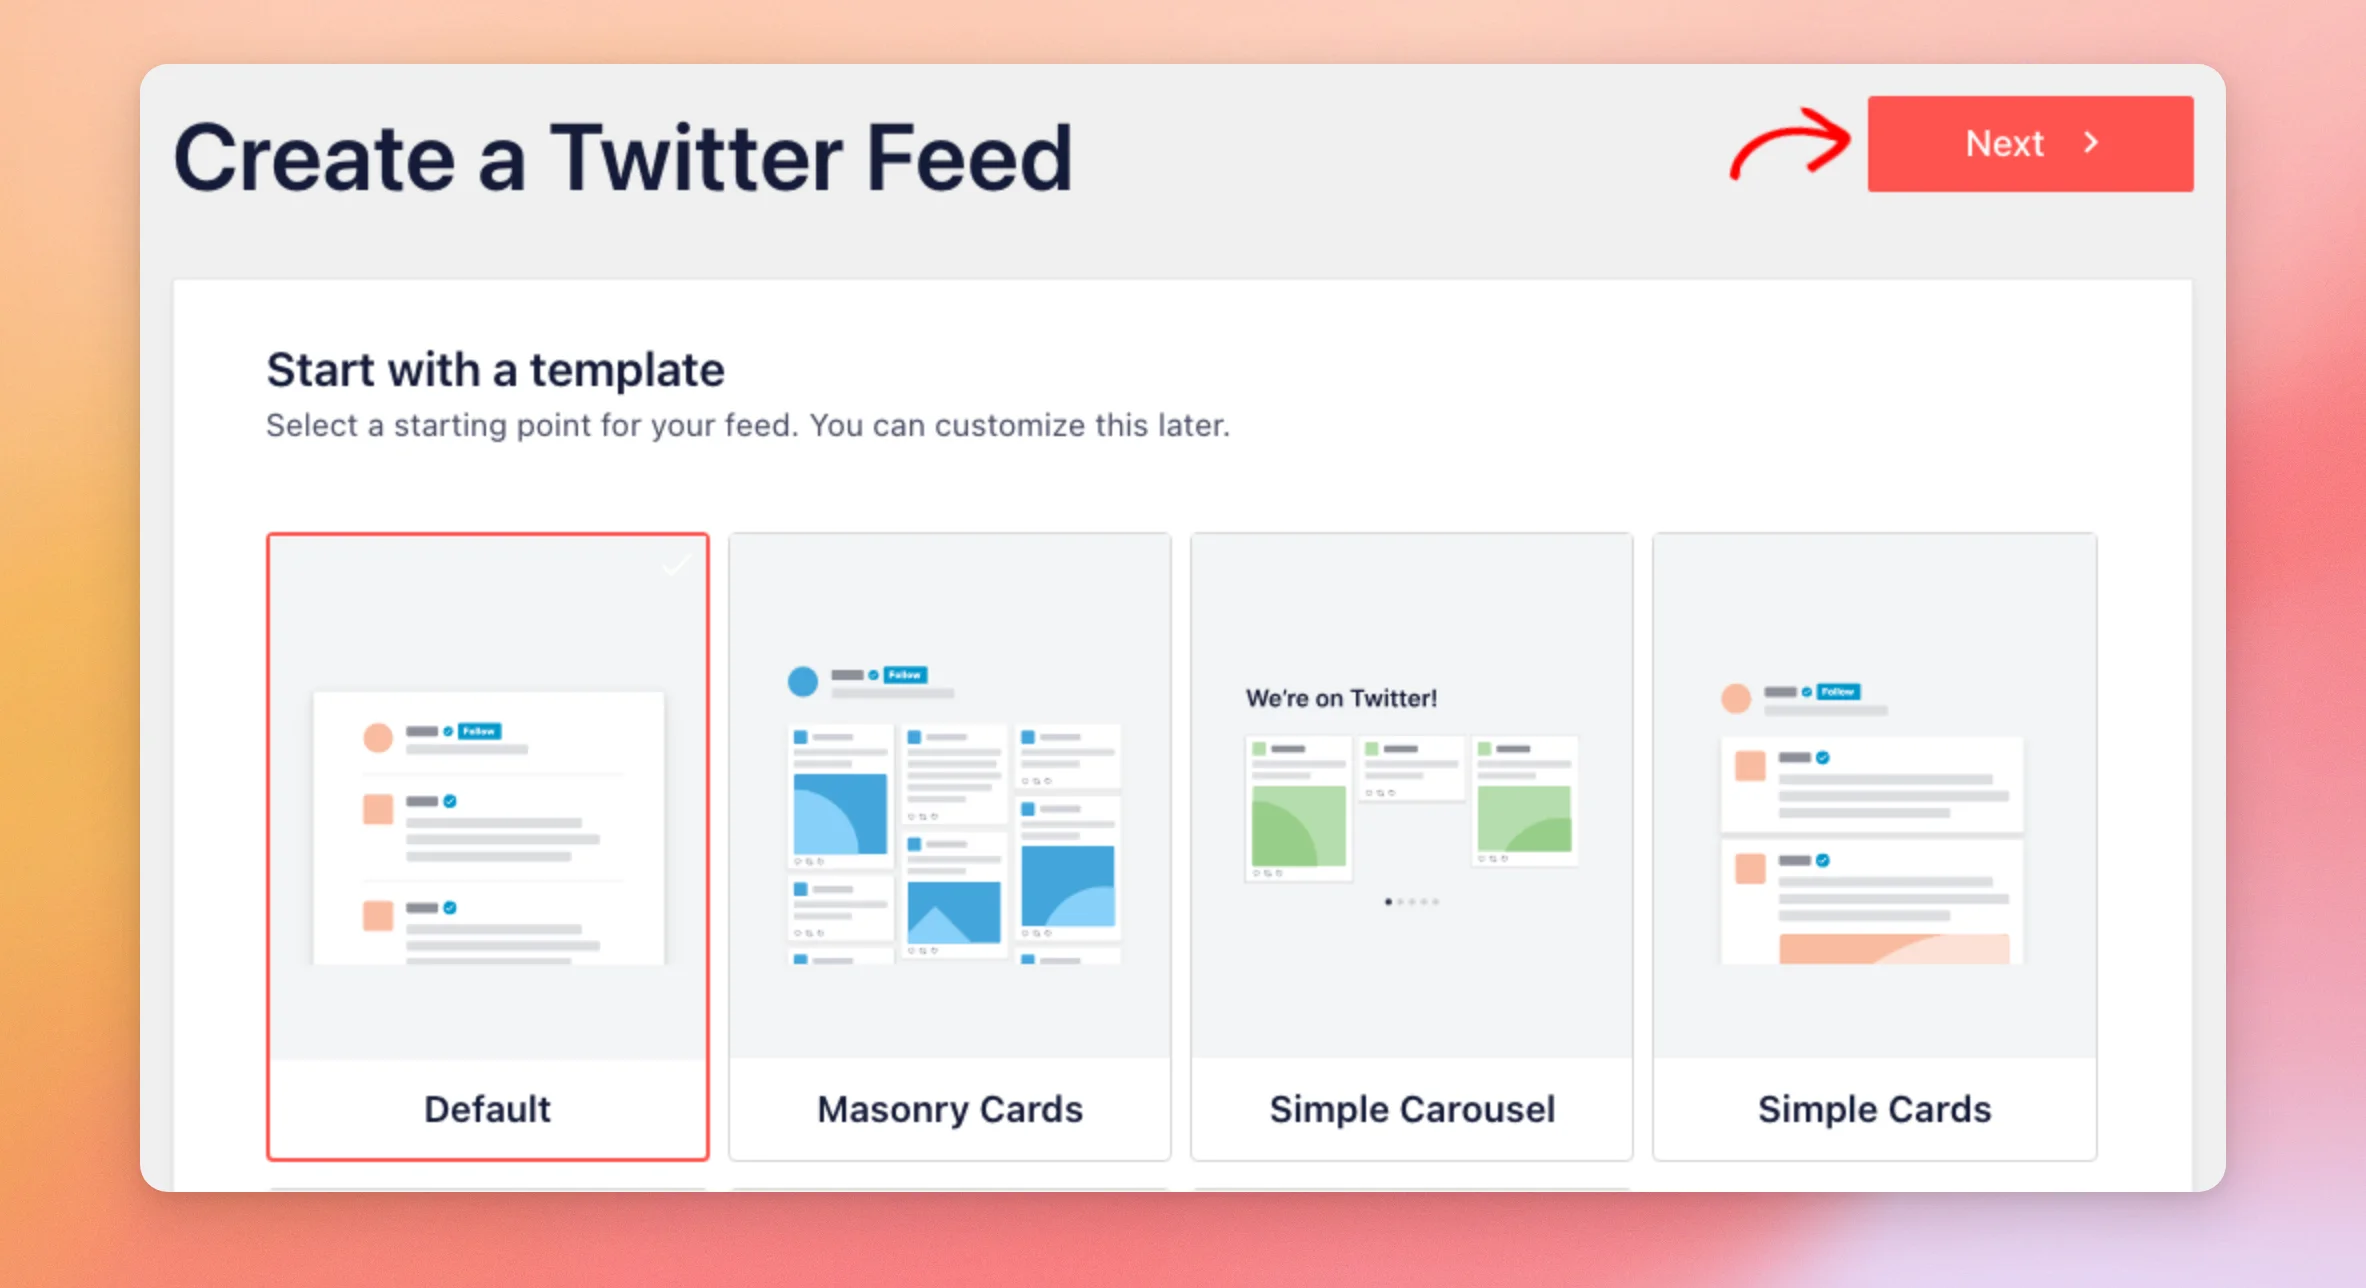
The plugin creates your feed and opens it in the feed customizer. The first time it opens, a short tour points out the Embed button. You can follow it or close it.
On the Customize tab, you can change your feed’s template, layout, and colors. The preview on the right shows how your feed looks. When you’re happy with it, click Save.
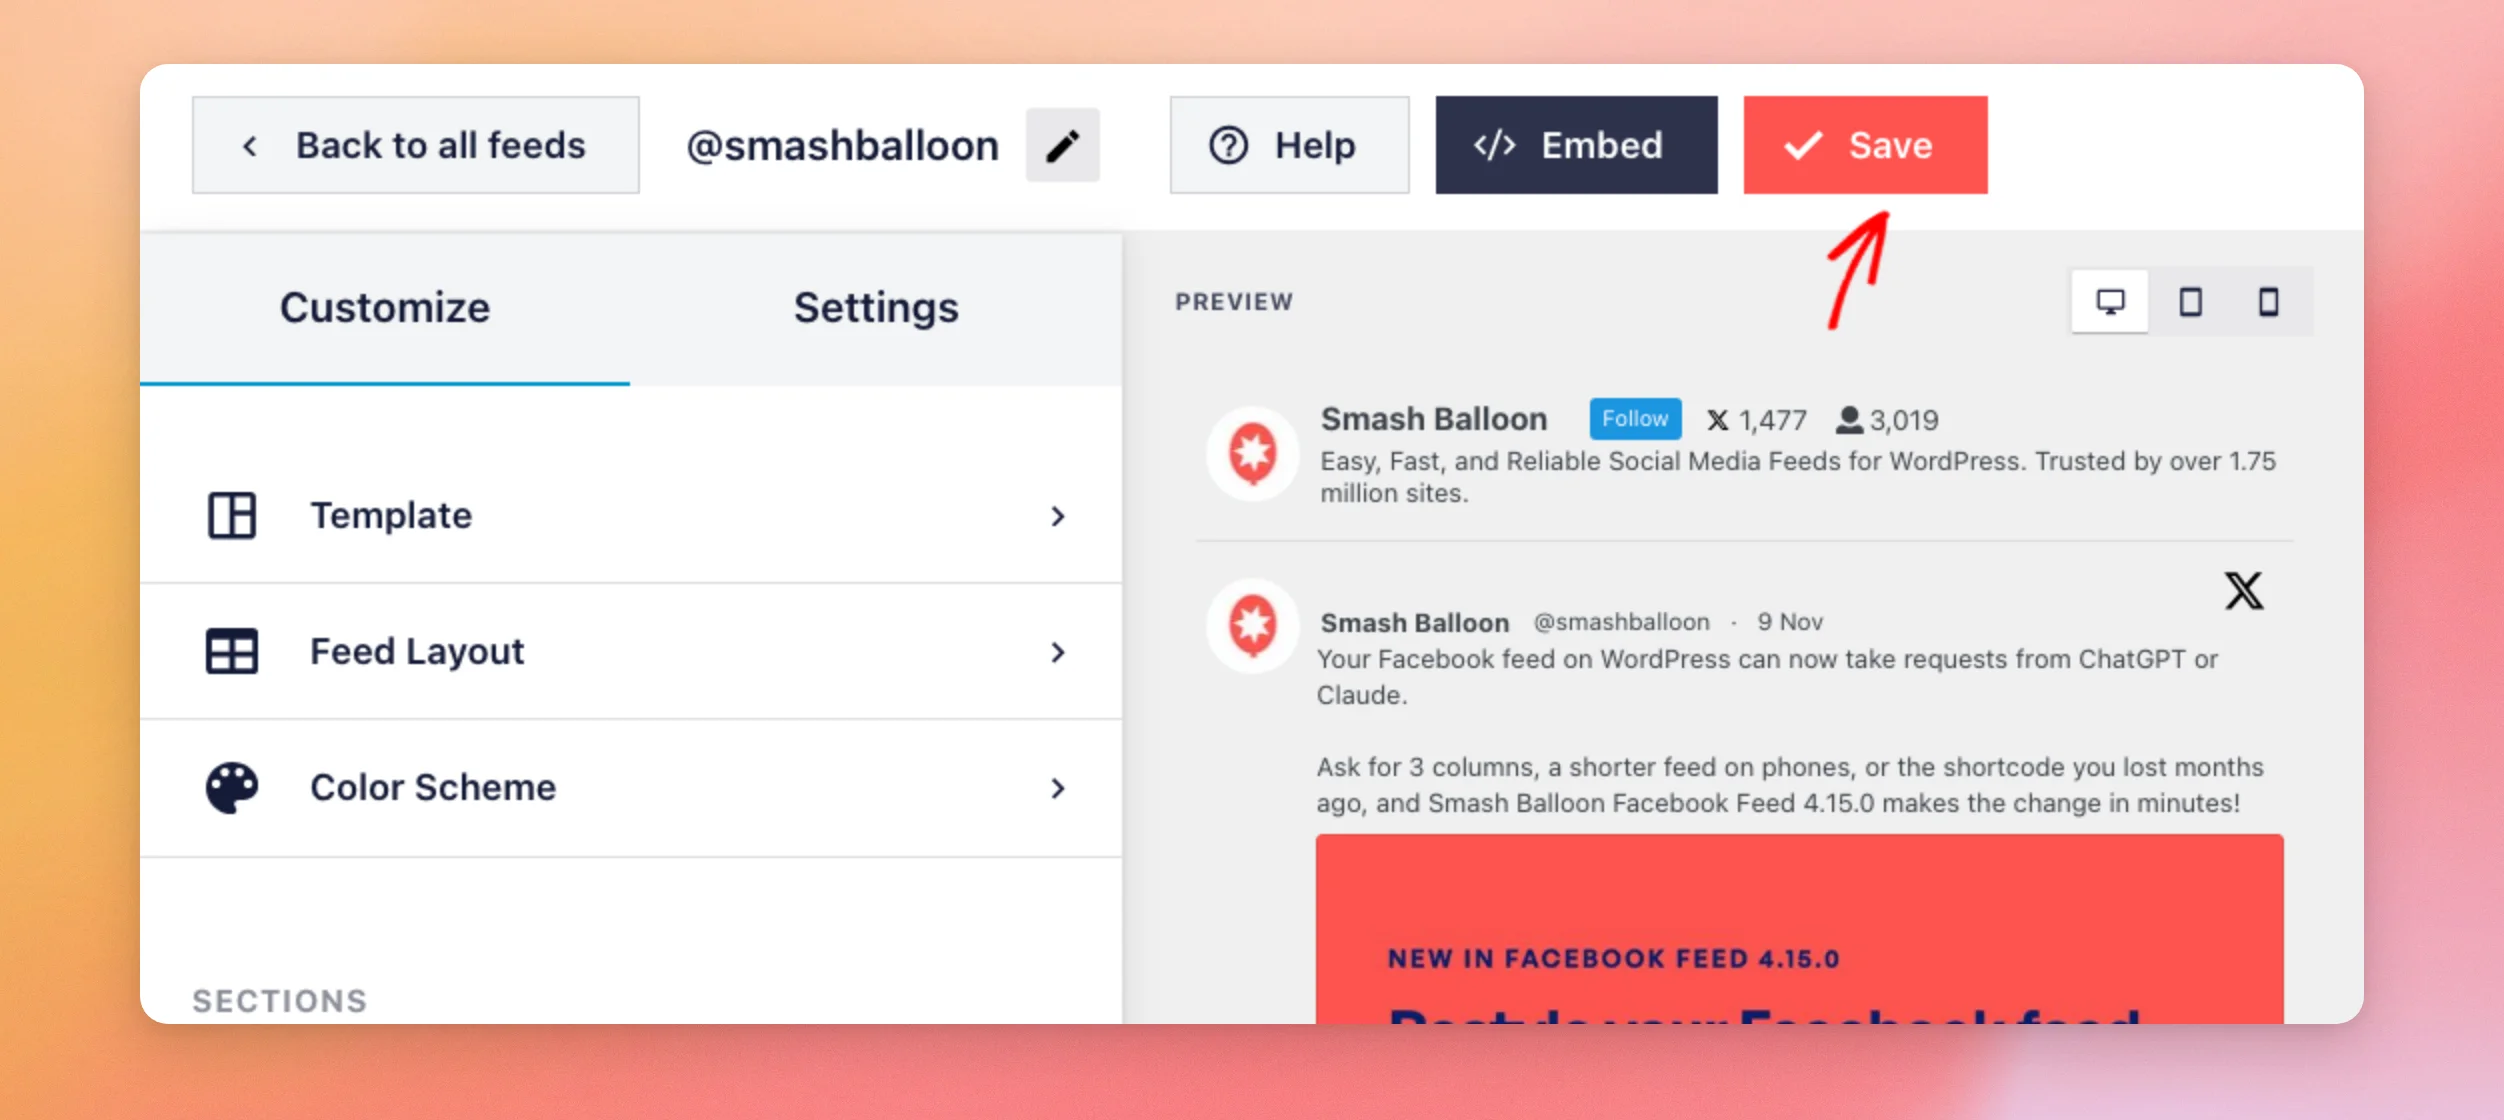
Your feed is saved. Next, we’ll look at keeping individual posts out of it.
Hiding Specific Posts
If a post shows up in your feed that you don’t want on your site, you can hide it with its ID.
You’ll find a post’s ID at the end of its URL on X. In https://x.com/smashballoon/status/2110154381178102086, the ID is 2110154381178102086.
In the feed customizer, open the Settings tab. Then, click Filters.
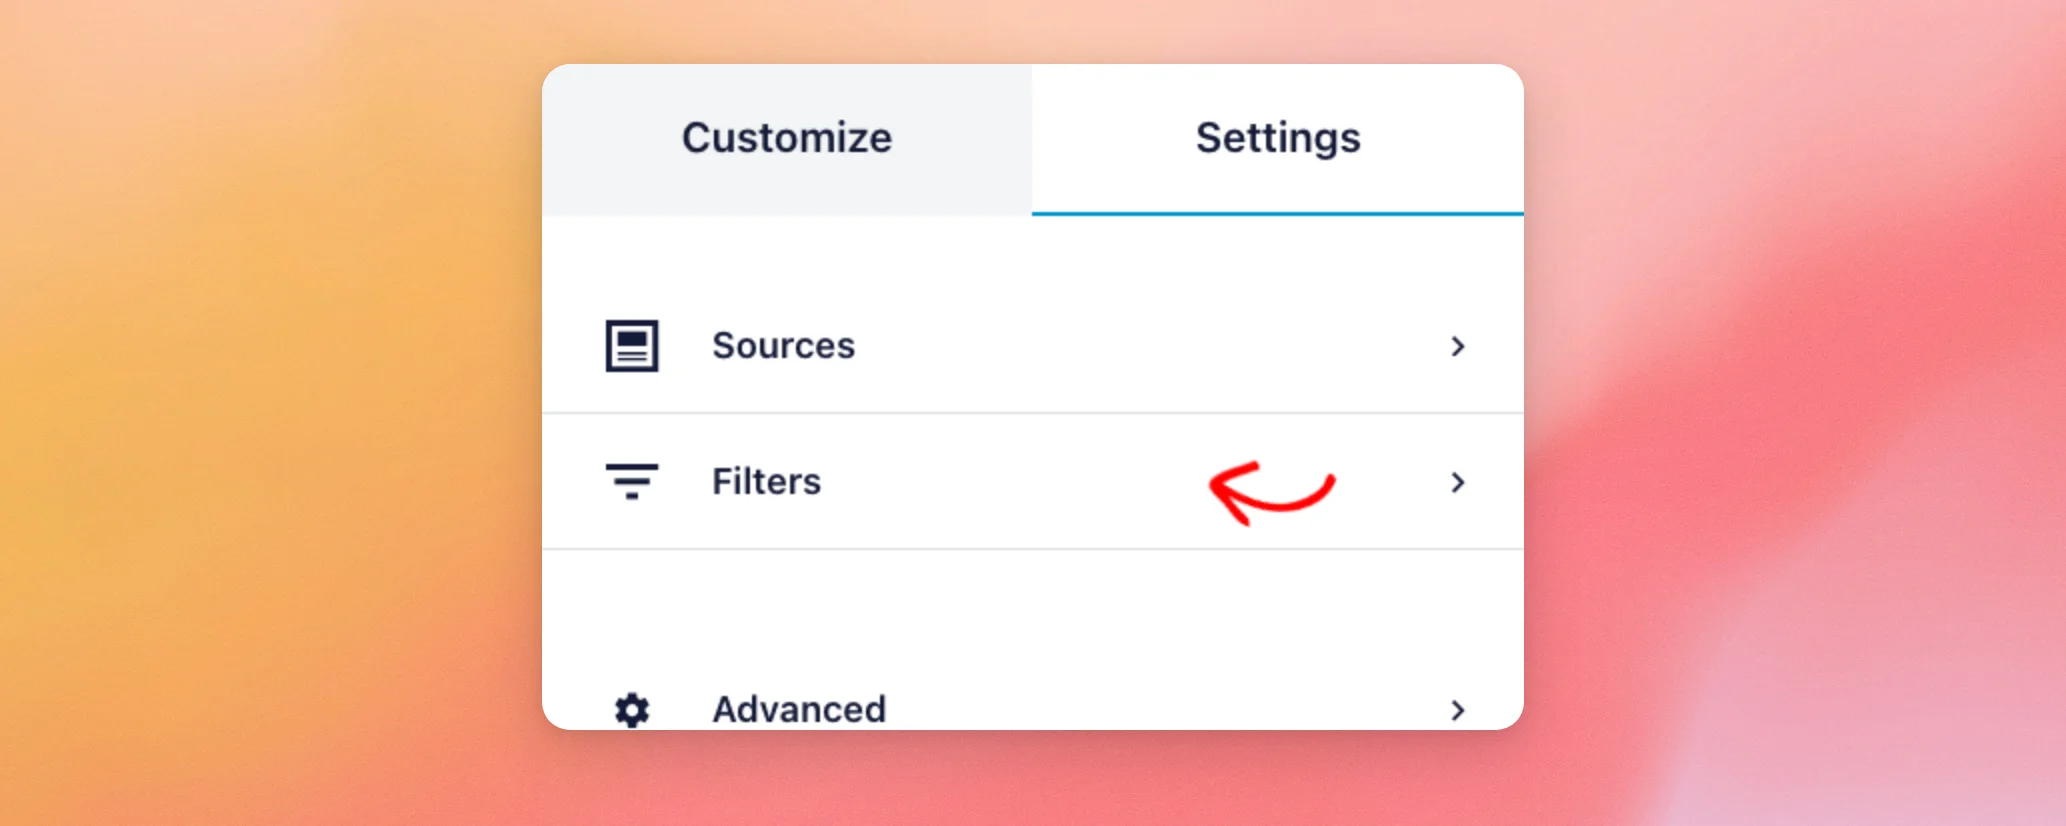
Next, scroll down to Hide specific tweets and enter the post’s ID in the field. To hide more than one post, separate the IDs with commas.

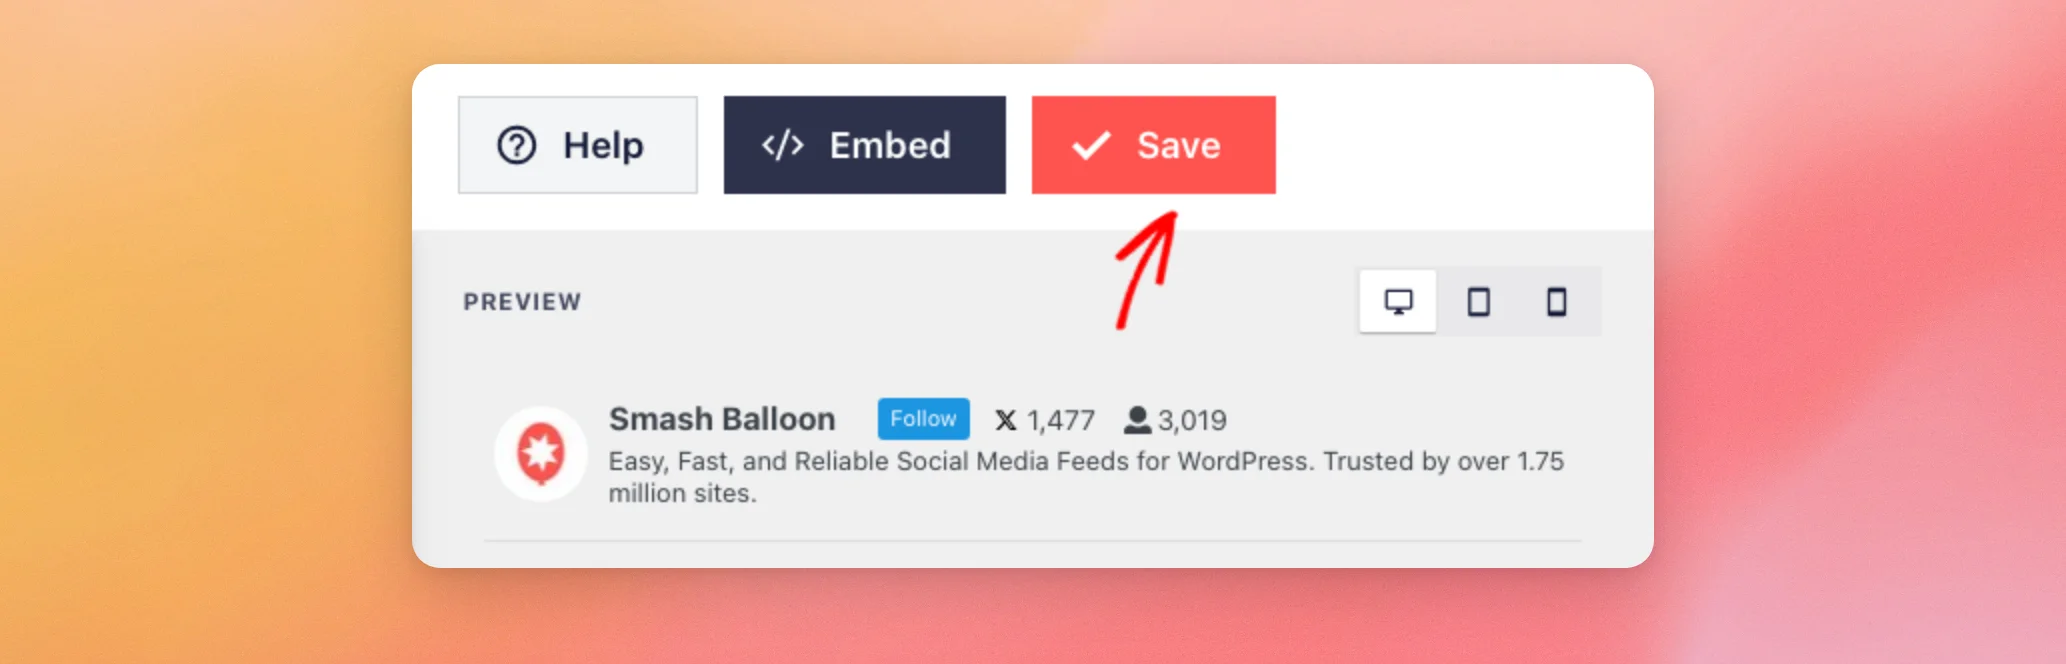
After that, click Save. The post leaves your feed once you save. To show it again, remove its ID from the field and click Save.
Note: Hashtag and Search feeds may show promoted posts that don’t fit your feed settings. You can remove those with the same filters.
To learn more, see our guide on hiding specific posts.
Once your feed hides the posts you don’t want, you’re ready to add it to your site.
Embedding the Feed
You can add your feed with a block, with a shortcode, or directly in a theme template.
Using the Block
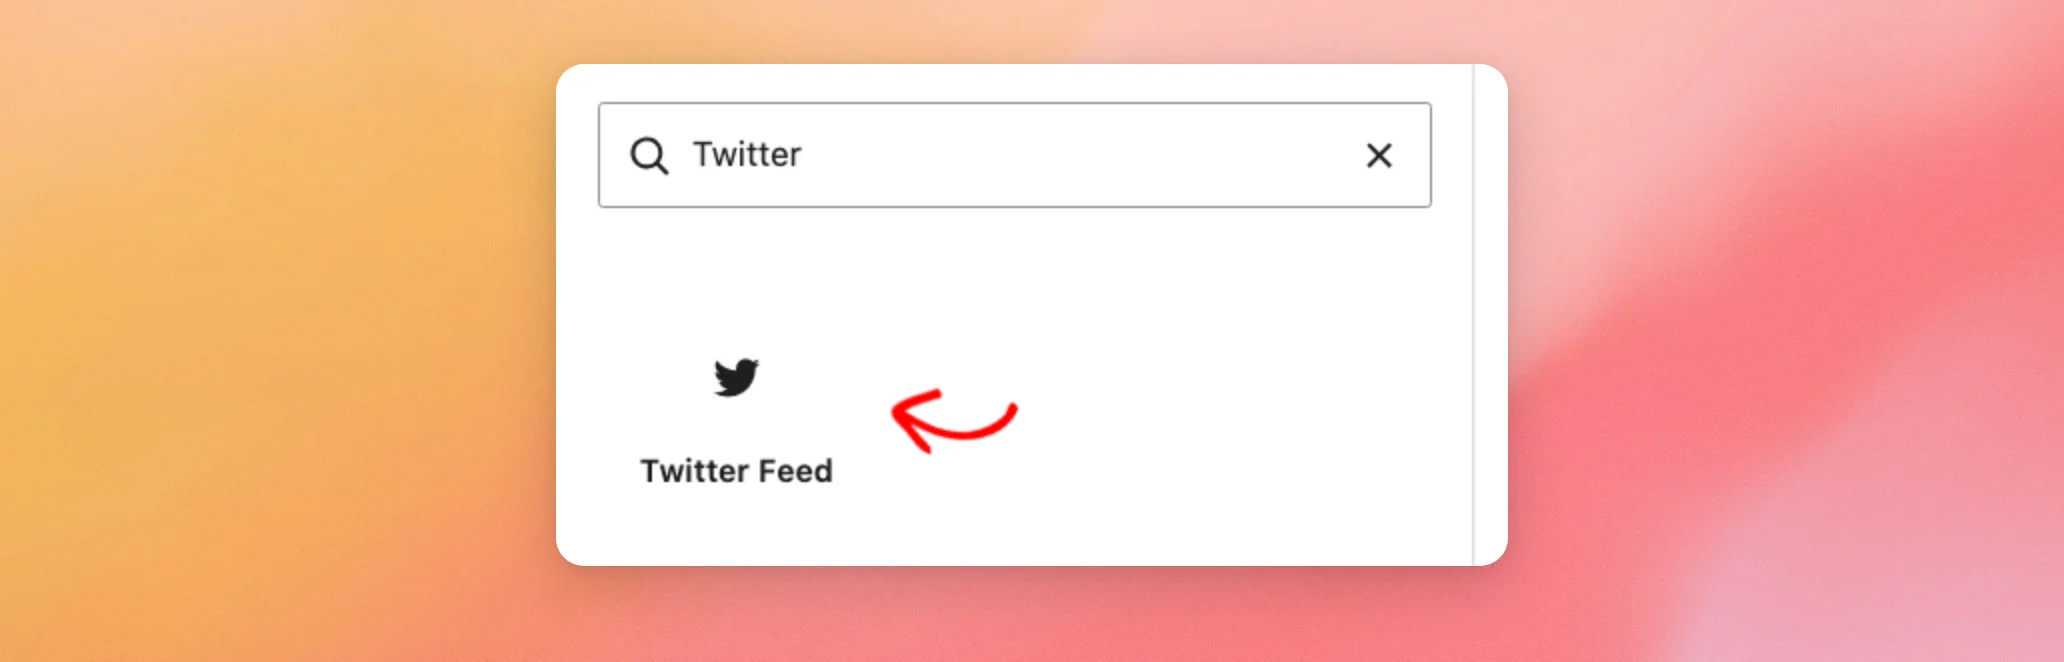
First, open the page or post where you want your feed in the WordPress editor. Then, open the block inserter and search for Twitter. In the results, click the Twitter Feed block.
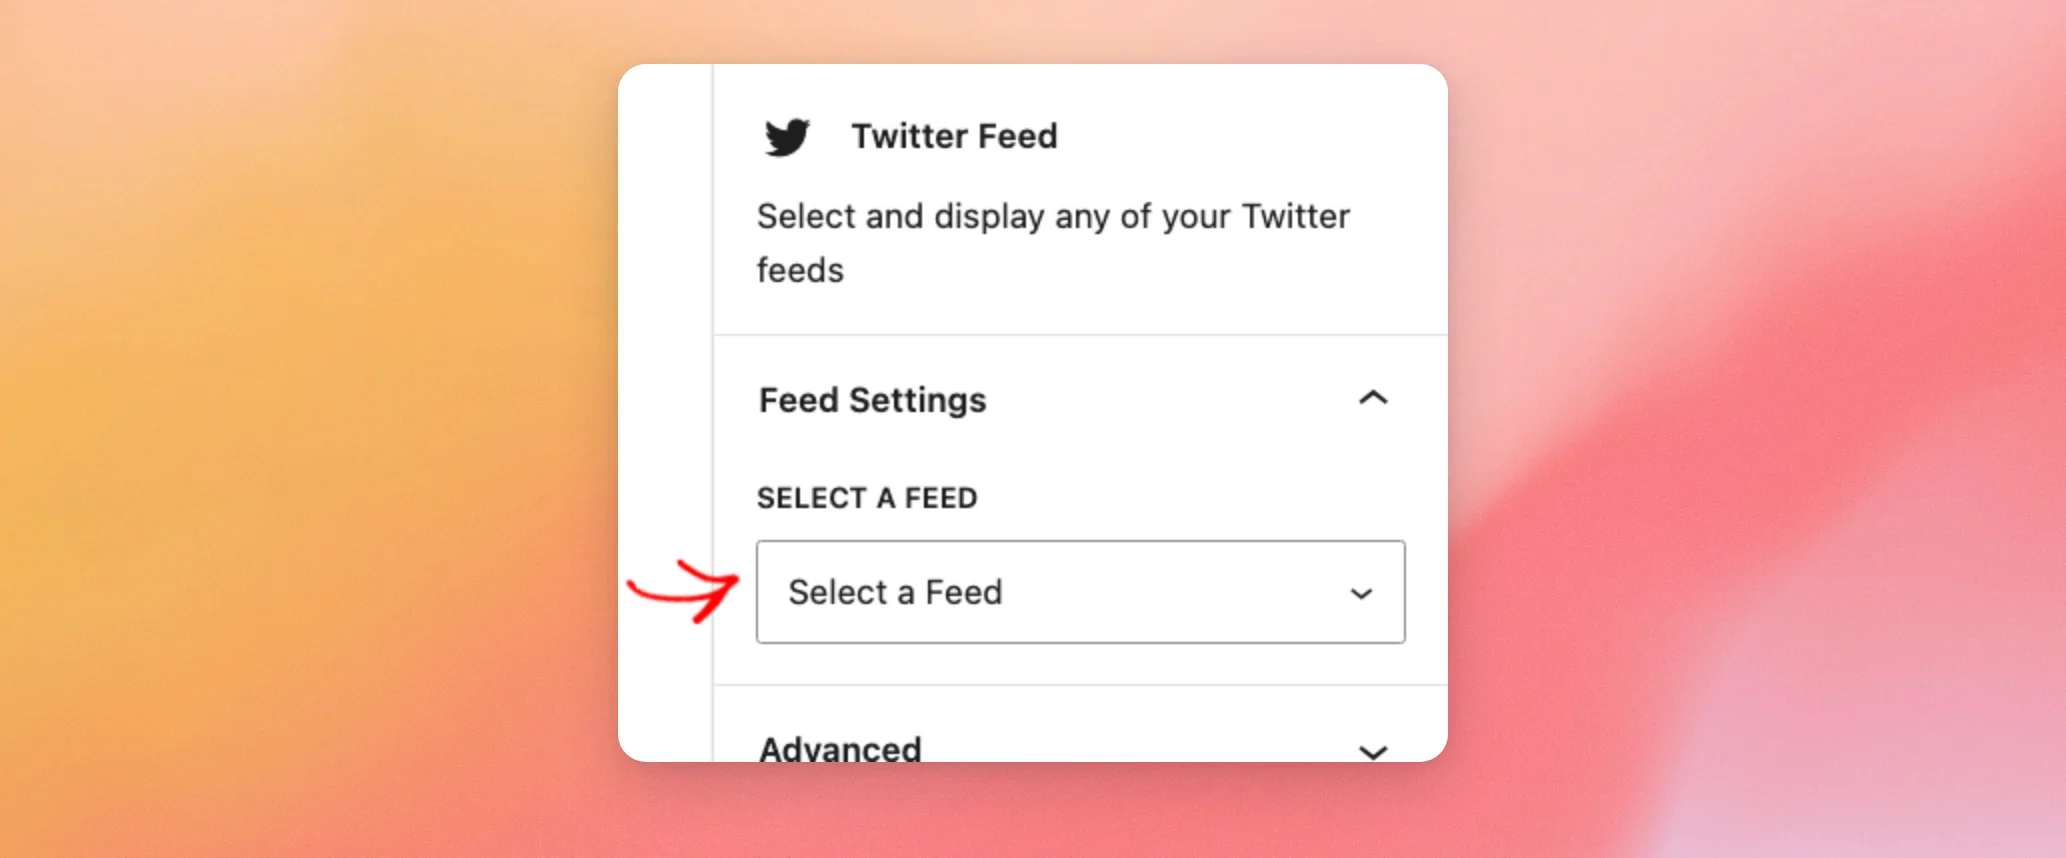
Next, choose your feed from the Select a Feed list in the block’s settings. After that, publish or update your page.
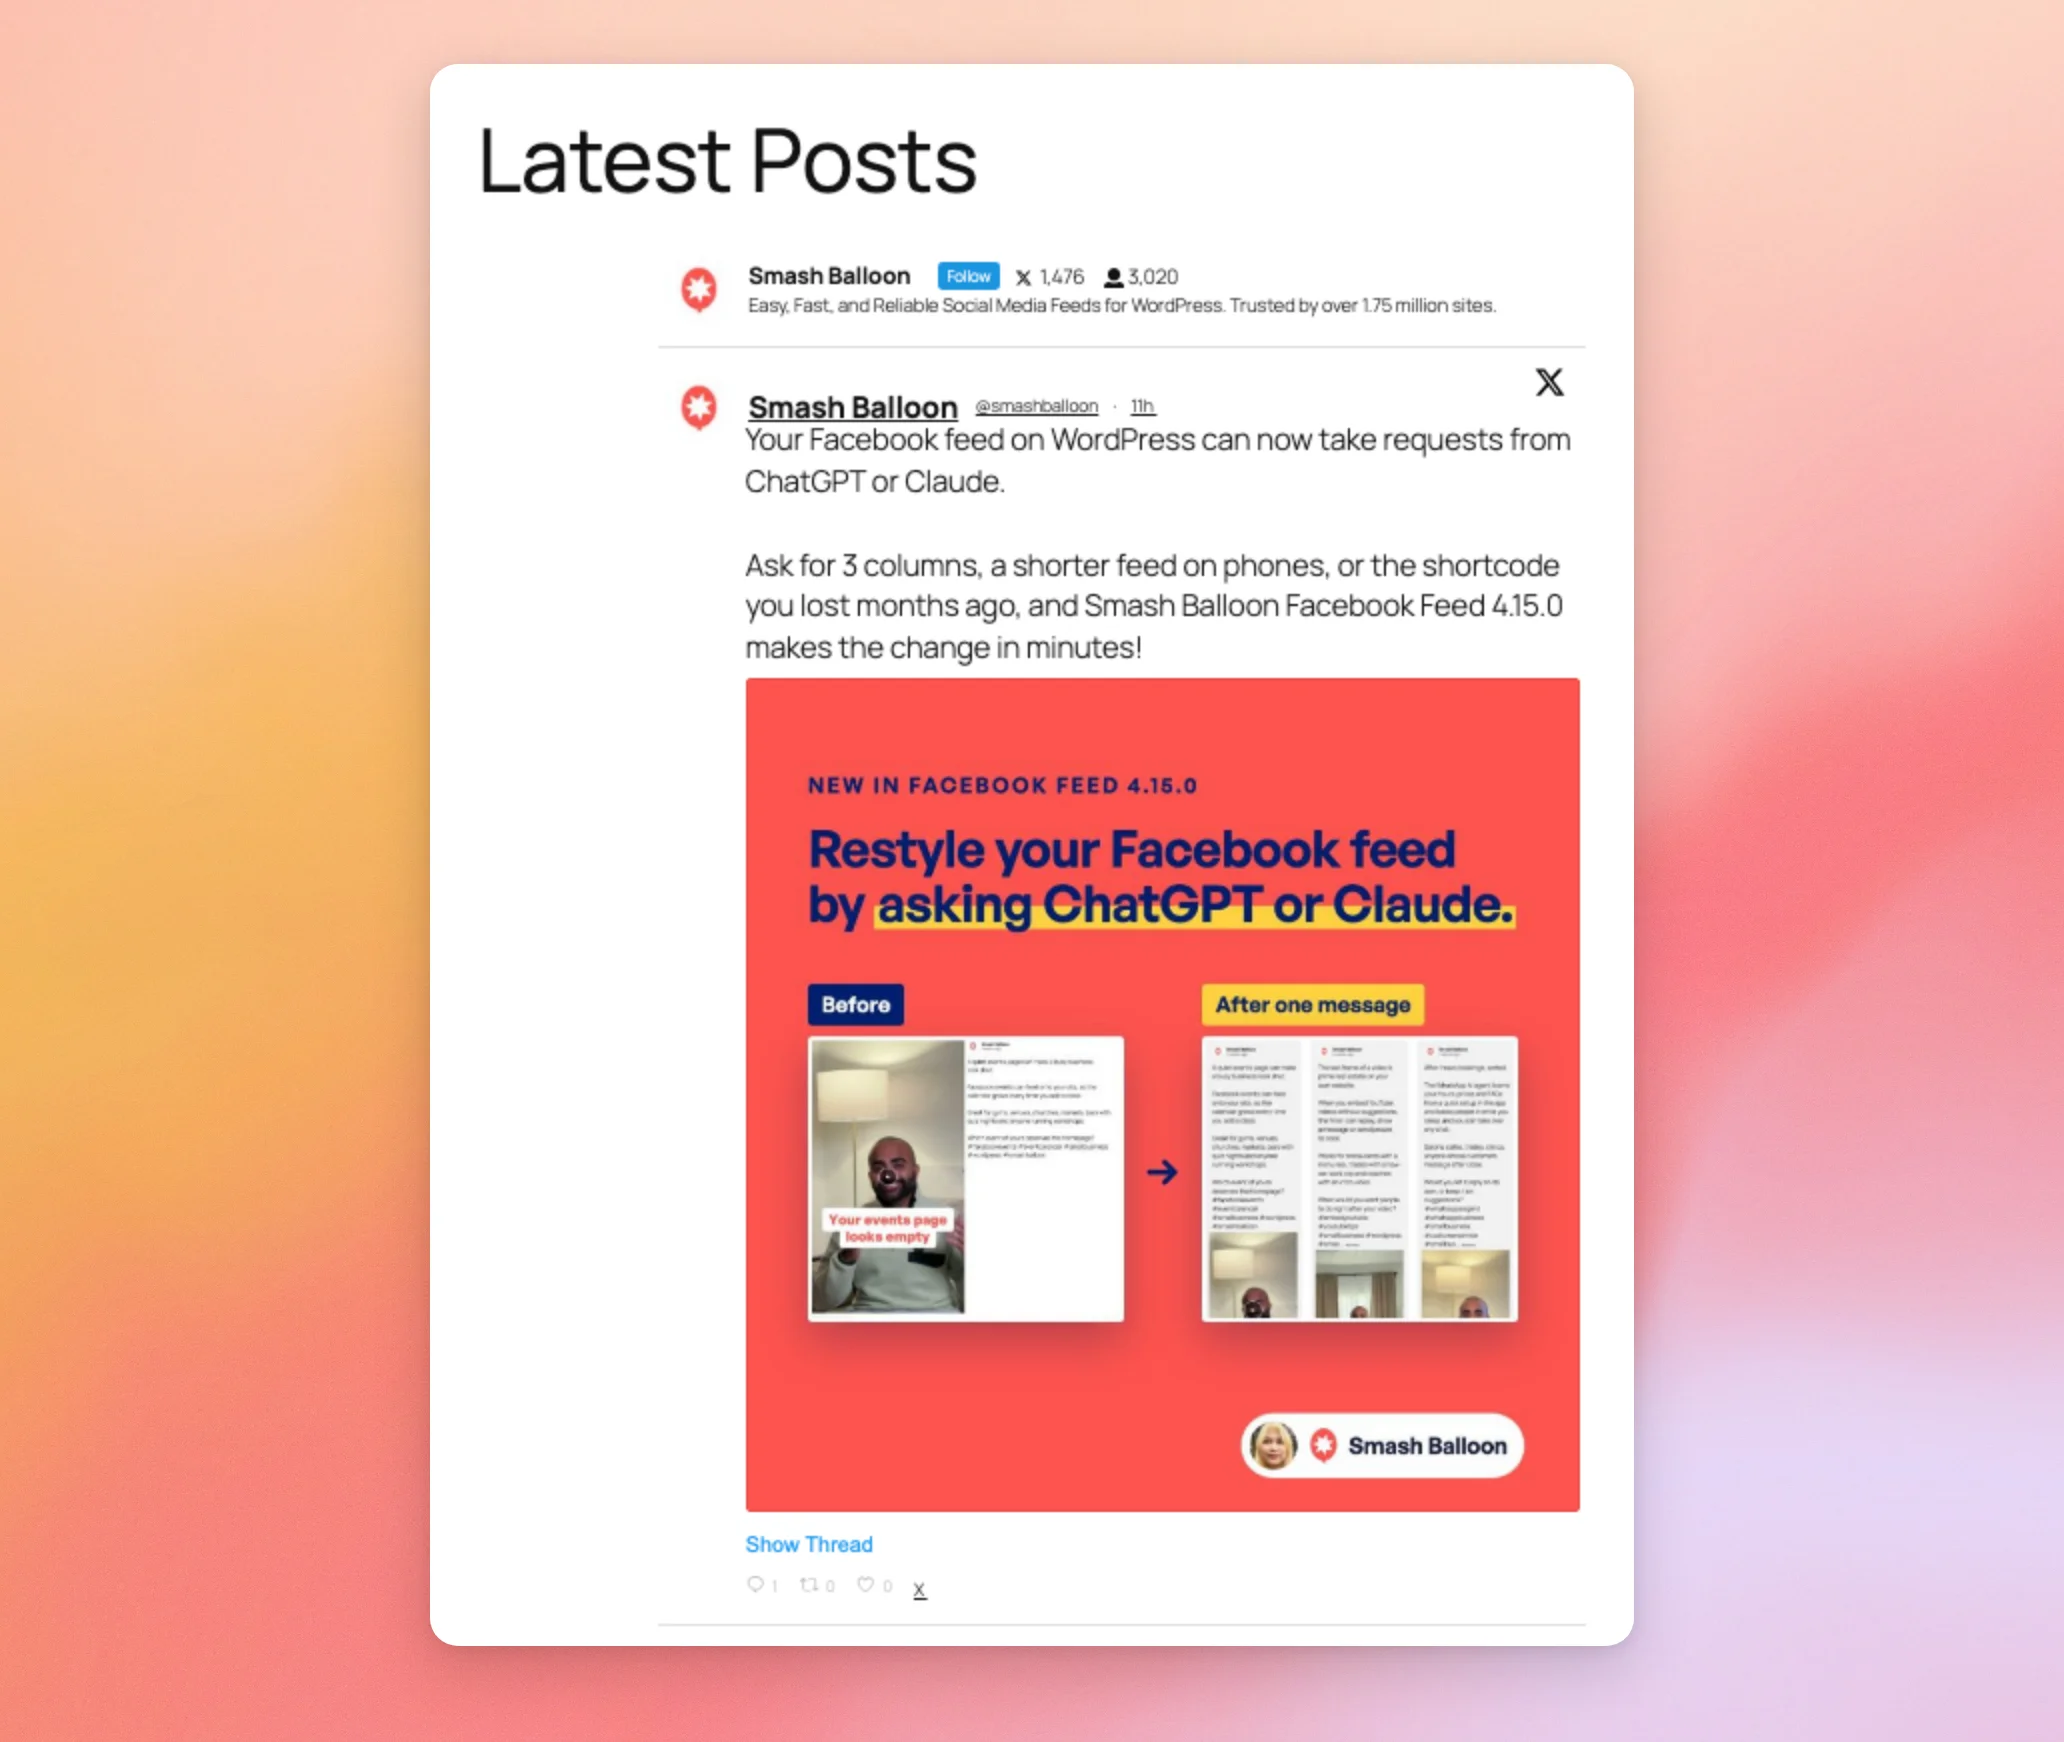
Your feed now shows on that page.
Next, we’ll look at adding it with a shortcode instead.
Using the Shortcode
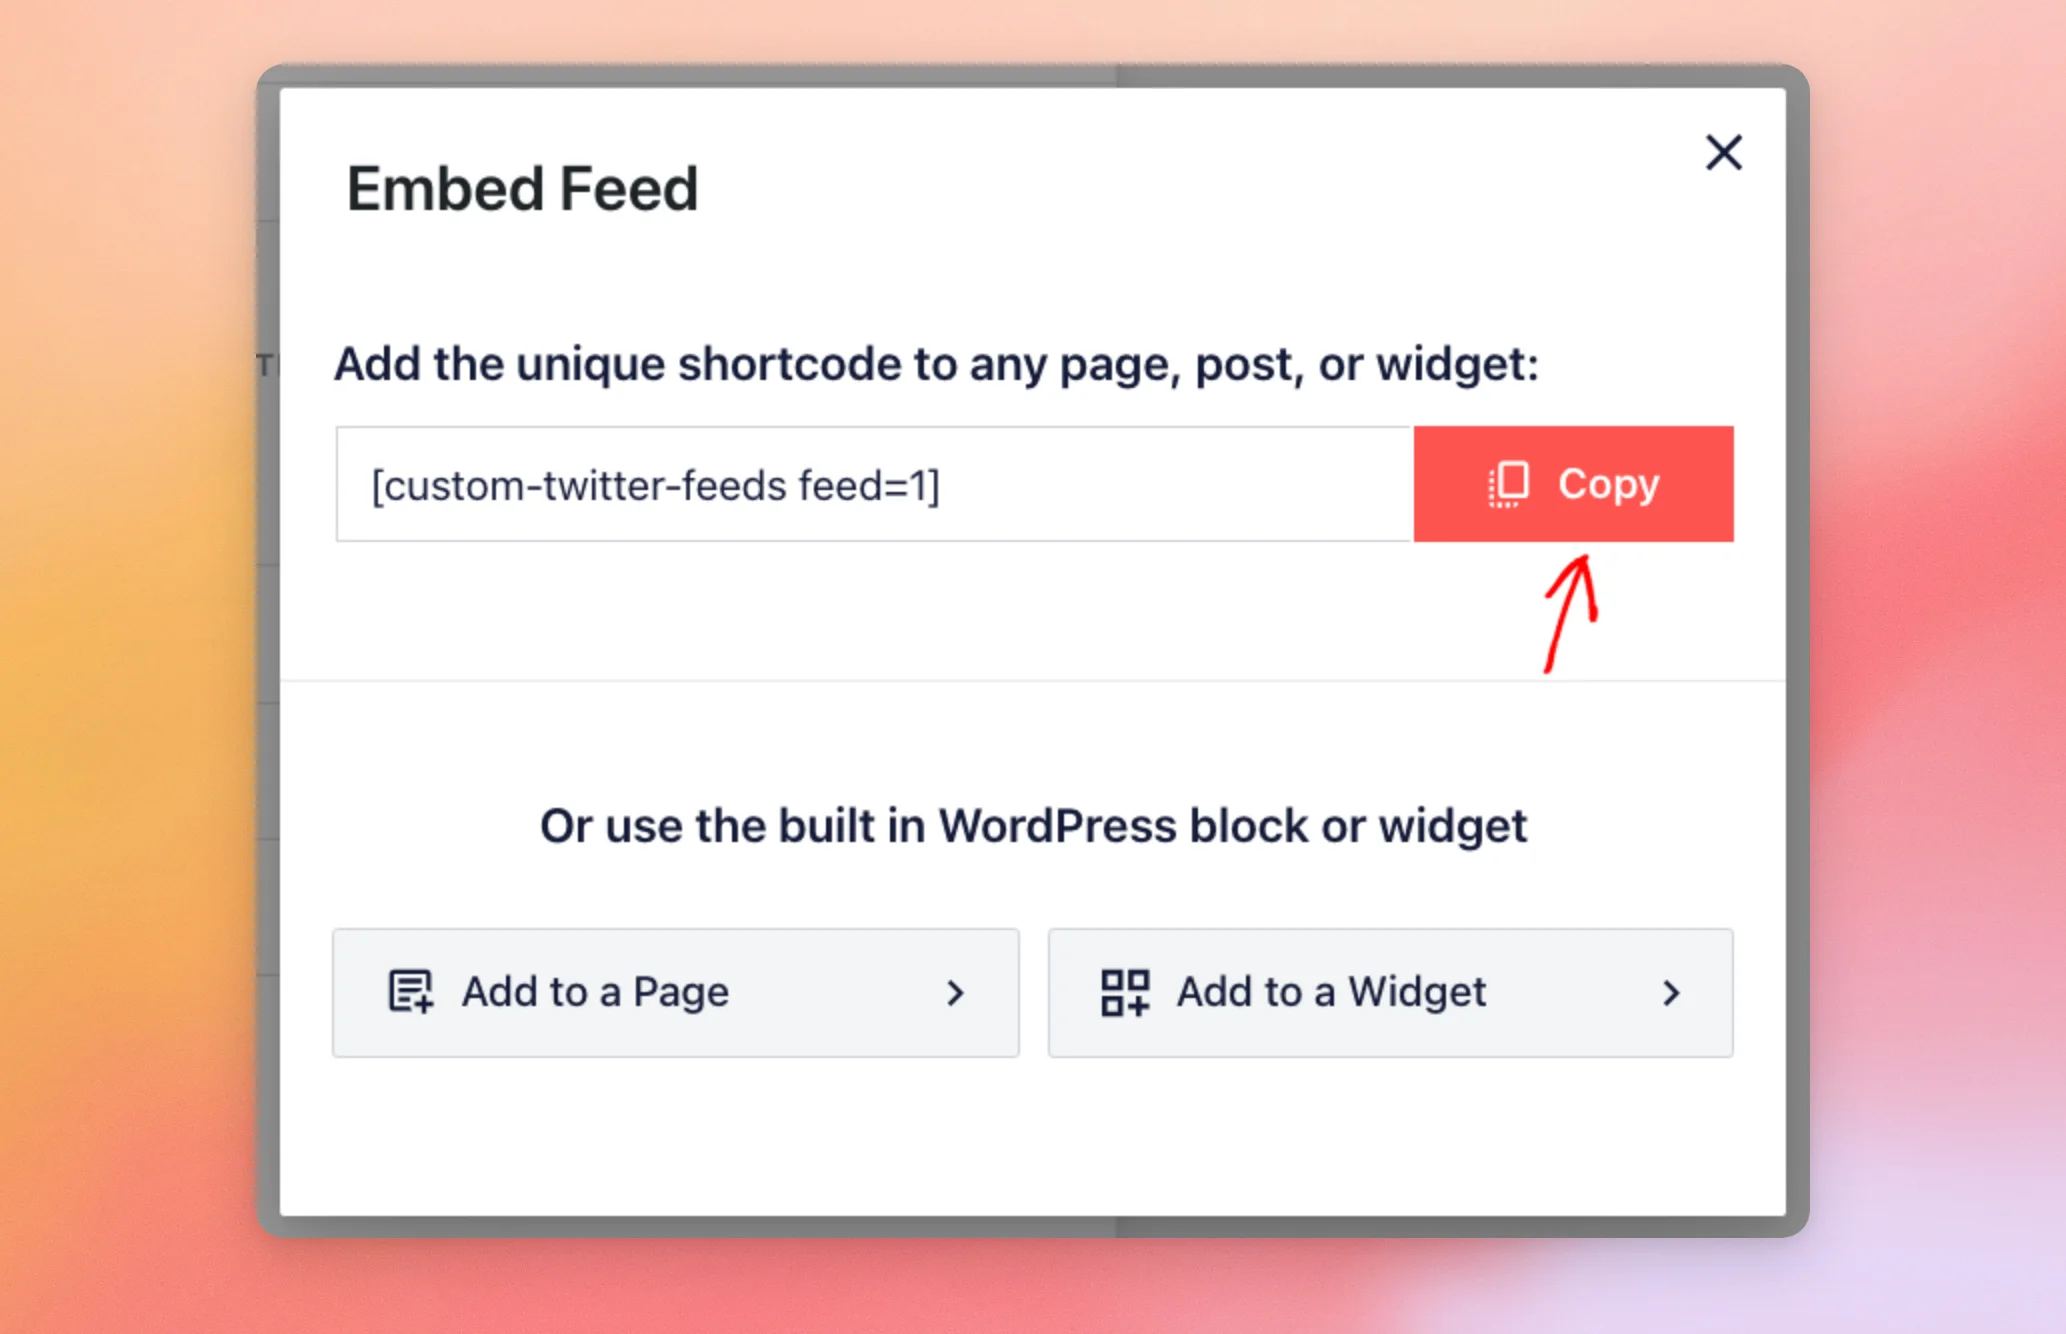
You can also add your feed anywhere that accepts a shortcode. In the feed customizer, click Embed.
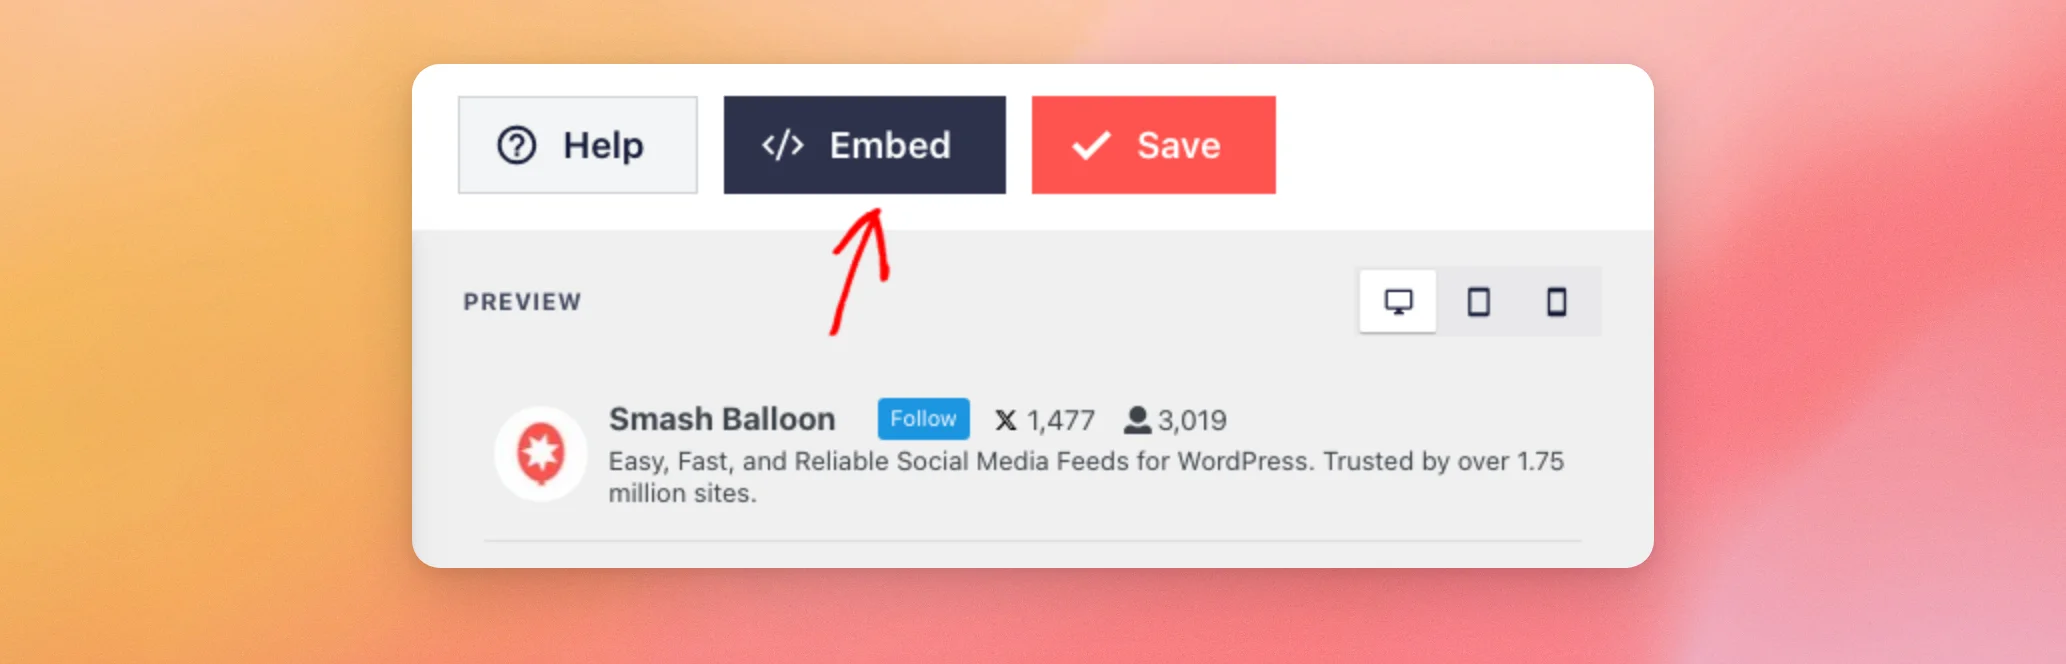
The Embed Feed window shows the shortcode for your feed. It looks like [custom-twitter-feeds feed=1]. To use it, click Copy. Then, paste the shortcode into any page, post, or widget.
For more help, see How to Add a Shortcode in WordPress for a step-by-step guide.
If you want your feed in a spot the editor can’t reach, a theme template is the next option.
Adding the Feed to a Theme Template
A theme template shows your feed in a spot the WordPress editor can’t reach, like your site’s footer. This option involves editing your theme’s PHP files. It’s best suited to developers.
To do this, add the WordPress do_shortcode function to your template file where you want the feed:
<?php echo do_shortcode( '[custom-twitter-feeds feed=1]' ); ?>Then, replace the 1 with your feed’s number. You’ll find it in the shortcode from the Embed Feed window.
Your feed is now on your site. Next, we’ll look at how to change it later.
Editing Your Feed
You can come back and change your feed at any time.
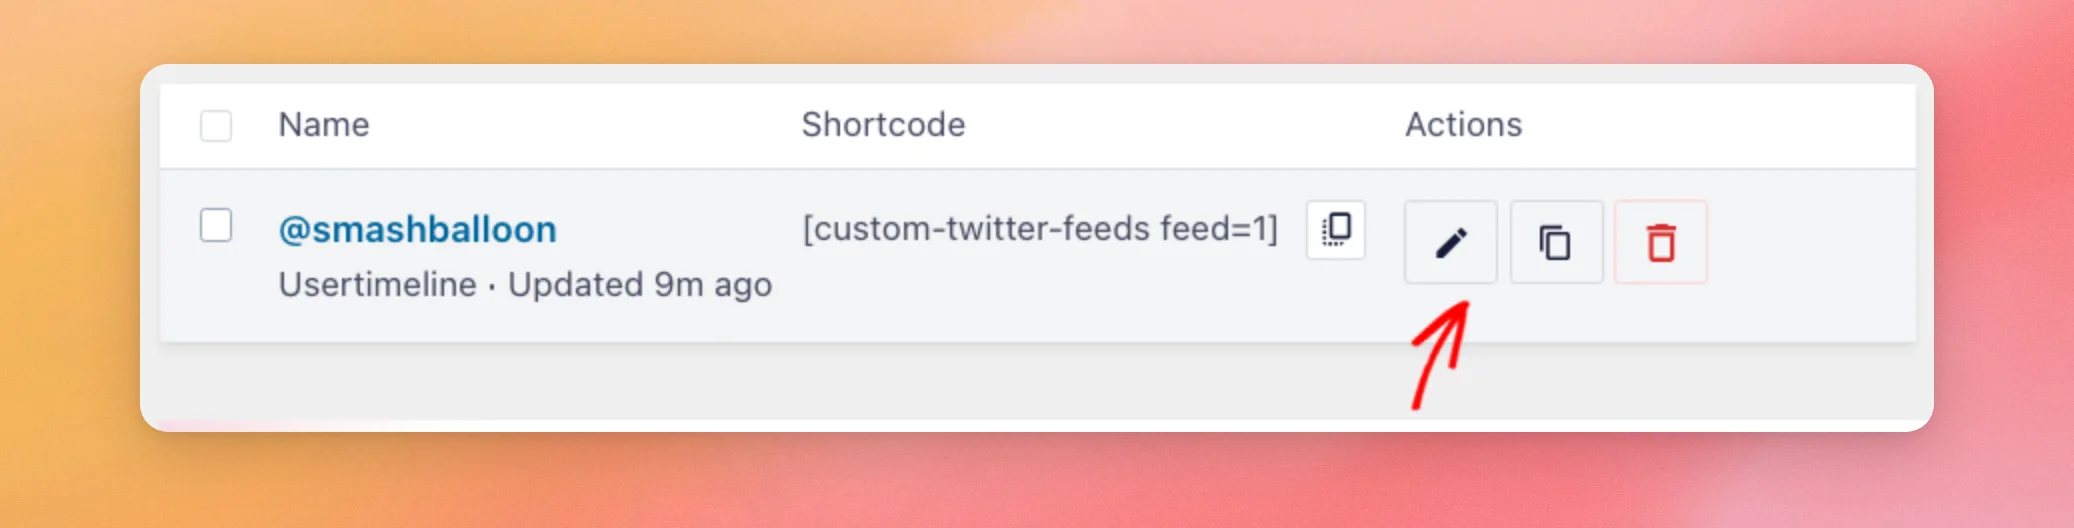
To do that, go to Twitter Feed » All Feeds. Then, click the Edit button next to your feed. It shows a pencil icon.
That’s it! You’ve installed the paid version of Custom Twitter Feeds, activated your license key, and added your feed to your site.
Next, see our guide on the X (formerly Twitter) changes to learn how often your feed updates on each license level.
Frequently Asked Questions
Below, we’ve answered some of the most common questions about setting up the paid version of Custom Twitter Feeds.
Why does WordPress ask me to deactivate the free version first?
The paid version runs in place of the free version. Only one of them can be active. If you activate the paid version first, WordPress shows the message “Please deactivate the free version of the Custom Twitter Feeds plugin before activating this version.” To continue, deactivate Smash Balloon X (Twitter) Feed on your Plugins page. Then, activate Custom Twitter Feeds Pro.
Will my feeds carry over from the free version?
Yes. Both versions use the same feeds and settings. Your feeds are there when you activate the paid version. Before you delete the free version, turn on Preserve settings if plugin is removed, as shown in Switching From the Free Version.
Where can I find my license key?
Your license key is in the email we sent you after your purchase, along with your download link.
Where can I find a feed’s shortcode later?
To find it, go to Twitter Feed » All Feeds. The Shortcode column shows the shortcode for each of your feeds. A button next to it copies the shortcode.
Can I show a different account by changing the shortcode?
No. The feed number in the shortcode decides what shows. The account is part of the feed’s settings. To show a different account, create a new feed for it, as shown in Creating Your Feed. Then, use that feed’s shortcode.