Facebook Feed Setup Directions
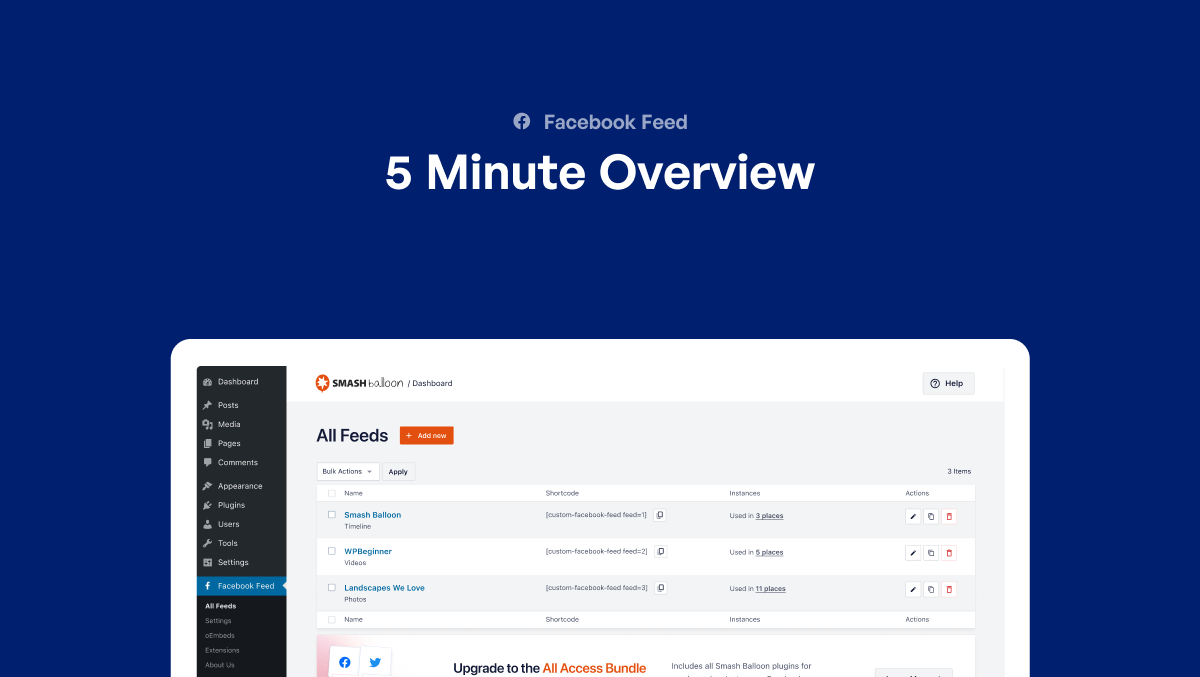
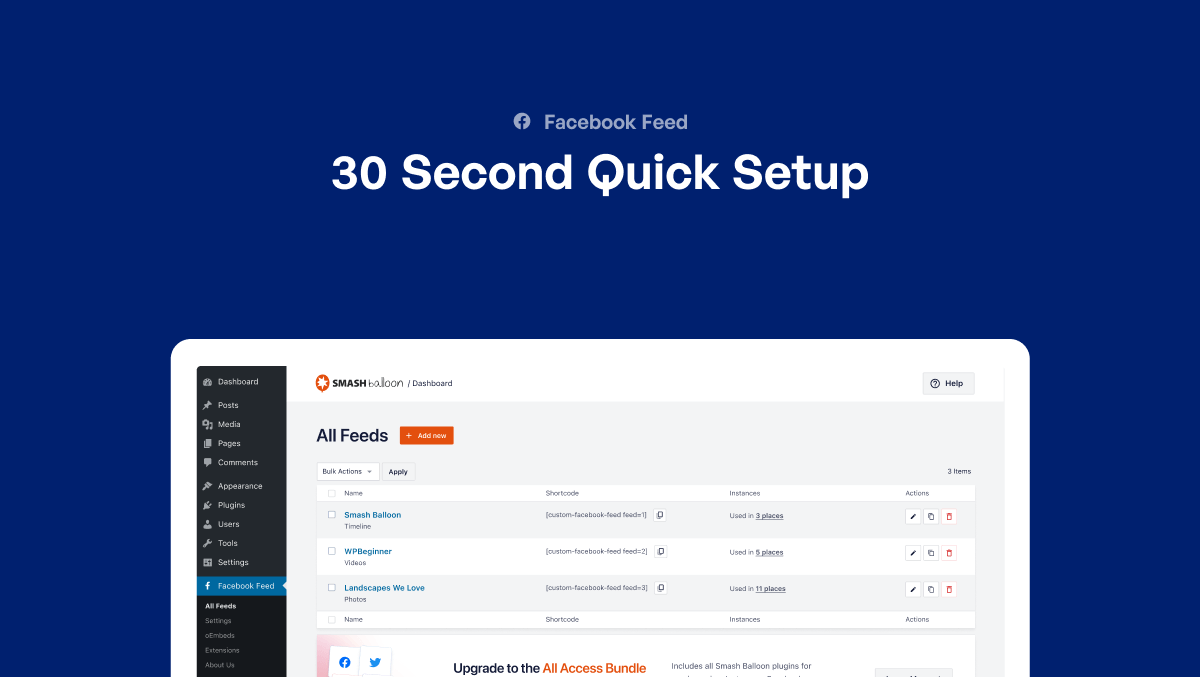
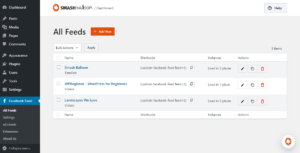
Step 1: From your WordPress dashboard, navigate to the Facebook Feed >> All Feeds menu and click on the Add New button.
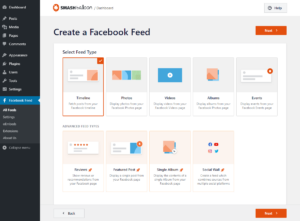
Step 2: Select the feed type that you want from the available options and click on Next.
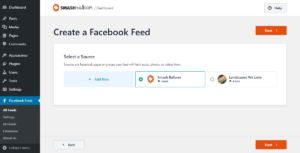
Step 3: Click on the Add New button here to connect your feed to a new source.
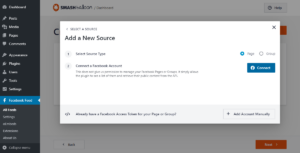
Step 4: On the popup, pick from a Facebook page or a group and then click on Connect.
Step 5: Follow the instructions on the popup to give the plugin read-only access to your Facebook account.
Step 6: To connect your source to the feed, click on Add.
Step 7: Finally, click on Next to open your Facebook feed in the live feed customizer.
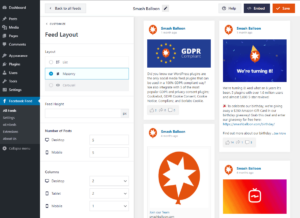
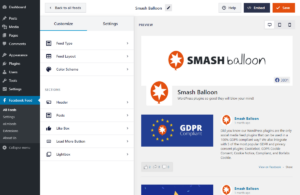
Step 8: On the live feed customizer, click on the Feed Layout option on the left.
Step 9: Select the Masonry layout and click on the Save button on the top right corner.
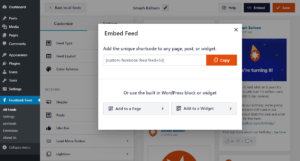
Step 10: To embed your Facebook feed, click on the Embed button on the live feed editor.
Step 11: Click on Add to a Page to embed your Facebook feed on a WordPress page.
Then select your page and click on Add.
Finally, click on the plus icon (+) and select the Custom Facebook Feed block.
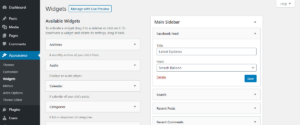
To add your Facebook feed on a widget instead, click on Add to a Widget on the popup.
Click on a footer or sidebar panel and click on the plus icon (+) to add a widget.
Select the Custom Facebook Feed Widget here.
Facebook Feed Demo Timelines
Step 1: Go to Facebook Feed >> All Feeds from your dashboard and click on Add New.
Step 2: Select the timeline option and then click on the Next button.
Step 3: Add a new source for your Facebook feed by clicking on Add New.
Step 4: Pick either Page or Group on the popup and then click on Connect.
Step 5: Follow the instructions to give the plugin read-only access to your account.
Step 6: Click on Add to confirm your page or group as the source for your Facebook timeline feed.
Step 7: Open the live feed editor by clicking on Next.
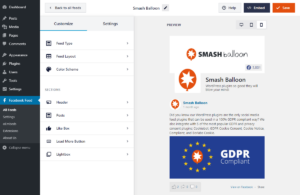
Step 8: Use the feed editor to customize the design of your feed, and then click on Embed.
Step 9: On the popup, click on Add to a Page if you want to show your Facebook timeline on a WordPress page.
Select your Facebook page from the list and click on Add.
Add a new block by clicking on the plus icon (+) and selecting the Custom Facebook Feed widget.
If you want to add your Facebook timeline on a sidebar or footer, click on Add to a Widget on the popup.
Open a sidebar or footer panel here by clicking on it.
Add a widget by clicking on the plus icon (+) and then pick the Custom Facebook Feed widget.
Facebook Feed Demo Photos
Step 1: Use your WordPress dashboard to go to Facebook Feed >> All Feeds and click on Add New.
Step 2: Select the photos feed type and click on Next.
Step 3: To connect your new photos feed to Facebook, click on the Add New button here.
Step 4: Pick either page or group from the options and click on Connect on this popup.
Step 5: Follow the instructions you see on the screen to connect the feed to Facebook.
Step 6: Click on the Add button to confirm your page or group as the source for your new feed.
Step 7: Open your feed in the live feed editor by clicking on Next.
Step 8: Use the options in the editor to customize the design of your feed, and then click on Embed.
Step 9: Pick the Add to a Page option if you want to add your Facebook photo feed on a WordPress page.
Select your WordPress page from the list and click on Add.
Finally, click on the plus icon (+) and select the Custom Facebook Feed block.
To embed your Facebook photo feed as a widget, select the Add to a Widget option on the popup.
Click on a sidebar or footer panel and then use the plus icon (+) to continue.
Finally, select the Custom Facebook Feed widget from the options.
Facebook Feed Demo Albums
Step 1: Navigate to Facebook Feed >> All Feeds from your dashboard and then click on the Add New button.
Step 2: From all the available feed types, select Albums and then click on Next.
Step 3: Add a source for your new feed by clicking on Add New.
Step 4: Use the popup to choose between a Facebook page and a group, and click on Connect to proceed.
Step 5: To connect your new feed to Facebook, just follow the instructions on the screen.
Step 6: Confirm the source for your Facebook album feed by clicking on Add.
Step 7: Click on Next to start customizing your Facebook album feed.
Step 8: Use options on the left side to customize your Facebook feed. Once you’re done, click on Embed.
Step 9: On the popup, select Add to a Page to go ahead and embed your feed on a page.
Select a WordPress page from the list and then click on the Add button.
Here, add a new block by clicking on the plus icon (+) and then selecting the Custom Facebook Feed widget.
To add the Facebook album feed on a widget instead, select Add to a Widget on the popup.
On the new page, open a sidebar or footer panel by clicking on it.
Finally, add a new widget using the plus icon (+) and then select Custom Facebook Feed.
Facebook Feed Demo Videos
Step 1: From your dashboard, go to Facebook Feed >> All Feeds and then click on Add New.
Step 2: Select the Videos feed type and click on Next.
Step 3: To embed all of your videos, select the Show all Videos option and then click on Next.
If you want to embed a specific playlist instead, select Show from a specific playlist and paste the link to your video playlist in the Add Playlist URL field.
To continue, click on Next.
Step 4: Add a source for your new Facebook video feed by clicking on Add New.
Step 5: Choose if you want to use a page or group as a source and click on Connect to proceed.
Step 6: Give the read-only plugin access to your Facebook account by following the instructions on the screen.
Step 7: Click on Add to confirm your new source.
Step 8: Open your feed in the live feed editor by clicking on Next.
Step 9: After you’re done editing the Facebook videos feed, click on the Embed button.
If you want to show your Facebook feed on a page, select the Add to a Page option.
Next, use the list to select which page you want to use for your feed and click on Add.
Use the plus icon (+) here to add a new block before selecting the Custom Facebook Feed plugin.
To add a Facebook video widget, click on Add to a Widget on the popup instead.
On the new page, click on a sidebar or footer panel.
Click on the plus icon (+) to add a widget before selecting Custom Facebook Feed.
Facebook Feed Demo Events
Step 1: From your WordPress dashboard, go to Facebook Feed >> All Feeds. Then click on the Add New button to create your feed.
Step 2: Click on the Events feed type on this page and then click on Next.
Step 3: To connect your new feed to Facebook, click on the Add New button here.
Step 4: Go to this page and follow the instructions to get your ID and token. After that, paste them into the popup and click on Next.
Step 5: Select the Facebook page or group that you just connected to and click on Next again.
Step 6: Using the live feed editor, customize your Facebook events feed and then click on the Embed button.
The popup will now ask you to pick the location of your feed. To embed it on a WordPress page, select the Add to a Page option.
Next, select your page from the list and click on Add.
Now click on the plus icon (+) and select Custom Facebook Feed from the options.
To embed your Facebook events field on a widget, go to Add to a Widget on the popup.
Here, click on a sidebar or footer panel to start managing the widgets in that area.
Click on the plus icon (+) to add a widget and then click on Custom Facebook Feed.
