Note: Setup directions for the Free Instagram Feed plugin can be found here.
Installing the plugin
1) Once you’ve purchased the Instagram Feed plugin, click on the “Downloads” tab to download the plugin. Your download link, license key, and purchase information are also emailed to you at the address which you provided during checkout.

2) Once you’ve downloaded the .zip file there’s no need to open it. You’ll be uploading and installing this .zip file directly to WordPress.
Please note, if you’re using Safari:
The .zip file will be automatically extracted after downloading it. You can disable this feature by navigating to Safari > Preferences > General > Deselect the box with the text “Open safe files after downloading“. After that, the plugin will now download as a .zip file and can be uploaded directly to WordPress.
3) If you are using the Free version of the WordPress plugin then be sure to deactivate it prior to installing the Pro version. After installing the Pro version, the free version can be deleted.
Note: To transfer your settings from the Free version to the Pro version do the following:
Check the ‘Preserve Settings if plugin is removed’ setting, which can be found in the following location in WordPress: Facebook Feed > Settings 
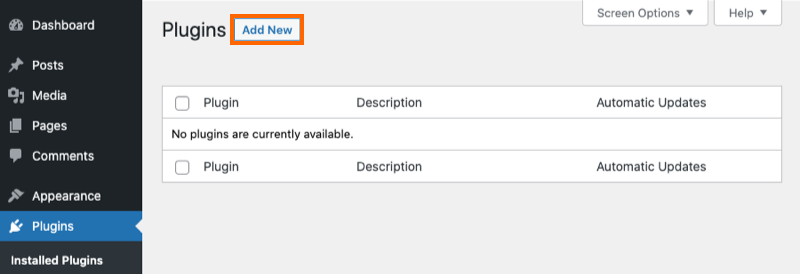
4) To upload the Pro version of the plugin click Add New at the top of your WordPress Plugins page.
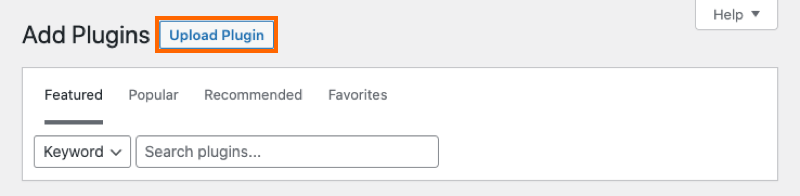
5) Click Upload at the top.
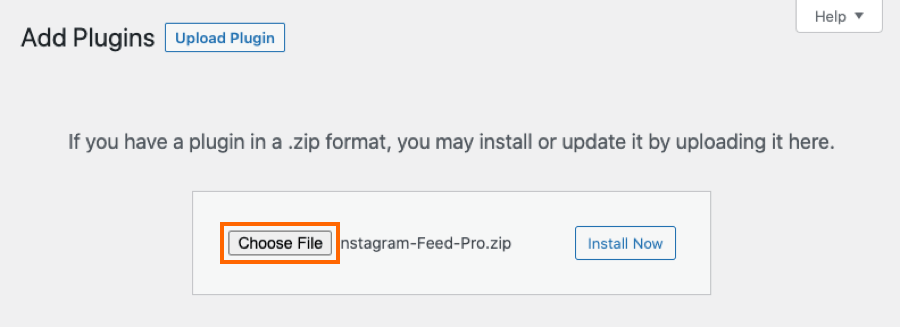
6) Browse to the zip file which you downloaded when you purchased the plugin and click Install Now
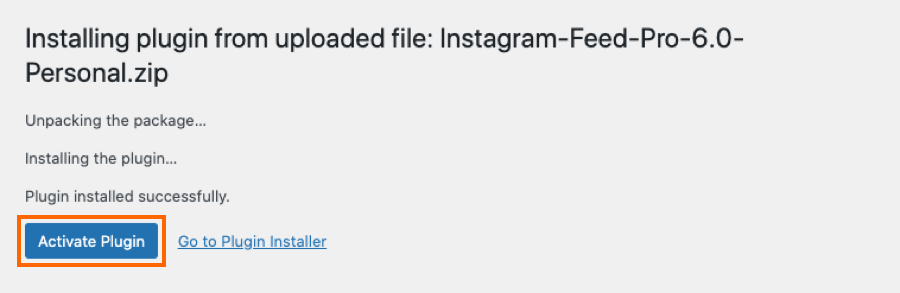
7) Activate the plugin.
8) You’ll now see the Facebook Feed menu appear in your WordPress menu. Click on it and navigate to Settings to enter your license key.

9) Paste your license key into the field and click the Activate button (It may take a few clicks before it shows Active). Then click the Save Changes button.


Creating your first Feed
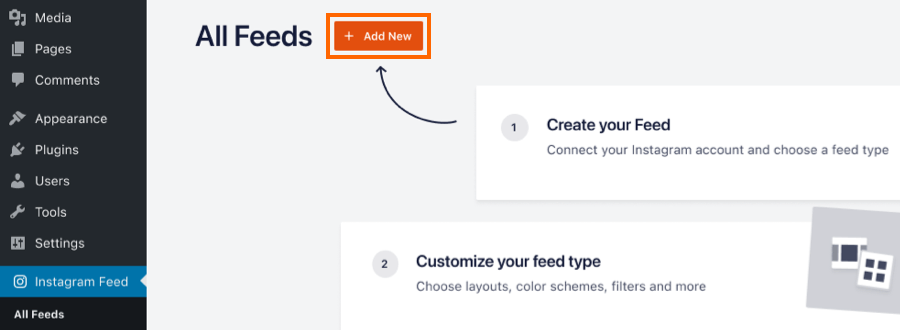
1) Click on All Feeds and then click on the button labeled Add new.
Note: If you are connecting an account on behalf of someone else.
It is no longer possible to add an Access Token and ID manually due to Facebook (Meta) changing their Data Protection Policy. We suggest letting the other user or client connect their account directly in the plugin settings, or provide you with a role on the page connected to a Business Profile.
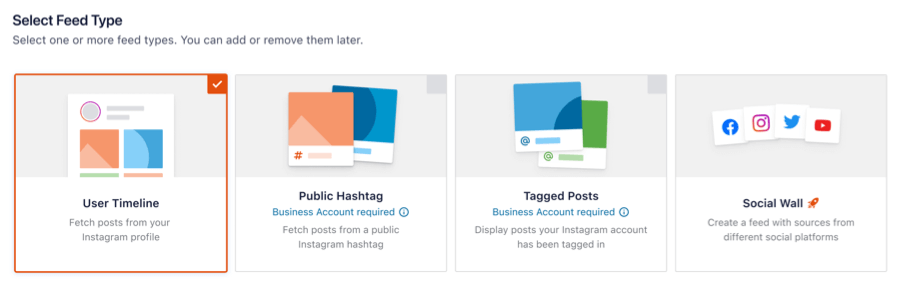
2) Click on the User Timeline option, then click Next
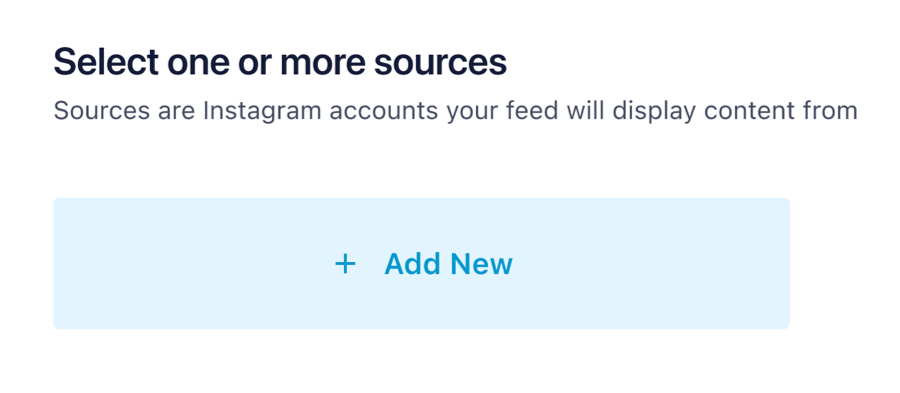
3) Click on the button labeled Add Source

4) Select the Add New option
5) Select the Type of account, then click the Connect button
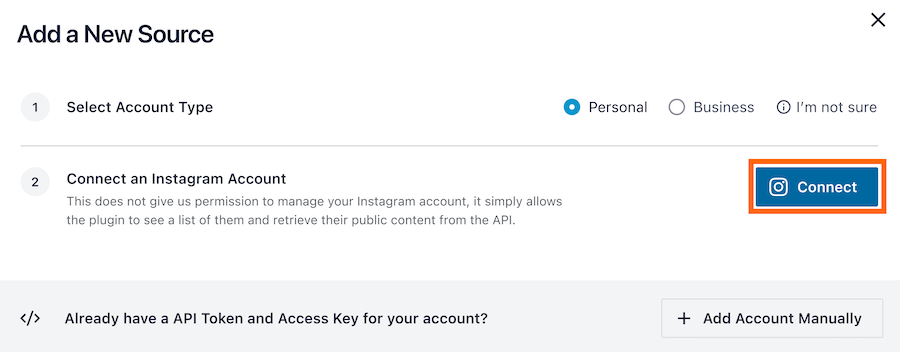
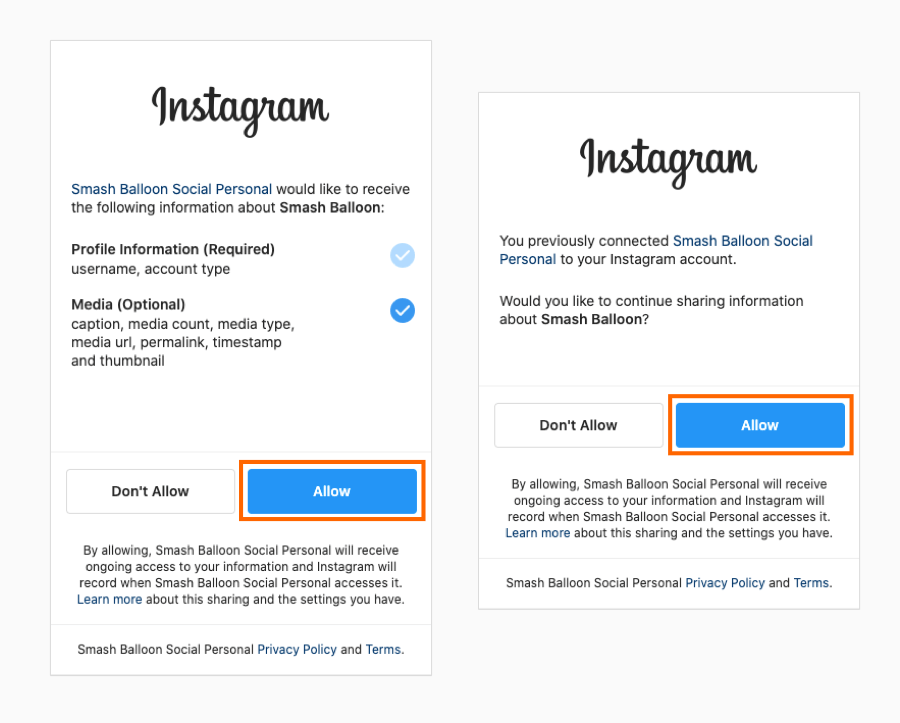
6) Depending on the type of account you selected you’ll be redirected to Instagram (Personal profile) or Facebook (Business profile). If you are not logged in then will be prompted to do so. Once logged in, follow the prompts by clicking the Allow/Continue button.
7) The list of Facebook pages will be displayed. Select a page and click the Add button.
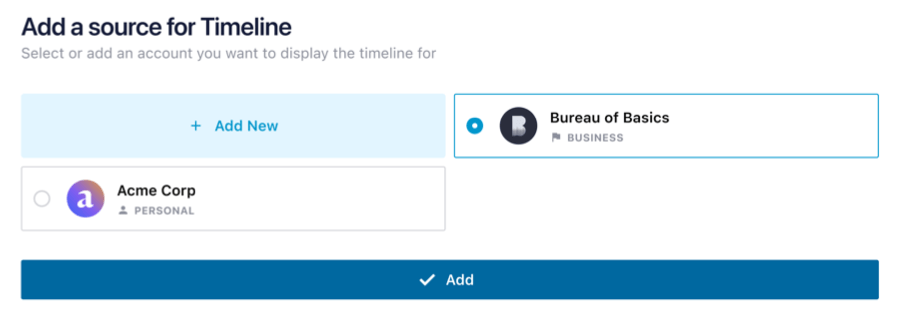
8) Add a name to your feed and customize it using the options on this screen, then click Save

Adding the feed to your site
1) Once you’re ready to embed your feed, click the Embed button and copy the shortcode.

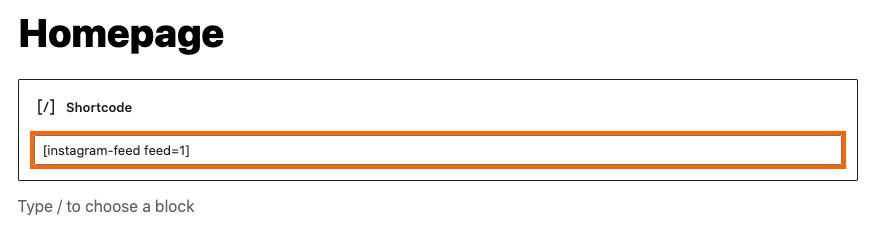
2) To display your feed simply add the shortcode you created to any page, post, or widget, like so:
Customizing your Feed
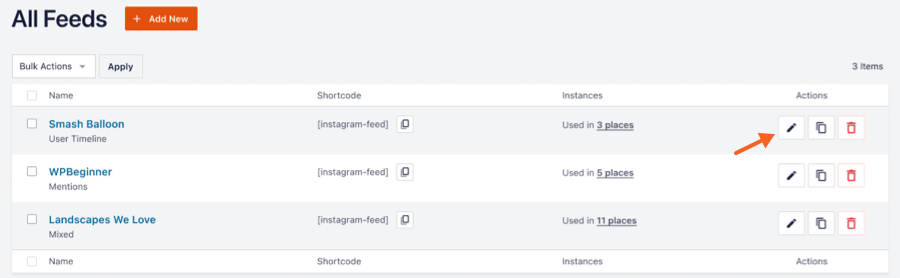
Navigate to the All Feeds page and click the Edit button to customize your feed.
If you have any issues setting up or using the plugin then check out our support section for solutions to common problems. If you need help beyond that, then you can also open a support ticket below.
To see what else you can do with the Instagram Feed Pro plugin check out the video below!