1) Once you’ve purchased the Custom Twitter Feeds plugin, click on the “Downloads” tab to download the plugin. Your download link, license key, and purchase information are also emailed to you at the address which you provided during checkout.

2) Once you’ve downloaded the zip file, there’s no need to open it. You’ll be uploading and installing this zip file directly to WordPress.
If you’re using Safari, please note:
The zip file will be automatically extracted after downloading it. You can disable this feature by navigating to Safari > Preferences > General > Deselect the box with the text “Open safe files after downloading“. After that, the plugin will now download as a .zip file and can be uploaded directly to WordPress.
3) If you are using the Free version of the WordPress plugin, then be sure to deactivate it prior to installing the Pro version. After installing the Pro version, the free version can be deleted.
Note: To transfer your settings from the Free version to the Pro version, do the following:
Check the “Preserve Settings if plugin is removed” setting, which can be found in the following location in WordPress: Twitter Feed > Settings 
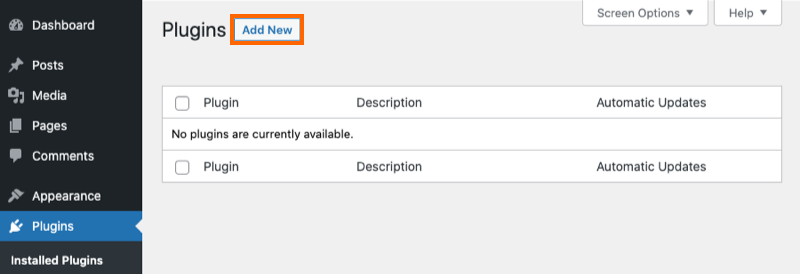
4) To upload the Pro version of the plugin, click “Add New” at the top of your WordPress Plugins page.
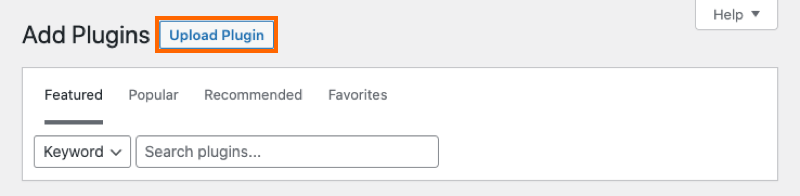
5) Click “Upload Plugin” at the top.
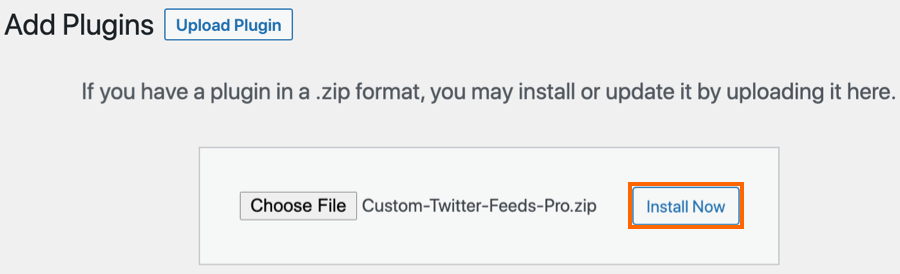
6) Browse to the zip file which you downloaded when you purchased the plugin and click “Install Now”
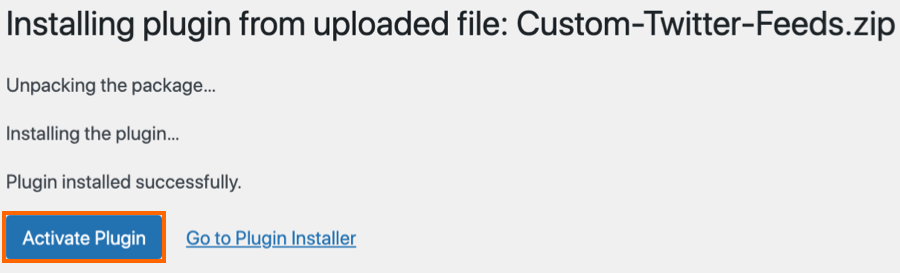
7) Activate the plugin.
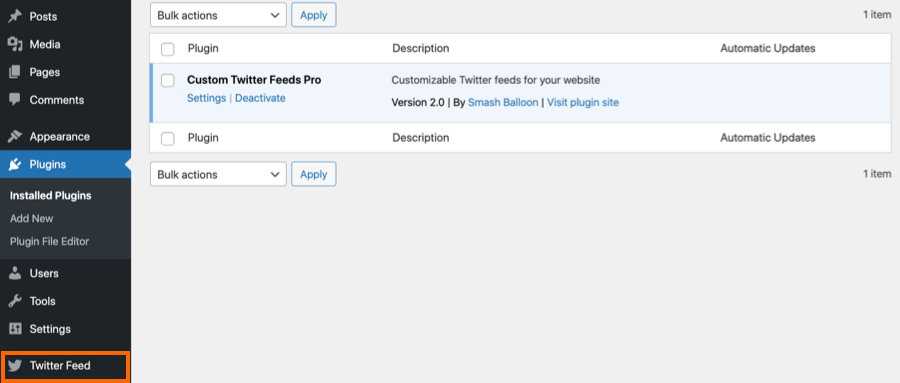
8) You’ll now see the Twitter Feed menu appear in your WordPress menu. Click on it and navigate to Settings to enter your license key.
9) Paste your license key into the field and click the Activate button (It may take a few clicks before it shows Active). Then click the Save Changes button.

10) Click on All Feeds and then click on the button labeled Add new.

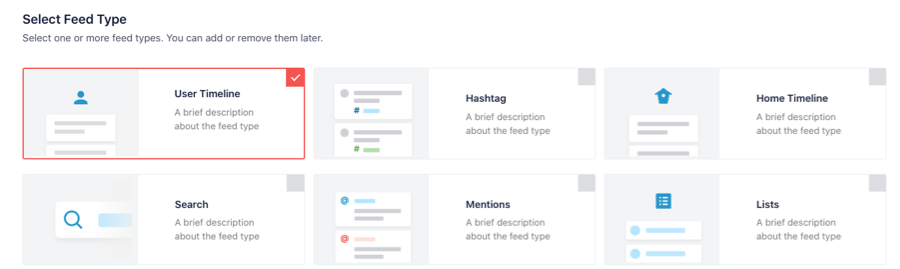
11) Select the Feed type you want to display, then click Next
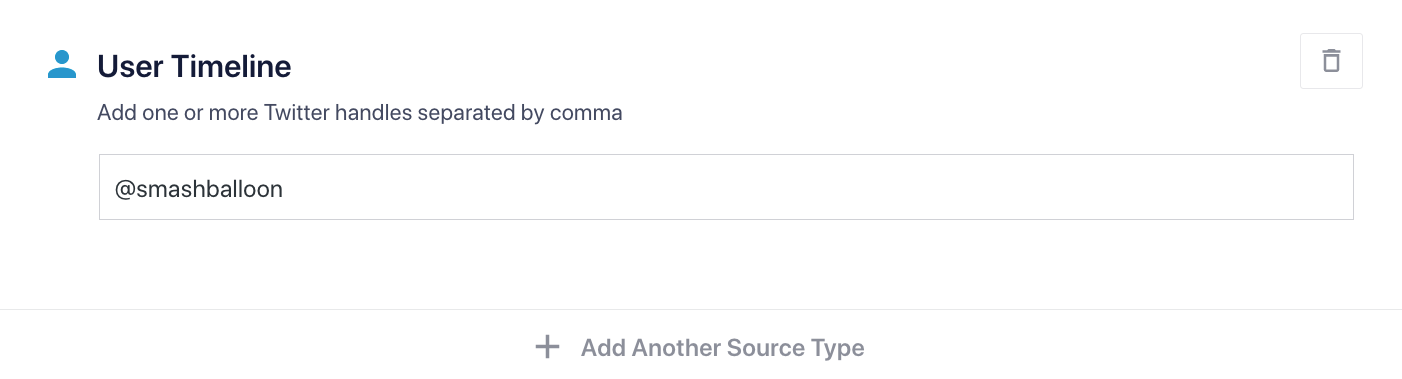
12) Add your Twitter handle name
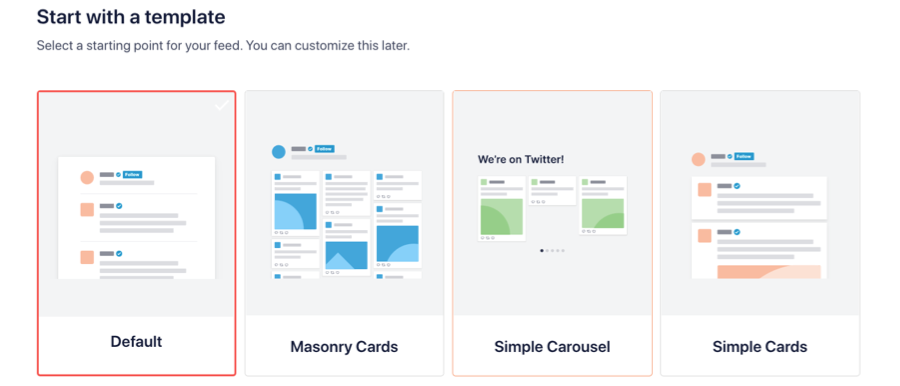
13) Select the template you want to use
14) Customize your feed using the options on this screen, then click Save

Note: the new API can not discern sponsored Tweets from other Tweets. As such, you may see unrelated Tweets in your feed. While our team looks for a solution to this, if you want to hide specific Tweets from your feed please use the Hide specific tweets option under Feed Options > Advanced > Filters. Here you can enter the ID of the Tweet which will be the string of numbers at the end of the URL for that specific Tweet, e.g. if the Tweet URL is https://twitter.com/smashballoon/status/1641790447130664960, the ID to add to the field is 1641790447130664960.
15) Once you’re ready to embed your feed, click the Embed button and copy the shortcode.
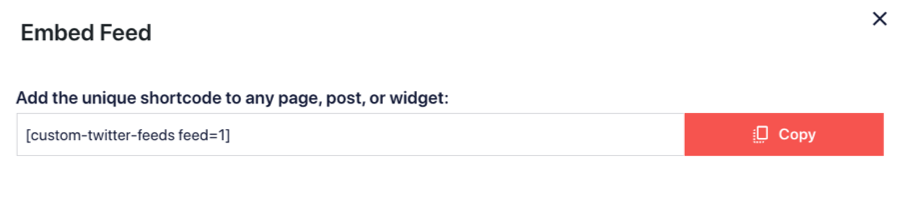
16) To display your feed simply add the shortcode you created to any page, post, or widget, like so:
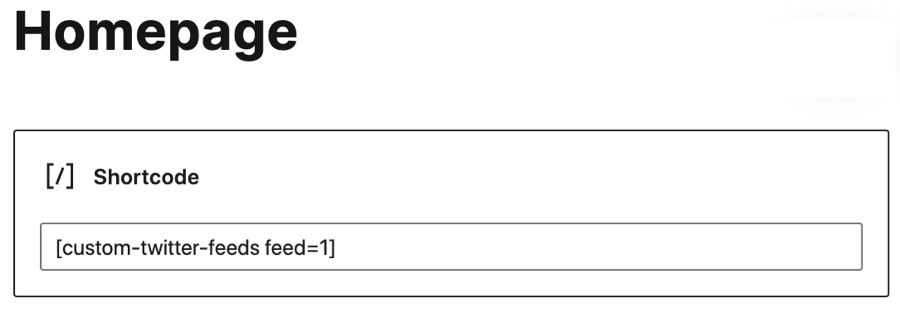
17) Navigate to the All Feeds page and click the Edit button to customize your feed.

If you have any issues setting up or using the plugin then check out our support section for solutions to common problems. If you need help beyond that, then you can also open a support ticket below.