Version 6.0 and above
The header is included by default in all feeds, but only User and Tagged Posts feeds will show the user information. Public Hashtag feeds will display the hashtag in the header.
The Follow button will only be displayed on User and Tagged Posts feeds, as it isn’t possible to follow a hashtag.
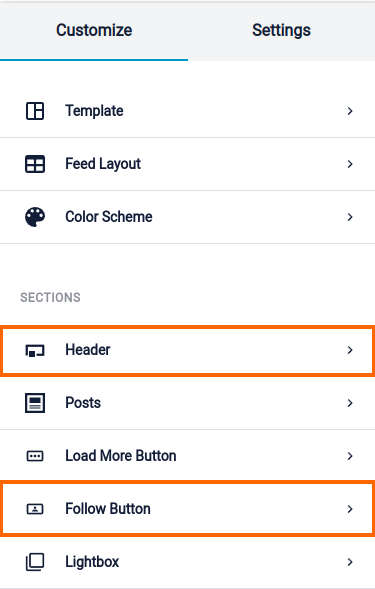
You can enable or disable the Header and Follow Button by going to WordPress Dashboard > Instagram Feed > All Feeds, and then clicking the name of your feed or the pencil icon to edit the feed. Then click Header or Follow Button to go to the settings to turn these on or off, or adjust how they are displayed.
Below Version 6.0
In version 2.0 and above the header will show up on all feeds, but only the header for a User ID feed will display the user information. Hashtag feeds will display the hashtag in the header, and location feeds will simply display the word ‘Instagram’ in the header. The follow button will only be displayed on a User feed, as it isn’t possible to follow a hashtag or location. You can follow the directions further down this page titled “Adding the ‘Follow’ button manually” to add the Follow button manually into your feed.
Changing the header text
You can change the text used in the header by doing the following:
1) Add a class to your feed by using the ‘class’ shortcode option, like so [instagram-feed class="feed-one"]
2) Add the following snippet to the plugin’s Custom JavaScript section which changes the header text of that feed:
$('.feed-one .sbi_header_text h3').text('My Feed');
Changing the header link
You can change the URL that the header links to by adding a class in the same way as above, and then using that class in the following snippet which you should also add to the plugin’s Custom JavaScript section:
$('.feed-one .sb_instagram_header a').attr('href', 'http://instagram.com/my-instagram-page');
