Docs    Instagram

Guide to Moderation Mode

Version 6.0 and above

Moderation mode was introduced in Instagram Feed Pro version 2.4 to create a more visual way to moderate feeds. Using this feature allows you to preview feeds before allowing individual posts to show up to visitors, and create a list of specific posts you’d like to display in a feed.

Setup for All Uses

To access the moderation settings, navigate to Instagram feed > All feeds > Feed Settings (pencil icon) > Settings tab > Filters and Moderation > Click the Moderate your feed button. 

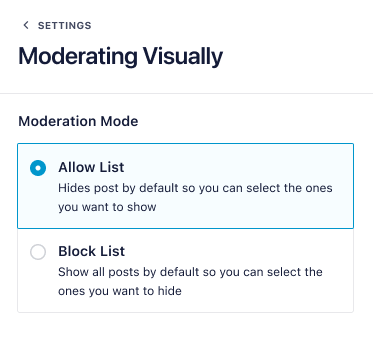
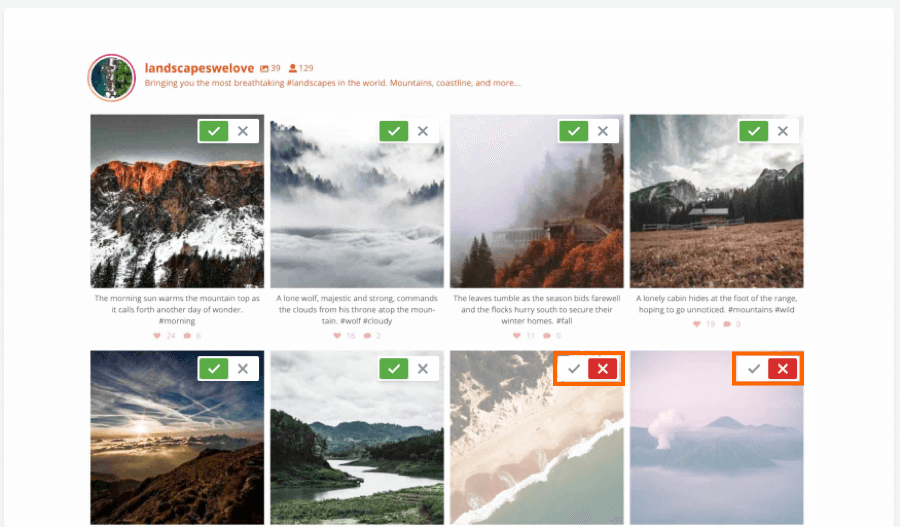
You can moderate your posts in 2 ways; the “Allow List” option will hide ALL the posts, so you can select the ones you want to show manually, whereas the “Block List” will show ALL the posts, so you can select the ones you want to hide manually.

To create an “Allow List” and only show the post you manually select, click the green checkmark, then save the changes.

To create a “Block List” and hide the post you manually select, click the red cross sign, then save the changes.

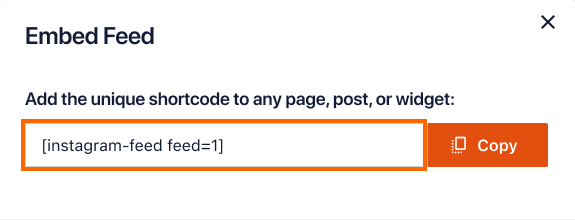
Once you’re ready to embed your feed, click the Embed button and copy the shortcode.

Need help using moderation mode? Please contact support with questions.

[/new-ig-docs]

Below version 6.0

Moderation mode was introduced in Instagram Feed Pro version 2.4 to create a more visual way to moderate feeds. Using this feature allows you to preview feeds before allowing individual posts to show up to visitors and create a list of specific posts you’d like to display in a feed.

Setup for All Uses

First, enable moderation mode for a feed. This can be done for all feeds by selecting Visual for the Moderation Type setting on the “Customize” tab. You can also enable this for a specific feed by adding moderationmode=true to the shortcode.

A button to enter moderation mode will now appear to logged-in admins (this will not appear to visitors) on the front-end of the site at the top of the feed. mod-button

Create a “White List” or “Approved Posts” List

To create a white list that will only display posts selected, start by selecting the Only show selected posts (create a “White List”) option. Then click the images of posts you want to approve. create instagram whitelist

Click Save Settings when you are done selecting. If you don’t already have an existing white list added to your shortcode
i.e. [instagram-feed whitelist="favorites"] then you will be given instructions on how to use your newly created list in a feed. whitelist-copy-shortcode whitelist-paste-shortcode

Once you add the white list id to the shortcode, only posts you’ve selected will appear in the front-end of the feed. You can continue to update this list as needed by repeating these steps.

*Note: If this feed never needs to be updated (you never need to change the posts included in your list) it’s a good idea to make it a “permanent” feed by checking the checkbox labeled This is a permanent white list (never needs to update). You can also add the setting permanent=true to your shortcode to make a feed permanent.

Removing or Hiding Individual Posts

To use moderation mode to hide specific posts, you would want to make sure the option to Hide selected posts is selected. Then click on the images of posts you want to remove. remove-photos

Save your settings
when done. No further action is needed and these posts will no longer show up in your feed on the front-end of the site.

Need help using moderation mode? Please contact support with questions.

support

Couldn’t find your answer in the docs?

Contact Support

Was this article helpful?