Social Wall
 Feed Analytics


How to install and set up the Feeds for YouTube Pro WordPress plugin, from downloading it in your account to your first feed.
Would you like to show videos from a YouTube channel on your WordPress site?
In this guide, we’ll walk you through installing YouTube Feed, creating your first feed, and adding it to a page.
Requirements: You need a WordPress site, a YouTube API key (or a YouTube account to connect for channel feeds), and either a YouTube Feed license or the free version of the plugin.
Here is what we will cover.
- Installing the Paid Version of YouTube Feed
- Activating Your License
- Creating Your First Feed
- Connecting an Account (Channel Feeds Only)
- Customizing and Saving Your Feed
- Placing Your Feed on a Page
- Feed Types in Each License Level
- Setting Up the Free Version
- Data Sharing
- Frequently Asked Questions
Installing the Paid Version of YouTube Feed
To get started, we’ll download the plugin file and upload it to WordPress.
If you would rather use the free version from WordPress.org, skip ahead to Setting Up the Free Version.
First, log in to your Smash Balloon account and open the Downloads tab. Then, download the YouTube Feed plugin file to your computer.
Your download link and license key are also emailed to you after checkout. You’ll need the license key in the next section.
If the free version of the plugin is already active on your site, deactivate it before you continue.
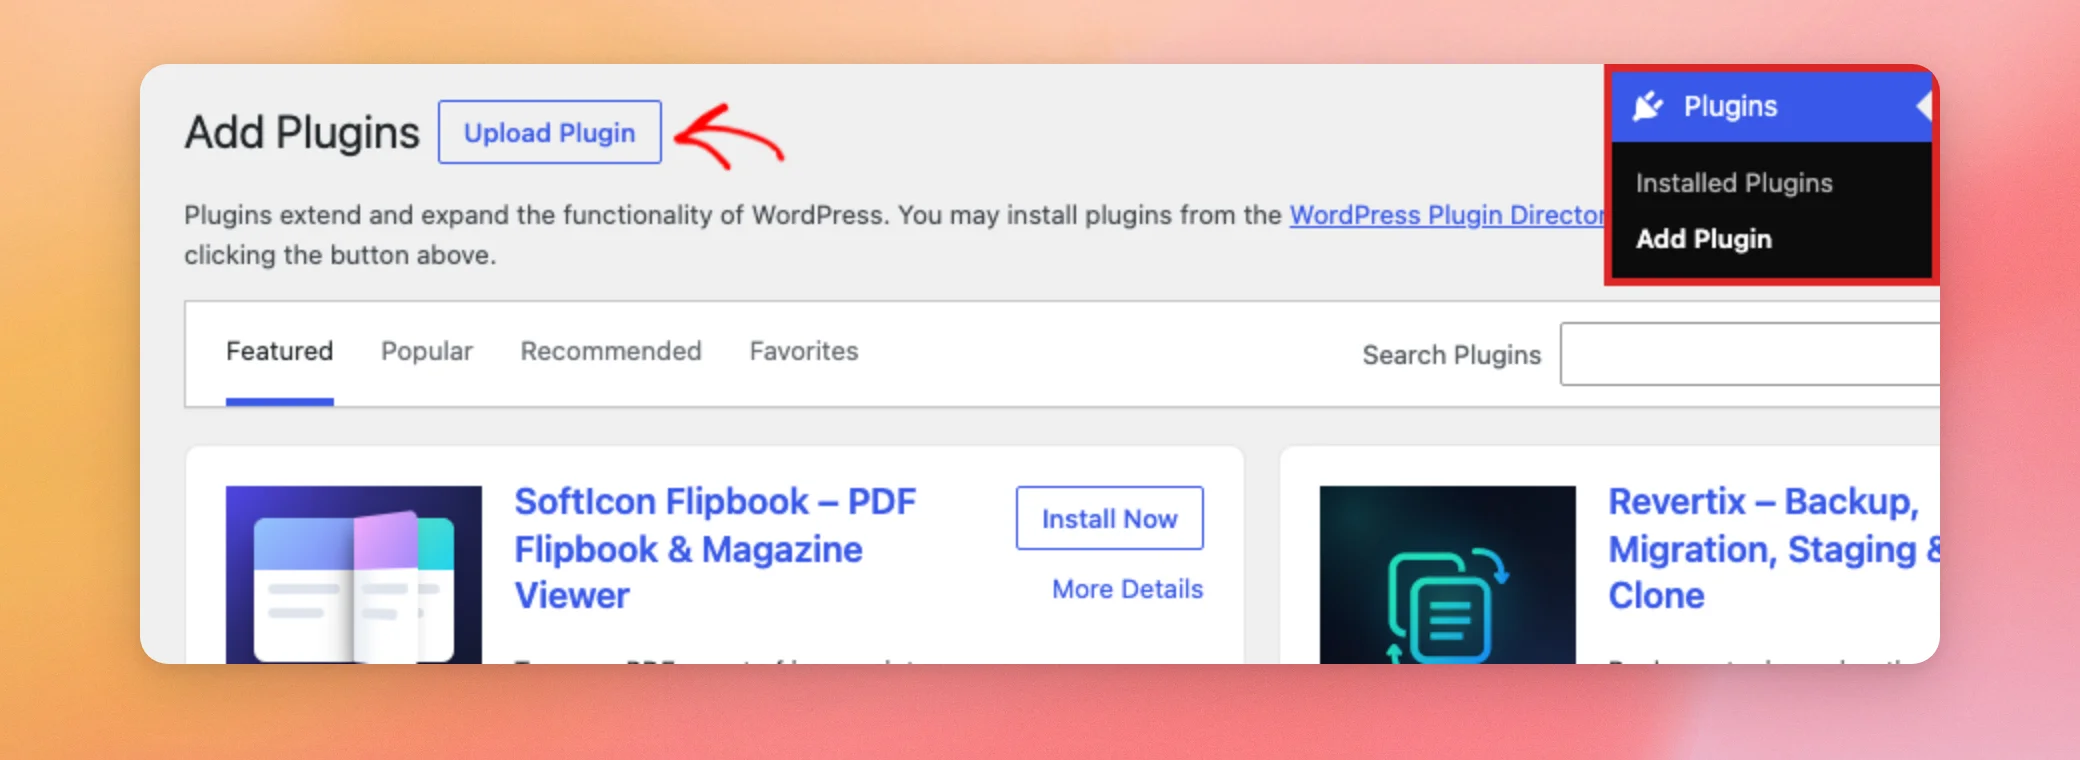
Then, in your WordPress dashboard, go to Plugins » Add Plugin. From here, click the Upload Plugin button at the top of the page.
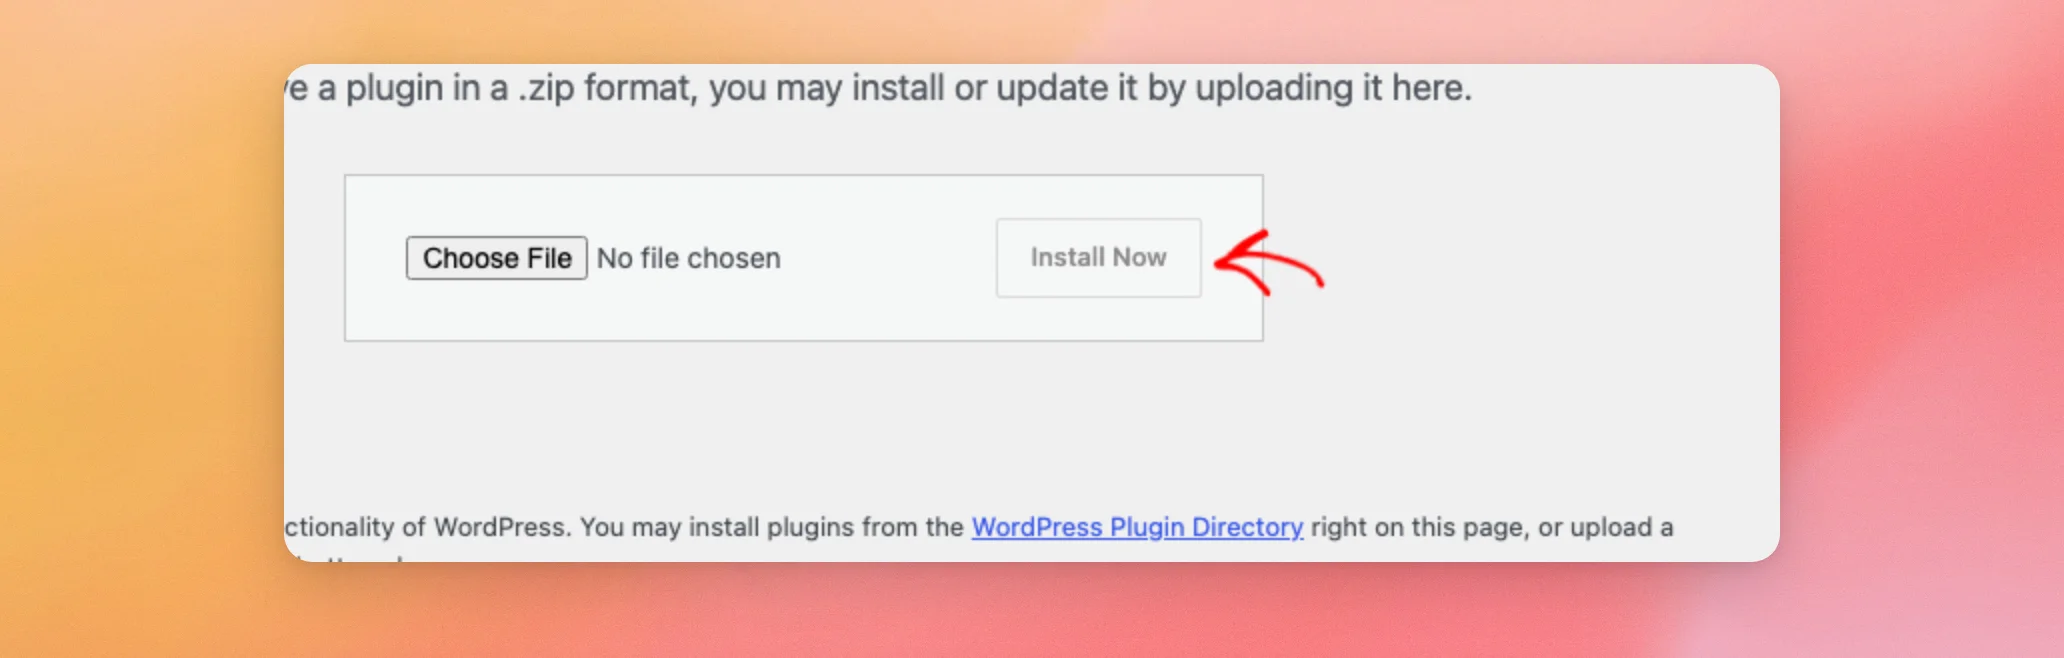
Next, click Choose File and select the plugin file you downloaded. Then, click Install Now. If you want more detail on installing plugins, see How to Install a WordPress Plugin.
When the installation finishes, click Activate Plugin. A new YouTube Feed menu now appears in your WordPress dashboard.
Now you’ll add your license key so the plugin can receive updates and support.
Activating Your License
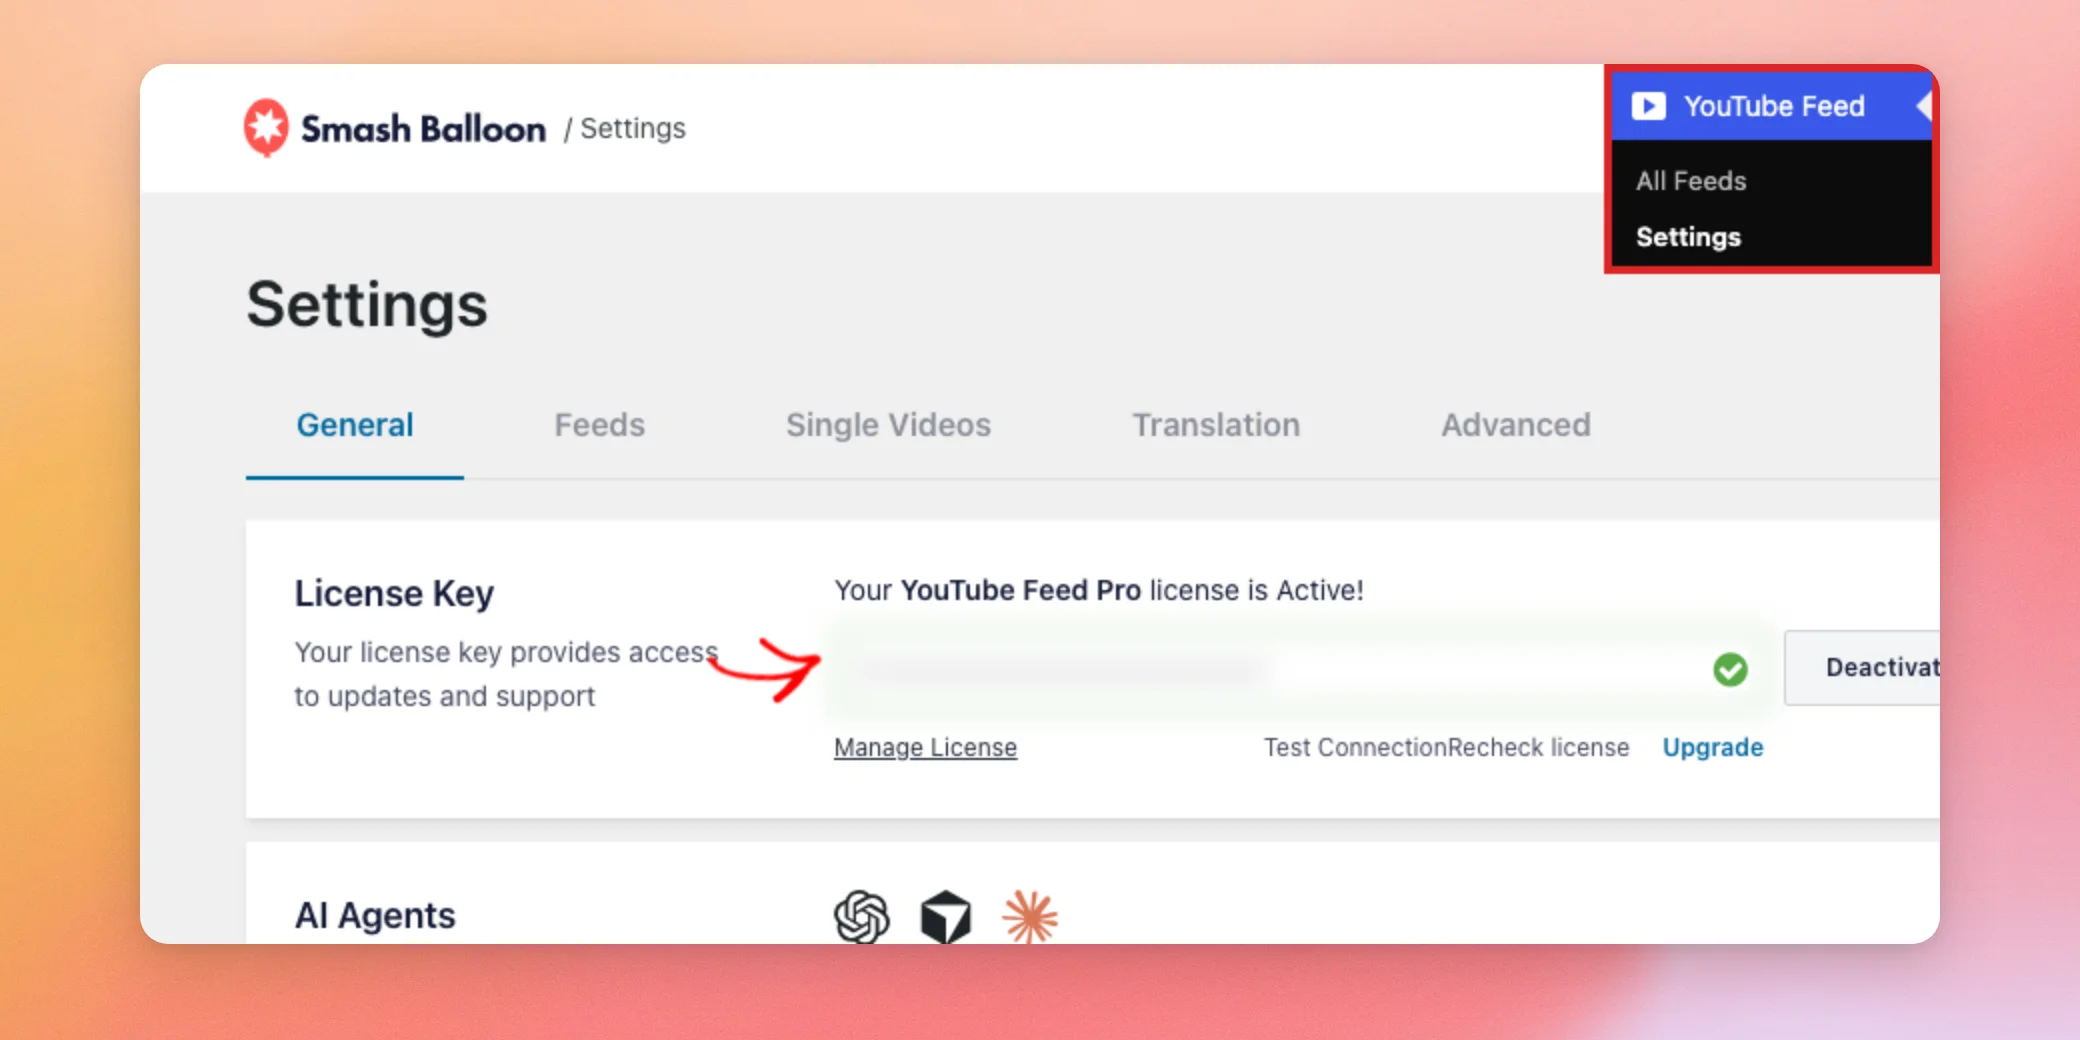
To receive updates and support, add your license key to the plugin. Next, go to YouTube Feed » Settings. From here, open the General tab. In the License Key box, paste your license key. Then, click Activate.
After the license is active, the box confirms it with the message “Your YouTube Feed Pro license is Active!” and the Activate button changes to Deactivate.
If you remove the plugin later, the Preserve settings if plugin is removed option on this same tab lets you keep your plugin settings.
Now that your license is active, you’re ready to create your first feed.
Creating Your First Feed
Each feed starts from the All Feeds page, where you pick a feed type and a source.
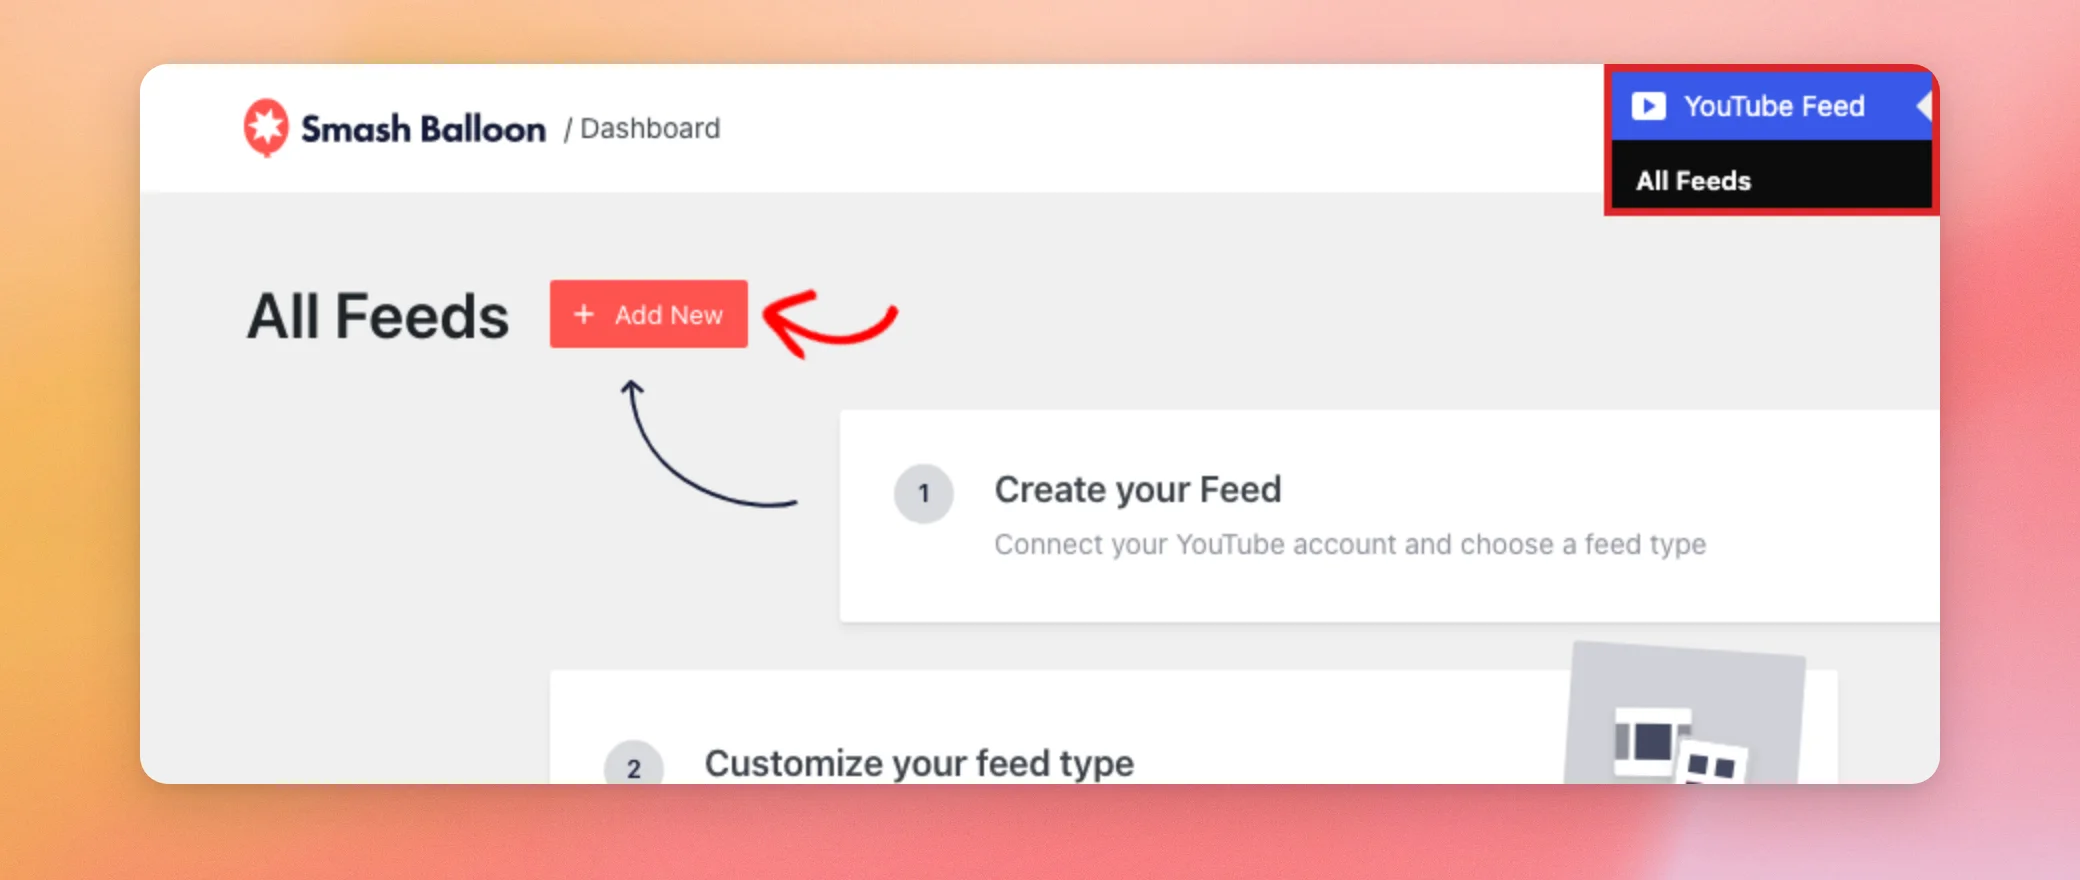
To begin, go to YouTube Feed » All Feeds and click the Add New button.
Choosing a Feed Type
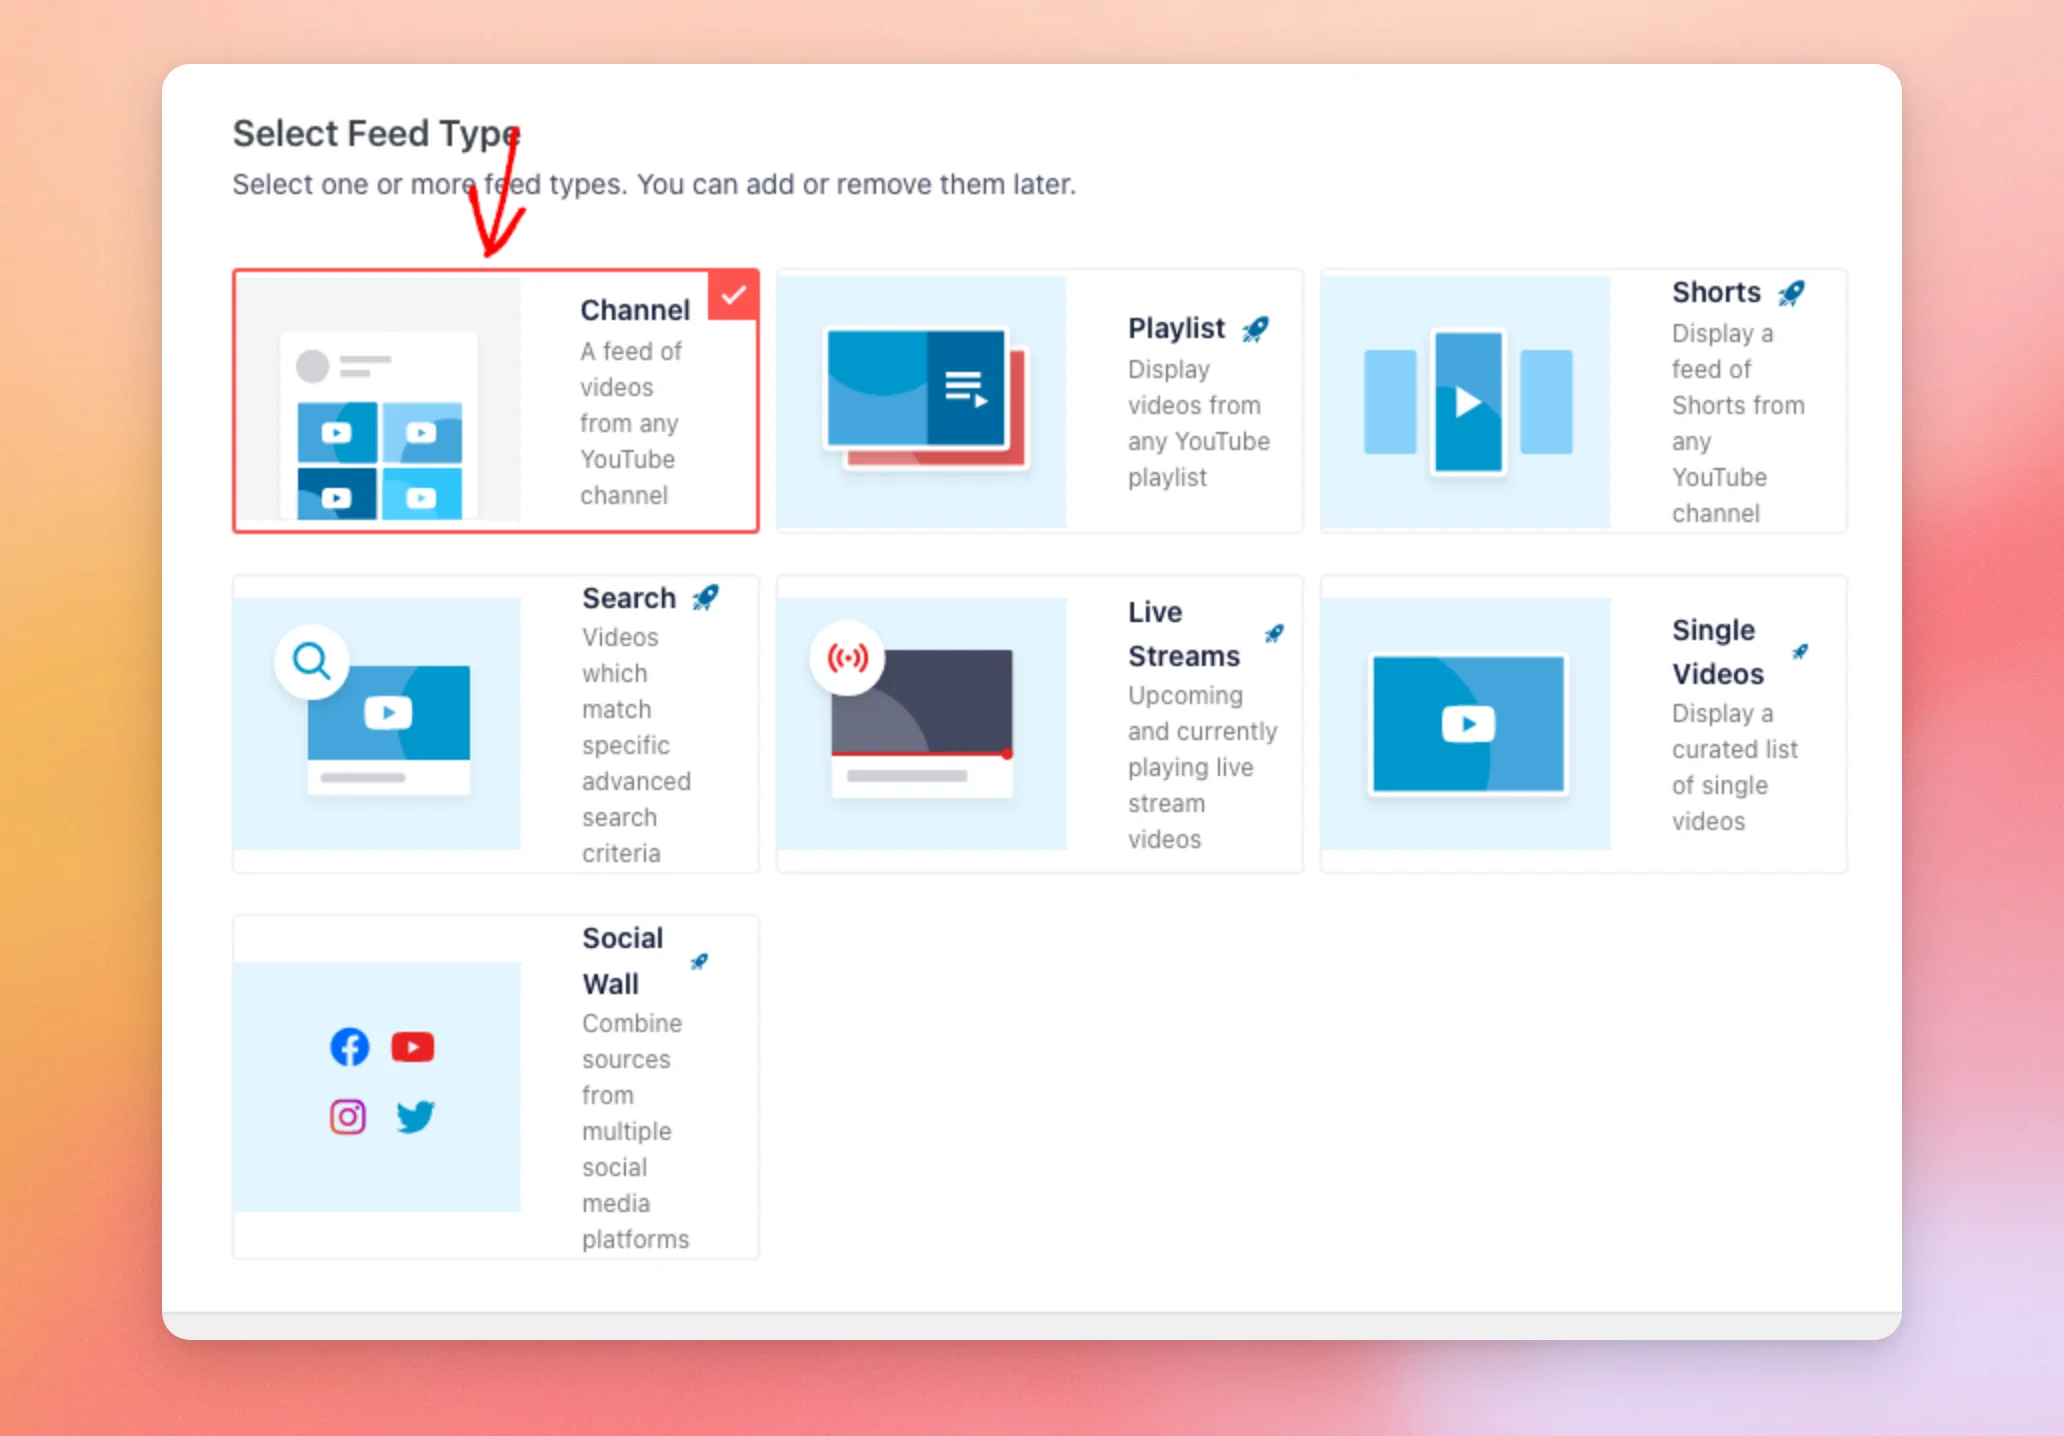
The Select Feed Type page shows the kinds of feeds you can make. For this guide, select Channel, which shows the latest videos from any YouTube channel.
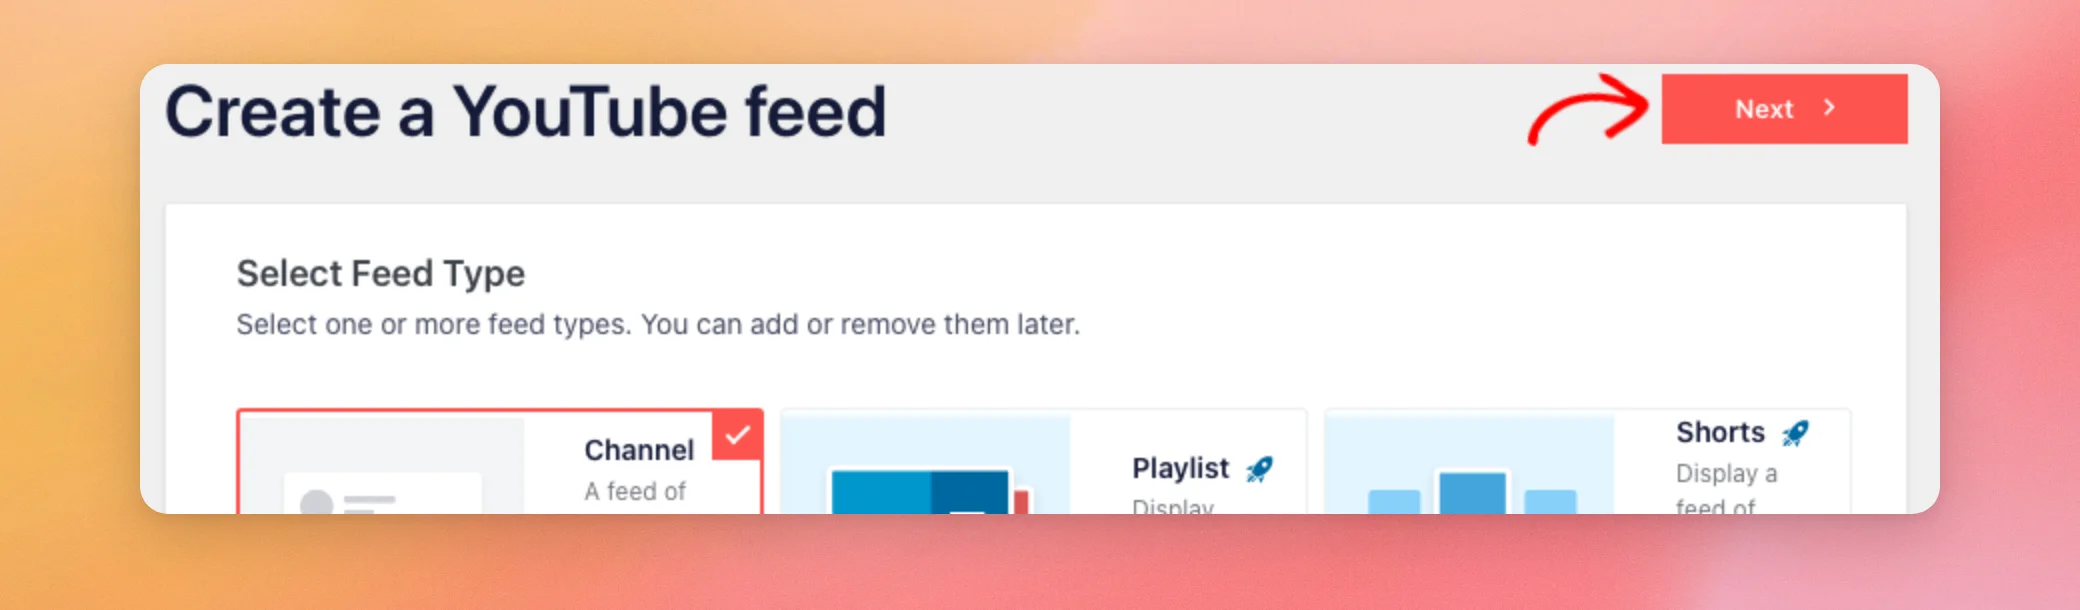
Then, click the Next button at the top of the page.
To see which feed types your license includes, see Feed Types in Each License Level below.
The next step is your API key.
Adding Your YouTube API Key
YouTube Feed gets your videos from YouTube through a personal API key. It is free to create.
If you haven’t added a key to the plugin yet, an API Key Required window opens after you click Next. Next, click Add API Key (Recommended).
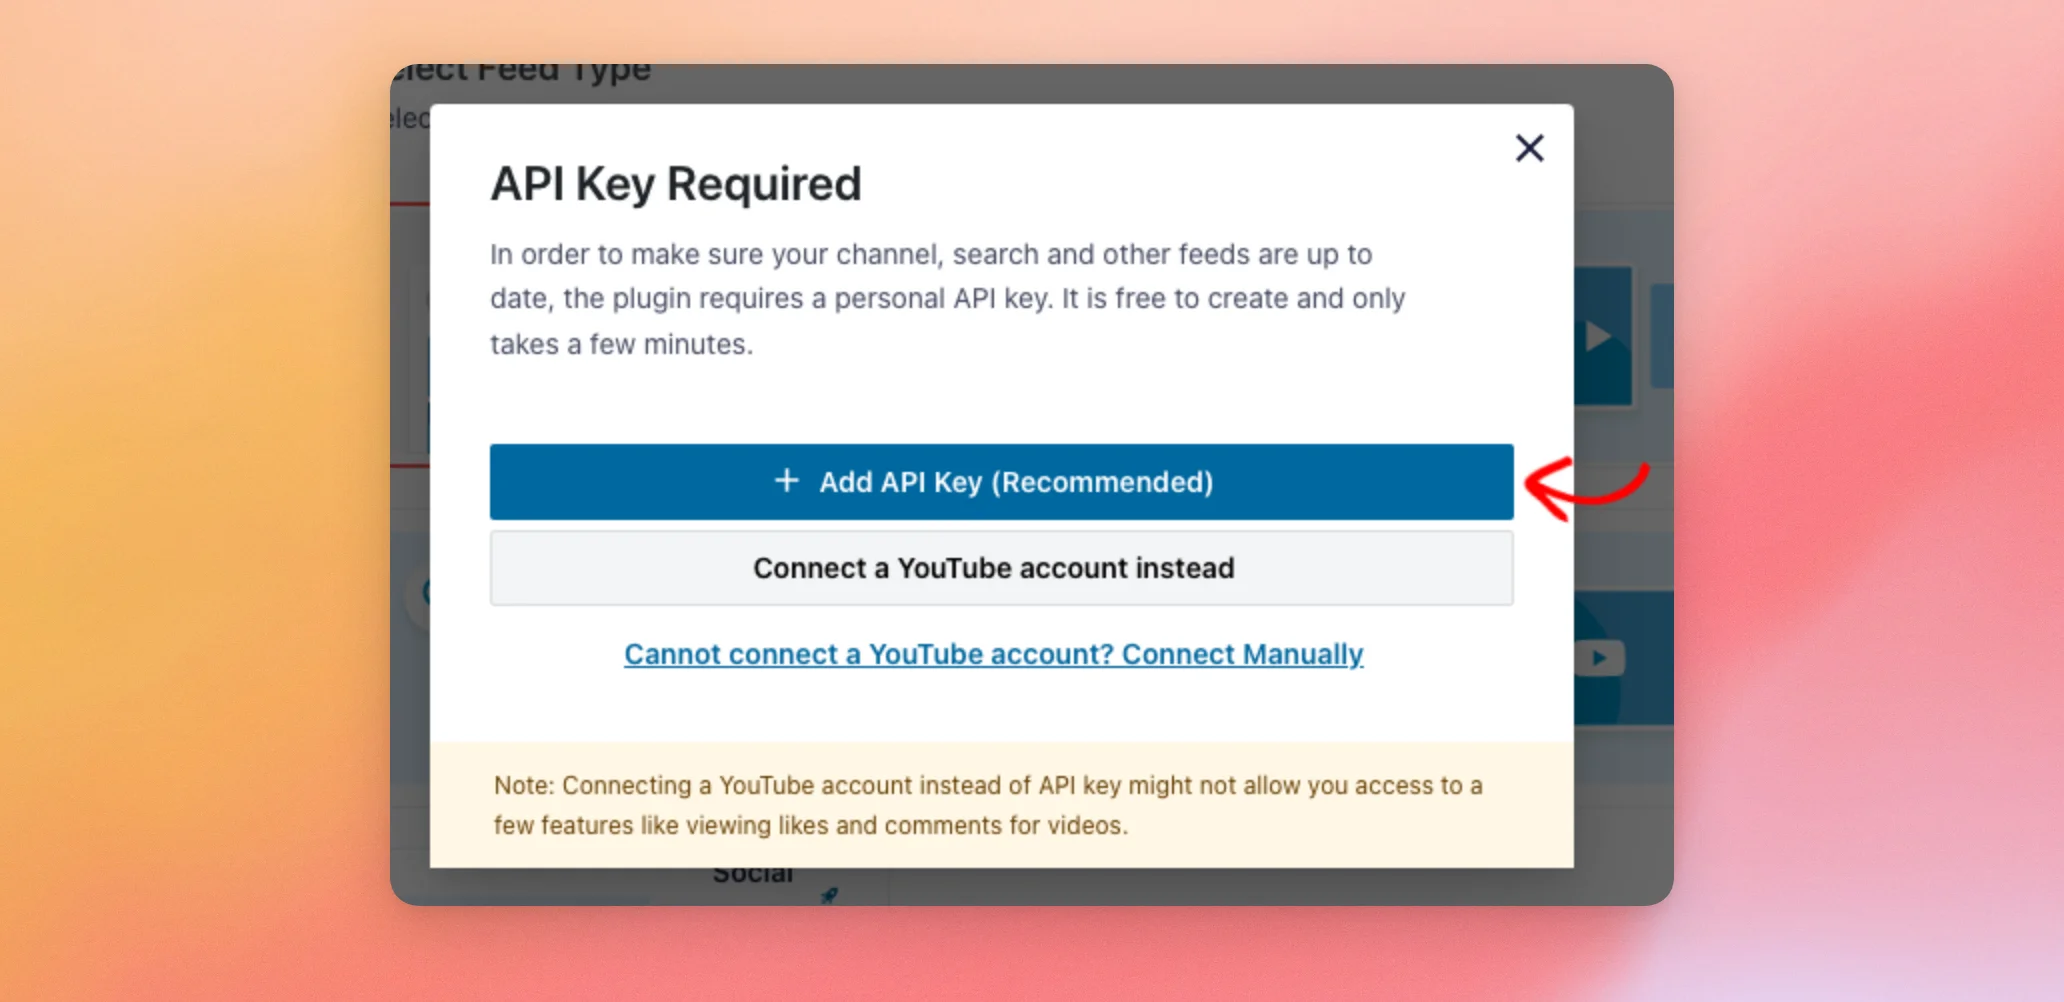
Then, paste your API key into the field and click Add.
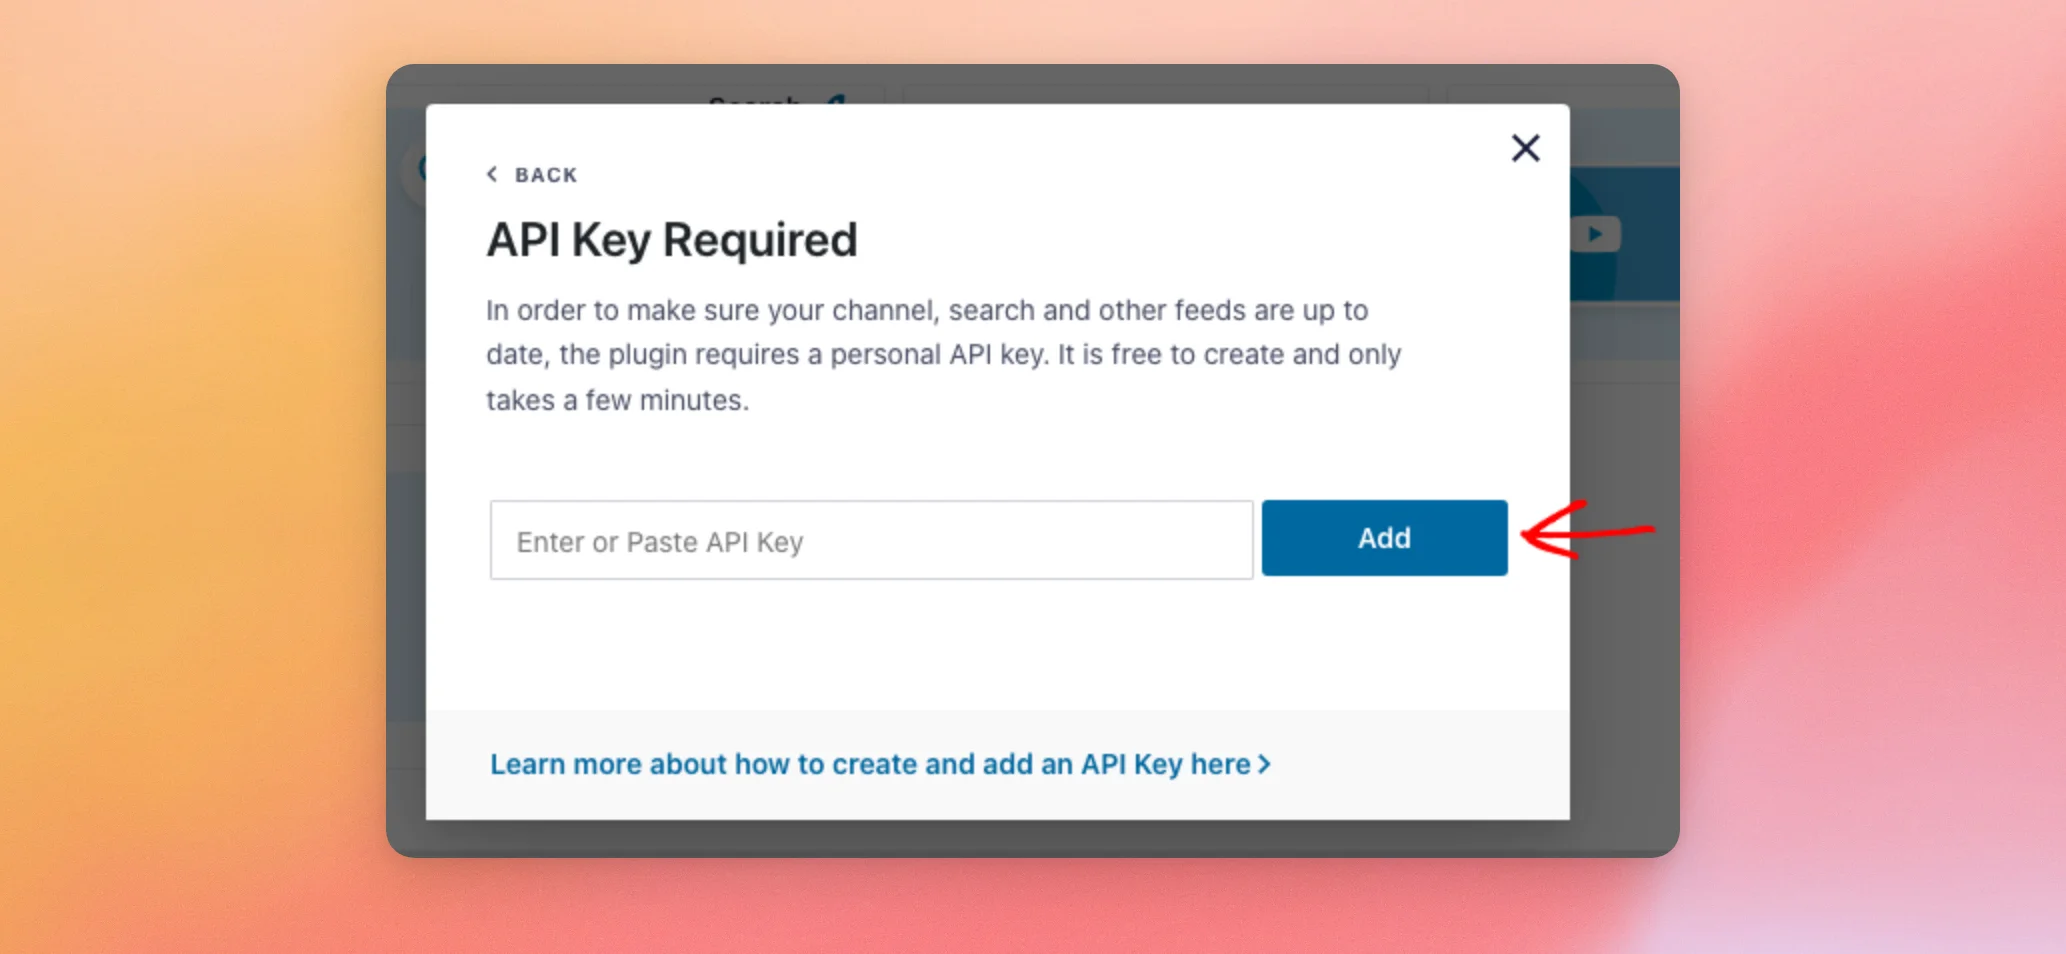
If you haven’t made a key yet, follow our guide to creating and using a YouTube API key. When a key is already saved, the plugin skips this window and goes straight to the next step.
You can also add or change your key at any time. To do this, go to YouTube Feed » Settings. Then, open the General tab and find the API Key box.
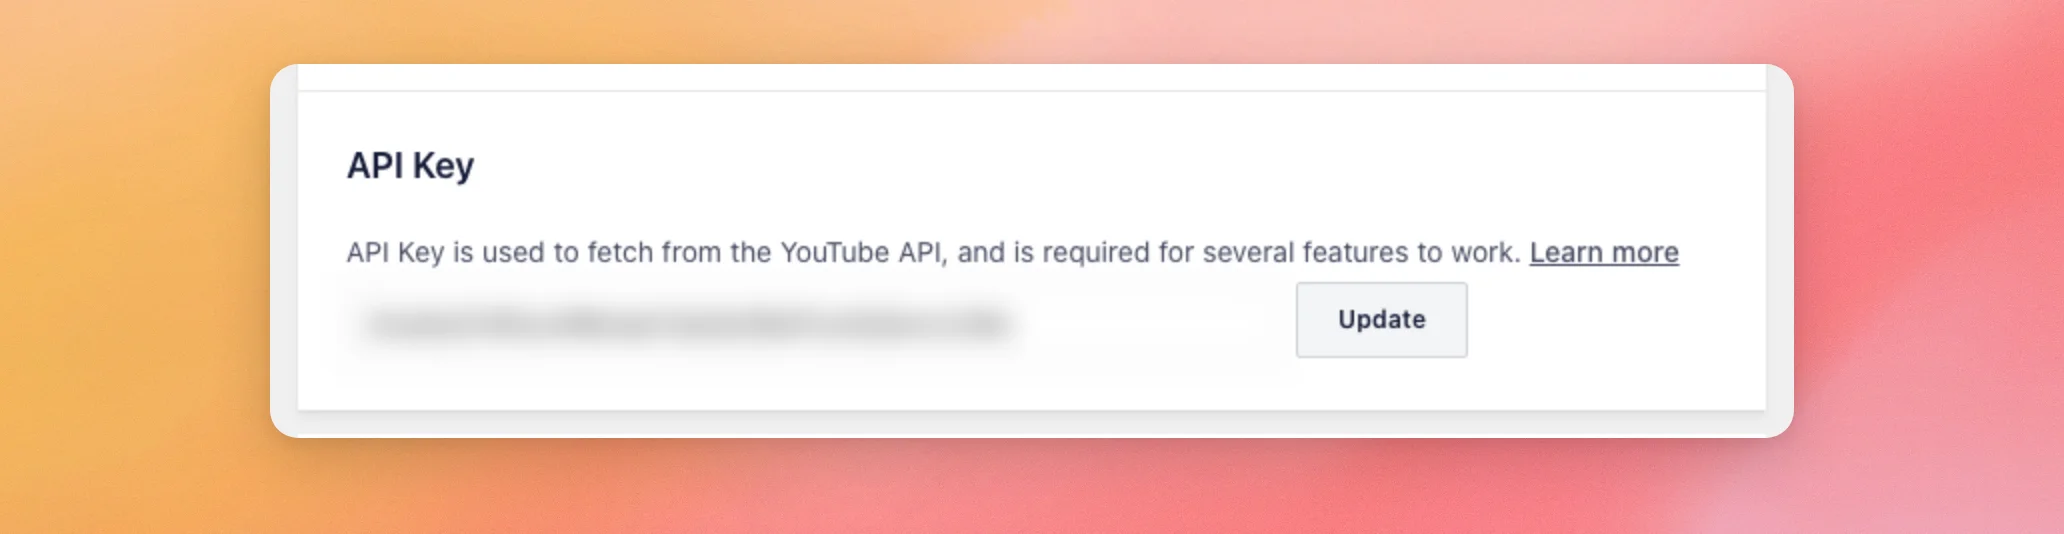
With your API key saved, you can choose the channel to show.
Adding Your Channel
On the Add Source page, enter the channel you want to show in the Channel ID or Username field. You can use a channel handle, a channel ID, or a username. The page shows an example of each.
For this guide, we’ll use the Smash Balloon channel handle, @SmashBalloon.
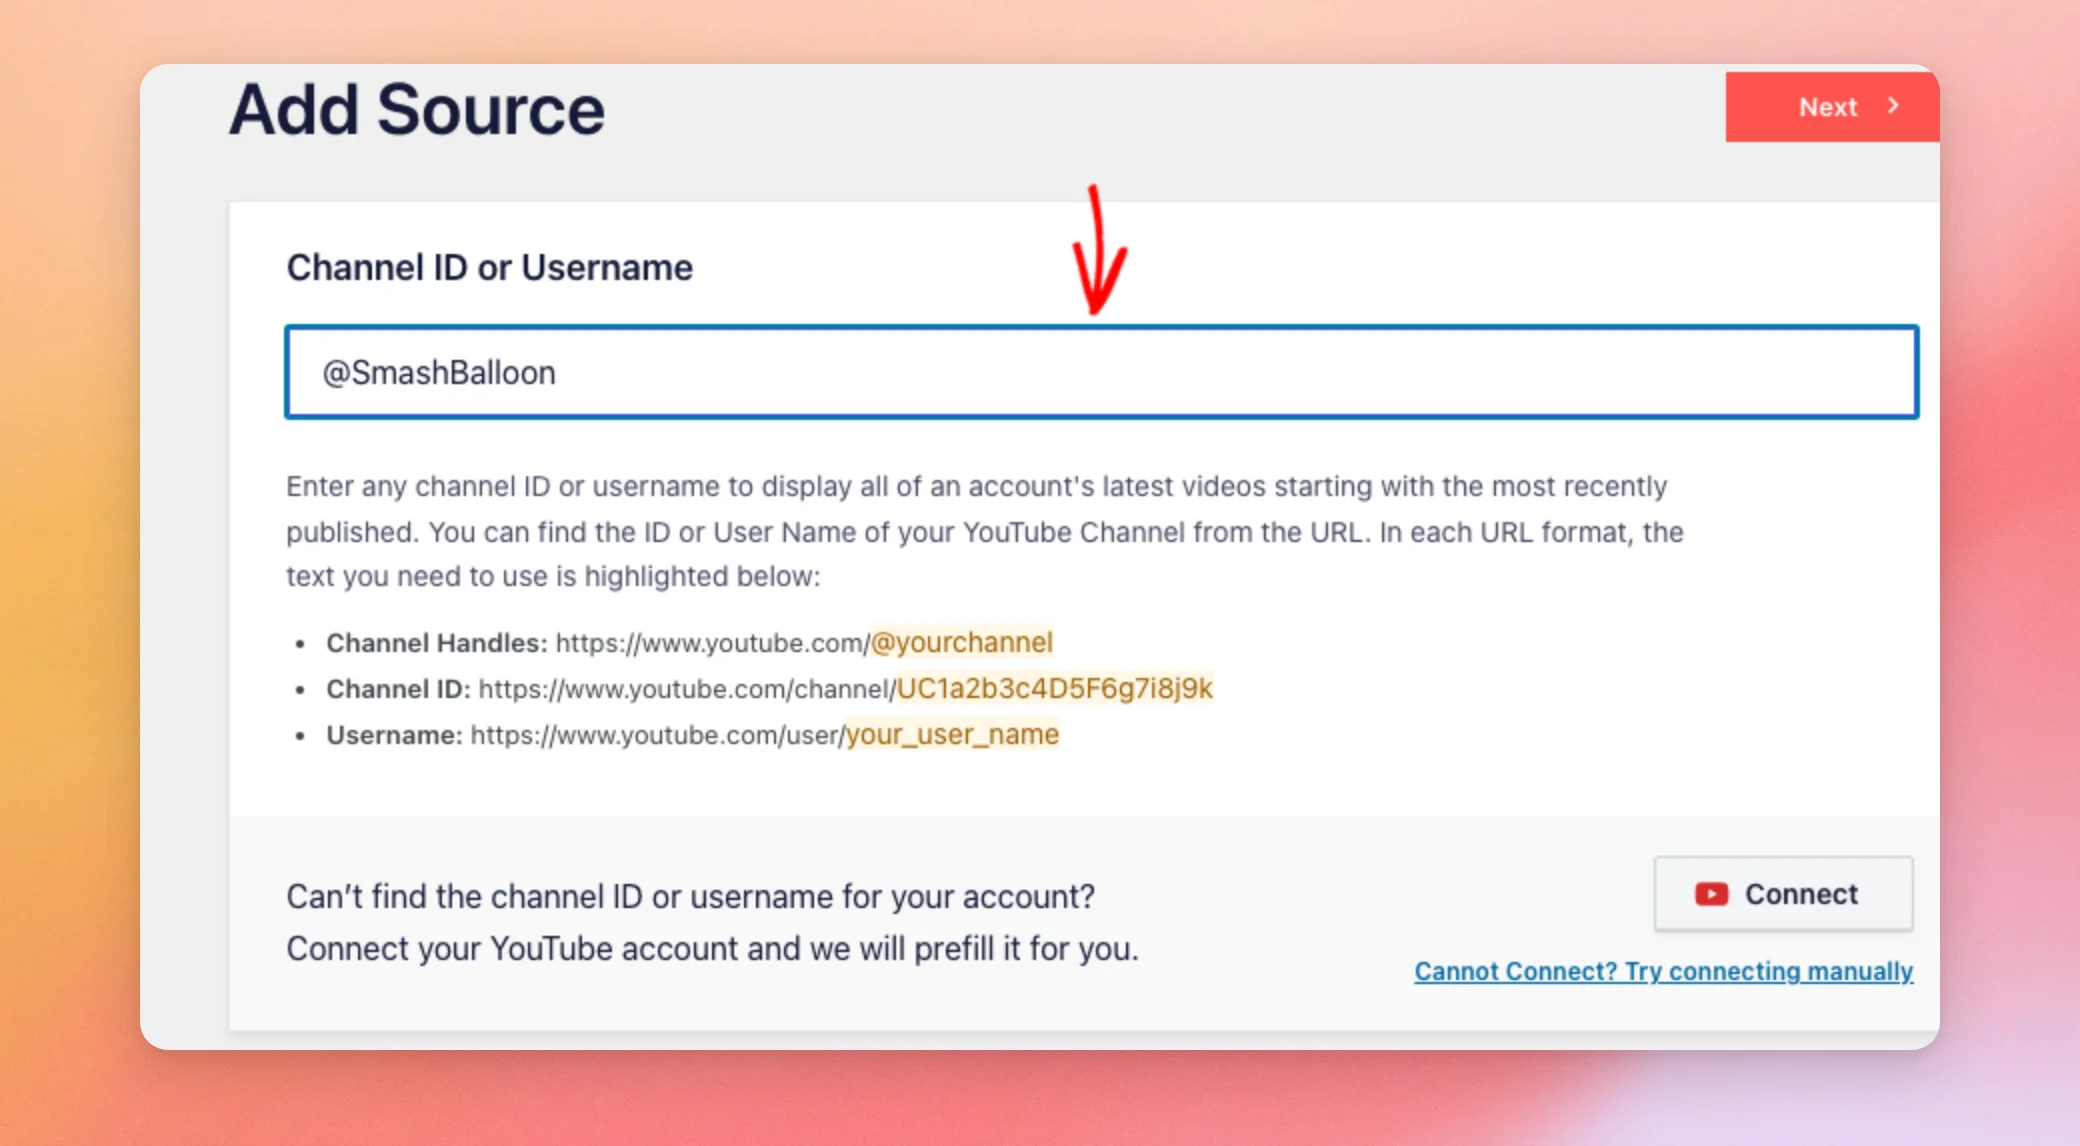
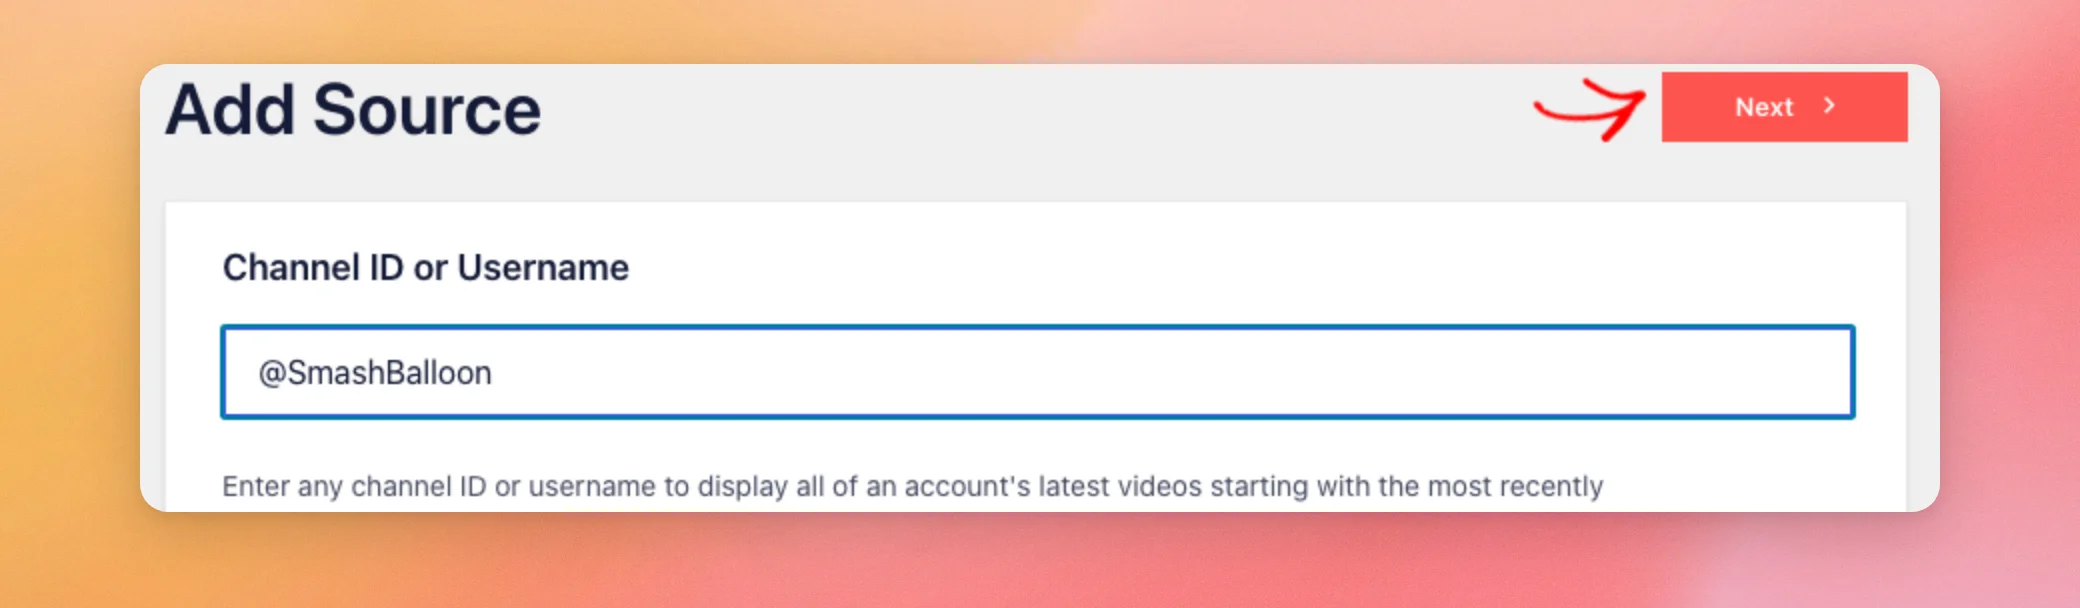
Then, click Next.
Depending on your license level, the next step is choosing how your feed looks.
Choosing a Template
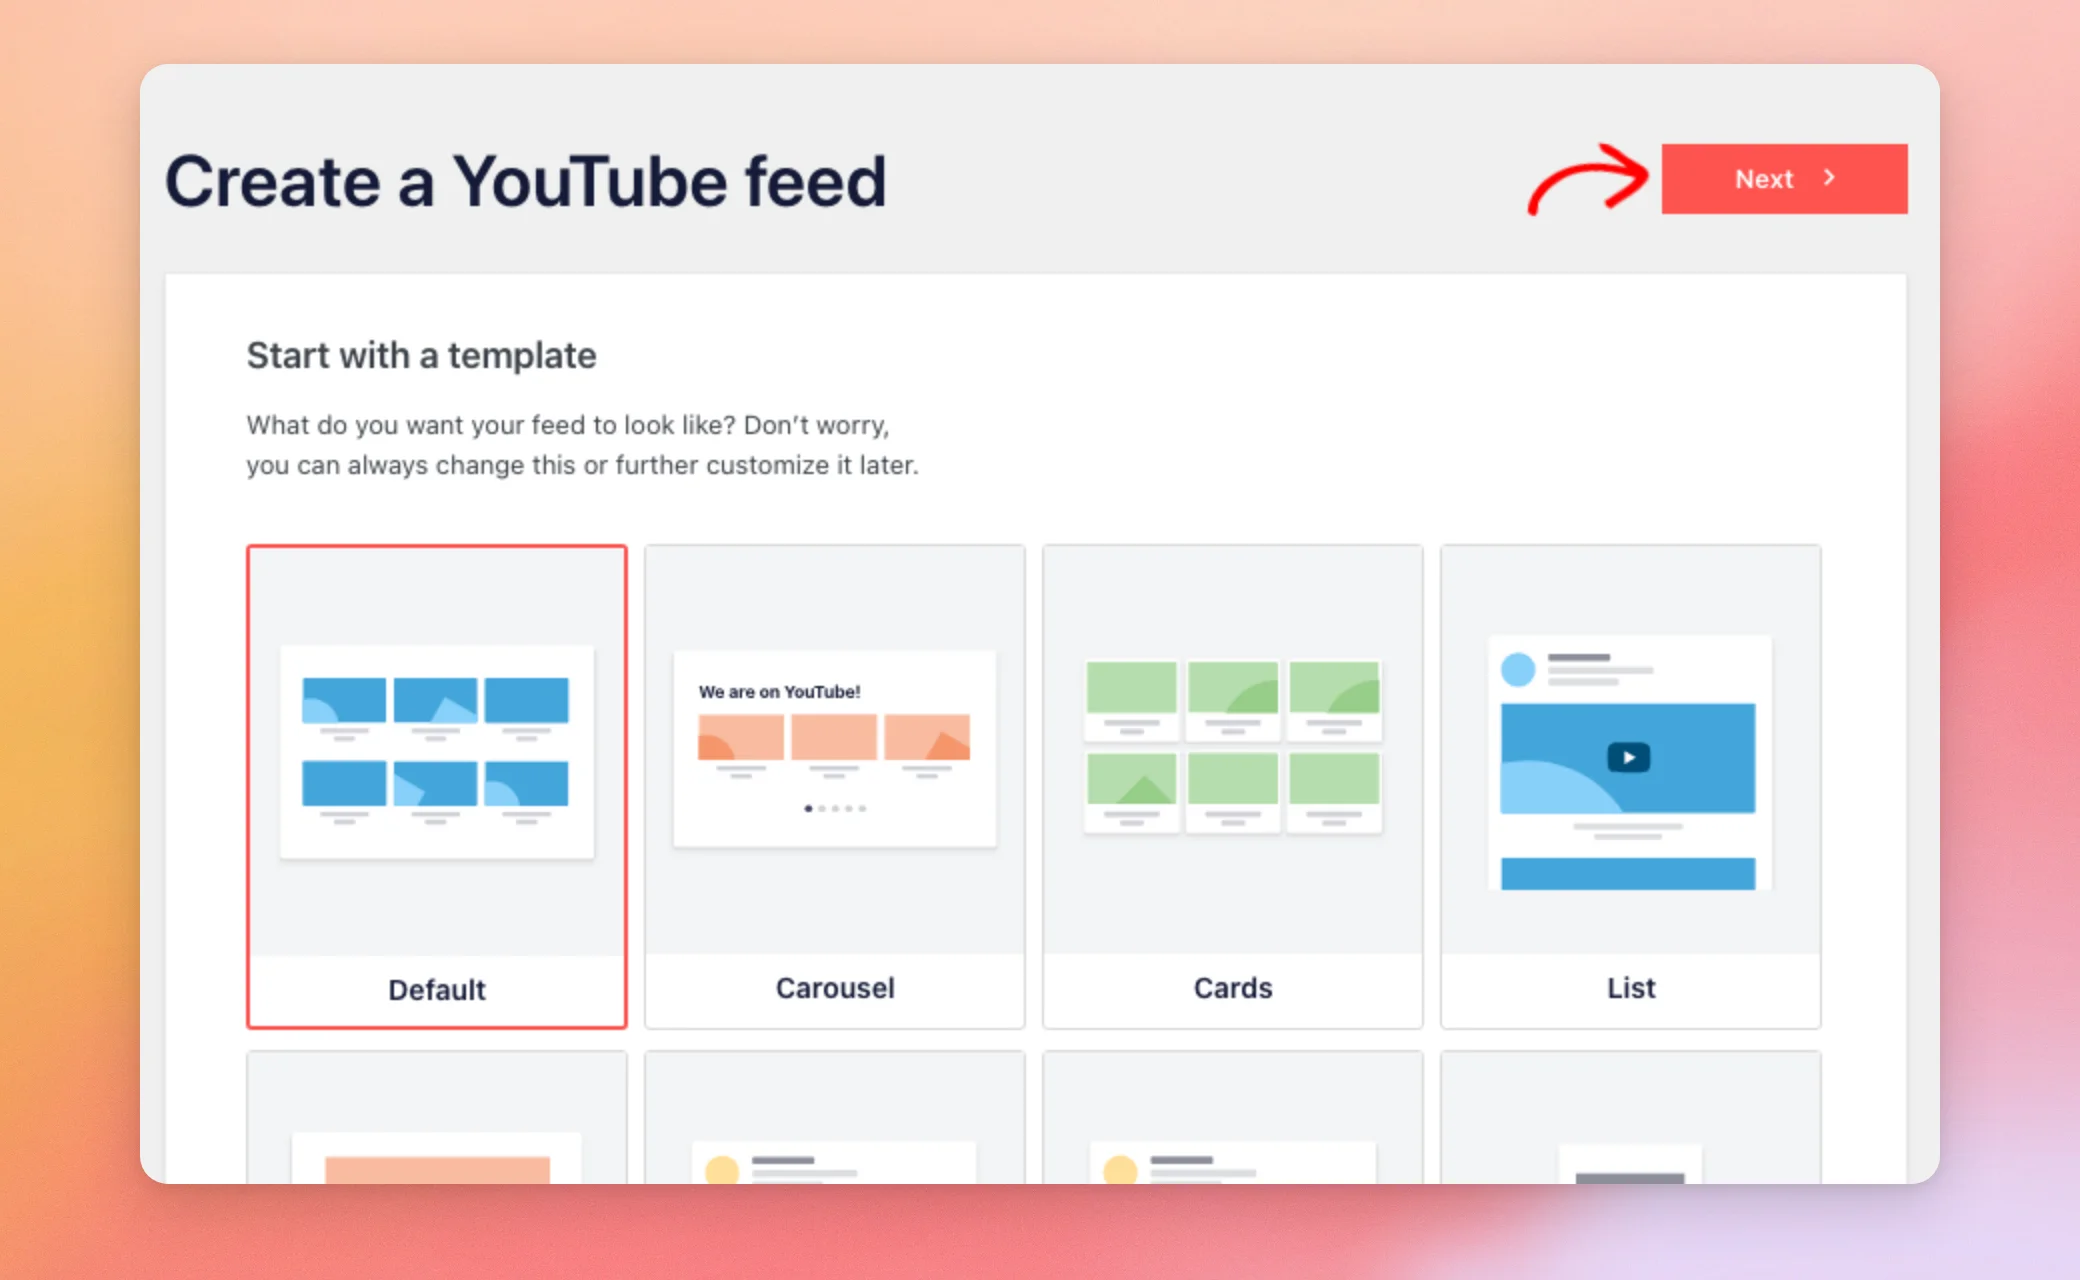
With the plus license level or higher, the Start with a template page opens next. It asks what you want your feed to look like. The choices are Default, Carousel, Cards, List, Gallery, Latest Video, Showcase Carousel, and Widget.
With the basic license level or the free version, the plugin skips this page and creates the feed right after the Add Source page.
You can change or customize the template later. For now, pick the one that is closest to what you have in mind. We’ll keep Default.
Then, click Next to create the feed.
Your feed is now created. Next, the feed editor opens.
Connecting an Account (Channel Feeds Only)
An API key is the recommended way to connect YouTube Feed to YouTube. It is the best choice for long-term use.
For channel feeds only, you can connect a YouTube account instead of using a key. The API Key Required window offers this as the Connect a YouTube account instead option. The Add Source page also has a Connect option next to the message “Can’t find the channel ID or username for your account?” Connecting from there fills in the channel for you.
Connecting an account might not give you access to a few features, such as viewing likes and comments for videos. If connecting doesn’t work for you, both places also have a link for connecting manually.
Whether you use a key or an account, you finish your feed in the feed editor.
Customizing and Saving Your Feed
After you create the feed, the feed editor opens. The preview on the right shows your videos. The left panel has the Customize and Settings tabs.
The first time you open the editor, a short tour appears. You can step through it or close it.
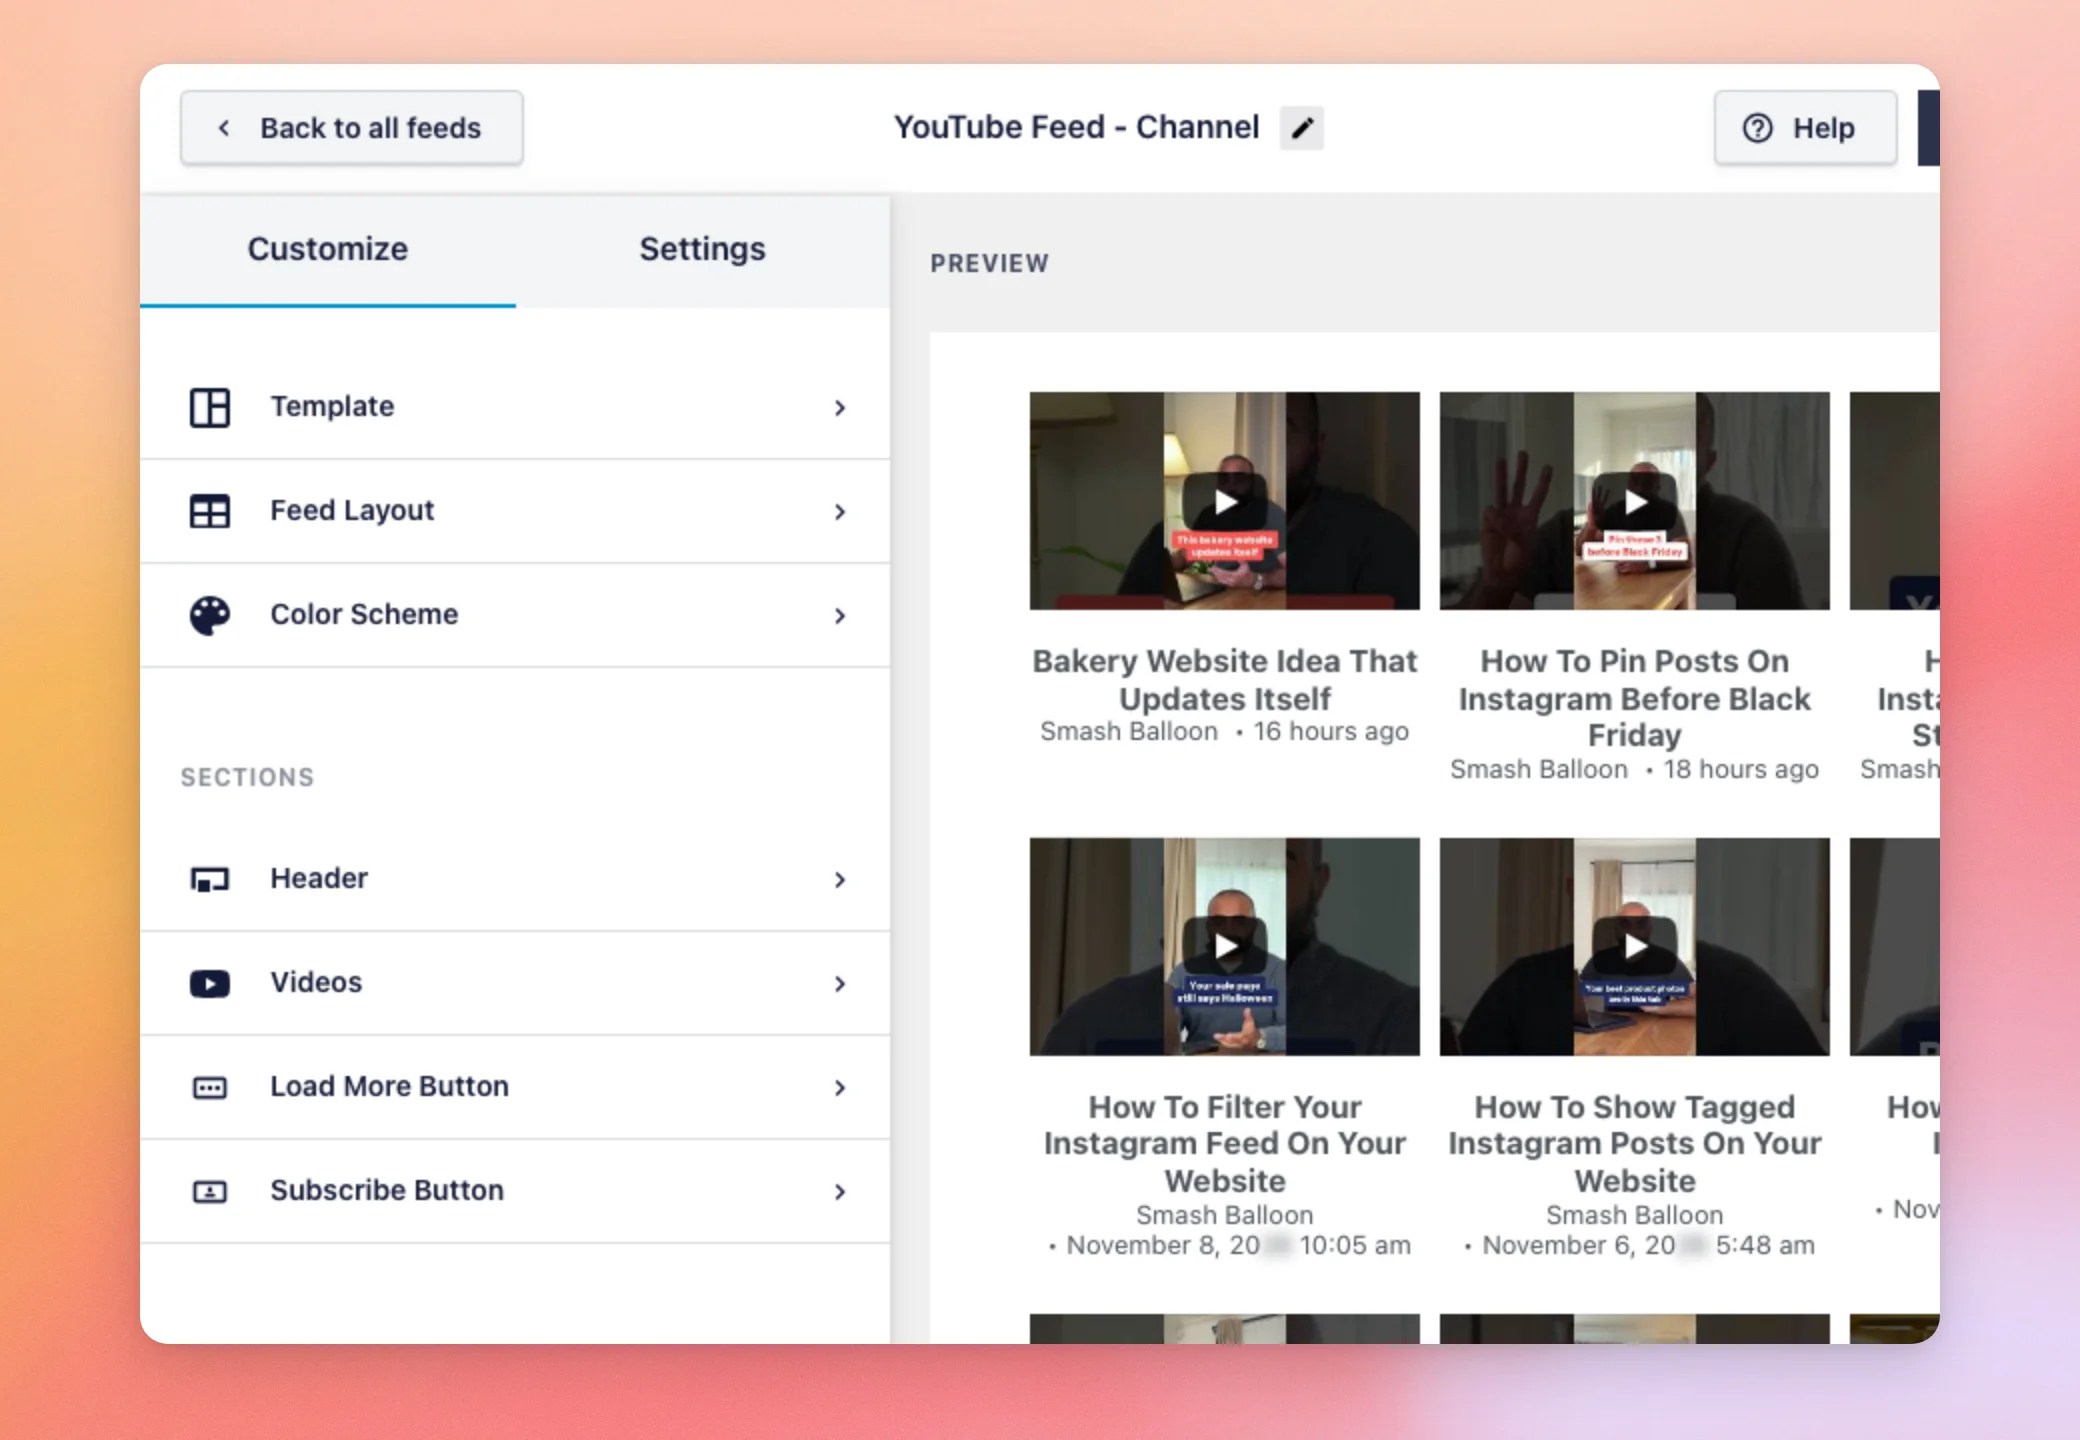
Next, use the left panel to change how your feed looks. You can adjust the layout, the colors, and which parts of each video it shows. When you are happy with your feed, click the Save button at the top right.
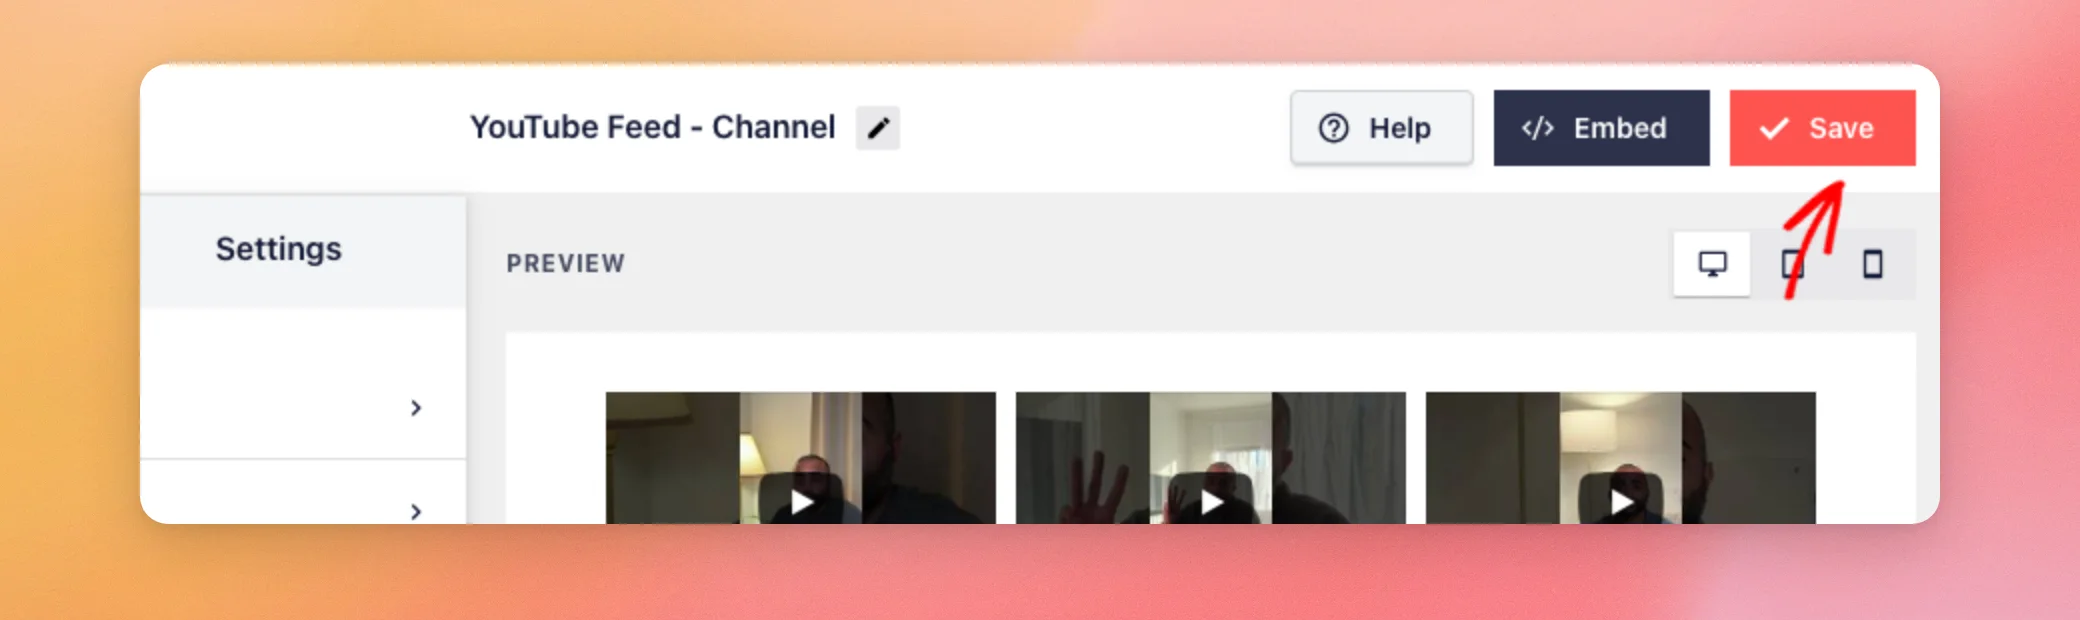
Your feed is now saved.
Next, you’ll add the saved feed to a page.
Placing Your Feed on a Page
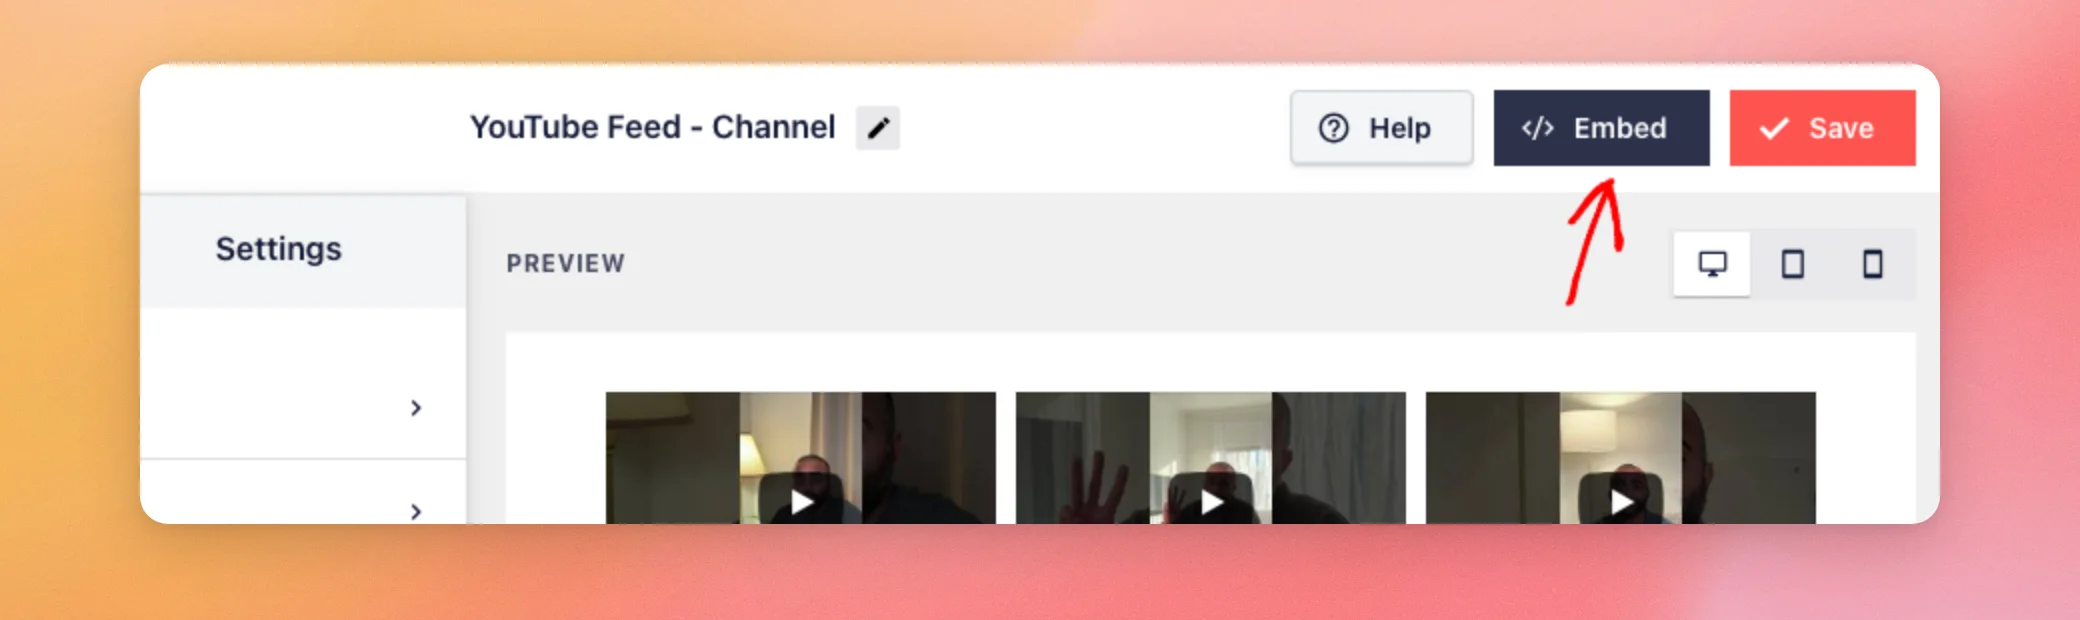
Every feed has its own shortcode. To get it, click the Embed button at the top of the feed editor.
The Embed Feed window shows the shortcode for your feed. Then, click Copy to copy it.
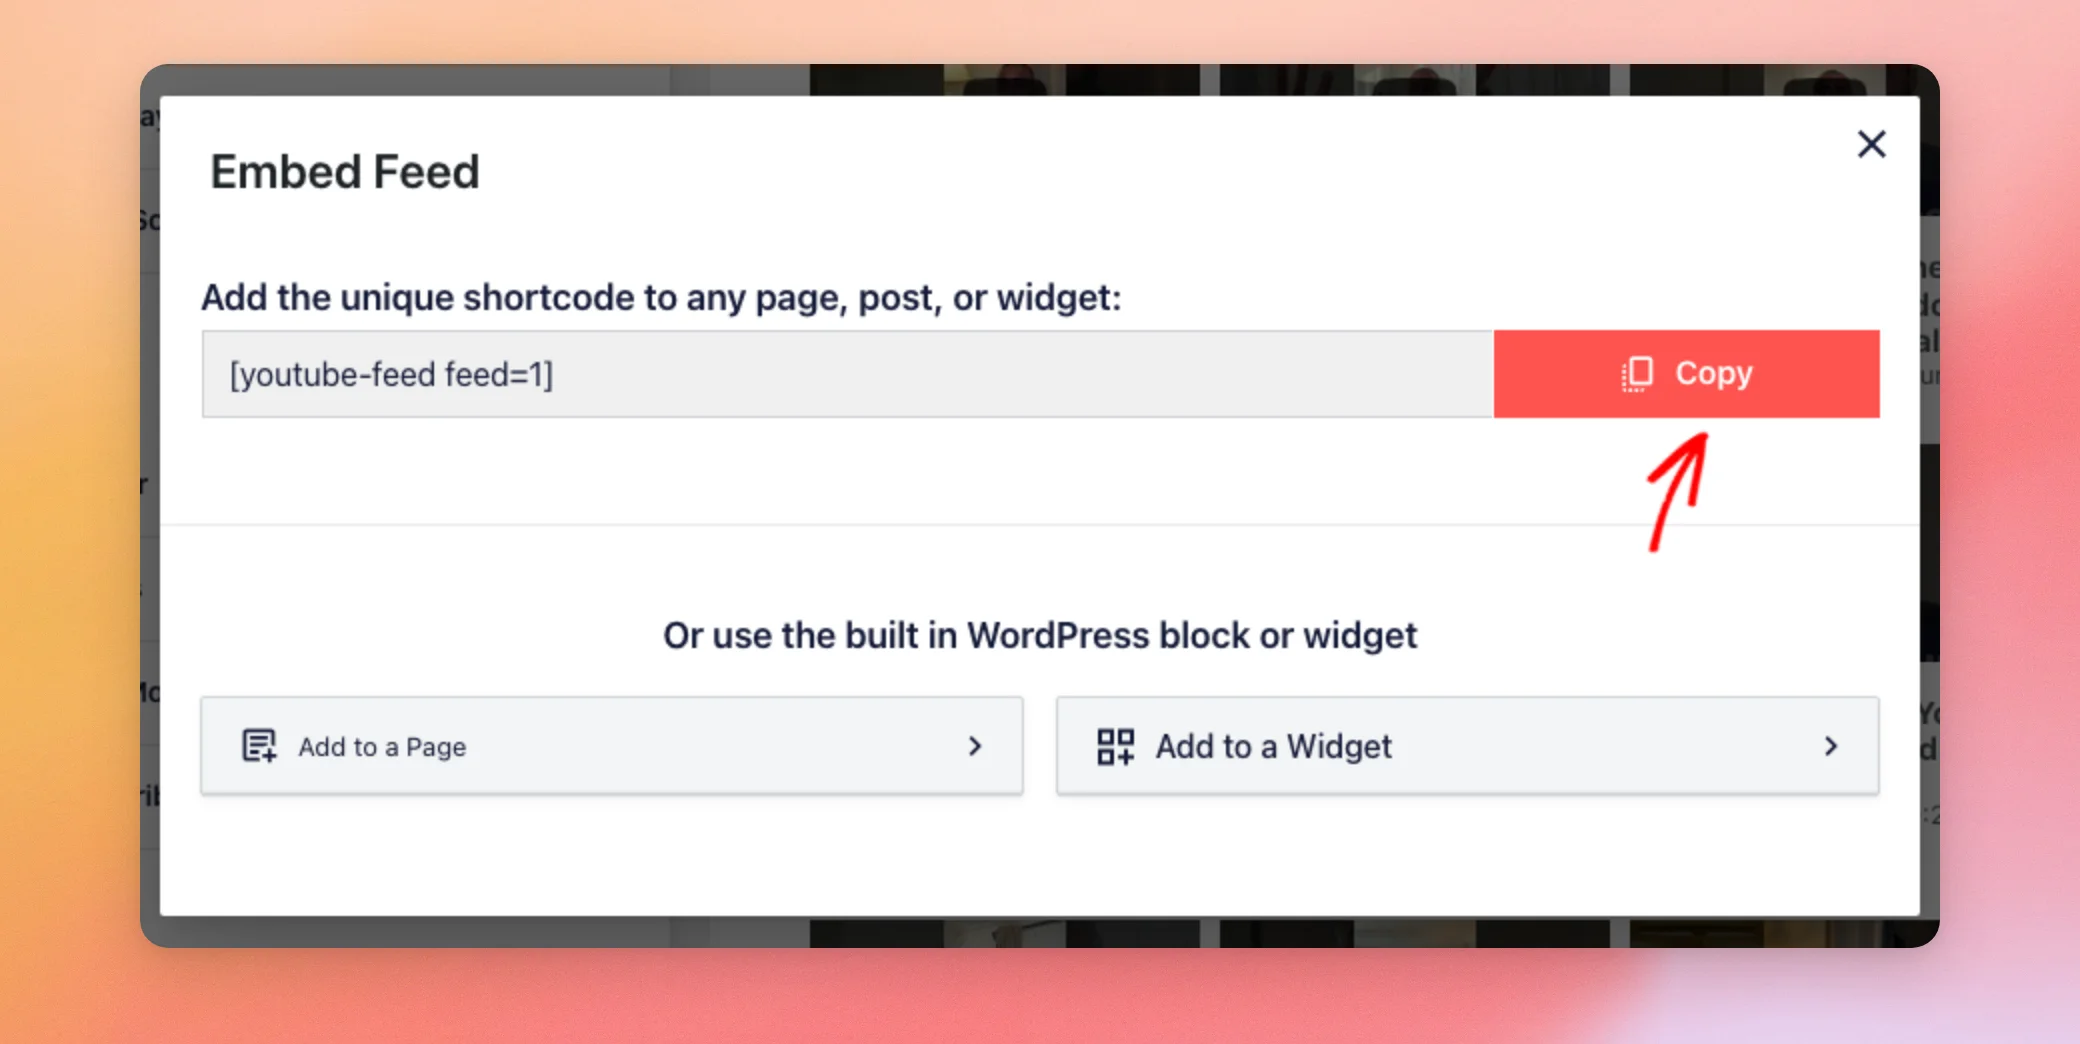
Then, open the page or post where you want the feed. Next, add a Shortcode block and paste the shortcode into it.
Your shortcode looks like [youtube-feed feed=1], where the number is your feed’s ID. Finally, update or publish the page.
The Embed Feed window’s Add to a Page and Add to a Widget buttons let you use the WordPress block or widget instead.
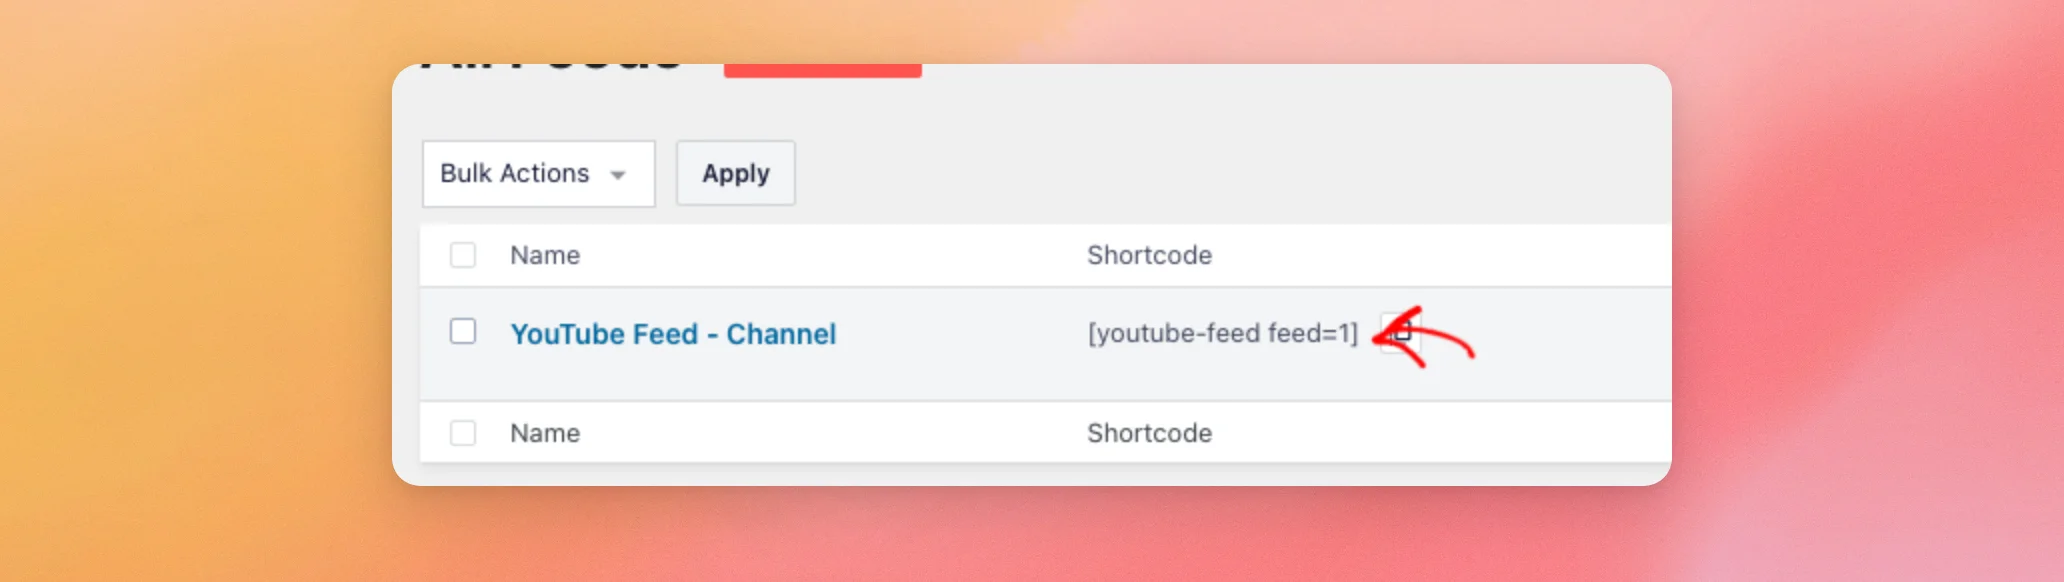
You can find the shortcode for every feed later too. To do this, go to YouTube Feed » All Feeds. The Shortcode column lists each feed’s shortcode.
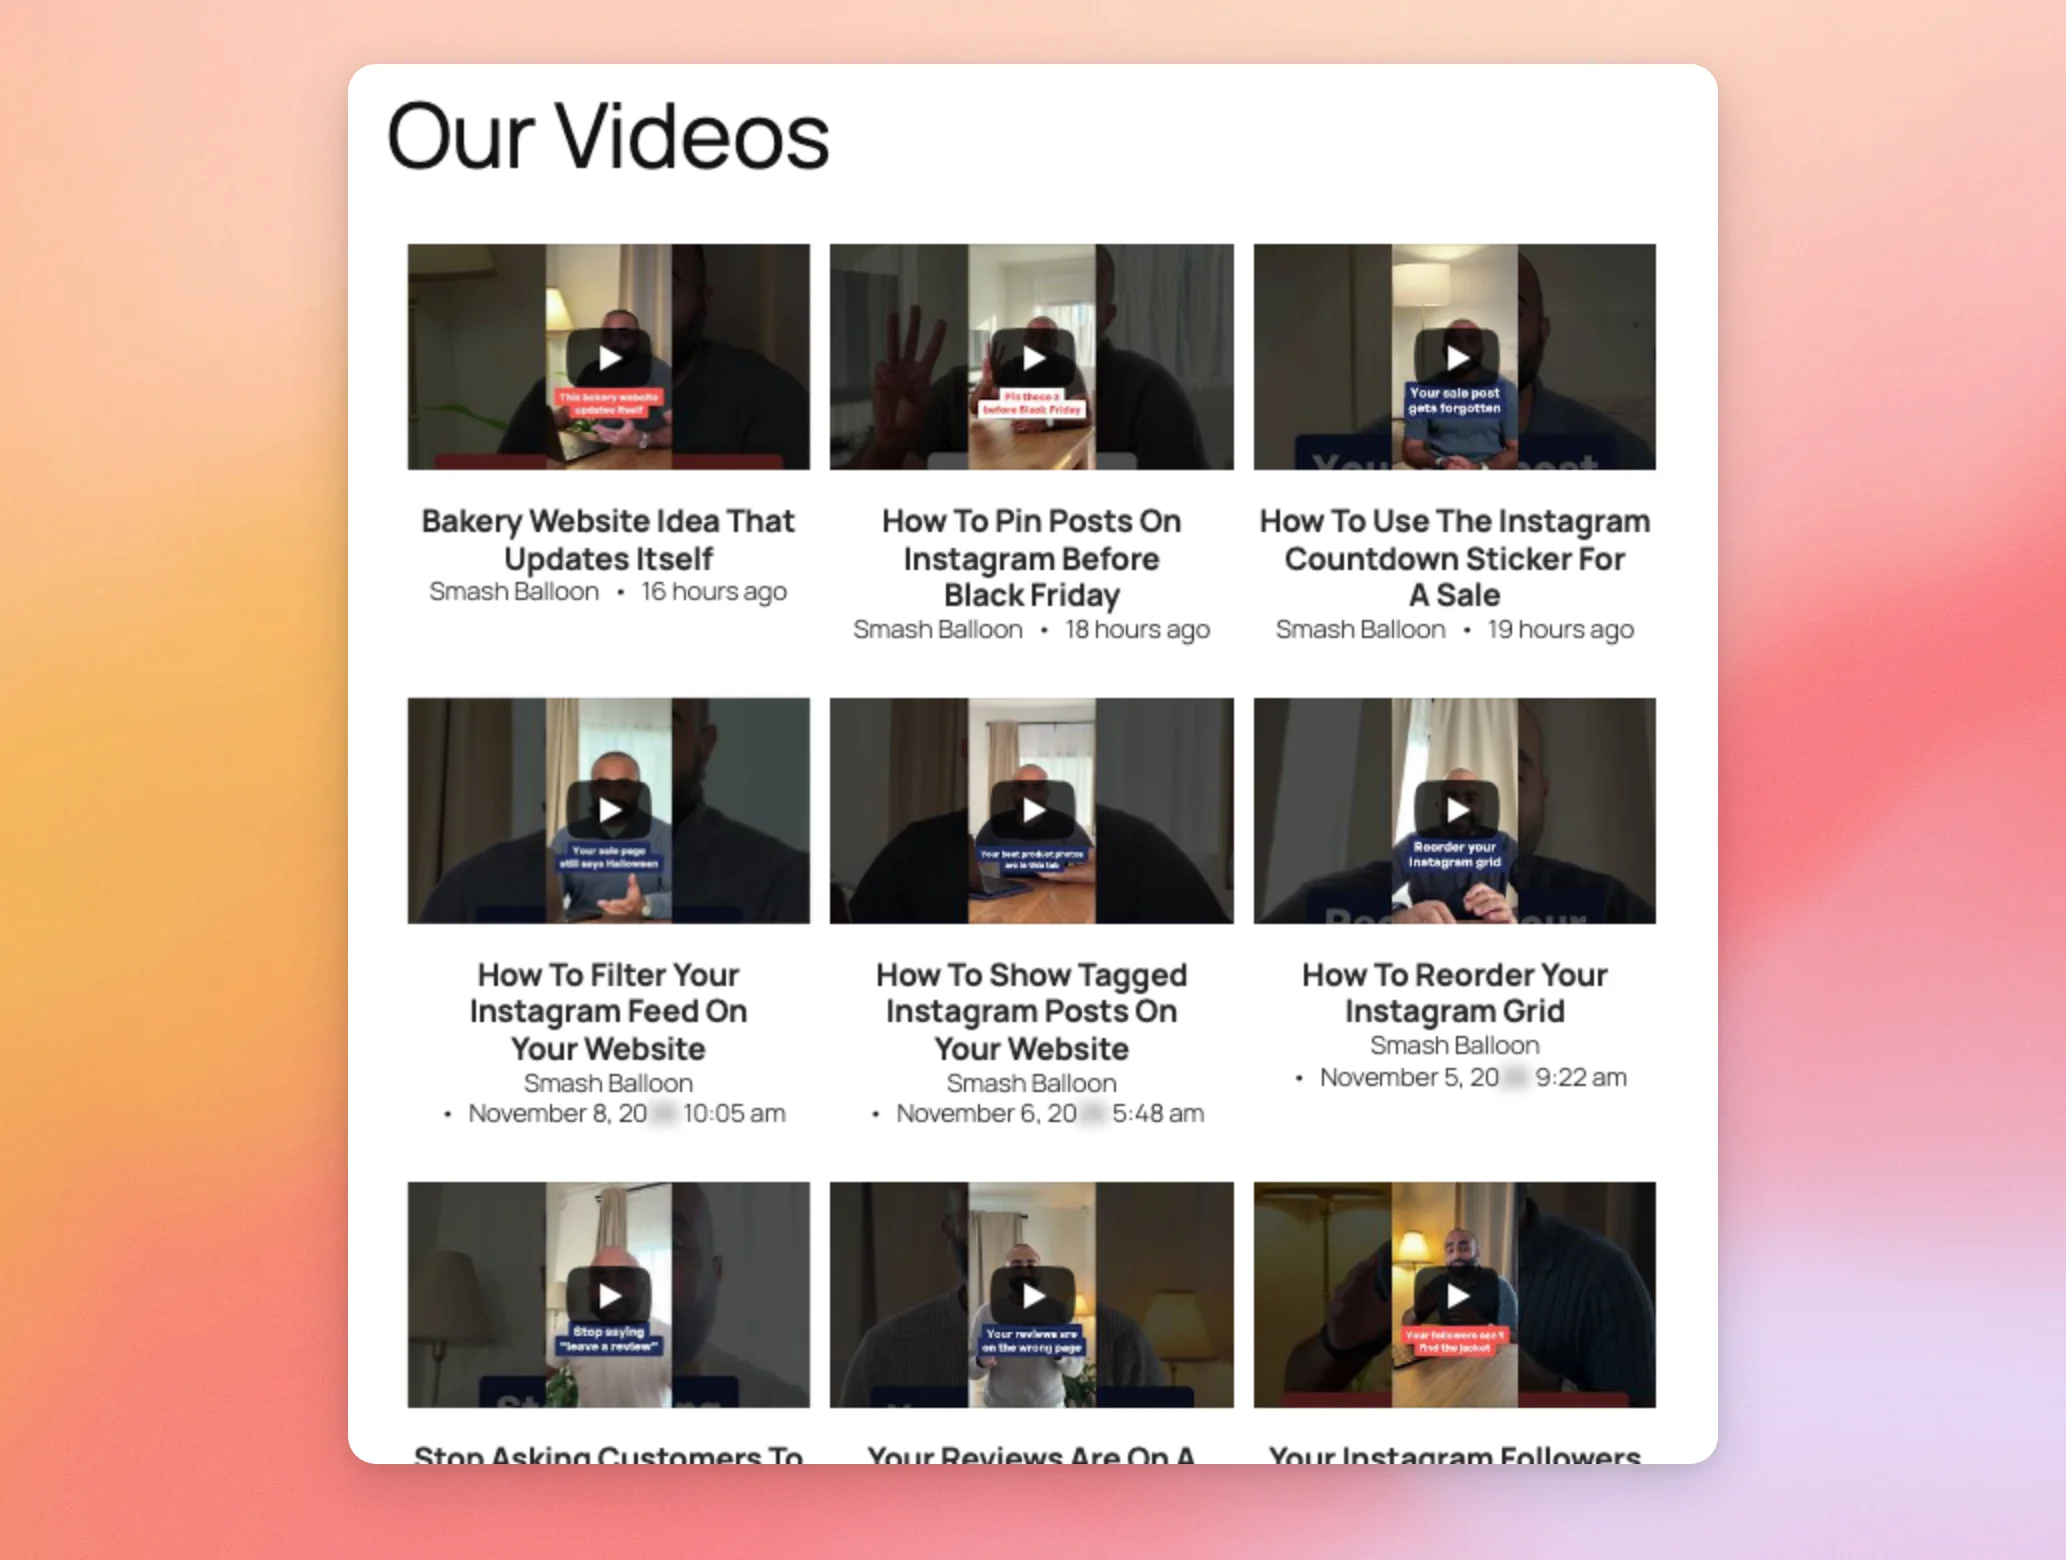
When you view the page, your feed shows the latest videos from the channel.
If you want more than one feed on a page, see our guide on displaying multiple YouTube feeds.
Next, here are the feed types each license level includes.
Feed Types in Each License Level
Which feed types you can create depends on your license level. Older Personal, Business, and Developer licenses include every feature.
| Feed type | Free | Basic | Plus | Elite |
|---|---|---|---|---|
| Channel | Yes | Yes | Yes | Yes |
| Playlist | No | Yes | Yes | Yes |
| Shorts | No | Yes | Yes | Yes |
| Single Videos | No | Yes | Yes | Yes |
| Search | No | No | Yes | Yes |
| Live Streams | No | No | No | Yes |
The Select Feed Type page also shows a Social Wall card. Social Wall combines sources from several social media platforms and needs the separate Social Wall plugin. A small rocket icon shows next to every feed type except Channel, even when your license includes it.
For the full list of features in each license level, see YouTube Feed features, paid and free.
Finally, if you are using the free version, the install steps are different.
Setting Up the Free Version
The free version of YouTube Feed, named Feeds for YouTube, is on WordPress.org. You install it from your WordPress dashboard, without downloading a file. It builds Channel feeds only.
In your WordPress dashboard, go to Plugins » Add Plugin. Then, type Feeds for YouTube in the search box. Next, find the Feeds for YouTube plugin in the results and click Install Now.
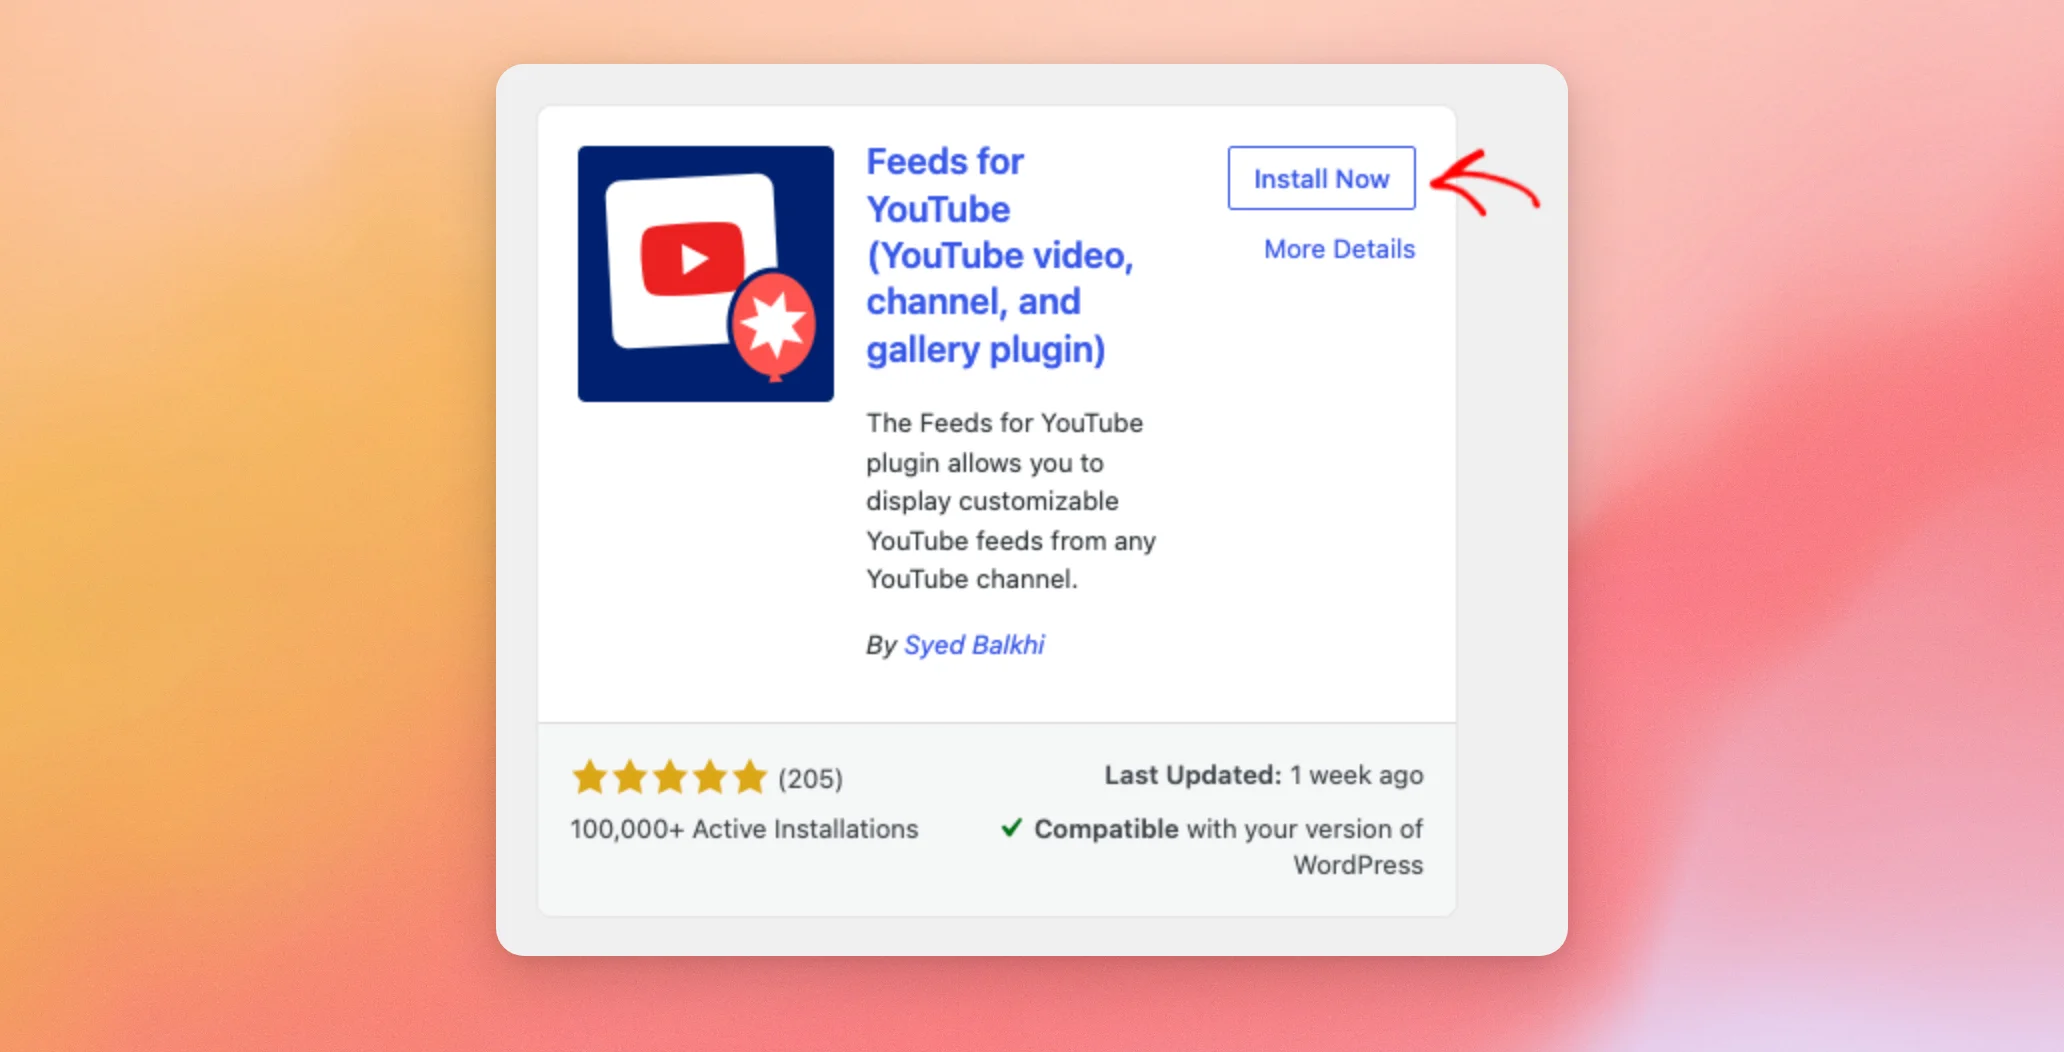
When the button changes to Activate, click it. A new YouTube Feed menu appears in your dashboard.
Then, follow the same steps as above, starting at Creating Your First Feed. The free version needs no license key and creates Channel feeds only. To use the other feed types, upgrade to a paid license.
One more thing to know is how each version handles data sharing.
Data Sharing
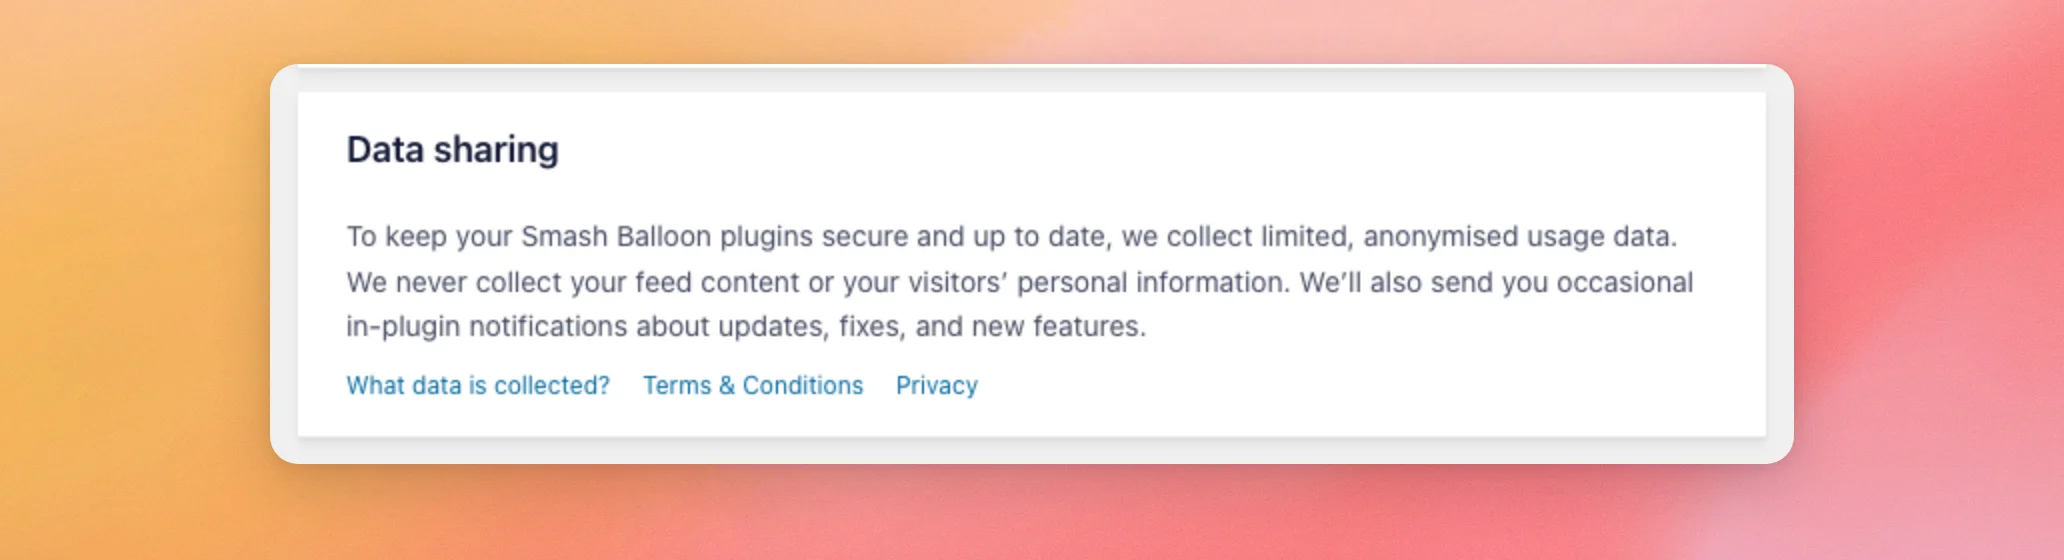
Smash Balloon plugins can send limited, anonymized usage data and show in-plugin notifications about updates, fixes, and new features. The paid version of YouTube Feed doesn’t ask you to choose.
The Data sharing box on the General tab of YouTube Feed » Settings explains this and has no switch. It also links to what data is collected, the Terms and Conditions, and the privacy policy.
The free version asks. At the end of the setup wizard, it shows a checkbox named Help Improve Feeds for YouTube with the text “Yes, I’d like to share basic usage data with Smash Balloon to help improve our products.”
If you tick it, the plugin shares basic usage data and also shows the in-plugin notifications. If you leave it unticked, the plugin doesn’t share usage data.
If data sharing is off in the free version, you might see a window titled “We’re updating how data sharing works.” To turn data sharing and notifications on, click Accept & Continue. To turn both off, click Skip. Either button closes the window for good.
That’s it! You now have YouTube Feed installed, a feed created, and the feed showing on a page. Next, our YouTube Feed settings reference explains what each setting does.
Frequently Asked Questions
Below, we’ve answered some of the most common questions about setting up YouTube Feed.
Do I need an API key to create a feed?
Yes, unless you are making a Channel feed and connect a YouTube account instead. The key is free to create. See Adding Your YouTube API Key and Connecting an Account (Channel Feeds Only) above.
Which feed types does the free version create?
The free version creates Channel feeds only. Playlist, Shorts, Single Videos, Search, and Live Streams feeds need a paid license. See Feed Types in Each License Level above.
Where do I find my feed’s shortcode?
Open the feed in the editor and click Embed, or go to YouTube Feed » All Feeds and look at the Shortcode column. See Placing Your Feed on a Page above.