Version 2.1 and above.
Note: Due to a recent change and Twitter shutting down their free API, we’ve created our own solution, which is available in version 2.1. This updated version incorporates the necessary modifications to offer a seamless experience for our users. Older versions of the plugin will no longer work due to the changes implemented by Twitter. Kindly upgrade to Version 2.1 to continue enjoying the benefits of our plugin without any interruptions.
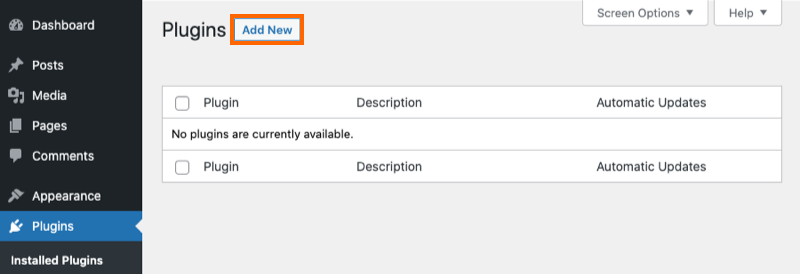
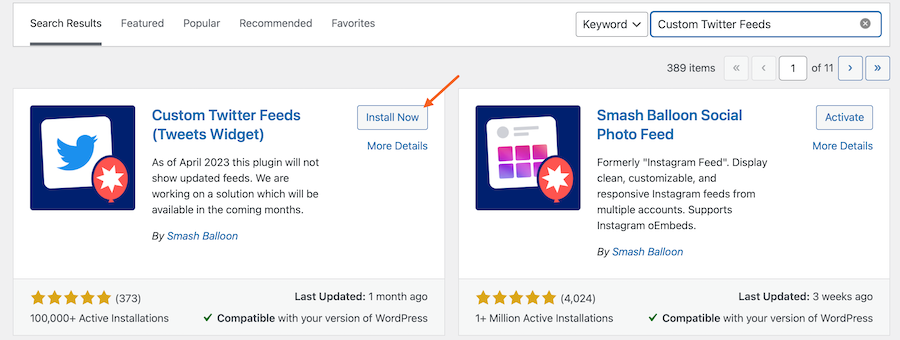
1) Install the plugin by navigating to your WordPress dashboard > Plugins > Add new. Search for “Custom Twitter Feeds” and click the “Install Now” button.
2) Activate the plugin by clicking the “Activate” button

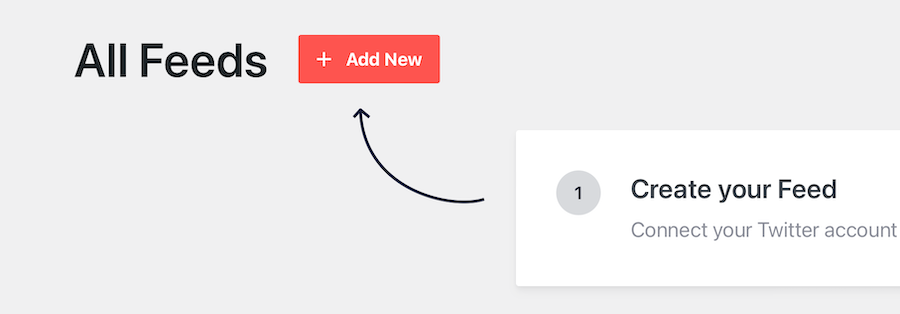
3) You’ll now see the Twitter Feed menu appear in your WordPress menu. Navigate to Twitter Feed > All Feeds and then click on the button labeled Add new.
4) Connect To Smash Balloon by clicking the “Connect button“
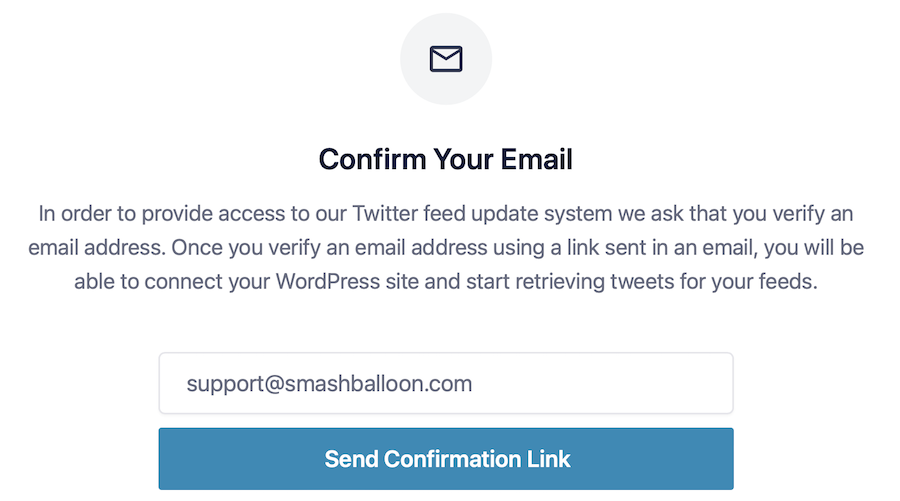
5) Enter your email address and click the “Send Confirmation Link“
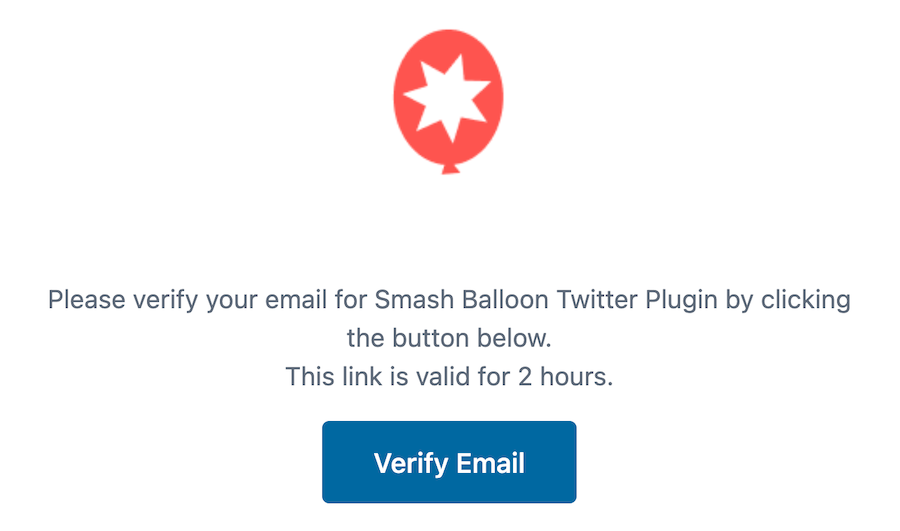
6) Check your Inbox and click the “Verify Email” button.
Note: If you don’t see the email, please check your SPAM folder; the sender’s address is [email protected]
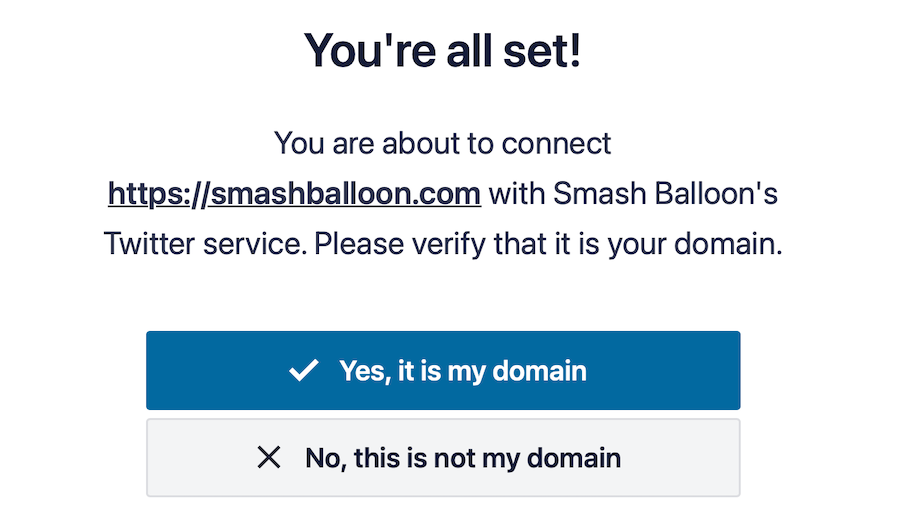
7) Confirm your domain by clicking the “Yes, it is my domain” button.
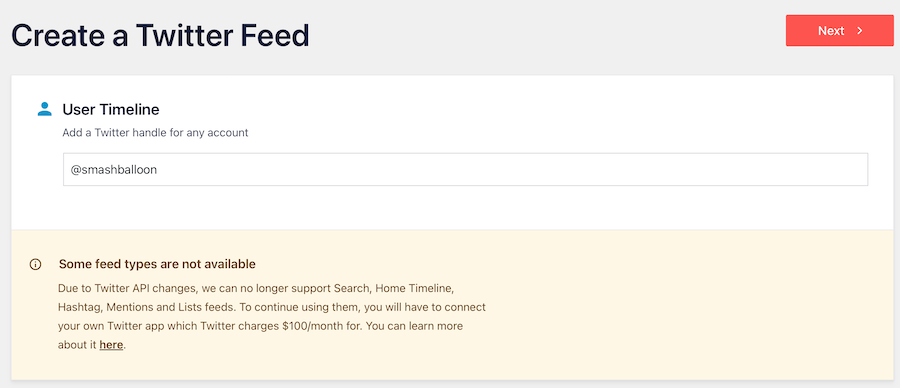
8) Add your Twitter handle name
9) Customize your feed using the options on this screen, then click Save
Note: the new API can not discern sponsored Tweets from other Tweets. As such, you may see unrelated Tweets in your feed.
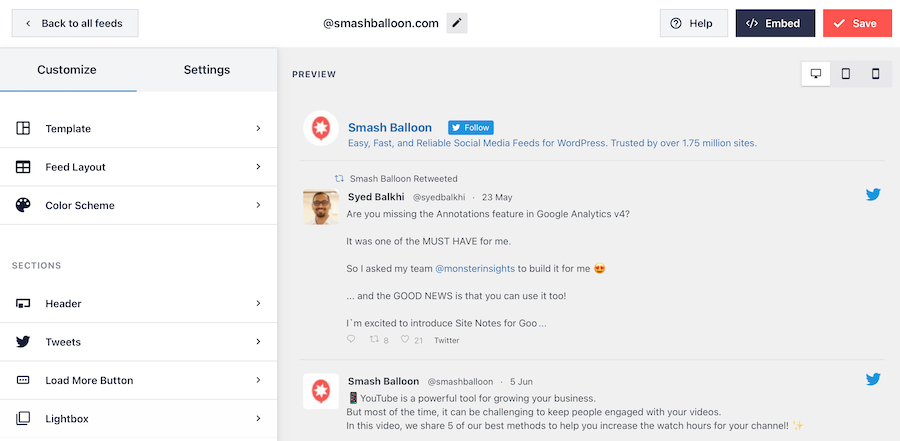
10) Once you are ready to embed your feed, click the Embed button and copy the shortcode.

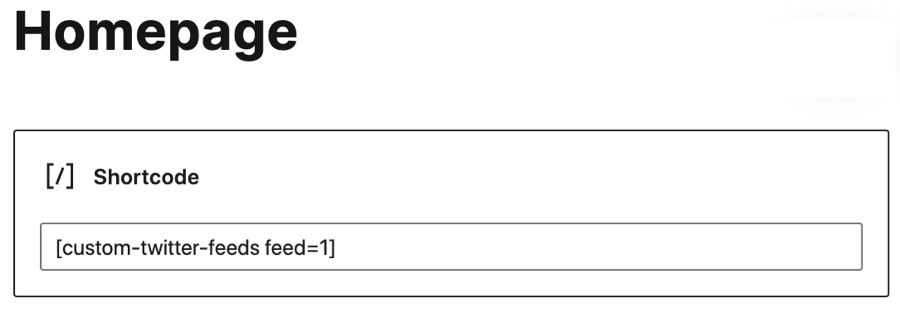
11) To display your feed, simply add the shortcode you created to any page, post, or widget, like so:
Important Note: Currently, you will be able to update one feed once a week. This may be increased in the future. For more frequent updates, please see the Pro version of our plugin (linked). For details on these restrictions, see our documentation here.
If you have any issues setting up or using the plugin, then check out our support section for solutions to common problems. If you need help beyond that, then you can also open a support ticket below.

