Social Wall
 Feed Analytics


Three ways to update the Feeds for YouTube Pro plugin by hand when the automatic update from your Plugins page fails.
Would you like to update the Feeds for YouTube Pro plugin by hand because the automatic update isn’t working?
You can upload the new plugin file in WordPress or replace the plugin files over FTP.
This guide walks you through both ways for the free and paid versions, without deleting the plugin.
Before you get started, make sure YouTube Feed is installed and activated on your site.
- Checking Why the Update Isn’t Showing
- Downloading the Latest Version
- Preserving Your Settings
- Uploading the New Version
- Replacing the Files Through FTP
- Frequently Asked Questions
Important: Don’t delete the plugin to update it. Deleting it runs the plugin’s uninstall routine. Unless Preserve settings if plugin is removed is turned on, that routine removes your feeds, your settings (including the API key), your license information, the videos the plugin saved to your site, and the media it stored. Instead, use either method below.
Checking Why the Update Isn’t Showing
To get started, we’ll check whether your license is why the update isn’t showing.
The paid version only checks for updates while the plugin is active. It uses your license key to do it. If the update is missing, your license may be the reason.
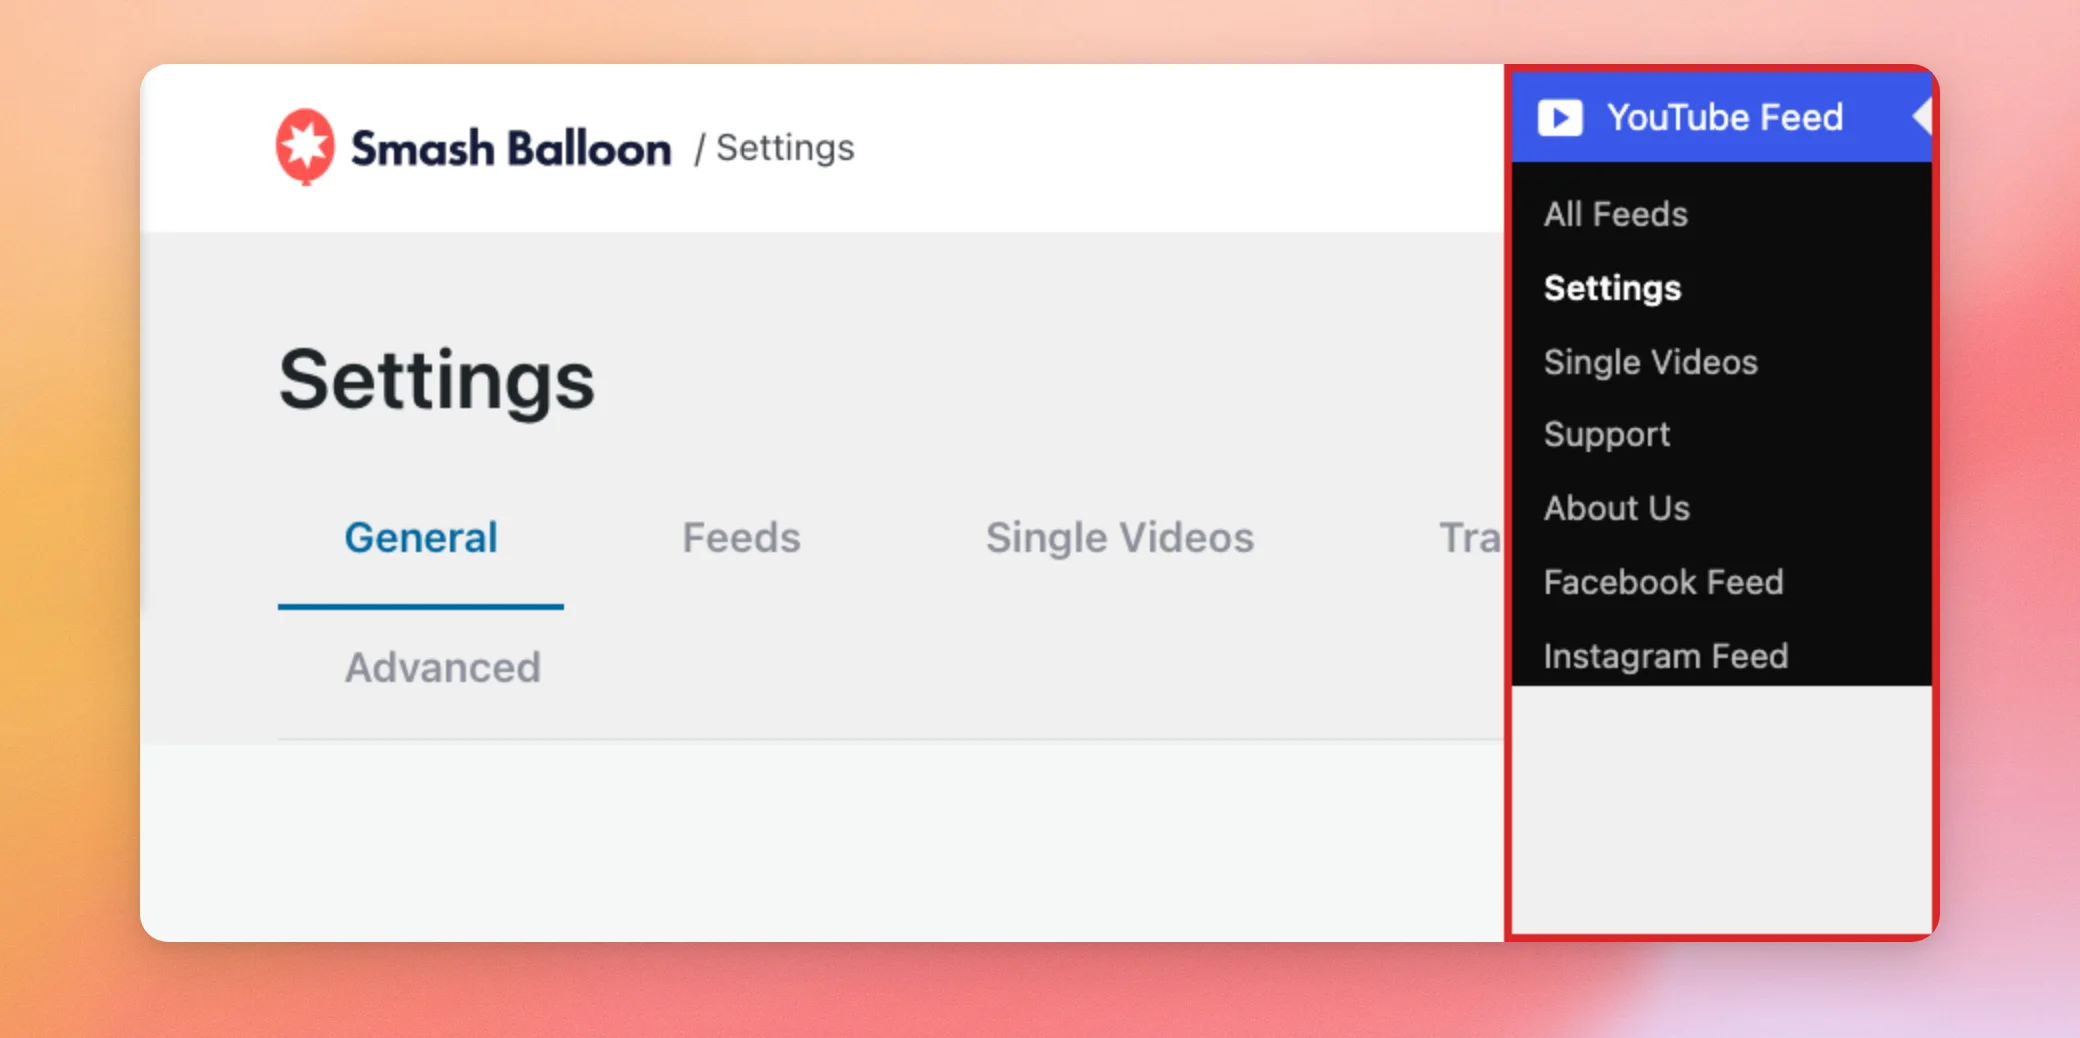
To check, go to YouTube Feed » Settings in your WordPress dashboard.
On the General tab, find the License Key box. When your license is active, it says “Your YouTube Feed Pro license is Active!”
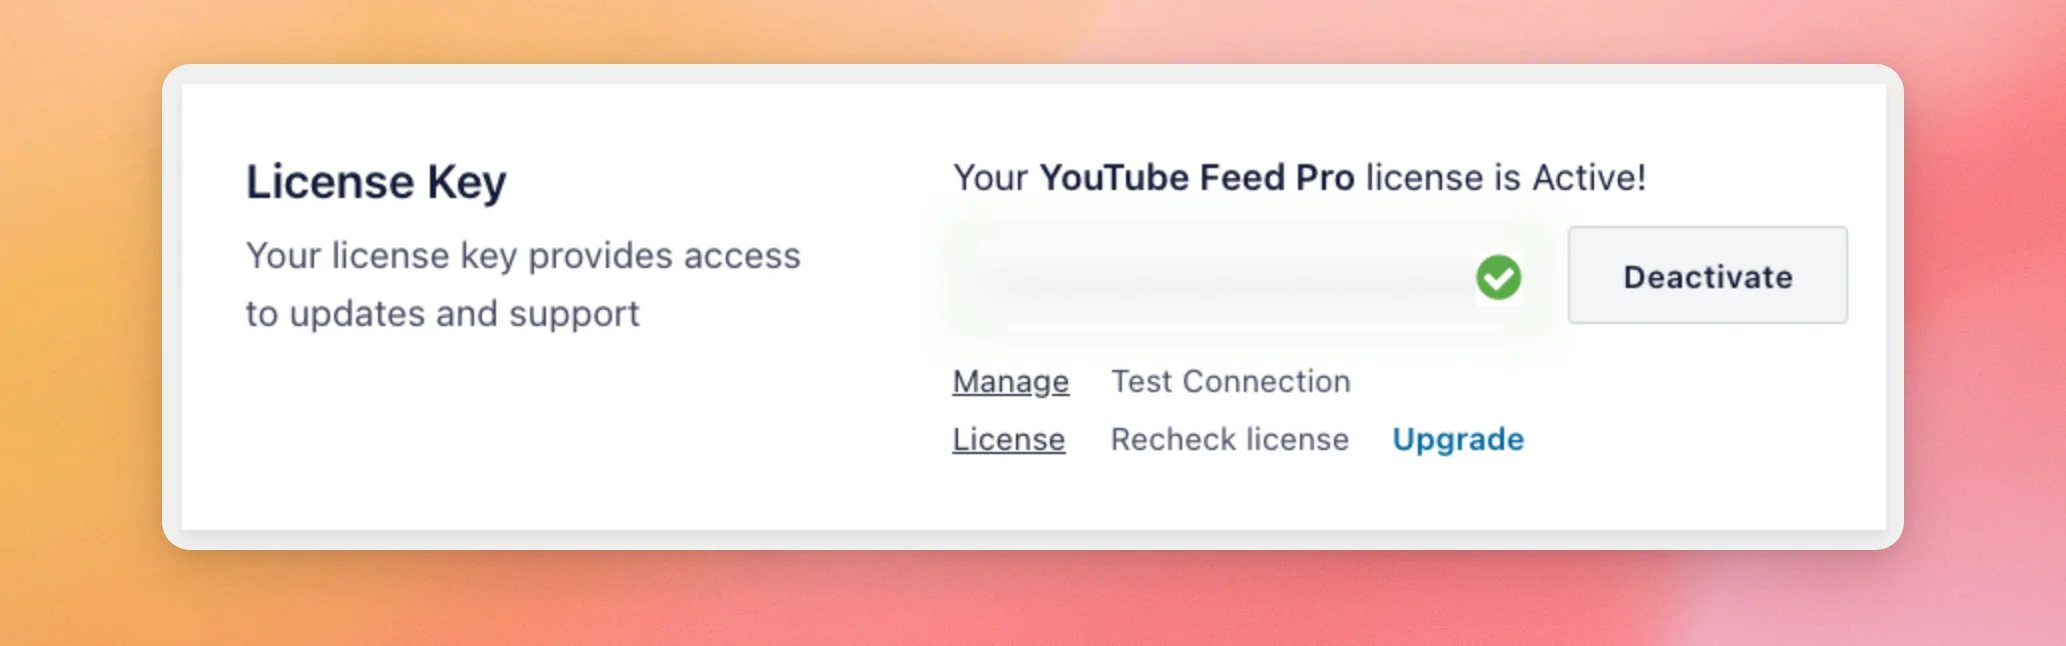
If the box doesn’t show an active license, fix that first. To learn how, see Activating Your License.
The update may then show up on its own. If it still doesn’t, keep going with the steps below.
Downloading the Latest Version
First, you need the latest plugin file.
For the paid version, log in to your Smash Balloon account and open the Downloads tab. Then, click the download link for the YouTube Feed plugin to save the plugin’s .zip file to your computer.
For the free version, go to the plugin’s page on WordPress.org. There, click the Download button to get the .zip file.
There’s no need to unzip the file for the upload method. You’ll upload the .zip file to WordPress as it is. For the FTP method, you’ll unzip it later.
Before you upload it, we’ll turn on a setting that keeps your feeds and settings saved.
Preserving Your Settings
The setting we’ll turn on is a precaution in case the plugin is ever removed from your site. When it’s on, your feeds and settings stay saved.
The free version has the same setting in the same place.
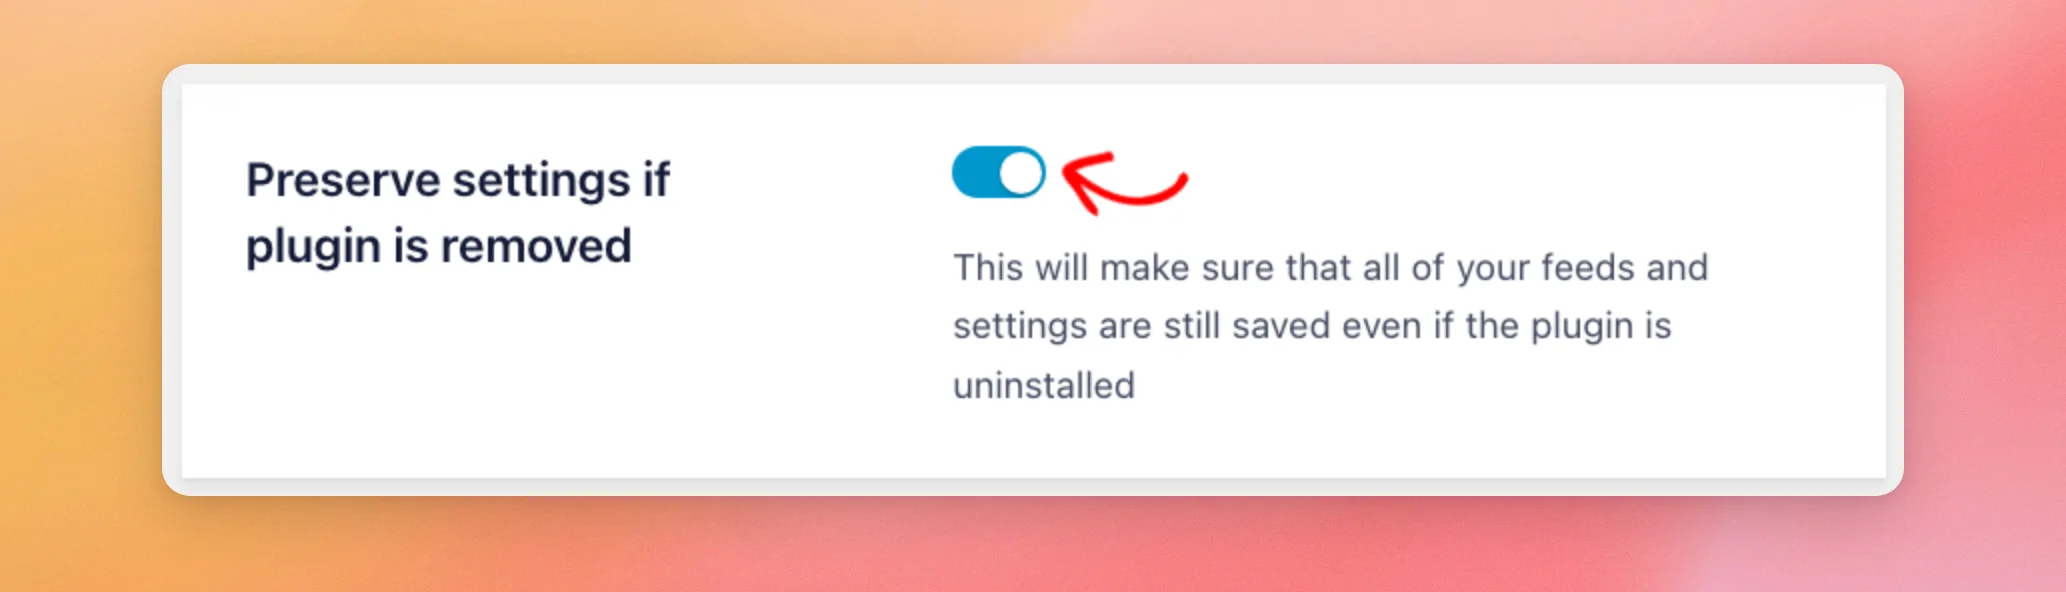
On the General tab of the Settings page, scroll down to Preserve settings if plugin is removed. Then, click the toggle to turn it on.
It’s off by default. While it’s off, deleting the plugin also deletes your feeds and settings.
At the bottom of the page, click Save Changes.
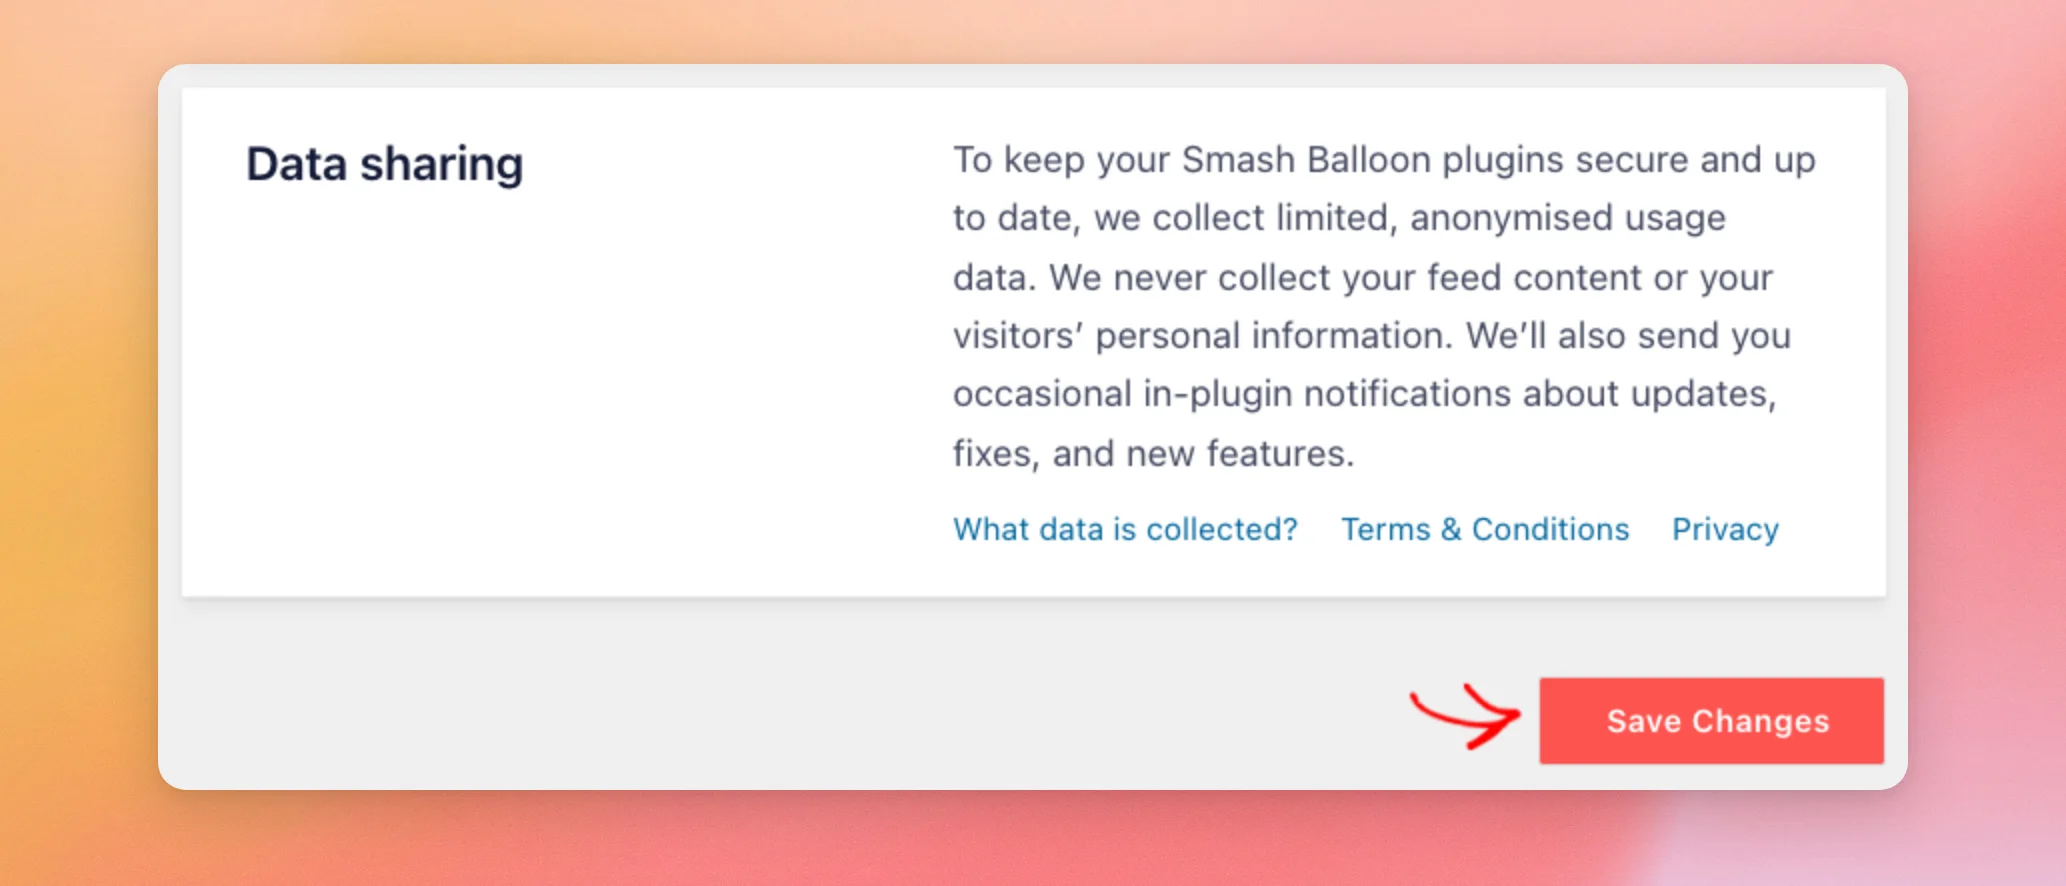
Your settings are now saved. You’re ready to upload the new version.
Uploading the New Version
All you need for this method is the .zip file you downloaded. You don’t need to deactivate or delete the plugin first.
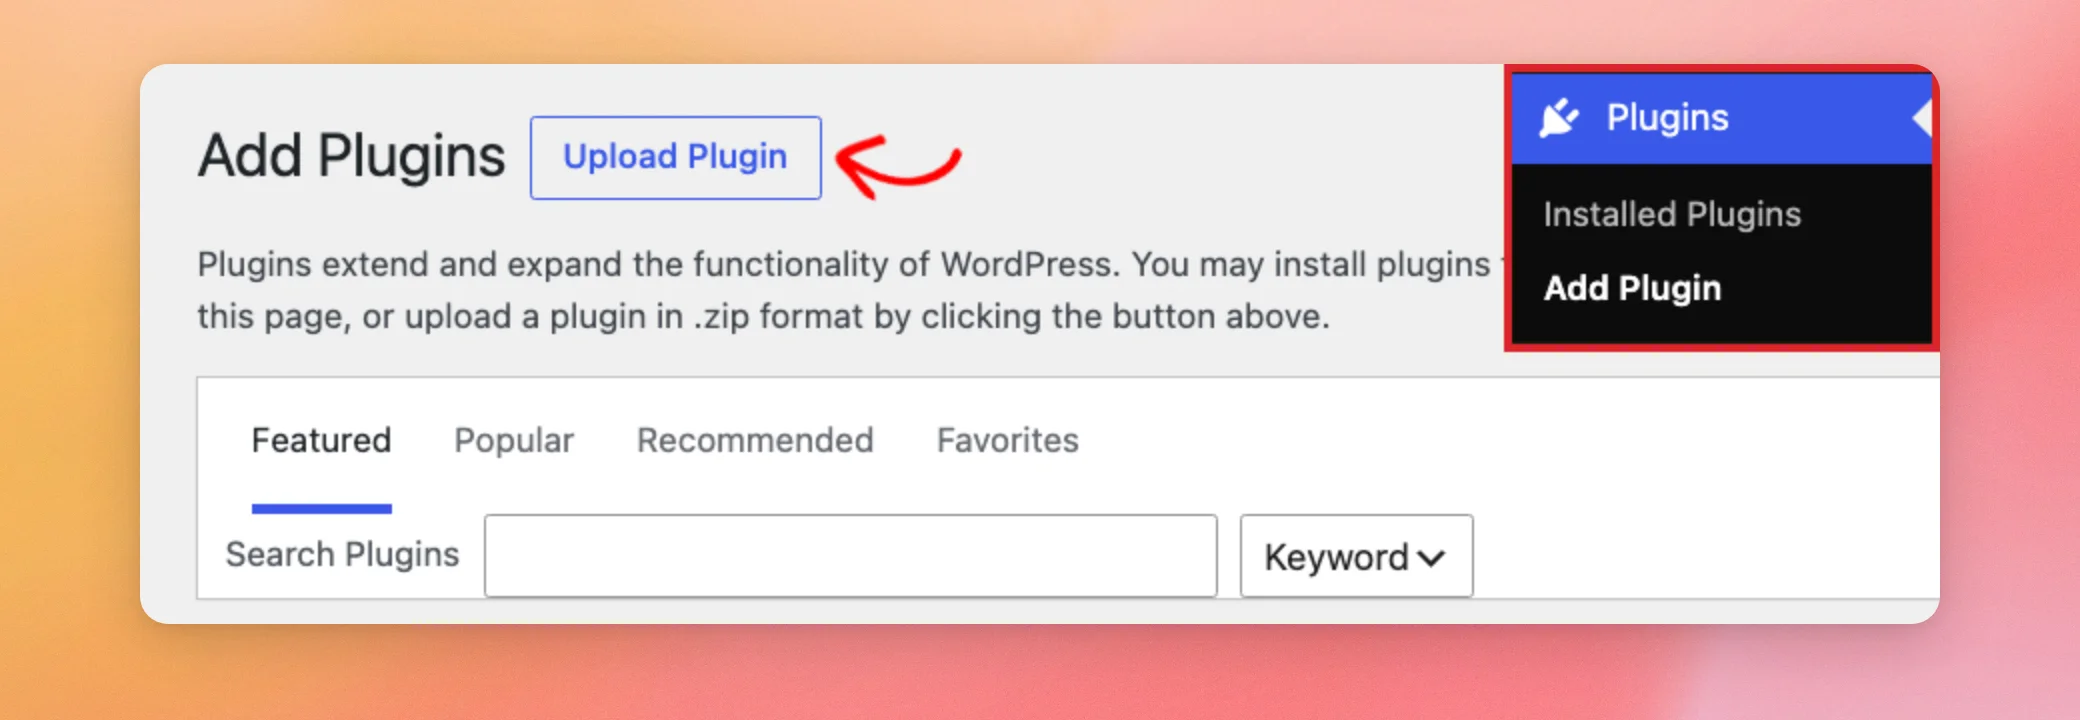
In your WordPress dashboard, go to Plugins » Add Plugin. At the top of the page, click Upload Plugin.
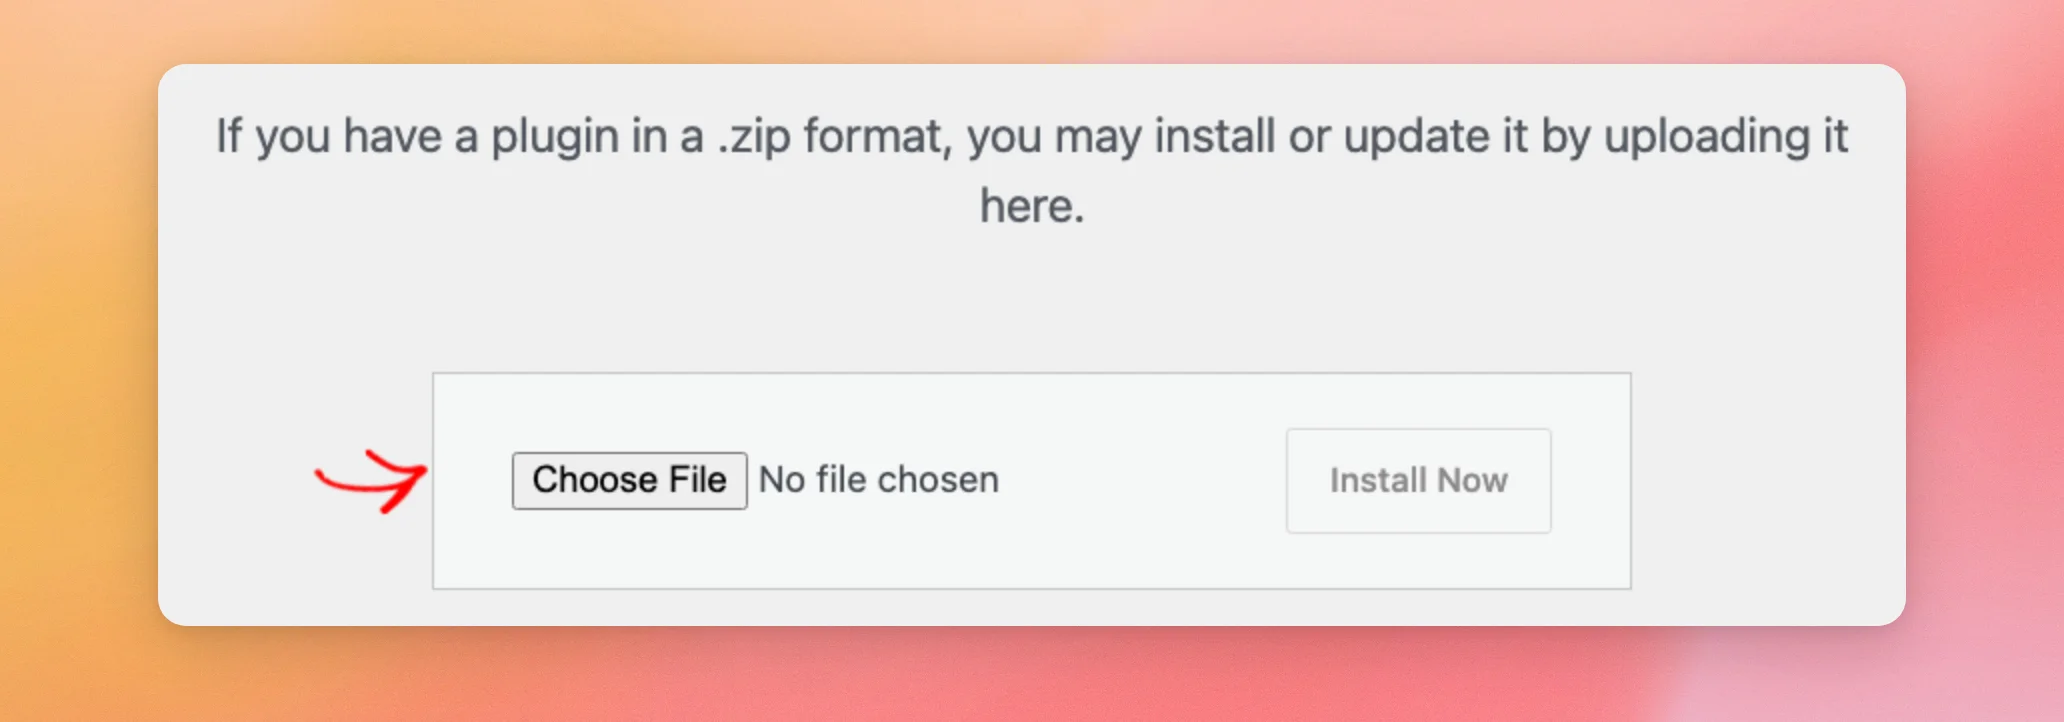
In the upload box, click Choose File. Then, select the .zip file you downloaded.
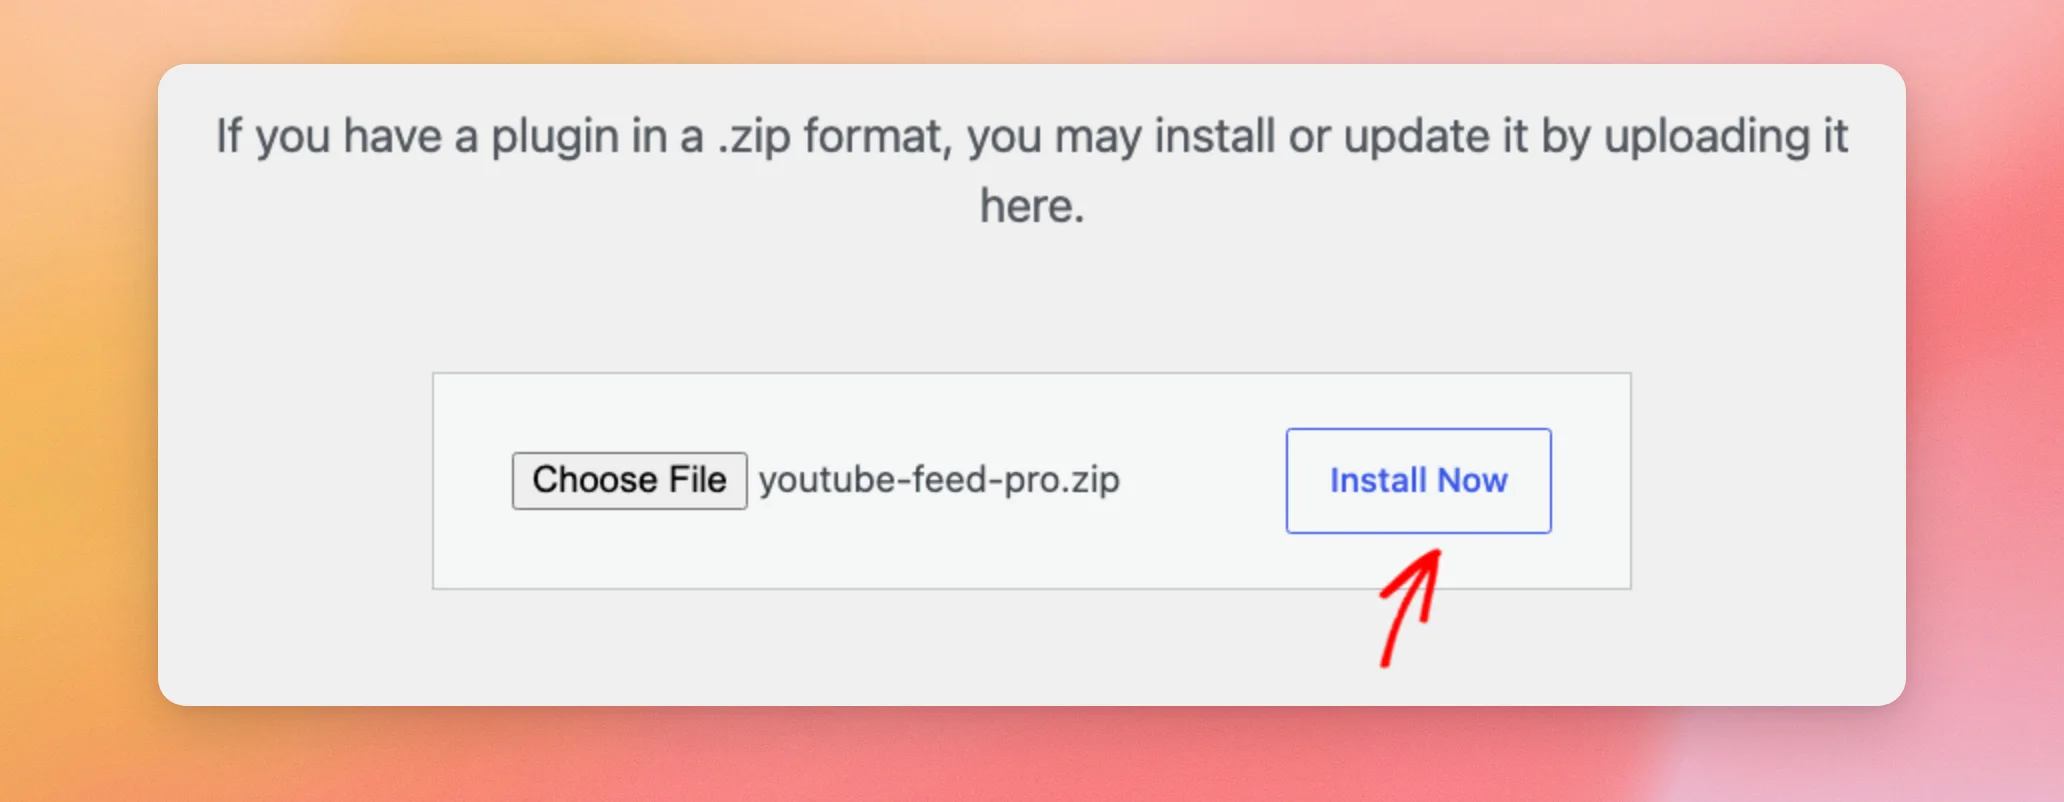
Once the file name appears next to the button, click Install Now.
Because the plugin is already on your site, WordPress doesn’t install it a second time. Instead, it shows a screen that compares the 2 files.
The Current column is the version on your site. The Uploaded column is the file you just chose.
Before you continue, check that the Uploaded version is higher than the Current one. Then, click Replace current with uploaded.
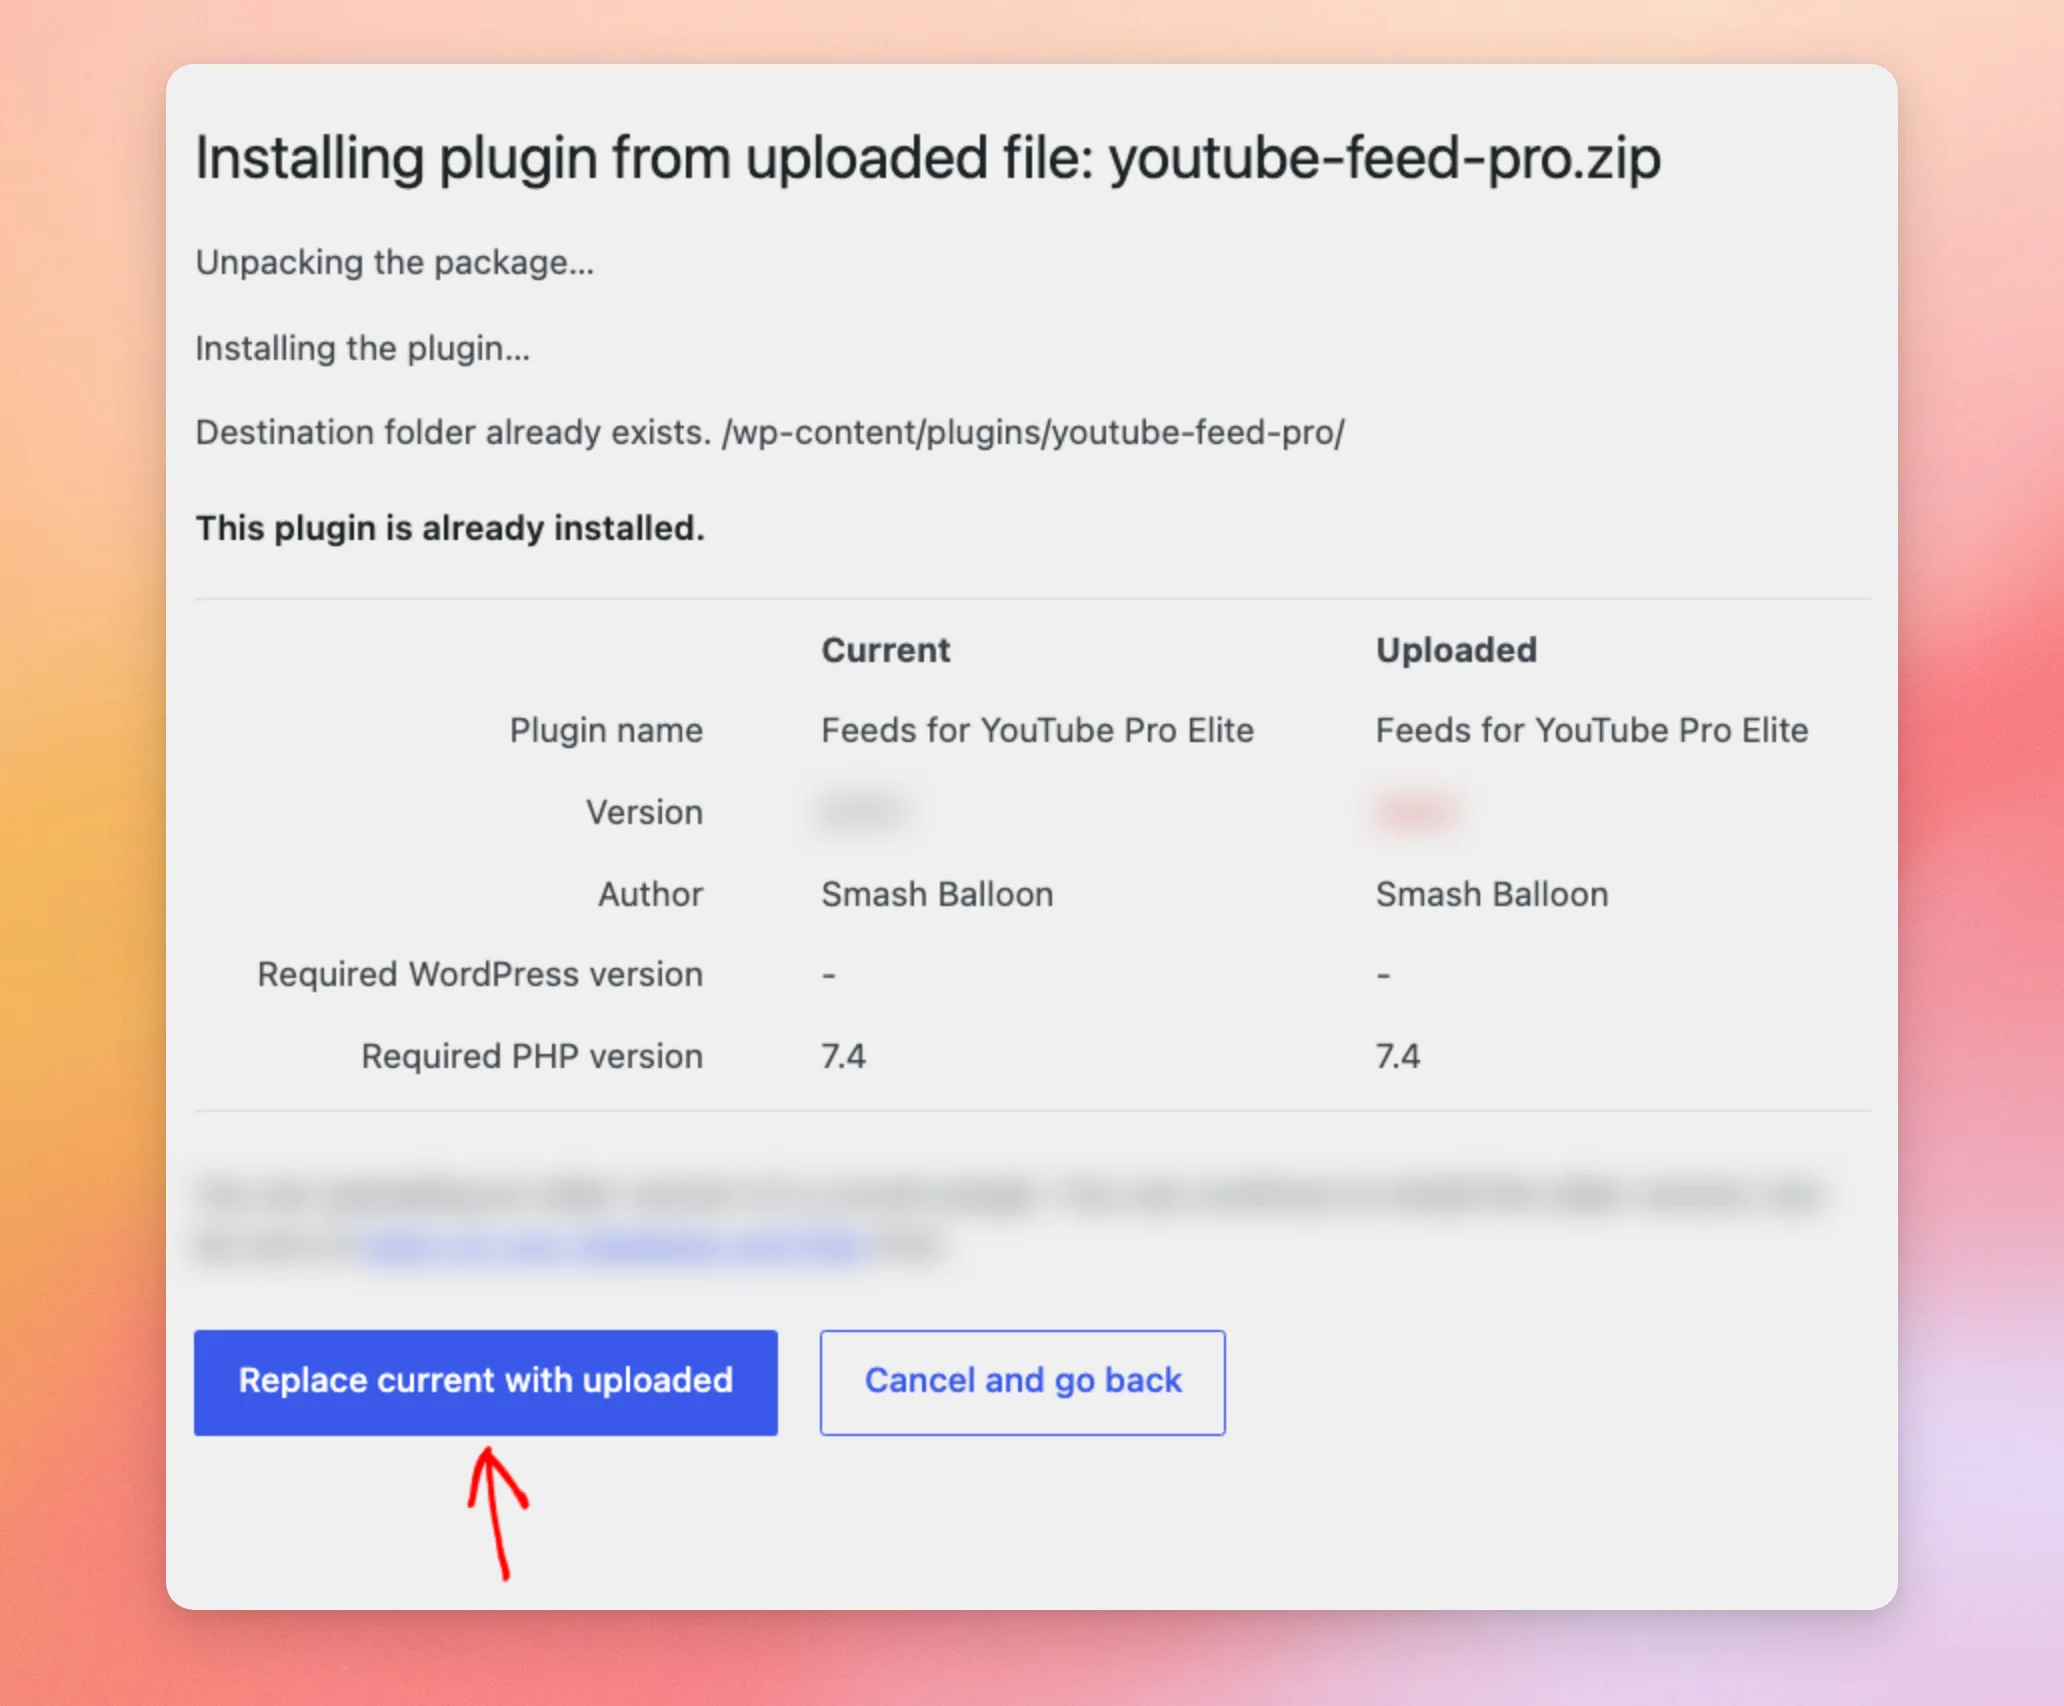
WordPress swaps the old plugin files for the new ones. If you change your mind, the Cancel and go back button next to it stops the update instead.
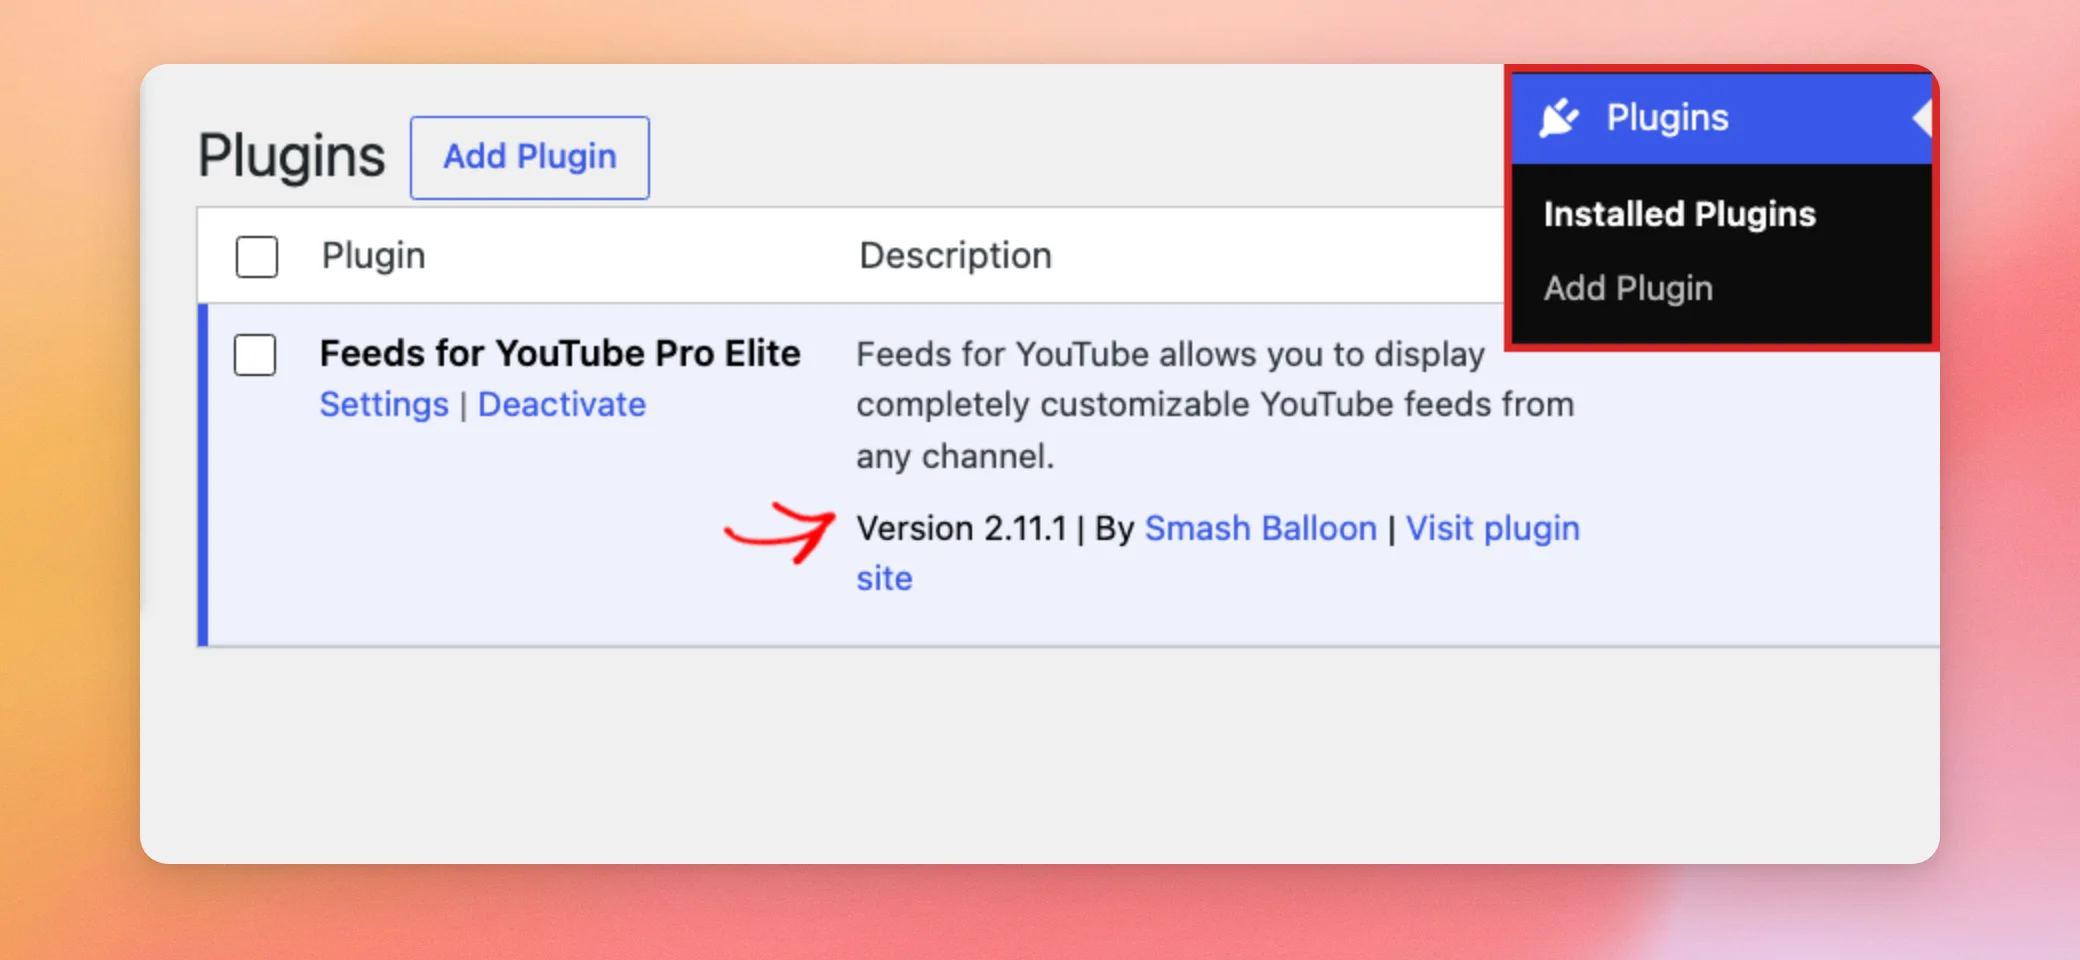
Finally, go to Plugins » Installed Plugins. In the plugin’s row, the Description column shows its version number. If it matches the version you uploaded, the update is done.
If you can’t upload through WordPress, you can replace the plugin files over FTP instead.
Replacing the Files Through FTP
For this method, you’ll need FTP access to your website. If you’re new to FTP, see How to Manually Update WordPress Plugins via FTP for a general walkthrough.
First, unzip the .zip file you downloaded. Then, connect to your site with your FTP program. Next, go to the wp-content/plugins folder.
After that, open the plugin’s folder. It’s called youtube-feed-pro for the paid version and feeds-for-youtube for the free version.
Finally, open the unzipped plugin folder on your computer. Then, upload everything inside it to the plugin’s folder on your site. When your FTP program asks, choose to overwrite the existing files.
That’s it! You now know how to update the YouTube Feed plugin by hand.
Next, if WordPress shows a “Feeds for YouTube has stopped loading” notice, see our guide on fixing that notice.
Frequently Asked Questions
Below, we’ve answered some of the most common questions about updating the plugin by hand.
Why doesn’t the update show on my Plugins page?
The paid version only checks for updates while the plugin is active. It uses your license key to do it. To check your license, see Checking Why the Update Isn’t Showing above. You can also update by hand with the steps above.
Why shouldn’t I delete the plugin and install it again?
Deleting the plugin runs its uninstall routine. When Preserve settings if plugin is removed is off, the routine removes your feeds, your settings, your license information and the videos the plugin saved to your site. Uploading the new file with Replace current with uploaded, or replacing the files over FTP, updates the plugin without deleting it.
I don’t see Replace current with uploaded. What can I do?
Use the FTP method in Replacing the Files Through FTP. It replaces the plugin files without deleting the plugin.
Do I need to turn on Preserve settings if plugin is removed?
No, but we recommend it. The setting is off by default. It’s a precaution that keeps your feeds and settings saved if the plugin is ever removed.
What if WordPress says I’m uploading an older version?
On the comparison screen, WordPress warns you when the Uploaded version is older than the Current one. To stop, click Cancel and go back. Then, download the latest version again and upload that file instead.
Do I need to deactivate the plugin before I upload the new version?
No. WordPress replaces the files of the plugin that’s already on your site. You can leave the plugin active.