Social Wall
 Feed Analytics


How to upload, install and activate the free Reviews Feed WordPress plugin from your Plugins page.
Would you like to start showing reviews on your WordPress site with the free version of Reviews Feed?
In this guide, we’ll walk you through installing and activating the free Reviews Feed plugin from your WordPress dashboard. There’s nothing to download. All you need is access to your WordPress dashboard.
Note: Purchased a paid plan of Reviews Feed? See our guide on installing the paid version of Reviews Feed.
Installing the Plugin
To get started, we’ll find Reviews Feed in the WordPress plugin directory, right from your dashboard.
In your WordPress dashboard, go to Plugins » Add Plugin. Then, click in the Search Plugins field.
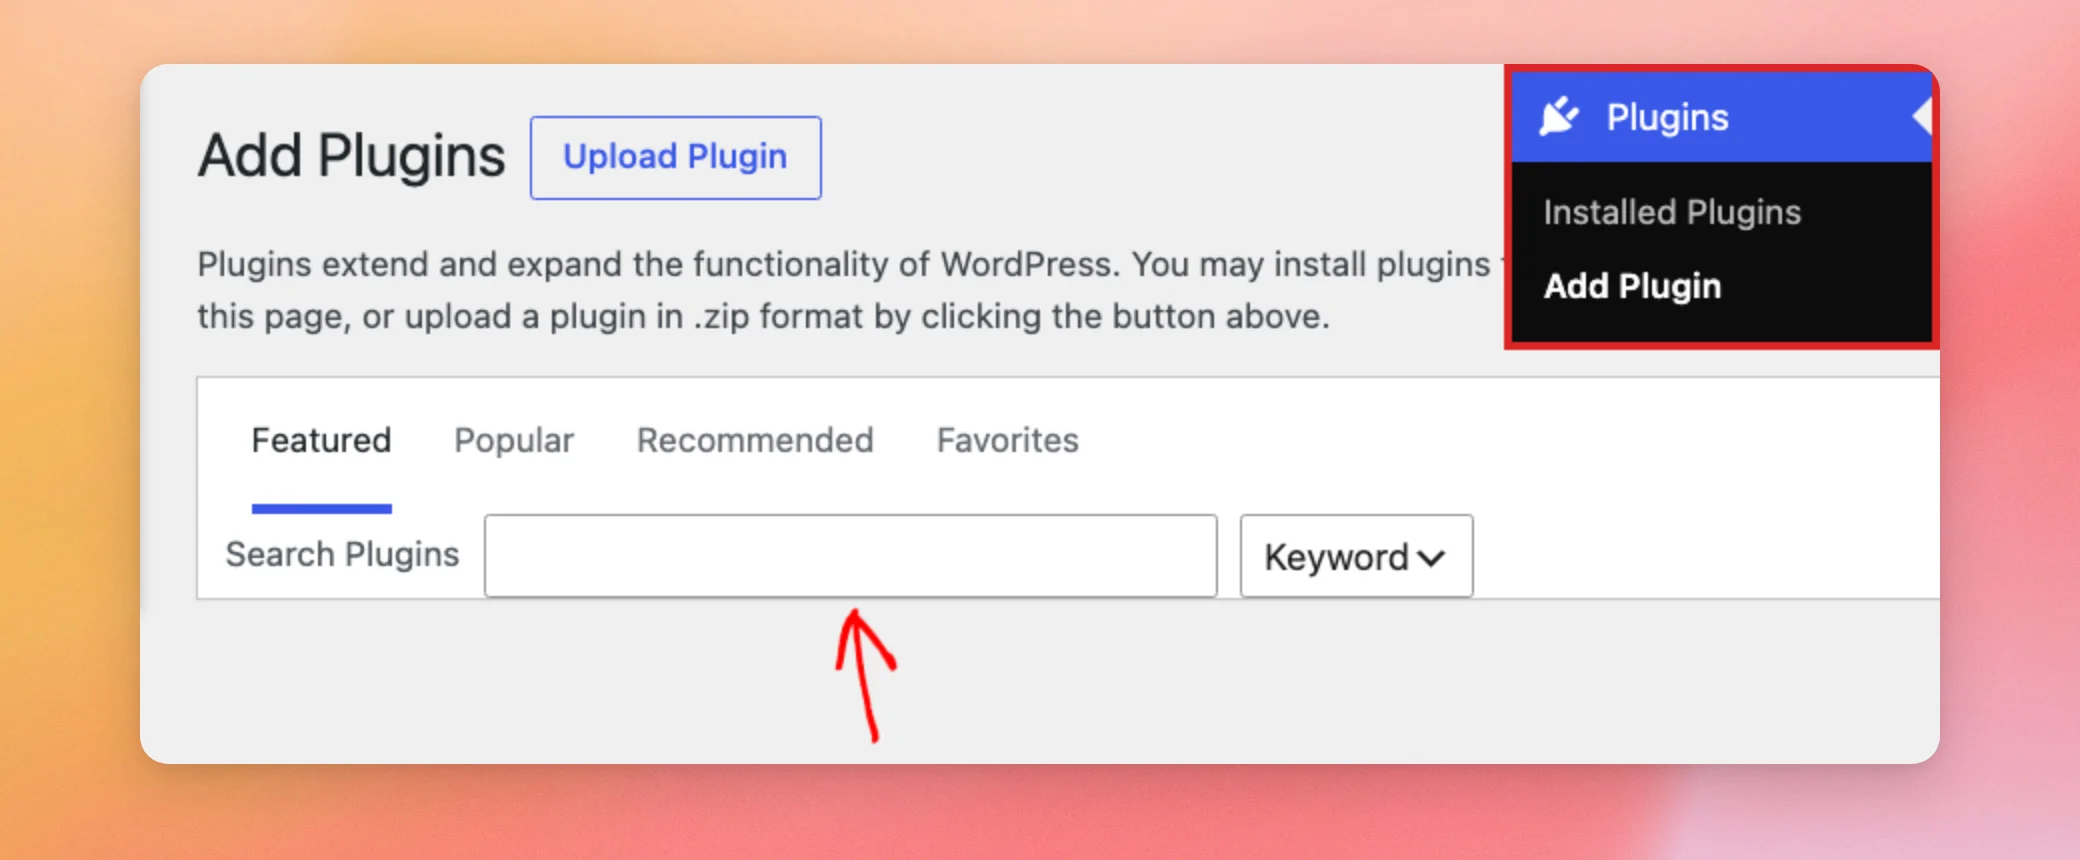
Next, type Reviews Feed in the field. WordPress shows the results as you type.
In the results, find the card whose title starts with Reviews Feed and whose icon shows a red balloon. Then click Install Now on that card.
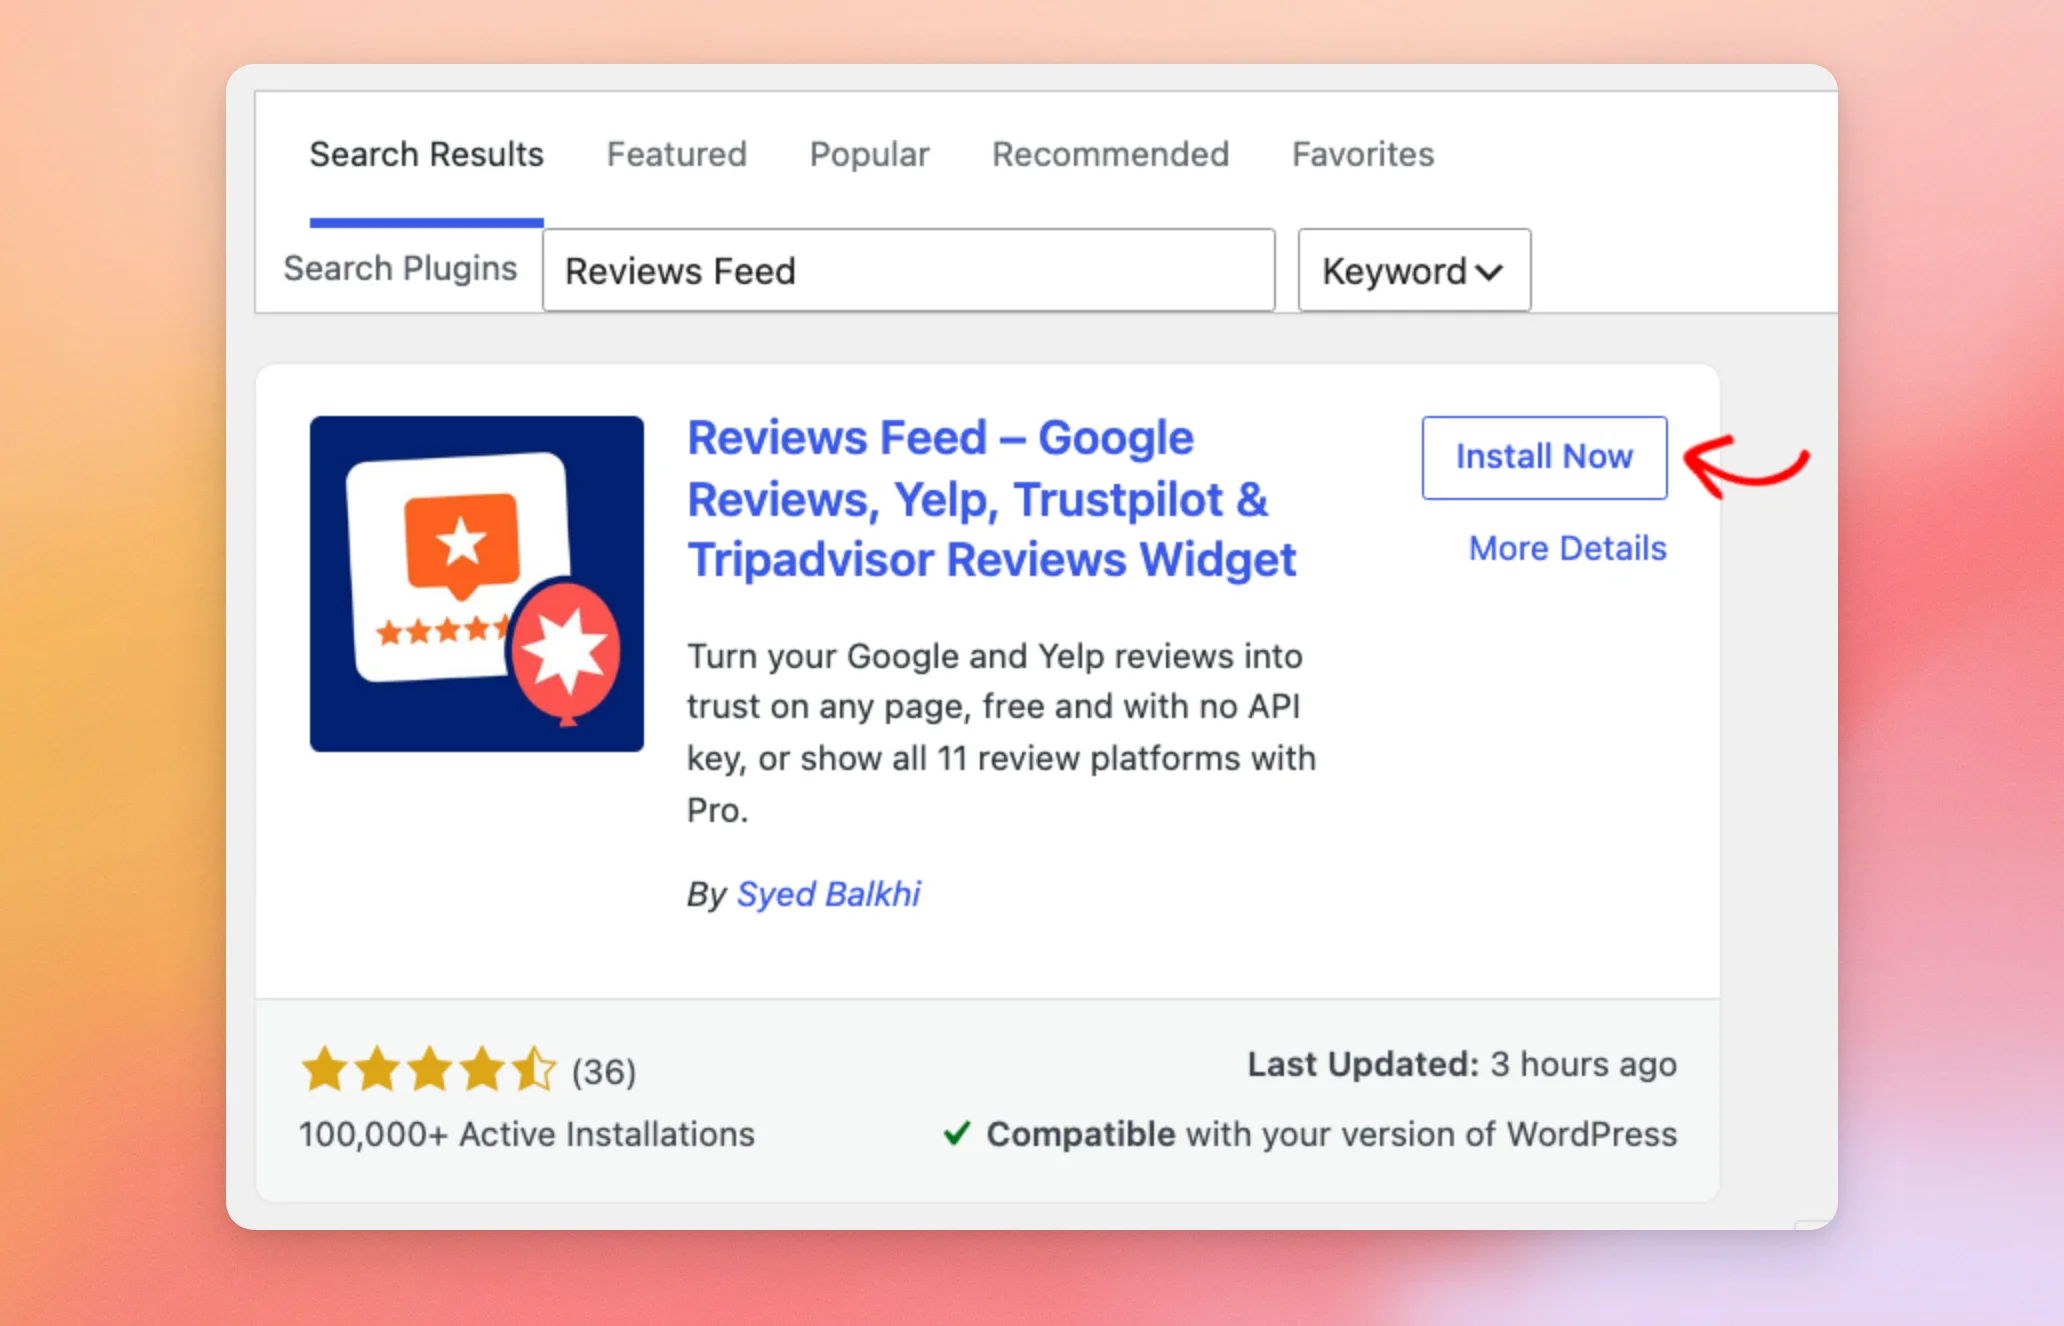
WordPress downloads and installs the plugin. When it’s done, the button changes to Activate.
Activating the Plugin
Now that the plugin is installed, the next step is to turn it on.
On the same card, click Activate.
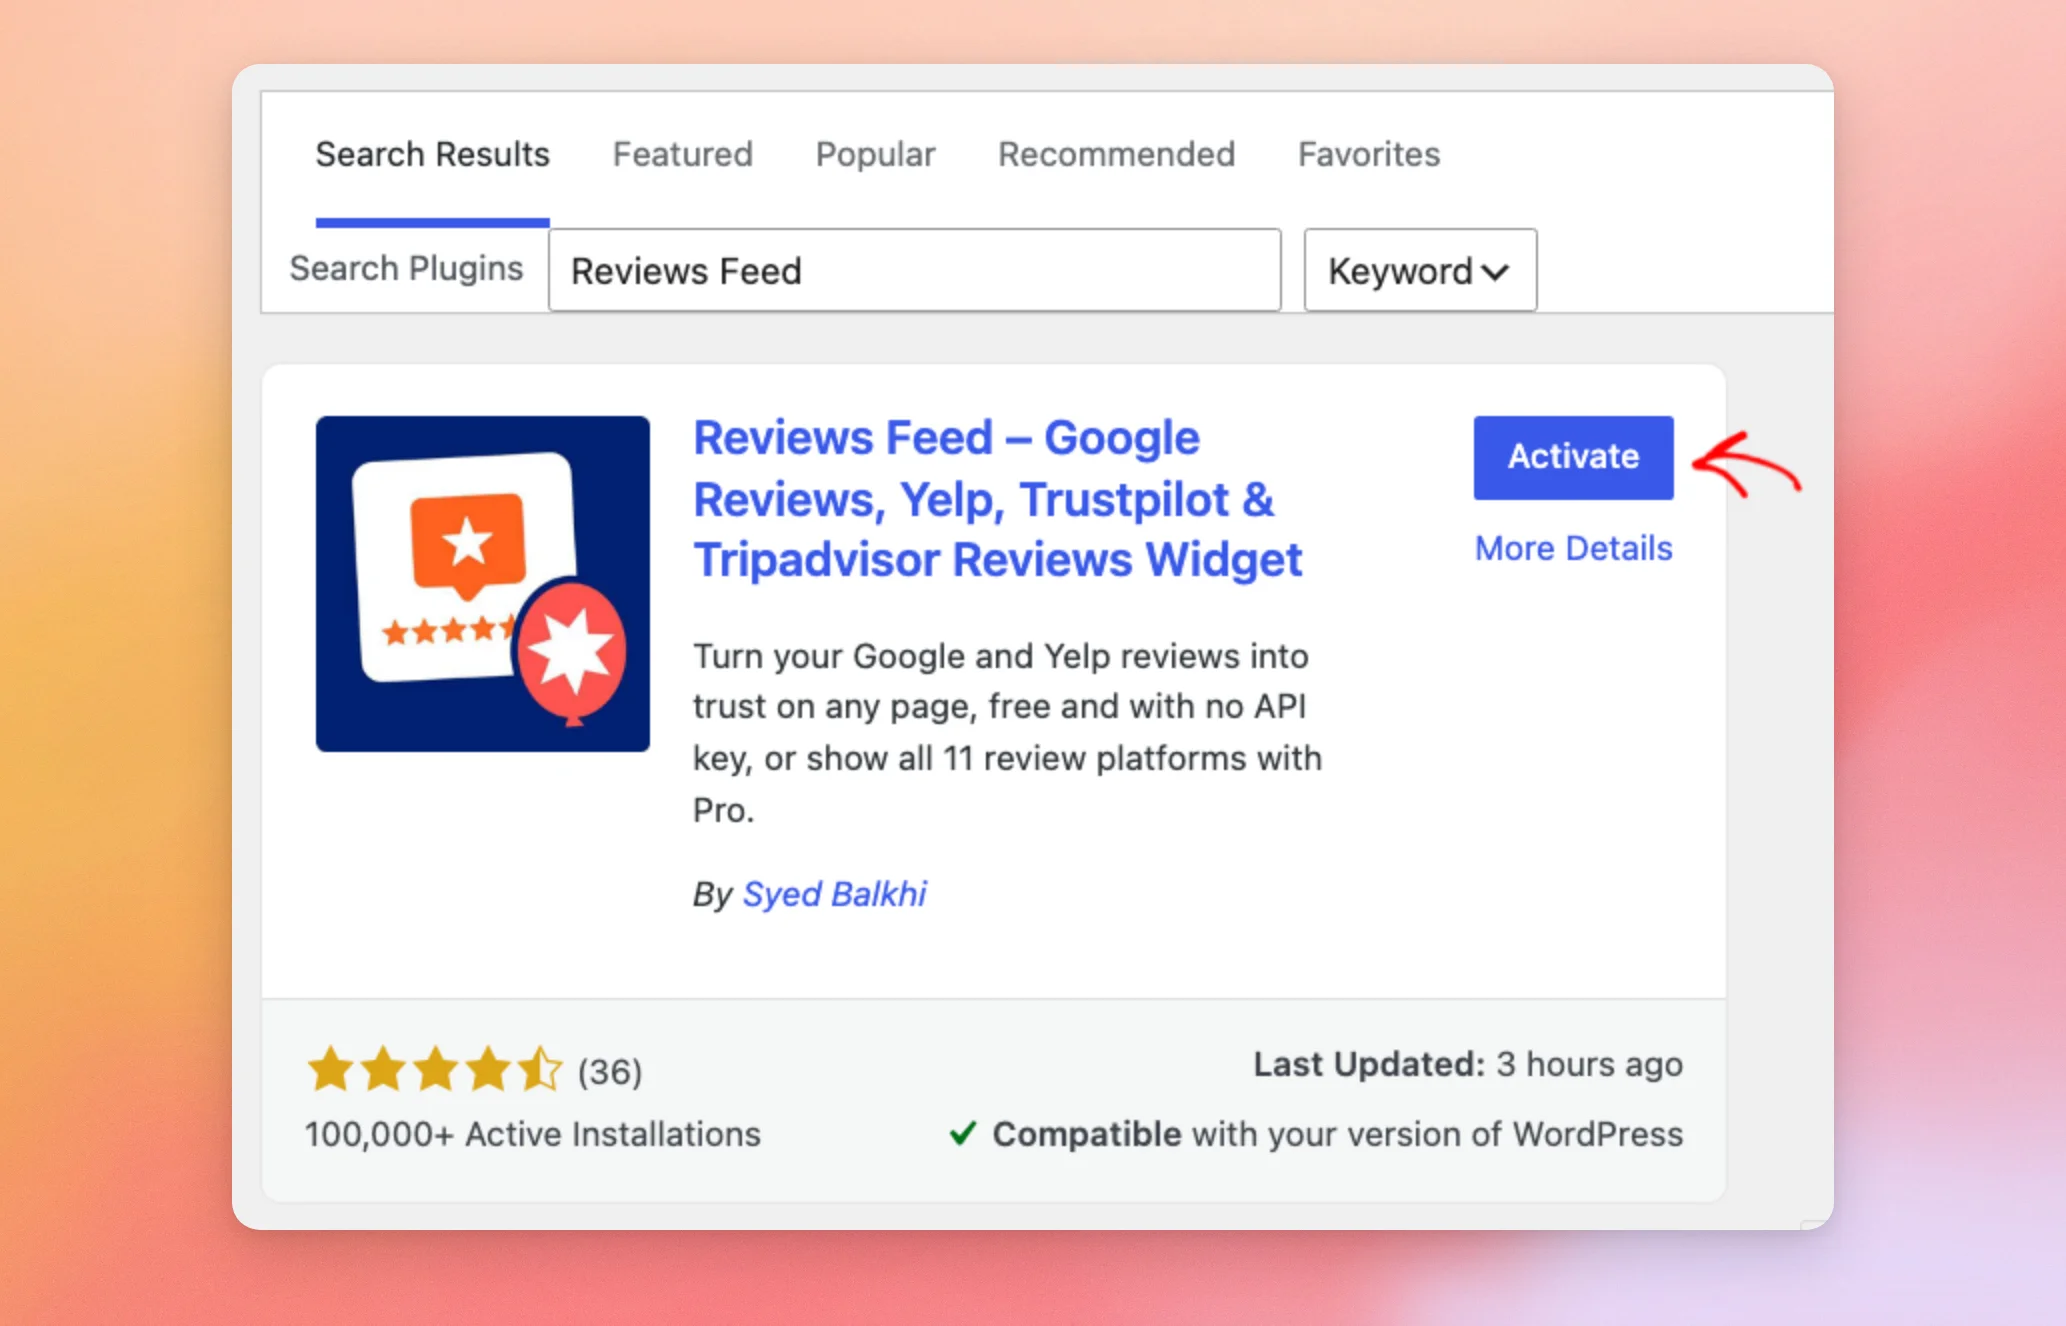
WordPress takes you to your Plugins page and confirms that the plugin is activated.
You’ll now see the Reviews Feed menu in your WordPress dashboard.
To open it, go to Reviews Feed » All Feeds. Your feeds will show up on this page once you create them.
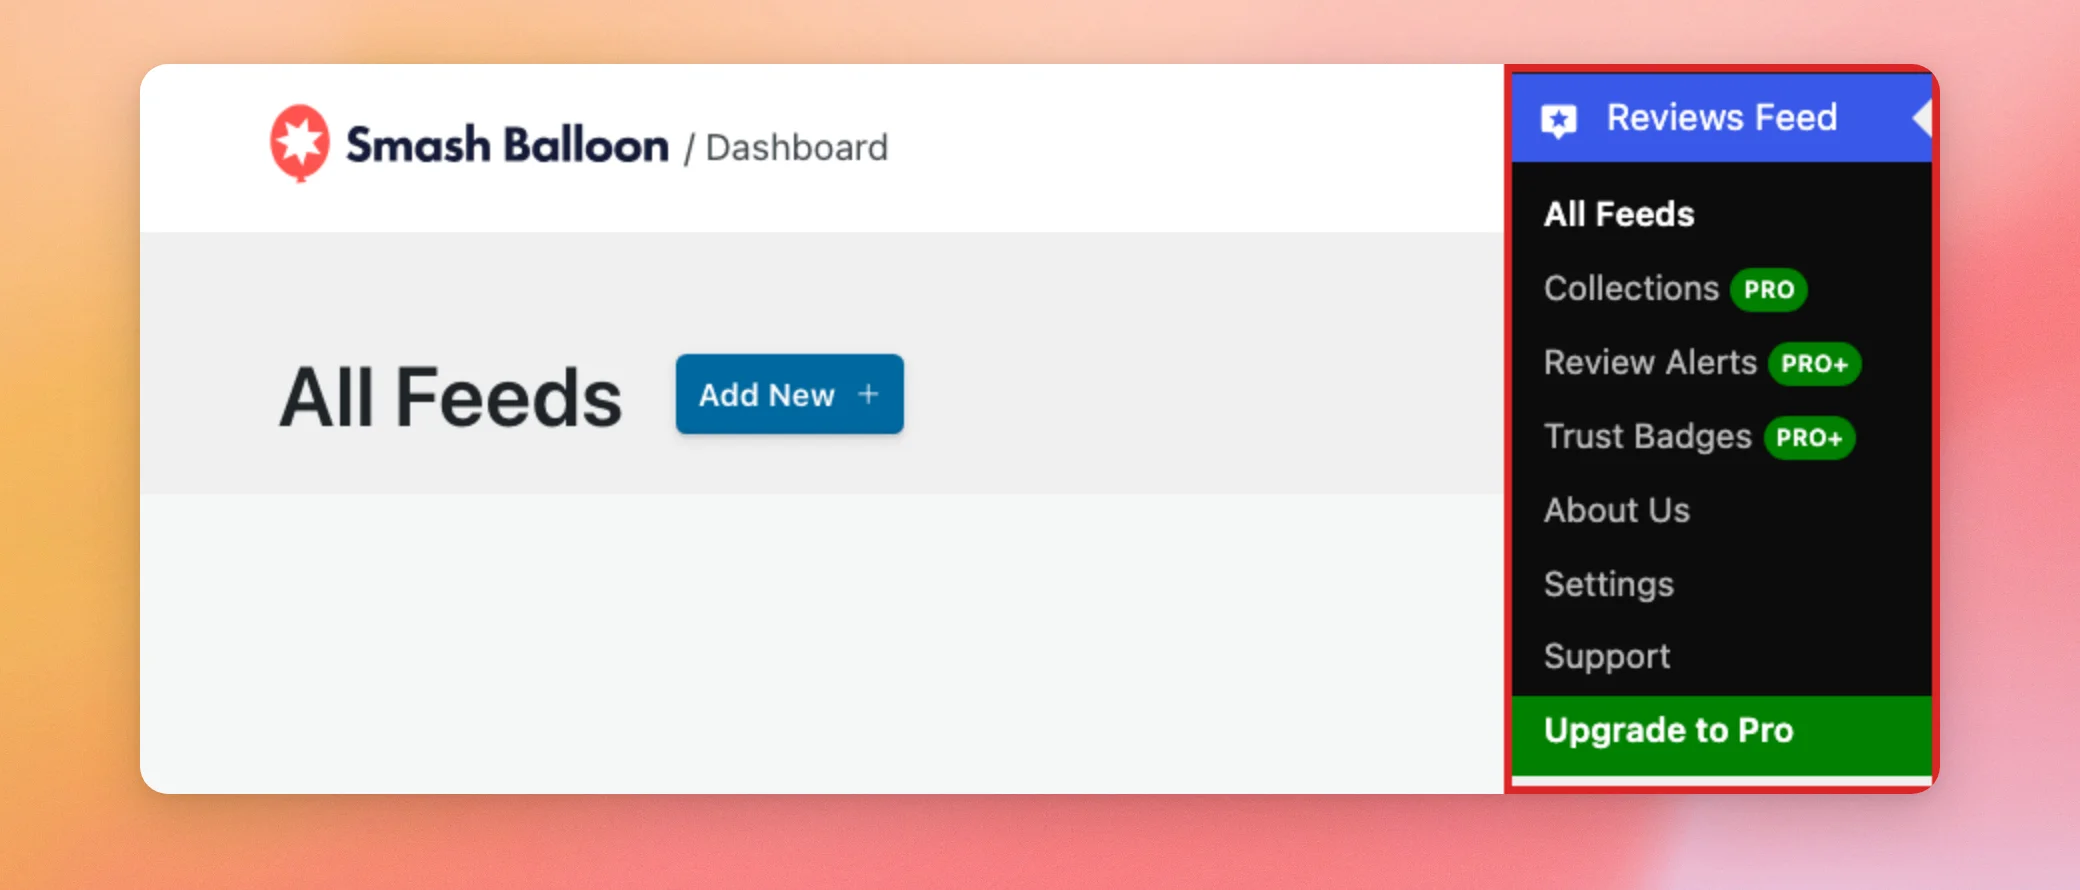
The menu also has Settings and Support pages. To learn what each one offers, see our settings reference and our guide on using the Support page.
That’s it! You’ve installed and activated the free version of Reviews Feed.
Next, build your first feed with our guide on creating a reviews feed.
Frequently Asked Questions
Below, we’ve answered some of the most common questions about installing the free version of Reviews Feed.
Do I need an API key to use the free version?
No. In the free version, you can add 1 Google or Yelp source without an API key. Before you add it, Reviews Feed asks you to verify your email address. Your feed then shows the latest 10 reviews for that business. To keep your feed updating with new reviews, add your own API key.
See our guides on creating a Google API key and creating a Yelp API key.
What do the PRO and PRO+ labels in the Reviews Feed menu mean?
They mark features of the paid version, such as Collections, Review Alerts, and Trust Badges. To compare what each version includes, see our guide on the differences between the free and paid versions.
Can I install the free version from a .zip file instead?
Yes. First, open the Reviews Feed page on WordPress.org and click Download to save the .zip file. Then, in your WordPress dashboard, go to Plugins » Add Plugin and click Upload Plugin. Next, click Choose File and select the .zip file. After that, click Install Now. When it’s done, click Activate Plugin.
For more help with installing plugins, see How to Install a WordPress Plugin for a step-by-step guide.
I purchased a paid plan. Do I need the free version too?
No. The paid version is its own plugin. You download it from your Smash Balloon account and upload it to WordPress. Our guide on installing the paid version of Reviews Feed shows each step.
Will my feeds carry over if I upgrade later?
Yes. The free and paid versions use the same feeds and settings. Before you delete the free version, turn on Preserve settings if plugin is removed in Reviews Feed » Settings » General. This keeps your feeds and settings in place for the paid version. Our guide on installing the paid version walks you through each step of the switch.